はじめに
年末で宝くじとか運試ししたいな、
って事でスクラッチアニメーションを作ってみました。
今回UIBezierPathを用いて削る軌跡を描画して、
CoreAnimationでアニメーションさせる事で実現させることにしました。
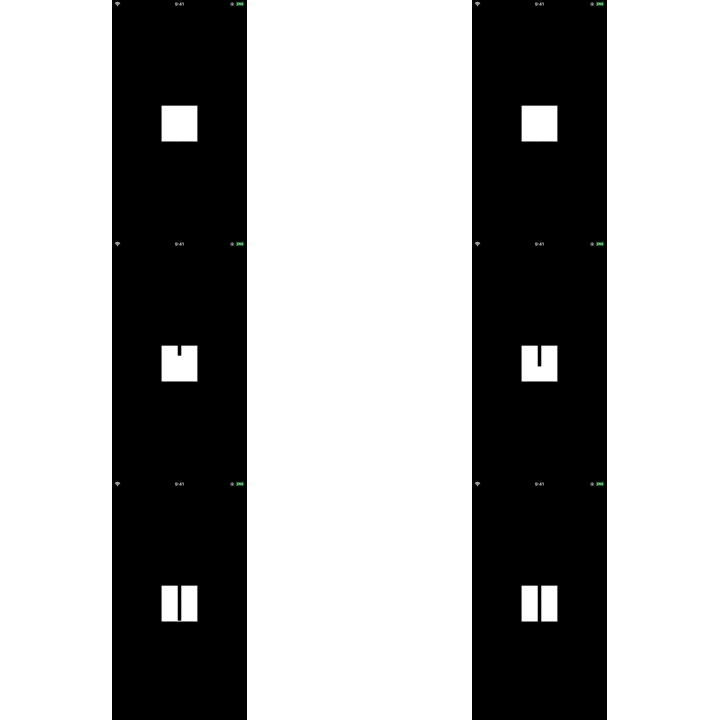
線を描く
func strokeLine() {
    let layer = CAShapeLayer()
    layer.bounds = self.bounds
    layer.position = CGPoint(x: self.bounds.width / 2.0, y: self.bounds.height / 2.0)
    self.layer.addSublayer(layer)
    layer.strokeColor = UIColor.black.cgColor // 線の色
    layer.lineWidth = 10.0                    // 線の太さ

    // パスの生成
    let startPoint = CGPoint(x: self.bounds.midX, y: self.bounds.minY)
    let endPoint = CGPoint(x: self.bounds.midX, y: self.bounds.maxY)
    let path = UIBezierPath()
    path.move(to: startPoint)
    path.addLine(to: endPoint)

    layer.path = path.cgPath
}
これで一本縦線引くことが出来ます。
これを応用してスクラッチの削る動作を作っていきます。
描くアニメーション
CoreAnimationを用いて描く動作をアニメーションします。
func strokeLine() {
    let layer = CAShapeLayer()
    layer.bounds = self.bounds
    layer.position = CGPoint(x: self.bounds.width / 2.0, y: self.bounds.height / 2.0)
    self.layer.addSublayer(layer)
    layer.strokeColor = UIColor.black.cgColor // 線の色
    layer.lineWidth = 10.0                    // 線の太さ

    // パスの生成
    let startPoint = CGPoint(x: self.bounds.midX, y: self.bounds.minY)
    let endPoint = CGPoint(x: self.bounds.midX, y: self.bounds.maxY)
    let startPath = UIBezierPath()
    startPath.move(to: startPoint)
    startPath.addLine(to: startPoint)
    let endPath = UIBezierPath(cgPath: startPath.cgPath)
    endPath.addLine(to: endPoint)

    // アニメーション
    let pathKeyframe = CABasicAnimation(keyPath: "path")
    pathKeyframe.fromValue = startPath.cgPath
    pathKeyframe.toValue = endPath.cgPath
    pathKeyframe.duration = 1.0
    pathKeyframe.isRemovedOnCompletion = false
    pathKeyframe.fillMode = .forwards
    maskLayer.add(pathKeyframe, forKey: "stroke")
}
複数のパスを用いたアニメーション
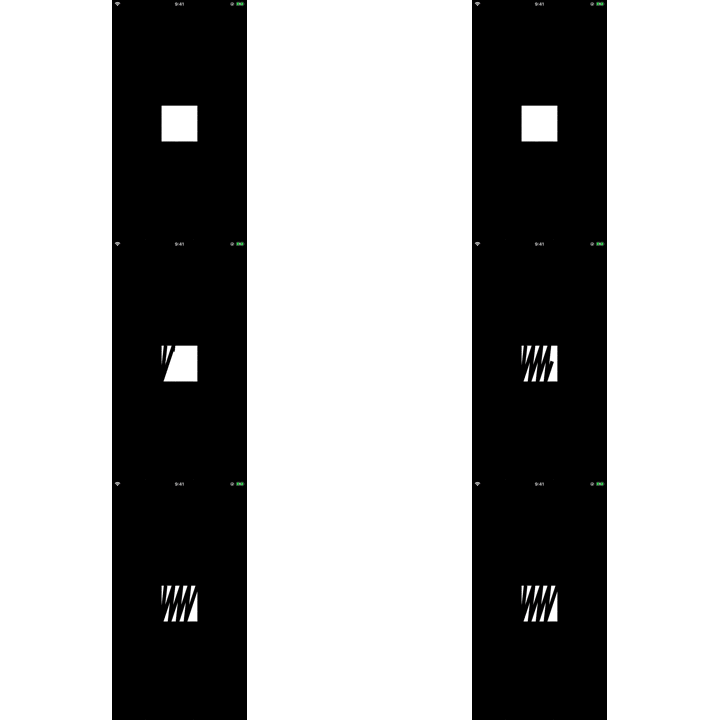
CABasicAnimationの代わりにCAKeyframeAnimationを用います。
func strokeLine() {
    let layer = CAShapeLayer()
    layer.bounds = self.bounds
    layer.position = CGPoint(x: self.bounds.width / 2.0, y: self.bounds.height / 2.0)
    self.layer.addSublayer(layer)
    layer.strokeColor = UIColor.black.cgColor // 線の色
    layer.lineWidth = 10.0                    // 線の太さ
    layer.fillColor = UIColor.clear.cgColor   // 線が閉じられてしまうためclearを設定

    // パスの生成
    let startPoint = CGPoint(x: self.bounds.midX, y: self.bounds.minY)
    let endPoint = CGPoint(x: self.bounds.midX, y: self.bounds.maxY)
    let startPath = UIBezierPath()
    startPath.move(to: startPoint)
    startPath.addLine(to: startPoint)
    let endPath = UIBezierPath(cgPath: startPath.cgPath)
    endPath.addLine(to: endPoint)

    // アニメーション
    let pathKeyframe = CAKeyframeAnimation(keyPath: "path")
    pathKeyframe.values = self.generateCGPaths()
    pathKeyframe.keyTimes = self.generateKeyTimes()
    pathKeyframe.duration = 1.0
    pathKeyframe.isRemovedOnCompletion = false
    pathKeyframe.fillMode = .forwards
    layer.add(pathKeyframe, forKey: "stroke")
}

/// KeyTime生成
private func generateKeyTimes() -> [NSNumber] {
    var times = [NSNumber]()
    for sequence in 0..<9 {
        let time = (Float(1) / Float(9)) * Float(sequence)
        times.append(NSNumber(value: time))
    }

    return times
}

/// CGPath生成
private func generateCGPaths() -> [CGPath] {
    let firstPositionX = self.bounds.width / 9

    var points = [CGPoint]()
    for sequence in 0..<9 {
        if sequence % 2 != 0 { // bottom point
            points.append(CGPoint(x: firstPositionX * CGFloat(sequence - 1), y: self.bounds.maxY))
        } else { // top point
            points.append(CGPoint(x: firstPositionX * CGFloat((sequence + 1)), y: self.bounds.minY))
        }
    }

    var bezierPaths = [UIBezierPath]()
    points.enumerated().forEach { offset, point in
        if offset == 0 {
            let path = UIBezierPath()
            path.move(to: point)
            path.addLine(to: point)
            bezierPaths.append(path)
            return
        }
        let path = UIBezierPath(cgPath: bezierPaths[offset - 1].cgPath)
        path.addLine(to: point)
        bezierPaths.append(path)
    }

    return bezierPaths.map { $0.cgPath }
}
それっぽくなってきたかな。。。
マスク
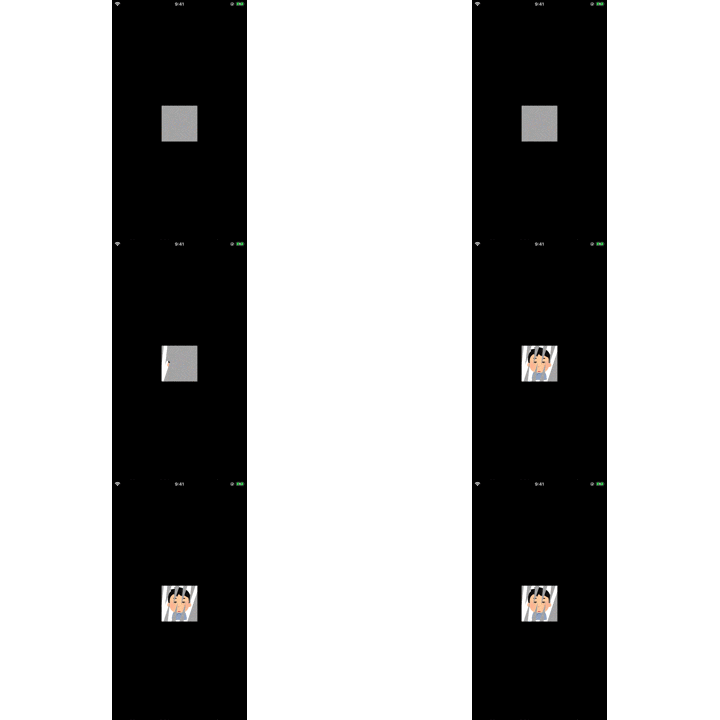
ここまで出来たら、あとは表示させたいImageViewに今まで作ったLayerをマスクさせます。
@IBOutlet private weak var imageView: UIImageView!
private var layer: CAShapeLayer?

func setup() {
    self.backgroundColor = UIColor.lightGray

    let layer = CAShapeLayer()
    layer.bounds = self.bounds
    layer.position = CGPoint(x: self.bounds.width / 2.0, y: self.bounds.height / 2.0)
    layer.strokeColor = UIColor.black.cgColor // 線の色
    layer.lineWidth = 10.0                    // 線の太さ
    layer.fillColor = UIColor.clear.cgColor   // 線が閉じられてしまうためclearを設定

    self.imageView.layer.mask = layer
    self.layer = layer
}

func strokeLine() {
    // パスの生成
    let startPoint = CGPoint(x: self.bounds.midX, y: self.bounds.minY)
    let endPoint = CGPoint(x: self.bounds.midX, y: self.bounds.maxY)
    let startPath = UIBezierPath()
    startPath.move(to: startPoint)
    startPath.addLine(to: startPoint)
    let endPath = UIBezierPath(cgPath: startPath.cgPath)
    endPath.addLine(to: endPoint)

    // アニメーション
    let pathKeyframe = CAKeyframeAnimation(keyPath: "path")
    pathKeyframe.values = self.generateCGPaths()
    pathKeyframe.keyTimes = self.generateKeyTimes()
    pathKeyframe.duration = 1.0
    pathKeyframe.isRemovedOnCompletion = false
    pathKeyframe.fillMode = .forwards
    self.layer.add(pathKeyframe, forKey: "stroke")
}

/// KeyTime生成
private func generateKeyTimes() -> [NSNumber] {
    var times = [NSNumber]()
    for sequence in 0..<9 {
        let time = (Float(1) / Float(9)) * Float(sequence)
        times.append(NSNumber(value: time))
    }

    return times
}

/// CGPath生成
private func generateCGPaths() -> [CGPath] {
    let firstPositionX = self.bounds.width / 9

    var points = [CGPoint]()
    for sequence in 0..<9 {
        if sequence % 2 != 0 { // bottom point
            points.append(CGPoint(x: firstPositionX * CGFloat(sequence - 1), y: self.bounds.maxY))
        } else { // top point
            points.append(CGPoint(x: firstPositionX * CGFloat((sequence + 1)), y: self.bounds.minY))
        }
    }

    var bezierPaths = [UIBezierPath]()
    points.enumerated().forEach { offset, point in
        if offset == 0 {
            let path = UIBezierPath()
            path.move(to: point)
            path.addLine(to: point)
            bezierPaths.append(path)
            return
        }
        let path = UIBezierPath(cgPath: bezierPaths[offset - 1].cgPath)
        path.addLine(to: point)
        bezierPaths.append(path)
    }

    return bezierPaths.map { $0.cgPath }
}
完成
課題
削り終わった後何かアクションが欲しかったり、
削り損なっている箇所が残ったままだったりと、まだまだ課題はありますが、
メインとなる削るアニメーションは出来上がりました。
これに+α付け足していって楽しいアニメーションを作っていきたいと思います。
タッチイベントと併用すればアニメーションではなく触れたところを削るように見せることも出来そうです。


