今回は開発環境において、__Dockerを用いてRails6の環境構築をする方法__をご紹介いたします。
それぞれのファイルや単語の意味などの解説はしていないので、詳しい解説は Dockerを用いてRuby on Railsの環境構築をする方法( Docker初学者向け ) をご覧ください。
( ※ Rails5の環境構築方法になります)
環境
- MacOS
- Docker 20.10.6
- docker-compose 1.29.1
- Ruby 3.0.1
- Rails 6.1.0
- MySQL 5.7
前提
-
DockerおよびDocker composeのインストールを済ませてください - これ以降の説明の
myappの部分はご自身のアプリケーション名に変えてください
アプリケーションの作業ディレクトリを作成
mkdirで作業ディレクトリを作成します。
$ mkdir myapp
必要なファイルを用意
ファイル構成は以下のようになります。
myapp
  |-- Dockerfile
  |-- docker-compose.yml
  |-- Gemfile
  |-- Gemfile.lock
それでは、先ほど作成したディレクトリの中に以下の各ファイルを作成していきます。
① Gemfile
source 'https://rubygems.org'
gem 'rails', '>= 6.1.0'
② Gemfile.lock
Gemfile.lockの中身は空でOKです。
③ Dockerfile
FROM ruby:3.0.1

RUN curl -sS https://dl.yarnpkg.com/debian/pubkey.gpg | apt-key add - && \
    echo "deb https://dl.yarnpkg.com/debian/ stable main" | tee /etc/apt/sources.list.d/yarn.list
# yarnをインストールするための準備

RUN apt-get update -qq && \
    apt-get install -y build-essential \
                       libpq-dev \
                       nodejs \
                       default-mysql-client \
                       yarn \ # yarnをインストール
                       vim

RUN mkdir /myapp

WORKDIR /myapp

COPY Gemfile /myapp/Gemfile
COPY Gemfile.lock /myapp/Gemfile.lock

RUN bundle install

COPY . /myapp
Rails6でwebpackerが搭載され、yarnのインストールが必要になりました。
④ docker-compose.yml
version: '3'

services:
  db:
    image: mysql:5.7
    environment:
      MYSQL_USER: user
      MYSQL_ROOT_PASSWORD: pass
    ports:
      - "3306:3306"
    volumes:
      - mysql_data:/var/lib/mysql

  web:
    build: .
    command: bash -c "rm -f tmp/pids/server.pid && bundle exec rails s -p 3000 -b '0.0.0.0'"
    volumes:
      - .:/myapp
    ports:
      - 3000:3000
    depends_on:
      - db

volumes:
  mysql_data:
rails new を実行
$ docker-compose run web rails new . --force --database=mysql
アプリケーションの作業ディレクリに移動し、上記のdocker-compose runコマンドでrails newを実行します。
( Rails5の時は--skip-bundleのオプションをつけて、bundle installをスキップしていましたが、今回はwebpackerのインストールをしなければならないためbundle installはスキップしません。 )
docker-compose build を実行
$ docker-compose build
rails new で Gemfileが更新されたので、bundle installするため、docker-compose buildを実行します。
database.yml を編集
# MySQL. Versions 5.1.10 and up are supported.
#
# Install the MySQL driver
#   gem install mysql2
#
# Ensure the MySQL gem is defined in your Gemfile
#   gem 'mysql2'
#
# And be sure to use new-style password hashing:
#   https://dev.mysql.com/doc/refman/5.7/en/password-hashing.html
#
default: &default
  adapter: mysql2
  encoding: utf8
  pool: <%= ENV.fetch("RAILS_MAX_THREADS") { 5 } %>
  username: root
# 以下2行を編集
  password: pass
  host: db

development:
  <<: *default
  database: myapp_development

# Warning: The database defined as "test" will be erased and
# re-generated from your development database when you run "rake".
# Do not set this db to the same as development or production.
test:
  <<: *default
  database: myapp_test

# As with config/secrets.yml, you never want to store sensitive information,
# like your database password, in your source code. If your source code is
# ever seen by anyone, they now have access to your database.
#
# Instead, provide the password as a unix environment variable when you boot
# the app. Read http://guides.rubyonrails.org/configuring.html#configuring-a-database
# for a full rundown on how to provide these environment variables in a
# production deployment.
#
# On Heroku and other platform providers, you may have a full connection URL
# available as an environment variable. For example:
#
#   DATABASE_URL="mysql2://myuser:mypass@localhost/somedatabase"
#
# You can use this database configuration with:
#
#   production:
#     url: <%= ENV['DATABASE_URL'] %>
#
production:
  <<: *default
  database: myapp_production
  username: myapp
  password: <%= ENV['MYAPP_DATABASE_PASSWORD'] %>
password: と host:を編集します。
password: には docker-compose.yml の MYSQL_ROOT_PASSWORD:に書いたパスワードを記載します。
host: には dbと記載します。
docker-compose up -d でコンテナを起動
$ docker-compose up -d
データベースを作成
以下のコマンドでデータベースを作成します。
$ docker-compose exec web rails db:create
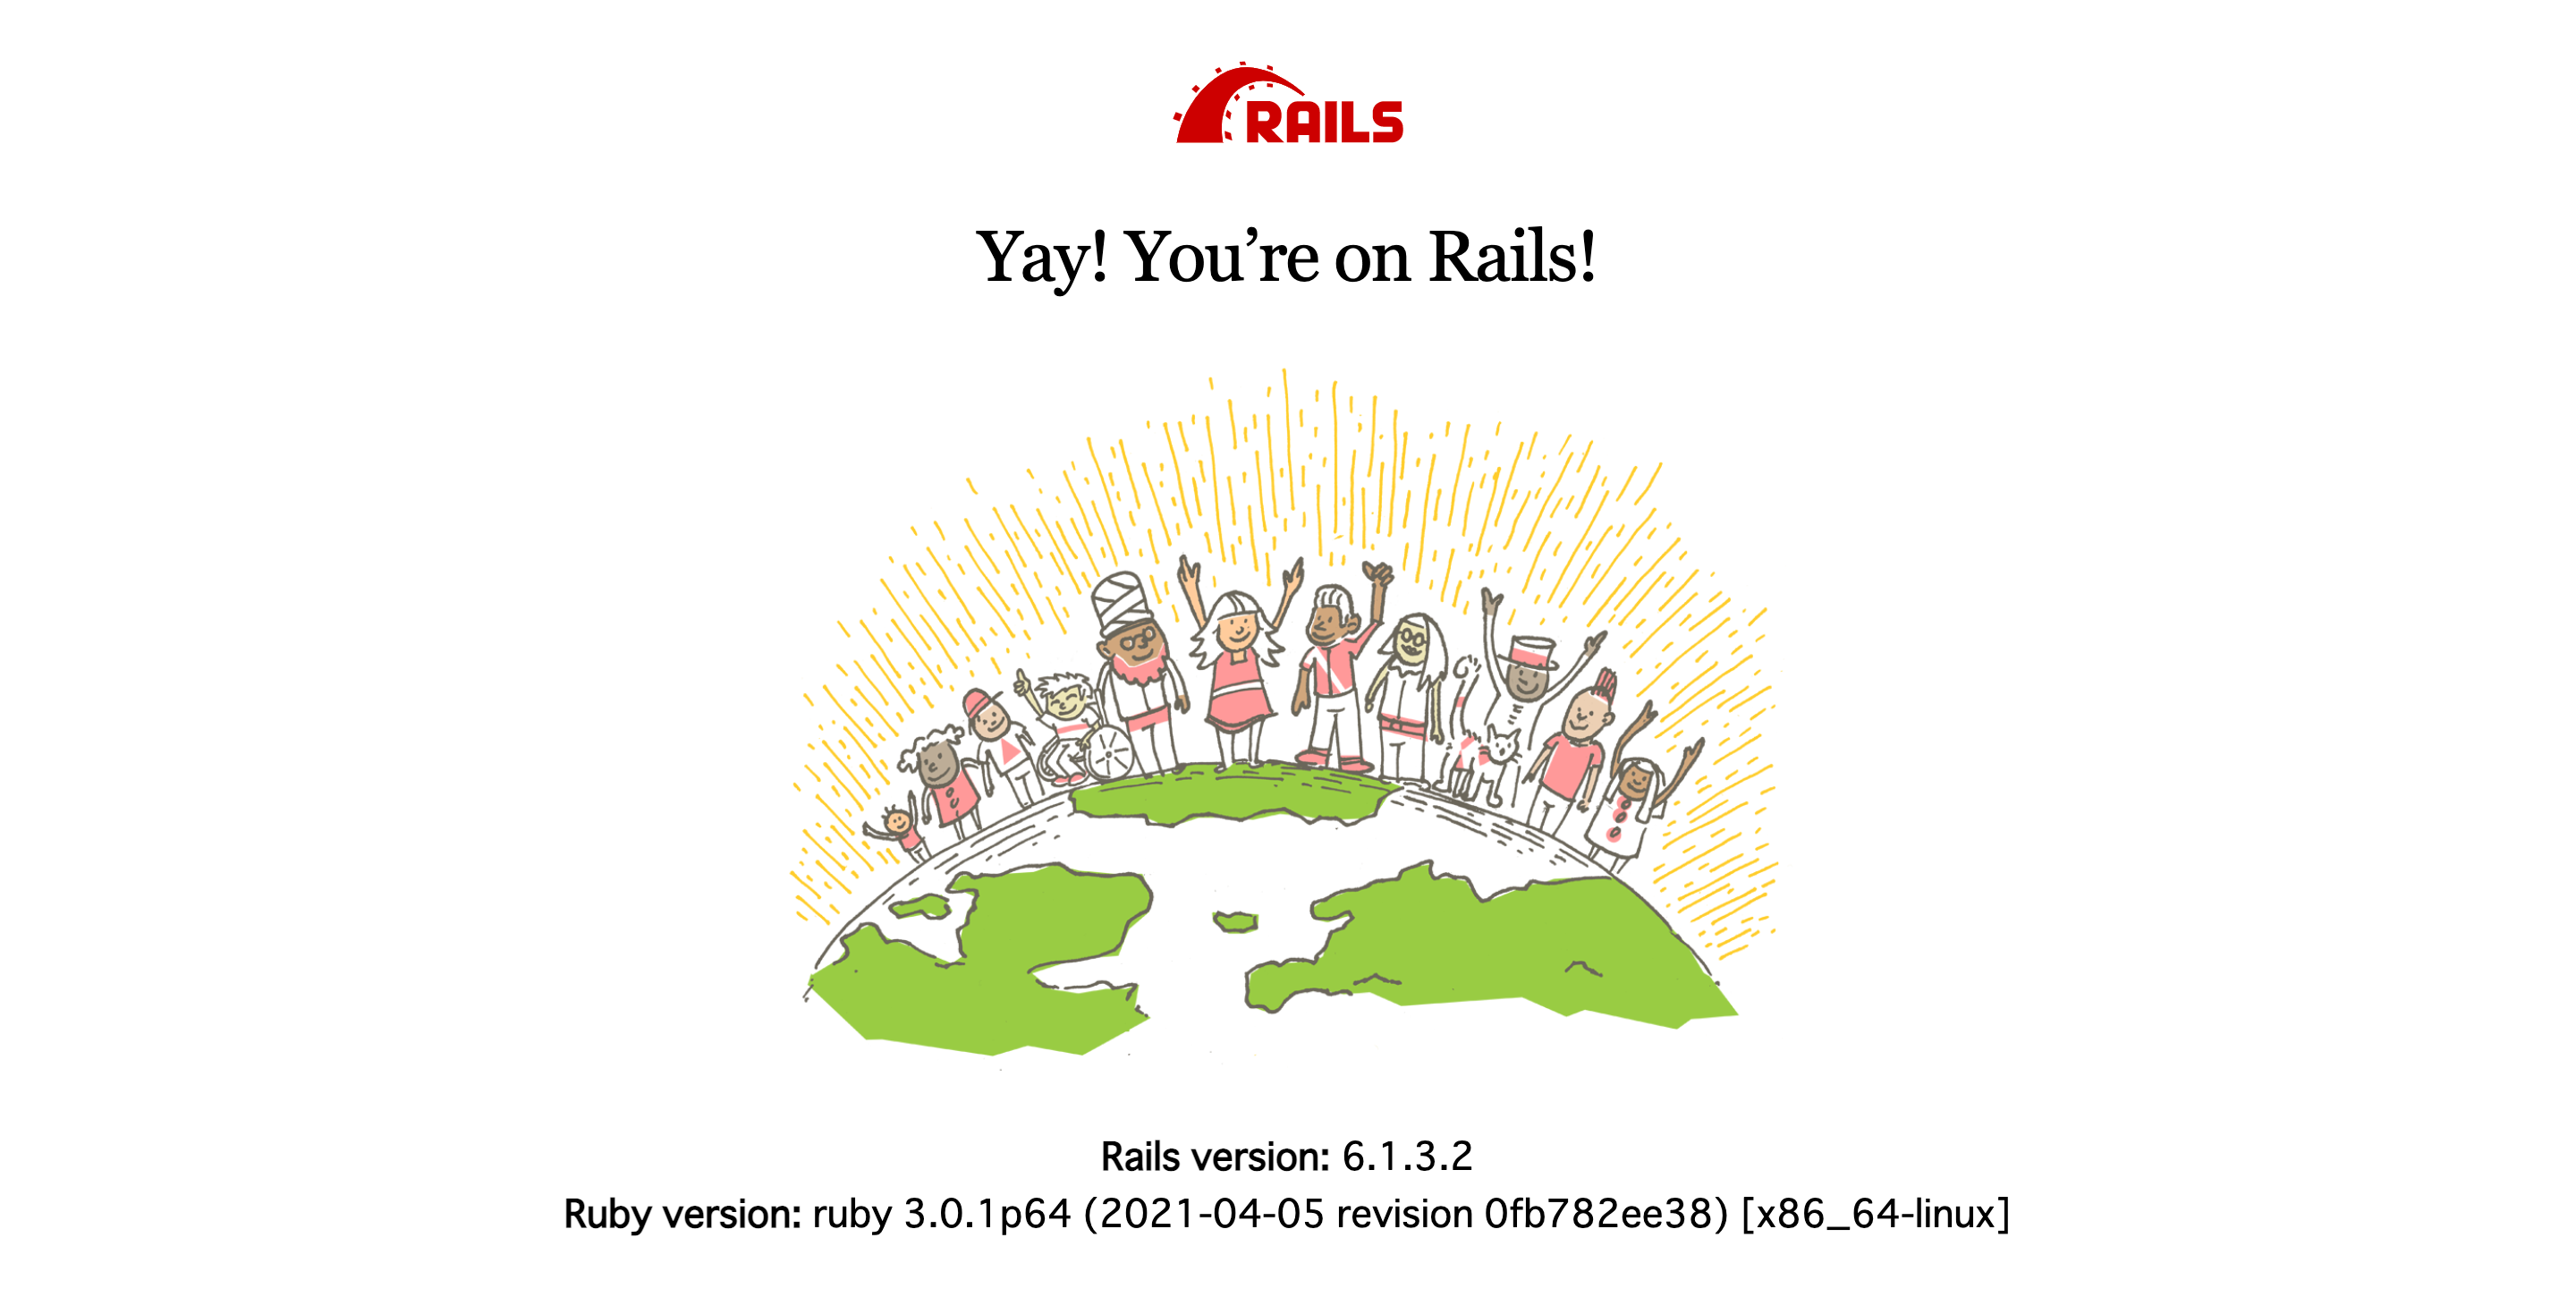
localhost:3000にアクセス
localhost:3000にアクセスし、以下のページが表示されれば DockerによるRails6の環境構築 は完了です。
その後の開発の仕方は こちら を参考にしてください。