作業メモとして共有したいと思います。
スクリーンショットは本日(2017/10/09)時点のものですのでご留意ください。
(古くなってもイメージは付きやすいかと思うので貼っておきます)
DigitalOceanの概要やアカウントのセットアップについては触れません。
ssh鍵の生成・登録
DigitalOceanにssh鍵を登録します。
すでに鍵があるので今回はそれを利用します。
ssh鍵がない場合にはssh-keygen -t rsaで作成すると良いでしょう。
アカウントの Settings > Security のページまで行くと SSH keys という設定があります。
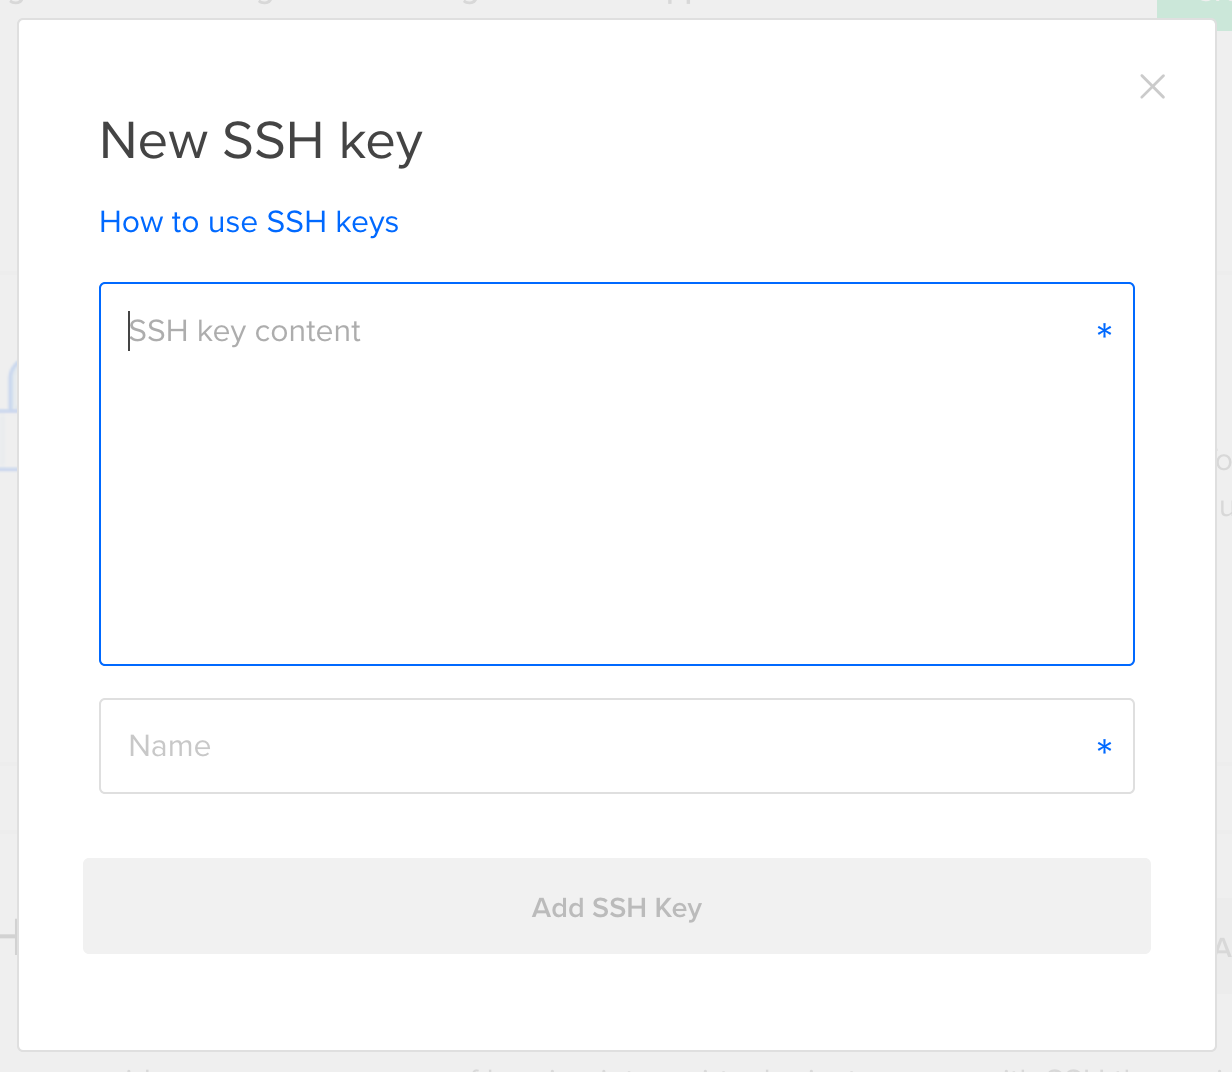
「Add SSH Key」というボタンをクリックして登録します。
公開鍵の内容をクリップボードにコピーし、上部のテキストボックスに貼り付けます。
$ cat ~/.ssh/id_rsa.pub | pbcopy
Nameの方は分かりやすい名前にしておけば良いと思います。
(今回は、xxx's Mac Book Proといったような命名にしておきました)
以下のように無事追加されたかと思います。
Dropletの作成
「Create Droplet」から作成します。
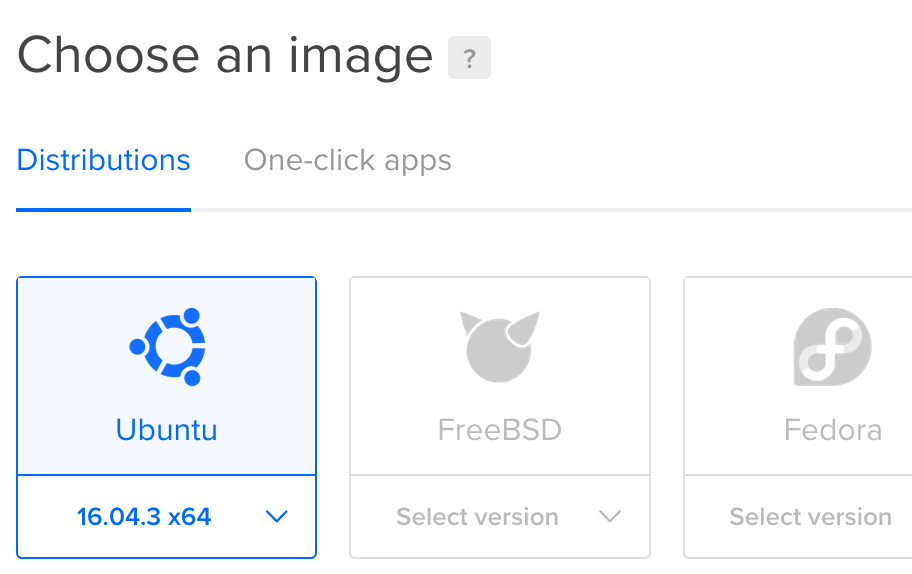
Distributions
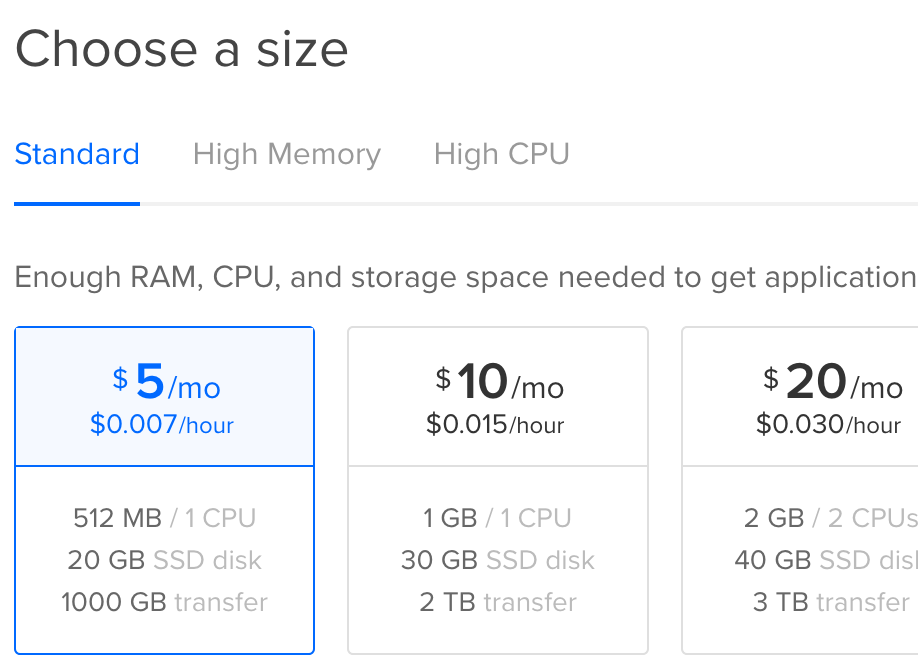
Choose a size
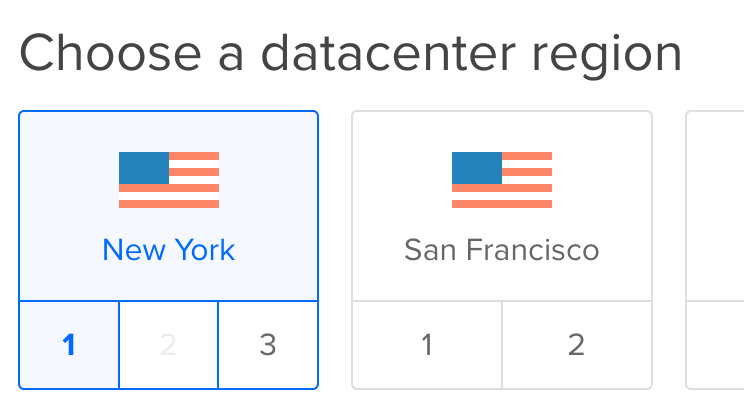
Choose a datacenter region
リージョンはあまりこだわりはないので、New York にしてみました。
(できるだけ利用者と近い地理の場所を選択するのがセオリーでしょう)
Add your SSH keys
作成
Dropletの数やホスト名、その他のオプションはそのままにして作成します。

ssh接続
IPアドレスの確認
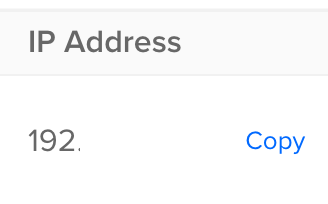
Dropletsの「IP Address」の欄にフォーカスを当てると「Copy」と表示されるので、クリックしてIPアドレヅをコピーします。
接続
(現時点では)デフォルトでrootというユーザでssh接続出来るようになっているようなので、ターミナルから接続します。
$ ssh root@<IPアドレス>
最初の接続なので警告が出ますが、yesと入力します。
The authenticity of host '<IPアドレス> (<IPアドレス>)' can't be established.
ECDSA key fingerprint is SHA256:nYkqWlok1j+dhet5t6YdH/aXspvKTL8Mo1A8u1+EsAg.
Are you sure you want to continue connecting (yes/no)? yes
無事にrootでログインできたかと思います。
Warning: Permanently added '<IPアドレス>' (ECDSA) to the list of known hosts.
Welcome to Ubuntu 16.04.3 LTS (GNU/Linux 4.4.0-93-generic x86_64)

 * Documentation:  https://help.ubuntu.com
 * Management:     https://landscape.canonical.com
 * Support:        https://ubuntu.com/advantage

  Get cloud support with Ubuntu Advantage Cloud Guest:
    http://www.ubuntu.com/business/services/cloud

0 packages can be updated.
0 updates are security updates.


The programs included with the Ubuntu system are free software;
the exact distribution terms for each program are described in the
individual files in /usr/share/doc/*/copyright.

Ubuntu comes with ABSOLUTELY NO WARRANTY, to the extent permitted by
applicable law.

root@ubuntu-512mb-nyc1-01:~#
作業ユーザ作成
このままでも作業は出来ますが、rootユーザでいろいろやるのは良くないので一般ユーザを作成します。
作成
adduserで作成します。
途中パスワードなど聞かれるので適当な値を入力しておきます。
# adduser <ユーザ名>
suでユーザ切り替えが出来ればOKです。
# su - <ユーザ名>
$ <ユーザ名>@ubuntu-512mb-nyc1-01:~$
authorized_keys への登録
追加したユーザもssh鍵認証でアクセス出来るように、authorized_keysへ公開鍵を書き込みます。
まずは~/.sshディレクトリを作成し、パーミッションを設定します。
$ mkdir ~/.ssh
$ chmod 700 ~/.ssh
次にローカルの公開鍵をコピーします。
$ cat ~/.ssh/id_rsa.pub | pbcopy
authorized_keysへ書き込みます。
viエディタでファイルを作成・開いて、ペーストします。
$ vi ~/.ssh/authorized_keys
最後にパーミッションを設定して終了です。
$ chmod 600 ~/.ssh/authorized_keys
ssh接続
設定がうまくいったかローカルからssh接続を試みます。
$ ssh <ユーザ名>@<IPアドレス>
Welcome to Ubuntu 16.04.3 LTS (GNU/Linux 4.4.0-93-generic x86_64)

 * Documentation:  https://help.ubuntu.com
 * Management:     https://landscape.canonical.com
 * Support:        https://ubuntu.com/advantage

  Get cloud support with Ubuntu Advantage Cloud Guest:
    http://www.ubuntu.com/business/services/cloud

0 packages can be updated.
0 updates are security updates.


The programs included with the Ubuntu system are free software;
the exact distribution terms for each program are described in the
individual files in /usr/share/doc/*/copyright.

Ubuntu comes with ABSOLUTELY NO WARRANTY, to the extent permitted by
applicable law.

<ユーザ名>@ubuntu-512mb-nyc1-01:~$
無事に接続することが出来ました。
最後に
そこまで大した作業ではないのですが、どこかにまとまってたら嬉しかったな、と思って記事にしてみました。もちろん自分の覚え書きの意味も込めて。
参考
https://www.digitalocean.com/
https://www.digitalocean.com/community/tutorials/initial-server-setup-with-ubuntu-16-04

