🚀 React × GSAPで作るインタラクティブなランディングページ
この記事では、ReactとGSAPを使用して、スクロールやクリックに連動したアニメーションを実装したランディングページの作り方を解説します。
スムーズな画面切り替えや印象的なアニメーションを実現するためのコードとデザインのポイントを紹介します。
🔗 デモ: JSFiddleで確認する
🛠 使用技術
- React: コンポーネントベースのUI構築
- GSAP: スクロールアニメーション制御
- CSS: 視覚効果の記述
- レスポンシブデザイン: モバイルファーストのデザイン
- アクセシビリティ: ARIA属性やキーボードナビゲーション対応
🎯 制作意図
- Reactのコンポーネント設計を学ぶ
- GSAPのタイムライン機能を使いこなす
- スクロール連動アニメーションの実装方法を習得
- モダンなUI/UXを実現するためのベストプラクティスを学ぶ
✨ こだわりポイント
-
スムーズな画面切り替え
スクロールやクリックで自然に画面が切り替わるアニメーションを実装。 -
印象的なアニメーション
GSAPのタイムライン機能を活用し、視覚的に魅力的な演出を追加。 -
CSSによる視覚効果
グラデーションやホバーエフェクトでデザインの質を向上。 -
レスポンシブデザイン
モバイルやタブレットでも快適に閲覧できるよう最適化。
📄 HTMLの解説
<!DOCTYPE html>
<html lang="ja">
<head>
  <meta charset="UTF-8">
  <meta name="viewport" content="width=device-width, initial-scale=1.0">
  <title>東京LP - Prodouga.com</title>
  <link rel="stylesheet" href="./style.css">
</head>
<body>
  <div id="root"></div>
  <small><a href="https://prodouga.com/contact">WEB制作はプロドウガ</a></small>
  <script src='https://unpkg.com/react@18/umd/react.development.js'></script>
  <script src='https://unpkg.com/react-dom@18/umd/react-dom.development.js'></script>
  <script src='https://cdnjs.cloudflare.com/ajax/libs/gsap/3.10.4/gsap.min.js'></script>
  <script src="./script.js"></script>
</body>
</html>
ポイント
- React 18とGSAP 3.10.4を使用。
-
viewportメタタグを追加し、モバイルデバイスでの表示を最適化。 -
id="root"のdivにReactアプリケーションをマウント。
🎨 CSSの解説
@import url("https://fonts.googleapis.com/css2?family=Nunito+Sans:wght@300;400;600;700&display=swap");
@import url("https://fonts.googleapis.com/css2?family=Playfair+Display:wght@400;500;600;700&display=swap");

* {
  box-sizing: border-box;
  margin: 0;
  padding: 0;
}

body {
  font-family: "Nunito Sans", sans-serif;
  color: white;
  background: black;
  overflow: hidden;
}

header {
  position: fixed;
  top: 0;
  left: 0;
  width: 100%;
  padding: 1rem 5%;
  display: flex;
  justify-content: space-between;
  align-items: center;
  z-index: 100;
}

nav a {
  color: white;
  text-decoration: none;
  margin: 0 1rem;
  transition: color 0.3s;
}

nav a:hover {
  color: #e57373;
}

.section {
  position: fixed;
  top: 0;
  left: 0;
  width: 100%;
  height: 100%;
  visibility: hidden;
}

.background {
  position: absolute;
  top: 0;
  left: 0;
  width: 100%;
  height: 100%;
  background-size: cover;
  background-position: center;
  display: flex;
  justify-content: center;
  align-items: center;
}

h2 {
  font-size: clamp(2rem, 5vw, 4rem);
  font-family: "Playfair Display", serif;
  text-align: center;
  letter-spacing: 0.5em;
}
ポイント
- Google Fontsを使用してフォントをインポート。
-
clamp()関数でフォントサイズをレスポンシブに設定。 -
position: fixedでセクションを固定し、スクロールアニメーションを実現。
🛠 JavaScriptの解説
const App = () => {
const [currentIndex, setCurrentIndex] = React.useState(0);
const [animating, setAnimating] = React.useState(false);
React.useEffect(() => {
const sections = document.querySelectorAll(".section");
const images = document.querySelectorAll(".background");
const headings = document.querySelectorAll("h2");
const outerWrappers = document.querySelectorAll(".wrapper-outer");
const innerWrappers = document.querySelectorAll(".wrapper-inner");
gsap.set(outerWrappers, { yPercent: 100 });
gsap.set(innerWrappers, { yPercent: -100 });
const gotoSection = (index, direction) => {
if (animating) return;
setAnimating(true);
const tl = gsap.timeline({
defaults: { duration: 1.25, ease: "power1.inOut" },
onComplete: () => setAnimating(false),
});
if (currentIndex >= 0) {
gsap.set(sections[currentIndex], { zIndex: 0 });
tl.to(images[currentIndex], { yPercent: -15 * direction })
.set(sections[currentIndex], { autoAlpha: 0 });
}
gsap.set(sections[index], { autoAlpha: 1, zIndex: 1 });
tl.fromTo(
[outerWrappers[index], innerWrappers[index]],
{ yPercent: (i) => (i ? -100 * direction : 100 * direction) },
{ yPercent: 0 },
0
)
.fromTo(images[index], { yPercent: 15 * direction }, { yPercent: 0 }, 0)
.fromTo(
headings[index],
{ autoAlpha: 0, yPercent: 150 * direction },
{ autoAlpha: 1, yPercent: 0, duration: 1, ease: "power2" },
0.2
);
setCurrentIndex(index);
};
window.addEventListener("wheel", (event) => {
if (event.deltaY < 0 && !animating) {
gotoSection((currentIndex - 1 + sections.length) % sections.length, -1);
} else if (event.deltaY > 0 && !animating) {
gotoSection((currentIndex + 1) % sections.length, 1);
}
});
gotoSection(0, 1);
}, [currentIndex, animating]);
return (
<div className="app-container">
<header>
<nav>
<a href="#first">東京</a>
<a href="#second">新宿</a>
<a href="#third">渋谷</a>
<a href="#fourth">銀座</a>
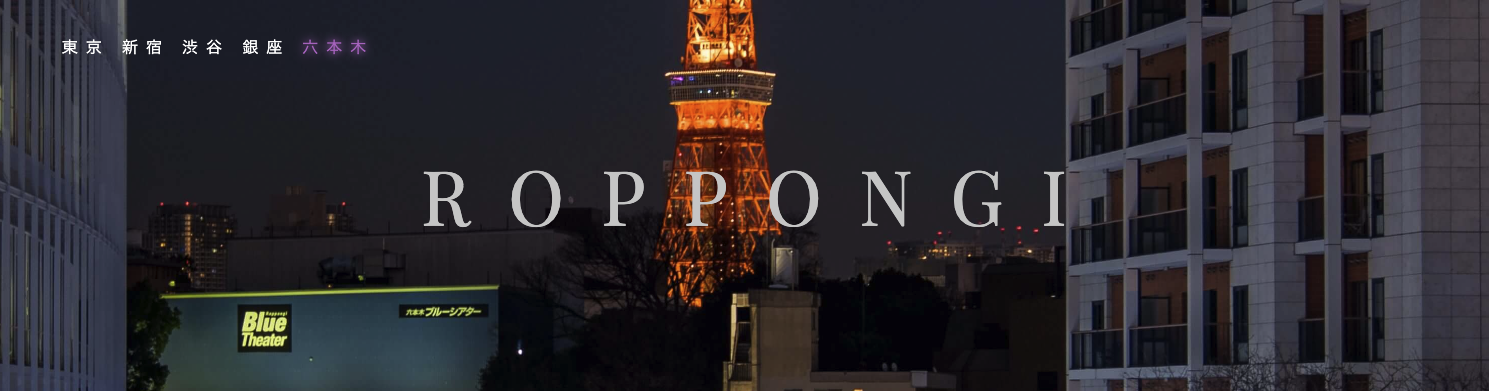
<a href="#fifth">六本木</a>
</nav>
</header>
<Section id="first" title="Tokyo" className="first" />
<Section id="second" title="Shinjuku" className="second" />
<Section id="third" title="Shibuya" className="third" />
<Section id="fourth" title="Ginza" className="fourth" />
<Section id="fifth" title="Roppongi" className="fifth" />
</div>
);
};
const Section = ({ id, title, className }) => {
return (
<section id={id} className={`section ${className}`}>
<div className="wrapper-outer">
<div className="wrapper-inner">
<div className="background">
<h2>{title}</h2>
</div>
</div>
</div>
</section>
);
};
ReactDOM.render(<App />, document.getElementById("root"));
ポイント
- React Hooksを使用して状態管理をシンプルに。
- GSAPのタイムラインでアニメーションを制御。
- スクロールイベントで画面切り替えを実装。
🎉 まとめ
この記事では、ReactとGSAPを組み合わせてインタラクティブなランディングページを作成する方法を解説しました。
スクロールアニメーションやレスポンシブデザインを実装することで、ユーザーにとって魅力的な体験を提供できます。
ぜひこの作例を参考に、独自のランディングページを作成してみてください!