はじめに
QtCreatorでROS Workspaceを使用できるようにしました。
日本語版の手順説明が見当たらなかったことに加え、もう1度別PCで同じことをするので、備忘録として残しておきます。
環境
Ubuntu 22.04 ( ISO ファイル:ubuntu-22.04.4-desktop-amd64.iso )
Qt Creator 13.0.0 ( Qt online installer for Linux x64 4.8.0 から入手)
ROS 2 : Humble Hawksbill
Ubuntu 22.04
ISO ファイル(ubuntu-22.04.4-desktop-amd64.iso)は下記サイトから入手できます。
(VMware を使うなどして、)仮想環境を作成しても良いですし、不要な PC の OS を Ubuntu に移行しても良いです。仮想環境を作る方が簡単だとは思います。
ROS 2 (Humble Hawksbill)
ROS 2 のインストールについては公式のページを参照してください。
公式ページに書いてあるコマンドを順に実行するだけで大丈夫です。
Qt Creator
ここからオンラインインストーラーをダウンロードできます。
アカウントを持っていない方は作成してください。
Qt online installer for Linux x64 4.8.0 (.run ファイル) をダウンロードします。
実行権限を与えてから実行します。
chmod +x ./<Download Path>/qt-online-installer-linux-x64-4.8.0.run
./<Download Path>/qt-online-installer-linux-x64-4.8.0.run
最低限、Qt Creator と Qt 6.x.x はインストールしてください。
なお、後からライブラリを追加することも可能です。
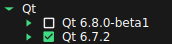
▲ Qt 6.x.x の中から1つチェックを入れる
このまま Qt Creator を起動してもこんなエラーが出るはずです。
From 6.5.0, xcb-cursor0 or libxcb-cursor0 is needed to load the Qt xcb platform plugin.
Could not load the Qt platform plugin "xcb" in "" even though it was found.
This application failed to start because no Qt platform plugin could be initialized. Reinstalling the application may fix this problem.
Available platform plugins are: wayland, vkkhrdisplay, minimalegl, eglfs, wayland-egl, linuxfb, xcb, minimal, vnc, offscreen.
libxcb-cursor0 をインストールするために以下のコマンドを実行します。
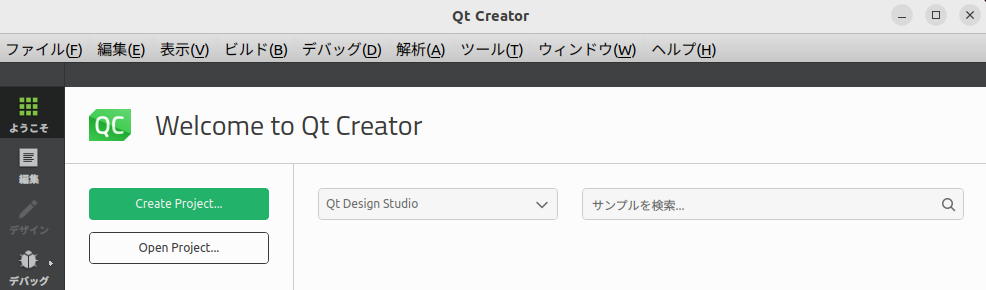
これによって Qt Creator が問題なく立ち上がるようになると思います。
sudo apt install libxcb-cursor0
1. ros_qtc_pluginの入手
ここから入手できます。
自分のQt Creatorに対応したバージョンを選択してください。
Qt Creator のバージョン 確認
Qt Creator のバージョンが分からない場合には、ヘルプ > Qt Creatorについて... から確認することができます。

Ubuntuを使用しているので、Linux-x86_64.zipをダウンロードします。
zipファイルの解凍は不要です。

2. zipファイルをpluginsディレクトリに移動する
先ほどダウンロードした.zipファイルをQtのpluginsディレクトリに移動します。
pluginsディレクトリは /Qt/Tools/QtCreator/lib/qtcreator の中にありました。

3. プラグインをインストールする
Qt Creatorを起動し、上部バーのヘルプタブから「プラグインについて」を選択します。
表示されたウィンドウ下部の「プラグインをインストールする...」を選択します。

参照から、先ほどpluginsディレクトリに移動した.zipファイルを選択します。
後は何度か「次へ」を選択するだけです。途中のLocation設定は好きにしてください。

Qt Creator を再起動したのち、rosで検索すると、ROSProjectManagerが見つかるはずです。

4. ROS Workspaceを作成する
いよいよプロジェクトを作成します。
画面左上 File > New Project を選択すると、別ウインドウが立ち上がります。
「他のプロジェクト」の中にROS Workspaceが表示されるようになっているので、これを選択します。

プロジェクト名と使用するROSディストリビューション、ビルドシステム、プロジェクトのパスを選択します。プロジェクトを置くディレクトリはあらかじめ用意しておきました。
ROS2であれば、ビルドシステムはcolcon (コルコン) です。

次へ を選択すると、git の追加ができます。ここでは省略します。
これで、Workspaceの作成が完了しました。
<your project name>.workspace というファイルが確認できると思います。
次回はトピック通信の実装を行います。