こんにちは!お母さんです。
今日もUnityを頑張っていきます。昨日は緑色の芝生のグランドが完成しました。
今日は、カメラの位置を変えて、グランドの周りに壁を作っていきます。
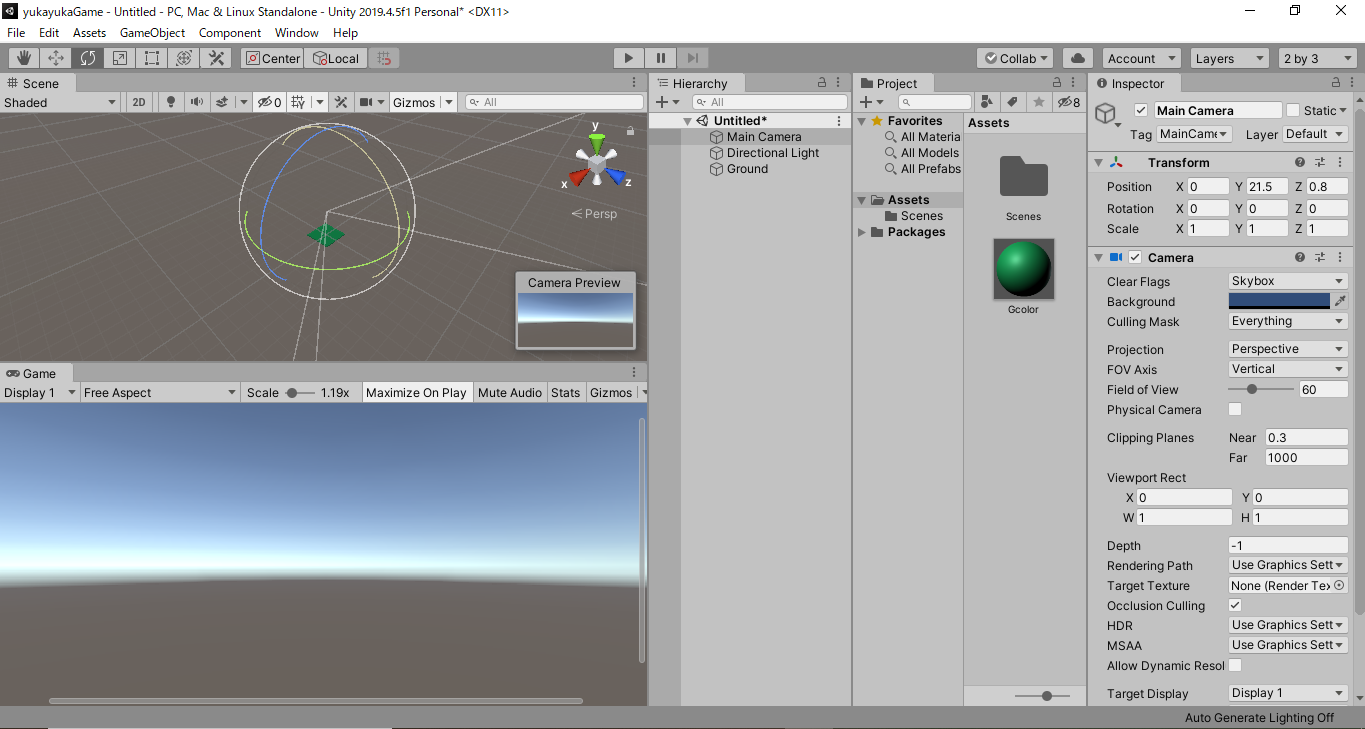
まずは、カメラの位置です。白い小さな雲のような形のものが中央左よりにありますが、これがカメラみたいです。

これをクリックする、または「hierarchy」→「Main camera」をクリックするとカメラが操作できます。左上のツールからでも操作できますが、
「Transform」に値を入力しても操作できます。
「position」のYを20に、「Rocation」のXを90にすると、
緑のグランドを真上から見た図になります。
次はこのグランドに壁を作ります。
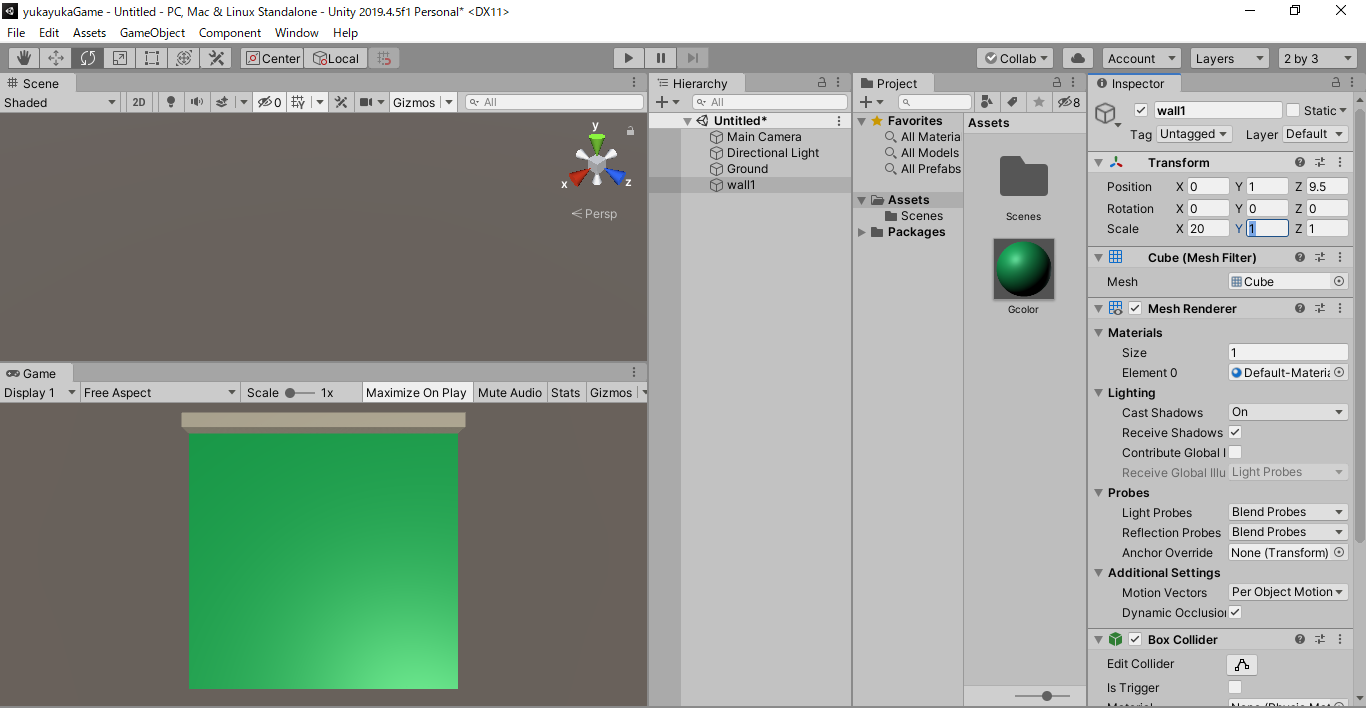
「Hierarchy」→「3Dobject」→「Cube」で、また□を作ったら、細長くします。
グランドの大きさは、20×20。
ここに、幅20、厚さ1高さ1の壁を上端に作ります。
まず一つ目(上の部分)→wall1
「position」は 0、1、9.5
「Scale」は 1、1、20
同じようにして、cubeを作り、両端の壁を作ります。
二つ目(右端)→wall2
「position」9.5、1、0
「scale」1、1、20
三つ目(左端)→wall3
「position」-9.5、1、0
「scale」 1、1、0

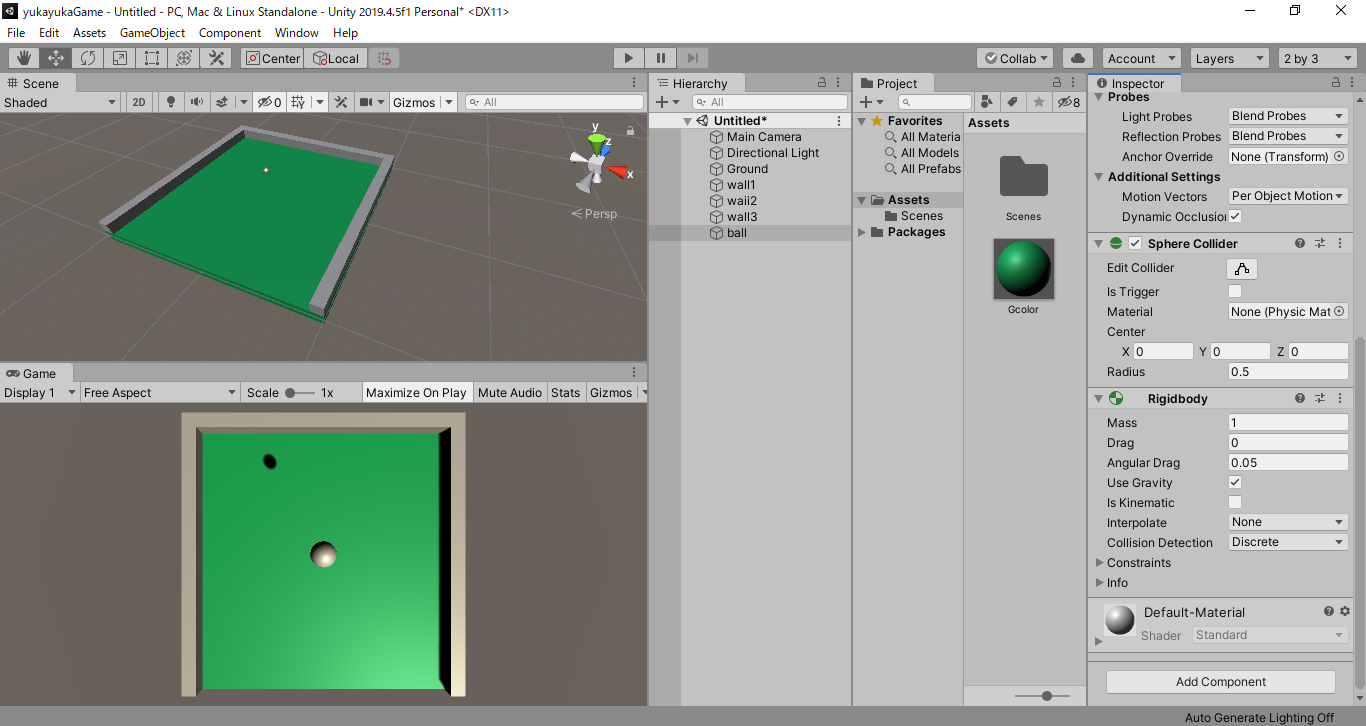
次に!このグランドの中で動かすボールを作ります。
ボールは、「Hierarchy」→「3Dobject」→「sphere」で作ることができます。
最初の状態では、床に埋まった状態なので、
「Transform」→「position」を、0、10、0に変えます。
これでボールが床の上にきました。早く動かしたいなあ!
次に、一番右下にある、「Addcomponents」をクリックして、🔍マークから、「Rigidbody」と入れて検索し、キリックします。これで、「Rigidbodyコンポ-ネンツ」が追加されました。
こうすることで、ボールが物理法則に従って動くそうです。

早速実行ボタンを押して、動きを確認してみます。実行は、上部真ん中にある▶マークです。
まだ、ボールがポーンと落ちるだけですが、動くことが分かりました。
ここまできたら、もっとボールを動かしてみたいですね!
ここからは、スクリプトを書いてボールを動かすそうです。

続きは、また明日!


