はじめに
コンポーネント分割について調べたこと,感じたことについてまとめていく。ただし実装の際は再利用性を高めるために本当に必要か考る。
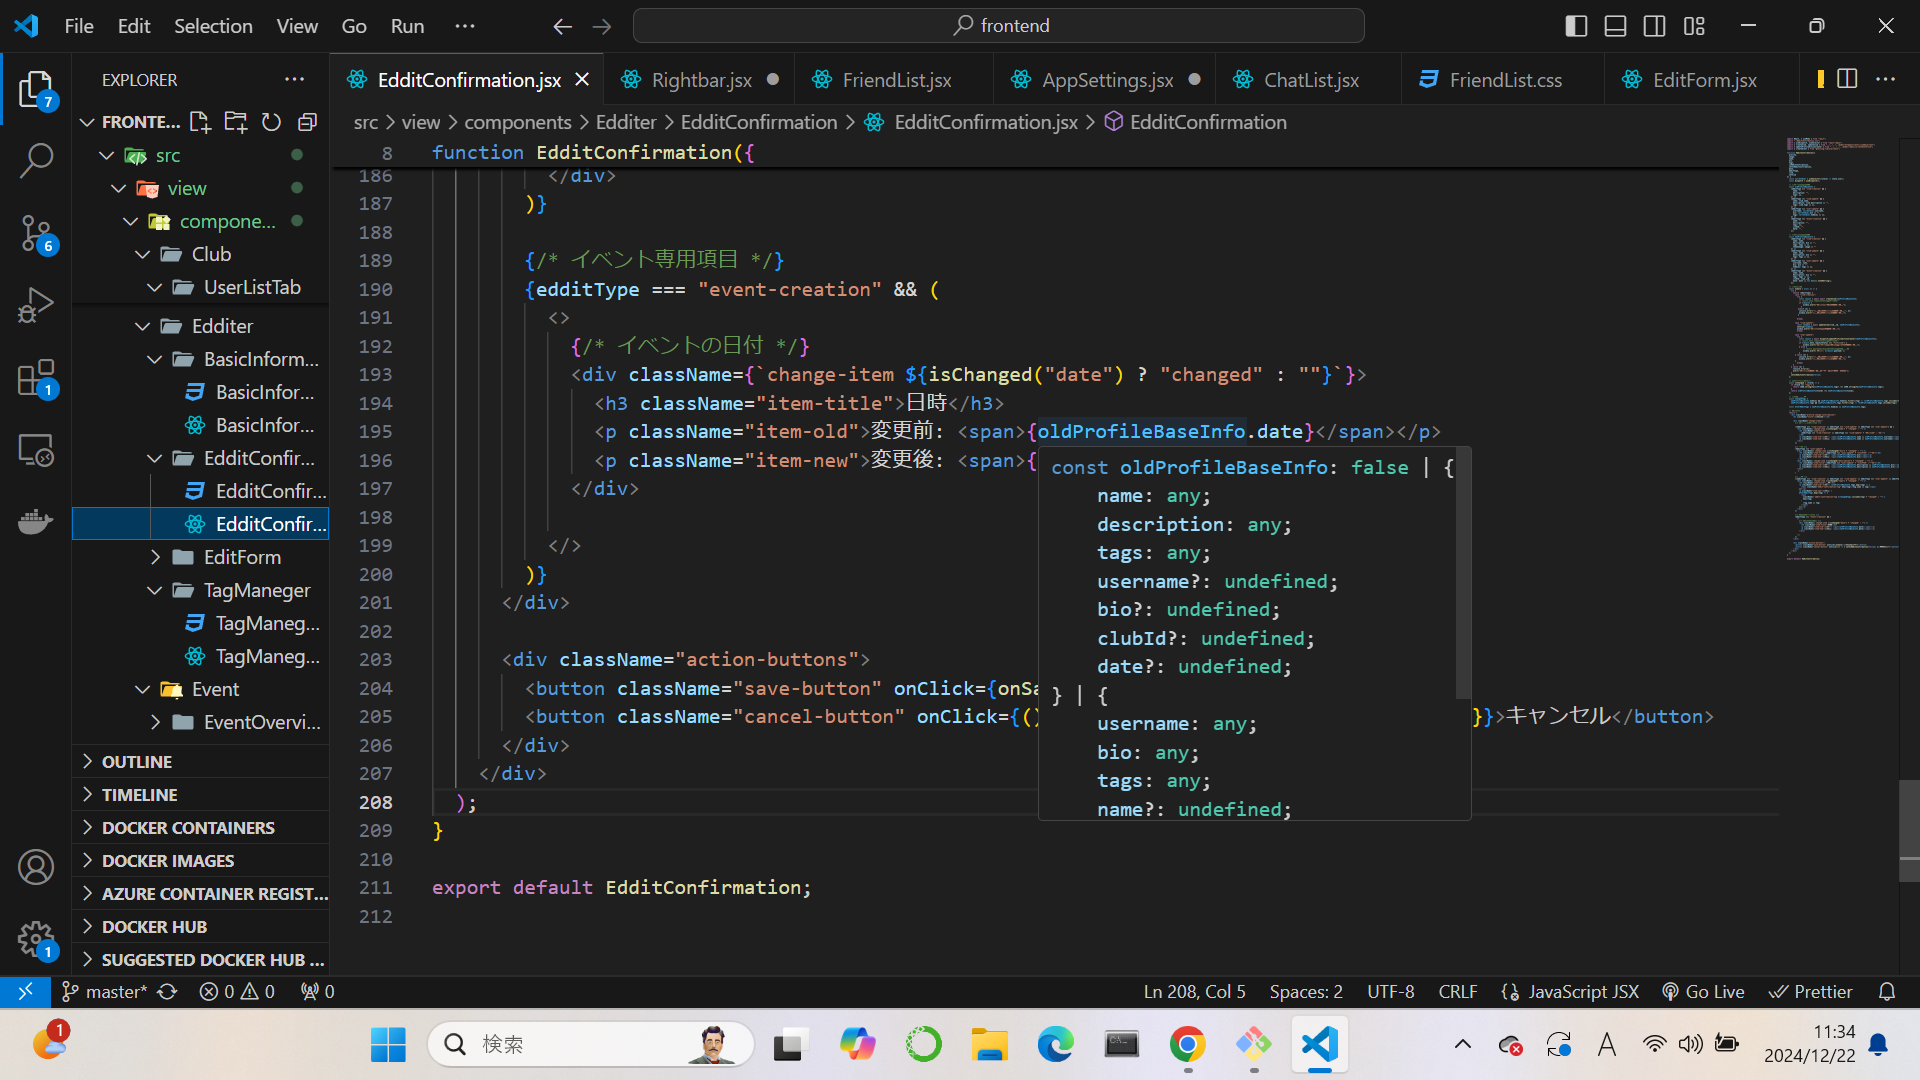
現状のUIとコードを一部抜粋
・1ファイルあたりのコード量が多すぎる
・ロジックが複雑
・どのディレクトリに何があるのか自分でないとわからない
・marginなどのスタイルがバラバラに充てられておりスタイルの調整が難しい
Atomicデザイン、その他コンポーネント分割手法についても少し学び実践する
Atomicデザイン
一度調べたうえで、presentational-containerの考え方と単一責任の原則と照らし合わせたうえでの解釈。こちらで一度実装して結果をまとめる。
Atoms
・責務:最小単位のUIデザイン
・CSS:色やフォントサイズ,レイアウトに依存しないもの
・ロジック:基本的に記述しない
・状態:不要。propsで管理
Molecules
・責務:2つ以上のAtomsのグループ化。presentation
・分割の基準:organismsから逆算して単位を考えると一般的なアプリケーションに共通するコンポーネント単位であるナビゲーションバーやサイドバーなどのUI内で明確な意味を持つナビゲーションバーやサイドバーなどの次に大きなもの。
・CSS:Atomsのグループ化
・ロジック:基本的に記述しない。
・状態:自身で管理することもあるが、親からの状態に依存する場合が多い
Organisms
・分割の基準:templateでのレイアウト決定時にスタイルを充てる必要性のあるもの。position系など
・責務:明確な意味を持つヘッダーやフッターなどのUIデザイン。container
・CSS:レスポンシブ対応など
・ロジック:Moleculesのデータを操作。UI操作にかかわるロジック。
・状態:ローカルな状態を管理
Templates
・責務:ページ単位のレイアウト。presentation
・CSS:Organismsのレイアウト
・ロジック:なし
・状態:なし
Pages
・責務:単一のURLに対応。APIコール。グローバルな状態の取得。総じてデータ取得と注入。container
・CSS:なし
・ロジック:ストアからのデータの読み込み
・状態:ページ全体での状態管理
実装中に出た課題点
子コンポーネントの大きさを変更したい
指針:
Atomicdesignの強みである独立性を損なわないようにする
・OK例:
①基本的なサイズを子コンポーネントで設定して必要に応じてpropsによって明示的にサイズ調整を行う。親子間での依存が弱いままで済む。
・NG例:
①親コンポーネントのサイズからの割合で子コンポーネントの大きさを変更する。親コンポーネントごとにサイズの調整を行う必要が出てしまい不便。
moleculesとして投稿用フォームを作成した。しかし投稿一覧ページでは固定位置のプロパティを当てたい。
・OK例:
①そのページ専用のorganism内でラップ。
・NG例:
①Template直下にmoleculesを配置。templateはレイアウトのみに責任を持つべきなので投稿用フォームのロジックを記述できない。
②organismでラップ。organismからのプロップスに基づいてmoleculesで条件分岐
自身が感じたメリット
デザインの一貫性や拡張性などの一般的に言われるメリットもあるが、状態管理の指針もまとめられてよいと感じた
デメリット
コンテンツごとのディレクトリ分割が行えないのは直感的でないので面倒だと感じる
コンポーネントの分類
Presentational Component(表示コンポーネント):
役割:見た目を担当。ロジックをもたない。
const Button = ({ label, onClick }) => {
  return <button onClick={onClick}>{label}</button>;
};
Container Component(ロジック管理コンポーネント)
役割:状態管理、ロジックを担当
import { useState, useEffect } from "react";
import UserList from "./UserList";

const UserListContainer = () => {
  const [users, setUsers] = useState([]);

  useEffect(() => {
    fetch("https://api.example.com/users")
      .then((response) => response.json())
      .then((data) => setUsers(data));
  }, []);

  return <UserList users={users} />;
};
単一責任の原則
各コンポーネントが単一の機能を実現する原則。
ロジックの単純化によって可読性、保守性の向上につながる。テストがしやすい。
機能による分割。
自分のアプリ作成において:使うmoleculeごとのatom内で条件分岐をしていてめんどくさいと感じていたので、最初は多少手間でもしっかり分割すべきだと学べた。
・悪い例:UI表示とデータ取得の二つの責務を持っている
import React, { useEffect, useState } from "react";

const UserProfile = () => {
  const [user, setUser] = useState(null);

  // データ取得のロジック
  useEffect(() => {
    fetch("/api/user")
      .then((res) => res.json())
      .then(setUser);
  }, []);

  return (
    <div>
      {user ? (
        <div>
          <h2>{user.name}</h2>
          <p>{user.bio}</p>
        </div>
      ) : (
        <p>Loading...</p>
      )}
    </div>
  );
};

export default UserProfile;
・いい例:コンテナ(とデータ取得ロジック)、プレゼンテーションが分離されている。
import { useEffect, useState } from "react";

const useUserData = () => {
  const [user, setUser] = useState(null);

  useEffect(() => {
    fetch("/api/user")
      .then((res) => res.json())
      .then(setUser);
  }, []);

  return user;
};
const UserProfile = ({ user }) => {
  if (!user) return <p>Loading...</p>;

  return (
    <div>
      <h2>{user.name}</h2>
      <p>{user.bio}</p>
    </div>
  );
};
import React from "react";
import UserProfile from "./UserProfile";
import useUserData from "./useUserData";

const UserProfileContainer = () => {
  const user = useUserData();

  return <UserProfile user={user} />;
};

export default UserProfileContainer;
スタイルクローズドの原則
スタイルは大まかに「atom(子)の色やフォントサイズなどのスタイル」、「molecules(親)内でのatomの配置。つまりレイアウト」に分けられる。
ここで重要となるのが「子コンポーネントのスタイルは親コンポーネントのスタイルありきであってはならず、逆もまたしかり」ということである。わかりやすく言うと「atom間の余白を設定したいときにatomでmarginを決めるのは異なるmoleculesでの応用が利かないのでやめるべき、」ということである。
スタイルによる分割。
自分のアプリ:いろいろなところで使う画像を同じatomで一括管理していたのが非常にまずいことが分かった。
・悪い例
const Button = ({ type, label }) => {
  let style;
  if (type === "primary") {
    style = { backgroundColor: "blue", color: "white" };
  } else if (type === "danger") {
    style = { backgroundColor: "red", color: "white" };
  } else {
    style = { backgroundColor: "gray", color: "white" };
  }

  return <button style={style}>{label}</button>;
};
よい例:サイズ以外のスタイルがある程度変わる場合は別々にコンポーネントを作成
const Button = ({ label, style }) => {
  const defaultStyle = {
    padding: "10px 20px",
    border: "none",
    borderRadius: "5px",
    cursor: "pointer",
  };

  return <button style={{ ...defaultStyle, ...style }}>{label}</button>;
};

// 拡張
const PrimaryButton = ({ label }) => (
  <Button label={label} style={{ backgroundColor: "blue", color: "white" }} />
);

const DangerButton = ({ label }) => (
  <Button label={label} style={{ backgroundColor: "red", color: "white" }} />
);
・悪い例:親コンポーネントが子コンポーネントのスタイルを決定
const LoginButton = () => {
  return (
    <button
      style={{
        backgroundColor: "blue",
        color: "white",
        padding: "10px 20px",
        border: "none",
        borderRadius: "5px",
      }}
    >
      Login
    </button>
  );
};
実際のコンポーネント分割例
src/
├── assets/ # 画像、フォント、CSS などの静的リソース
│ ├── images/
│ ├── fonts/
│ └── styles/
│
├── components/ # 再利用可能なコンポーネント
│ ├── atoms/ # 最小単位のコンポーネント
│ │ ├── Button.jsx
│ │ ├── Avatar.jsx
│ │ ├── InputField.jsx
│ │ └── Text.jsx
│ │
│ ├── molecules/ # 複数のatomsを組み合わせたコンポーネント
│ │ ├── UserCard.jsx # ユーザー情報カード
│ │ ├── SearchBar.jsx # 検索バー
│ │ ├── ClubCard.jsx # クラブの情報カード
│ │ └── FriendListItem.jsx # フレンドリストのアイテム
│ │
│ ├── organisms/ # 複雑なUIブロック
│ │ ├── UserProfile.jsx # ユーザープロフィール表示
│ │ ├── ClubList.jsx # クラブ一覧表示
│ │ ├── FriendList.jsx # フレンド一覧
│ │ ├── ClubCreationForm.jsx# クラブ作成フォーム
│ │ └── Tabs.jsx # タブ切り替えコンポーネント
│ │
│ └── layout/ # ページ共通のレイアウト
│ ├── Header.jsx
│ ├── Sidebar.jsx
│ └── PageLayout.jsx
│
├── pages/ # ページごとのコンポーネント
│ ├── HomePage.jsx # ホーム画面
│ ├── ProfilePage.jsx # ユーザープロフィール画面
│ ├── ClubPage.jsx # クラブの管理・作成画面
│ └── FriendsPage.jsx # フレンド一覧画面
│
├── services/ # API通信やロジック管理
│ ├── userService.js # ユーザー関連API呼び出し
│ ├── clubService.js # クラブ関連API呼び出し
│ └── friendService.js # フレンド関連API呼び出し
│
├── hooks/ # カスタムフック
│ ├── useUserData.js # ユーザーデータ取得用
│ ├── useClubData.js # クラブデータ取得用
│ └── useFriendData.js # フレンドデータ取得用
│
├── utils/ # ユーティリティ関数
│ ├── formatDate.js # 日付フォーマット用関数
│ └── helpers.js # その他の共通関数
│
├── routes/ # ルーティング設定
│ └── AppRoutes.jsx
│
├── contexts/ # コンテキストAPI(グローバルステート)
│ ├── UserContext.jsx # ユーザーコンテキスト
│ ├── ClubContext.jsx # クラブコンテキスト
│ └── FriendContext.jsx # フレンドコンテキスト
│
├── App.jsx # ルートコンポーネント
└── index.js # エントリーポイント
調べてみたイメージ
分類の基準が難しそう


