AVPlayerで動画再生に続いて
動画再生のProgressBarで動画の1秒〜2秒ごとの静止画が並べて表示するように作ります。
参考:
https://github.com/AppsBoulevard/ABVideoRangeSlider
- Viedoから静止画をとる:AVAssetImageGenerator(asset:)
public class VideoThumbnailUtils: NSObject{

    public static func createVideoThumbnail(asset:AVAsset, targetTime: Double, scaleRate: Float)->CGImage?{
        var videoSize: CGSize?
        for track in asset.tracks {
            if track.mediaType == AVMediaType.video {
                videoSize = track.naturalSize
            }
        }
        let videoHeight = videoSize?.height ?? 0
        let videoWidth = videoSize?.width ?? 0
        var reSize: CGFloat = 0
        if videoHeight >= videoWidth {
            reSize = videoHeight * CGFloat(scaleRate)
        }else{
            reSize = videoWidth * CGFloat(scaleRate)
        }

        let assetImageGenerator = AVAssetImageGenerator(asset: asset)
        assetImageGenerator.appliesPreferredTrackTransform = true
        assetImageGenerator.maximumSize = CGSize(width: reSize, height: reSize)
        var actualTime: CMTime = CMTime.zero
        do{
            let imageRef = try assetImageGenerator.copyCGImage(at: CMTimeMakeWithSeconds(targetTime, preferredTimescale: 600), actualTime: &actualTime)
            return imageRef
        }
        catch {
            print("error")
            return nil
        }
    }
}
2. 1で取得した静止画を[UIImage]を作る
class ThumbnailsUtils: NSObject {

    var thumbnailsView = [UIImageView]()

    func updateThumbnails(view: UIView, videoURL: URL, duration: Float64) -> [UIImageView] {
        var thumbnails = [UIImage]()
        var offset: Float64 = 0
        let imageCount = thumbnailsCount

        for i in 0..<imageCount {
            var thumbnail: UIImage?
            let  asset = AVAsset(url: videoURL)
            if let imageData = VideoThumbnailUtils.createVideoThumbnail(asset: asset, targetTime: Double(offset), scaleRate: 0.3){
                thumbnail = UIImage(cgImage: imageData)
            }
            if thumbnail == nil {
                thumbnail = UIImage(systemName: "sun")
            }
            offset = Float64(i)*(duration/Float64(imageCount))
            if thumbnail != nil {
                thumbnails.append(thumbnail!)
            }
        }
        return self.thumbnailsView
    }
}
3. 2で取得した[UIImageView]をUIViewに入れる:addImagesToView
class ThumbnailsUtils: NSObject {

    var thumbnailsView = [UIImageView]()
    private var thumbnailsCount: Int = 0

    func set(thumbnailsCount count: Int)-> ThumbnailsUtils {
        self.thumbnailsCount = count
        return self
    }
///とりあえずサムネイルの数が決められる前提で実装

    private func clearThumbnails(){
        for tView in self.thumbnailsView {
            DispatchQueue.main.async {
                tView.removeFromSuperview()
            }
        }
    }

    private func perThumbnailWidth(_ inView: UIView)-> CGFloat{
        return inView.frame.size.width/CGFloat(thumbnailsCount)
    }

    private func addImagesToView(images:[UIImage], view: UIView){
        thumbnailsView.removeAll()
        let perWidth = perThumbnailWidth(view)
        var xpos: CGFloat = 0.0
        var width: CGFloat = 0.0

        for image in images {
            DispatchQueue.main.async {
                if xpos + perWidth < view.frame.size.width {
                    width = perWidth
                }else{
                    width = view.frame.size.width - xpos
                }

                let imageView = UIImageView(image: image)
                imageView.alpha = 0
                imageView.contentMode = UIView.ContentMode.scaleAspectFill
                imageView.clipsToBounds = true
                imageView.frame = CGRect(x: xpos, y: 0.0, width: width, height: view.frame.size.height)
                self.thumbnailsView.append(imageView)

                view.addSubview(imageView)
                UIView.animate(withDuration: 0.2, animations: {()->Void in
                    imageView.alpha = 1.0
                })
                view.sendSubviewToBack(imageView)
                xpos += perWidth
            }
        }
    }

    @discardableResult
    func updateThumbnails(view: UIView, videoURL: URL, duration: Float64) -> [UIImageView] {
        clearThumbnails()

        var thumbnails = [UIImage]()
        var offset: Float64 = 0
        let imageCount = thumbnailsCount

        for i in 0..<imageCount {
            var thumbnail: UIImage?
            let  asset = AVAsset(url: videoURL)
            if let imageData = VideoThumbnailUtils.createVideoThumbnail(asset: asset, targetTime: Double(offset), scaleRate: 0.3){
                thumbnail = UIImage(cgImage: imageData)
            }
            if thumbnail == nil {
                thumbnail = UIImage(systemName: "sun")
            }
            offset = Float64(i)*(duration/Float64(imageCount))
            if thumbnail != nil {
                thumbnails.append(thumbnail!)
            }

        }
        addImagesToView(images: thumbnails, view: view)
        return self.thumbnailsView
    }
}
4. ViewController側で使用
    func loadThubnails(){
        let thumbManager = ThumbnailsUtils().set(thumbnailsCount: 8)
        let duration = ThumbnailsUtils.videoDuration(url: url!)
        thumbManager.updateThumbnails(view: thumbnailsView, videoURL: url!, duration: duration)
    }
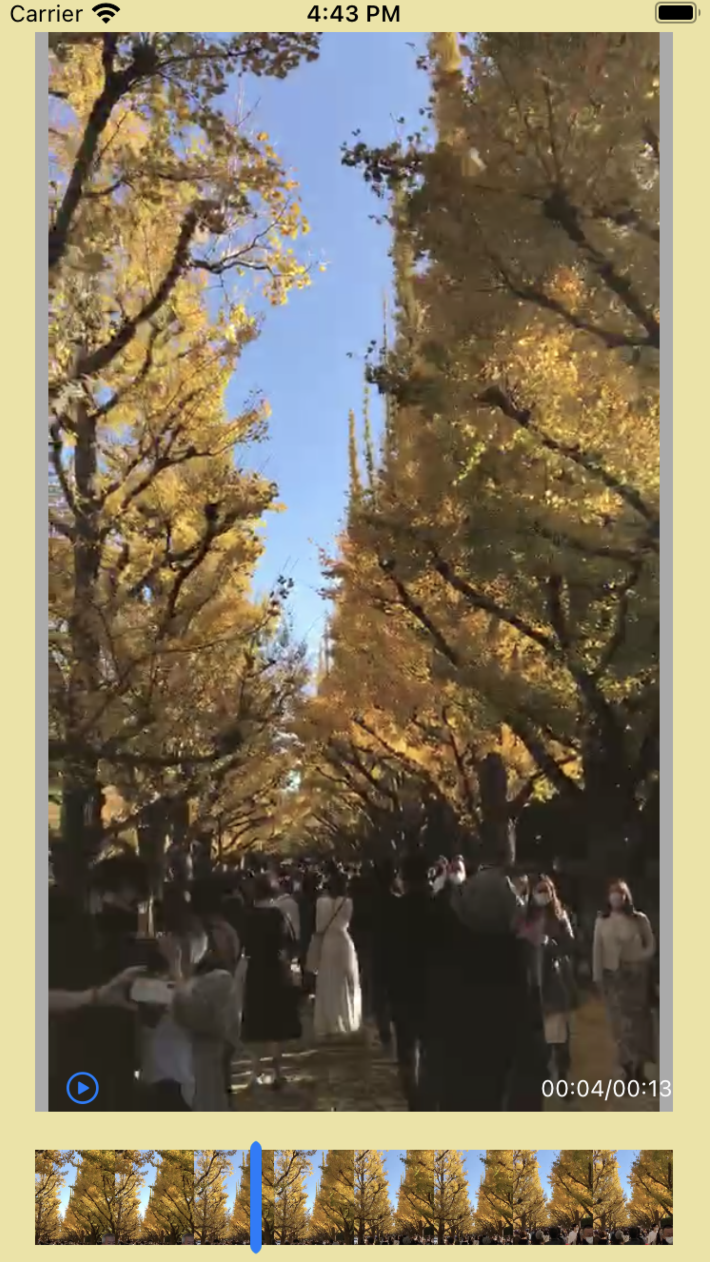
これで表示するようになりました。

5. ProgressBarをサムネイルBarと合併、サムネイルBarでGestureを認識させる
合併した後はこんな感じです。
6. 長い動画の静止画サムネイルを表示する場合、画面の幅では短すぎることが想定できます。
静止画サムネイルが左右にスクロールできるようにしたい
UIViewをScrollView(高さ固定)にして、ScrollViewの子Viewの幅も忘れずに設定すればスクロールできます。ただし、動画をTrimしたりするためにさらにProgressBarでGestureRecognizerを追加する場合、ScrollViewのGestrueRecognizerとProgressBarのGestureRecgnizer(タップによって再生位置変更、Trimなど)が競合してスクロールできなくなるこが発生してしまいます。
ここではUIGestureRecognizerDelegateを使用します。
参考:https://qiita.com/ruwatana/items/16997b1b416512c20fb6
UIGestureRecognizerDelegateは主に使用するのは:
1.Gestureを同時認別できるようにするメソッド
2.Gesture認別開始メソッド
3.自分側のGestureが失敗することを許可するメソッド
4.相手側のGestureの失敗を求めるメソッド
*3と4は自分側が許可するかつ相手側が求める前提で制御できます。
上のように競合する時には、相手側と自分側で両方とも同Delegateを継承した上で、
必要に応じてそれぞれのメソッドを書く必要があります。次回にまたメモしておく。