はじめに
Storyboard や XIB を使わずに View を作成し、Auto Layout をコードで設定する方法。
1. プロジェクトの準備
まず、新しい iOS アプリプロジェクトを作成し、Main.storyboard を削除する。
そして SceneDelegate.swift でエントリーポイントを設定。
SceneDelegate.swift
import UIKit

class SceneDelegate: UIResponder, UIWindowSceneDelegate {
    var window: UIWindow?

    func scene(
        _ scene: UIScene,
        willConnectTo session: UISceneSession,
        options connectionOptions: UIScene.ConnectionOptions
    ) {
        guard let windowScene = (scene as? UIWindowScene) else { return }

        window = UIWindow(windowScene: windowScene)
        //最初に表示するViewControllerを設定
        window?.rootViewController = ViewController()
        window?.makeKeyAndVisible()
    }
}
2. シンプルな View の作成
次に、ViewController.swift を編集して、コードで UI を実装する。
ViewController.swift
import UIKit

class ViewController: UIViewController {
    // ラベルを作成
    private let label: UILabel = {
        let label = UILabel()
        label.text = "Hello, Swift UI!"
        label.textAlignment = .center
        label.font = UIFont.systemFont(ofSize: 24, weight: .bold)
         // Auto Layout を使用するために false にする(※)
        label.translatesAutoresizingMaskIntoConstraints = false
        return label
    }()

    override func viewDidLoad() {
        super.viewDidLoad()
        view.backgroundColor = .white
        setupUI()
    }

    private func setupUI() {
        // ラベルを画面のビューに追加
        view.addSubview(label)

        // Auto Layout の制約を設定(画面の中央に配置)
        NSLayoutConstraint.activate([
            label.centerXAnchor.constraint(equalTo: view.centerXAnchor),
            label.centerYAnchor.constraint(equalTo: view.centerYAnchor)
        ])
    }
}
※AutoLayoutを自分で設定(コードでUIを実装)する場合、translatesAutoresizingMaskIntoConstraintsをfalseにしないとレイアウトが競合する。
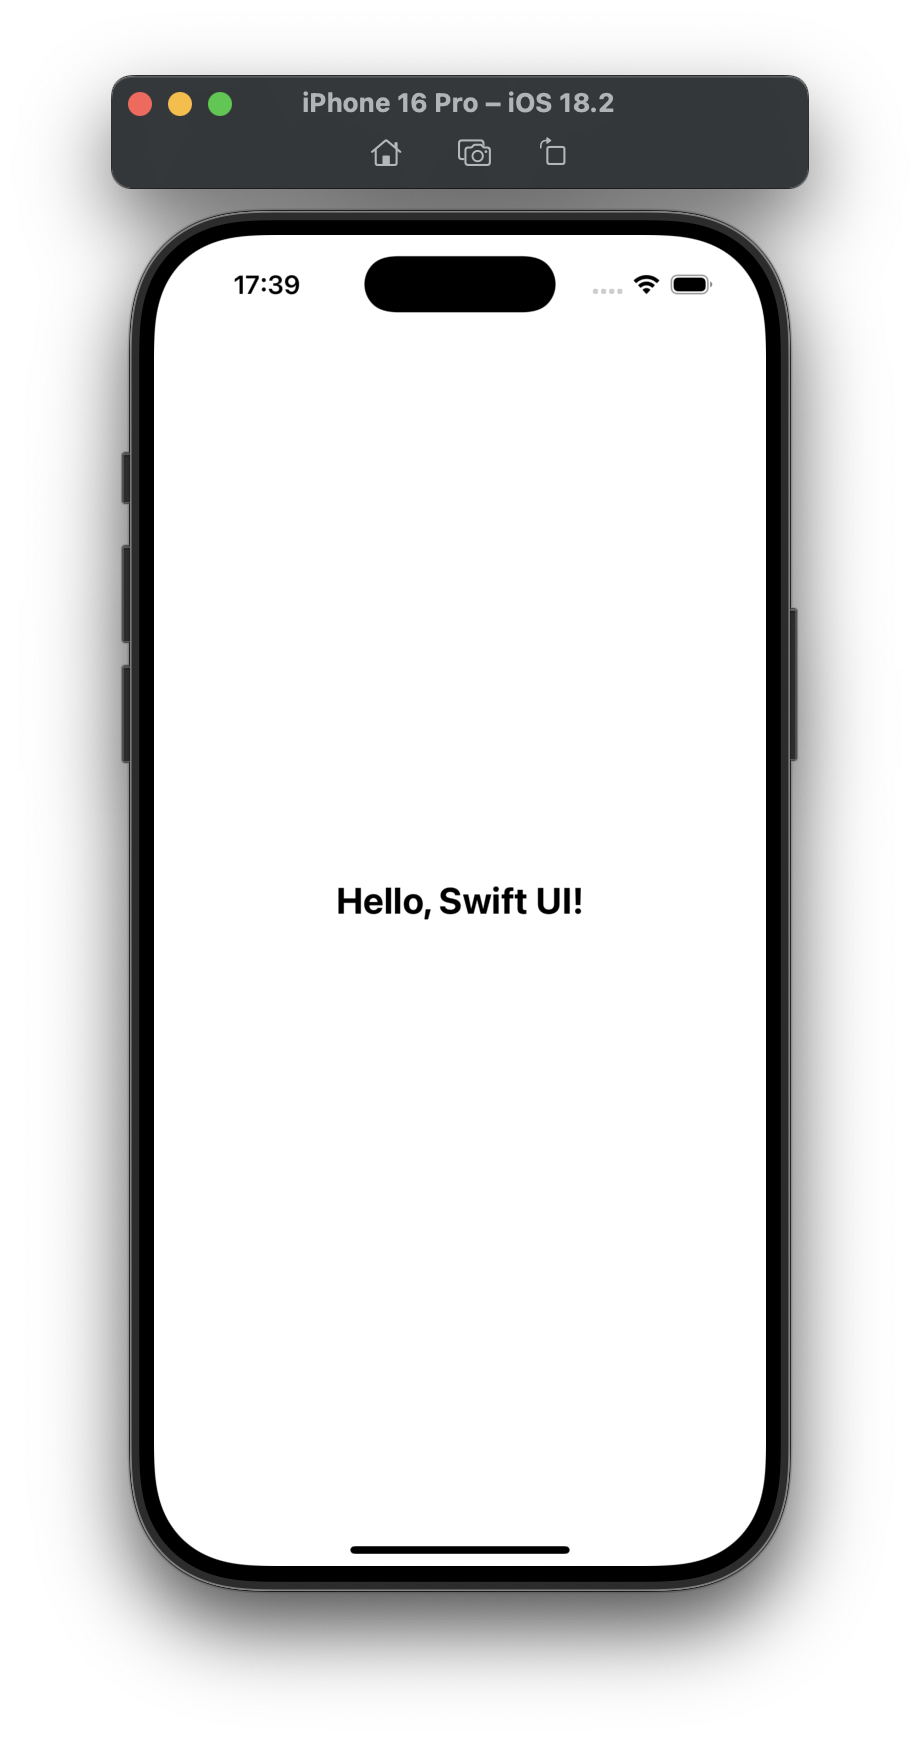
実行結果
終わり
・Storyboard を使わずに UIWindow をセットアップ
・コードで UILabel を作成
・NSLayoutConstraint で Auto Layout を設定
コードだけで UI を作成すると、管理しやすく、Git での差分管理もしやすくなる。
