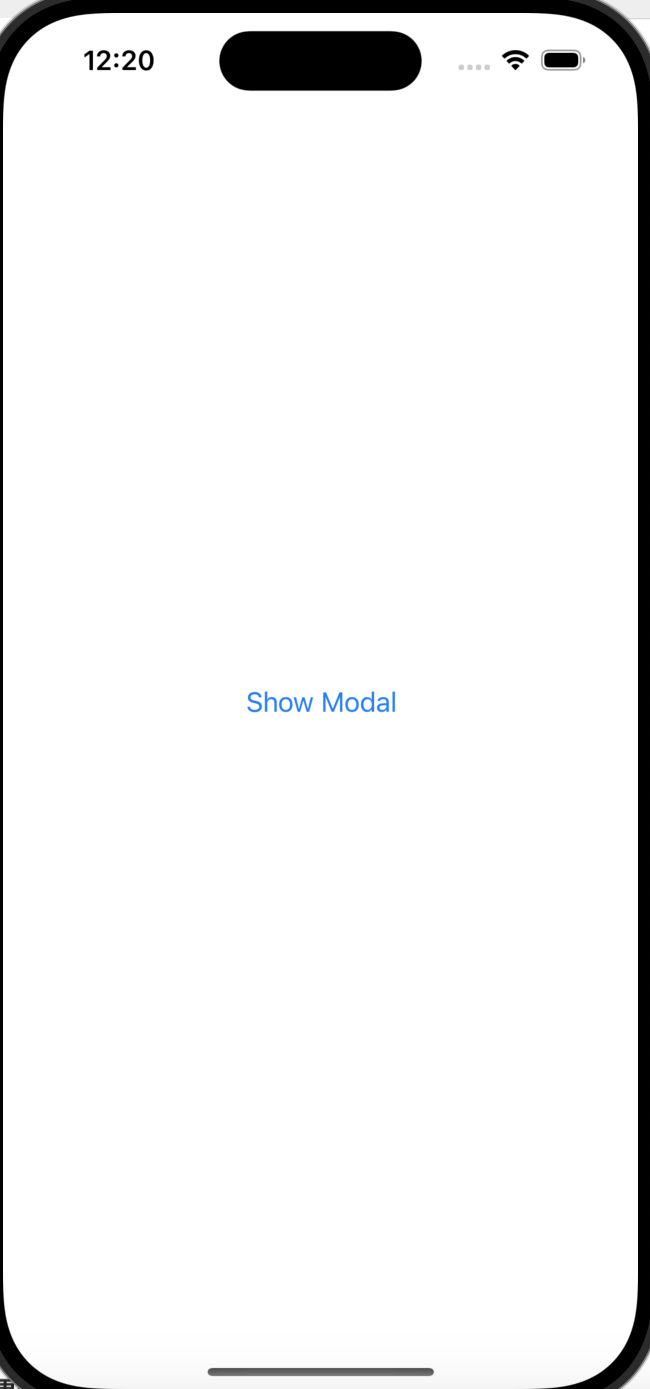

Show Modalボタンを押下すると2枚目のようにハーフモーダルが表示され、cancelボタンクリックかモーダルを下にドラッグすると1つ目の画面に戻るような処理の実装。
全体のコード
import UIKit

class ViewController: UIViewController {

    override func prepare(for segue: UIStoryboardSegue, sender: Any?) {
        let next = segue.destination
        if let sheet = next.sheetPresentationController {
            sheet.detents = [.medium()]
            sheet.largestUndimmedDetentIdentifier = .medium
            sheet.preferredCornerRadius = 40.0
            sheet.prefersGrabberVisible = true
        }
    }
    @IBAction func exit(segue: UIStoryboardSegue) {

    }
}
import UIKit
class ModalViewController: UIViewController {

}
手順
MainのViewController画面にUIButtonを設置。Show ModalとTitleを変更

UIViewControllerを追加し、UIButtonからcontrolを押しながらUIViewControllerにドラッグ。present modallyを選択し、追加したUIViewControllerの背景色をgrayカラーに。
モーダルの右上にcancelボタンをUIButtonで程よい制約で設置しておく。

New FileからCocoa Touch ClassでSubclass of: UIViewControllerに設定し、ModalViewControllerを作成。
作成後、Mainストーリーボードで追加したViewControllerのClass名をModalViewControllerに設定。

ここでViewControllerにハーフモーダルと右上のcancelボタンに対しての挙動を記述
import UIKit

class ViewController: UIViewController {

    override func prepare(for segue: UIStoryboardSegue, sender: Any?) {
        let next = segue.destination
        if let sheet = next.sheetPresentationController {
            //モーダルを画面の半分まで表示
            sheet.detents = [.medium()]
            sheet.largestUndimmedDetentIdentifier = .medium
            sheet.preferredCornerRadius = 40.0
            sheet.prefersGrabberVisible = true
        }
    }

    //cancelボタンで1つ目の画面に戻るための処理
    @IBAction func exit(segue: UIStoryboardSegue) {

    }
}
ここでcancelボタンが挙動するように、controlを押しながらドラッグでExitボタンと紐付け。
exitWithSegue:を選択。


これで実行すると、Show Modalを押下するとハーフモーダルが出現し、ドラッグとcancelボタンで1つ目の画面に戻ることができます。