学んだこと
- めちゃくちゃお手軽にアプリをデプロイできる
- やはりQuickStartからまずやってみるのが一番いい
- ハンズオンやってみた系で行こうとおもったらハンズオンの手順よりも新しくていい手順が途中で見つかって切り替えた
- お忙しい方は ここで気づいた からみてください
- 次回やってみたいこと
- データ周りいろいろ試してみたい https://docs.amplify.aws/react/build-a-backend/data/
- AI Kitやりたい https://docs.amplify.aws/react/ai/
AWS Amplifyとは
AWS Amplify には、ウェブアプリケーションやモバイルアプリの構築に必要なものがすべて揃っています。開始もスケールも簡単です。
フルスタック React アプリケーションを構築する
AWS Amplify を使用してシンプルなウェブアプリケーションを作成する
今回はこの手順に沿ってやってみたいと思います。
1.Reactアプリケーションを作成
React アプリケーションを作成し、AWS Amplify のウェブホスティングサービスを利用してそれをクラウドにデプロイします
npx create-react-app amplifyapp
cd amplifyapp
npm start
2.Githubリポジトリを初期化
https://github.com/ でリポジトリを作成する
git init
git add .
git commit -m "initial commit"
git remote add origin git@github.com:username/reponame.git<作成したリポジトリURL>
git branch -M main
git push -u origin main
3.AWS Amplifyにデプロイする
https://console.aws.amazon.com/ から[AWS Amplify] を選択し、サービスコンソールを開きます。
アプリケーションをデプロイをクリックします。
Githubを選択して次へを押すと、Githubのアカウントの連携ページが開きます。
保存してデプロイをクリックするとアプリのデプロイが実行されます。


4.コードの変更を自動的にデプロイする
コードを編集し、pushします。
import React from 'react';
import logo from './logo.svg';
import './App.css';

function App() {
  return (
    <div className="App">
      <header className="App-header">
        <img src={logo} className="App-logo" alt="logo" />
        <h1>Hello from V2</h1>
      </header>
    </div>
  );
}

export default App;
git add .
git commit -m "changes for v2"
git push origin main
変更をpushしたらデプロイが走りはじめました。


変更を簡単に反映することができました。
ローカルAmplifyアプリを初期化する
Amplify CLI をインストール、設定します。
1.Amplify CLIをインストールする
npm install -g @aws-amplify/cli
amplify configure
Follow these steps to set up access to your AWS account:

Sign in to your AWS administrator account:
https://console.aws.amazon.com/
Press Enter to continue

Specify the AWS Region
? region:  us-east-1
Follow the instructions at
https://docs.amplify.aws/cli/start/install/#configure-the-amplify-cli

to complete the user creation in the AWS console
https://console.aws.amazon.com/iamv2/home#/users/create
Press Enter to continue

Enter the access key of the newly created user:
IAMユーザーを作成する。ポリシーはAdministratorAccess-Amplifyを指定する。
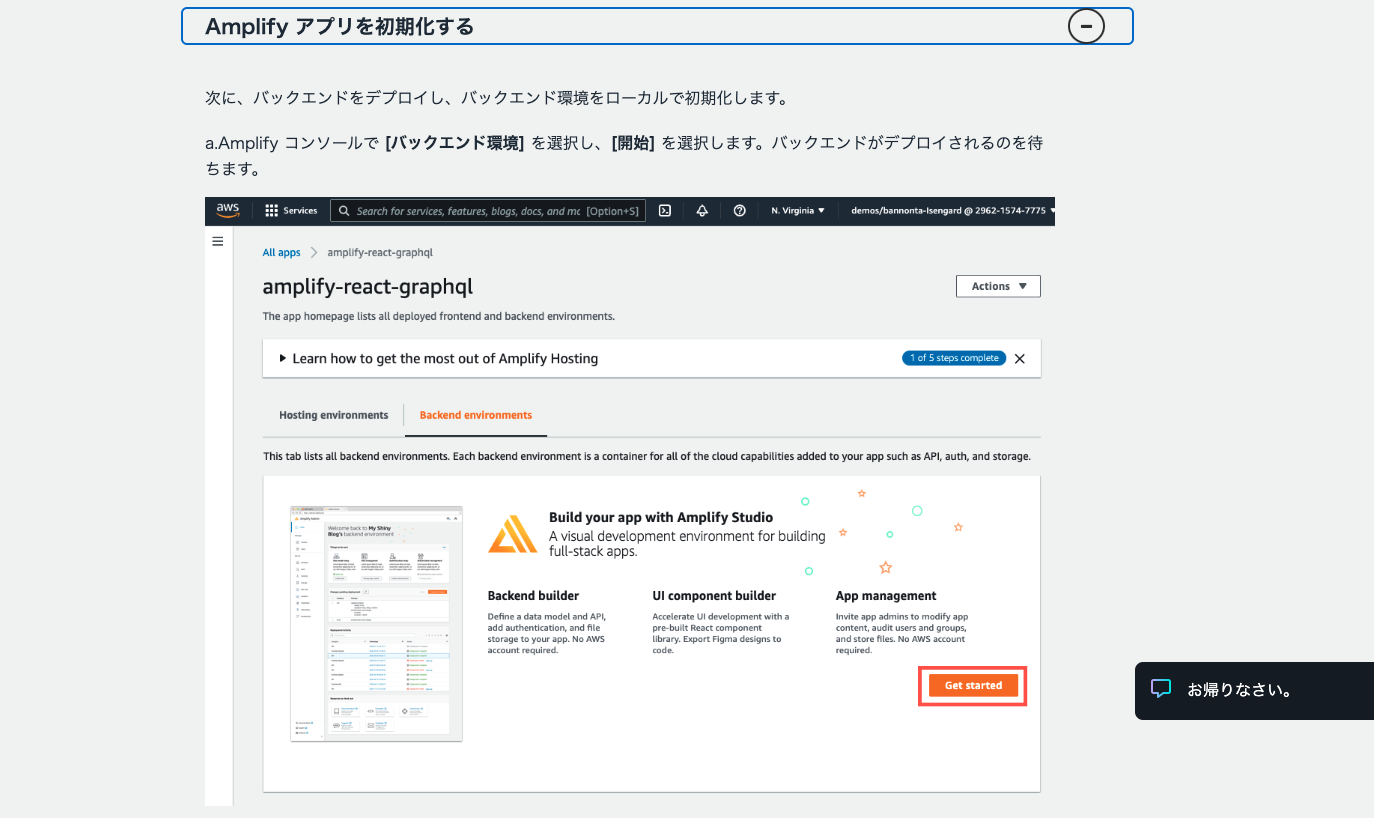
ここまでは問題なく進んだんですが、次のAmplifyアプリを初期化するのこのタブが見当たらず...
今はどういう感じでバックエンド構築するのか調べたところ、次のページが見つかりました。
Set up local AWS credentialsまではやってると思うので、Deploy cloud sandboxから実施します。
npx ampx sandbox
npm error could not determine executable to run

npm error A complete log of this run can be found in:
じ...実行できない
画面真ん中、mainのカード部分をクリックすると、次のような画面が開きます。
データのところを開いてみました。
これっぽいのでちょっとやってみます。
% npm create amplify@latest --legacy-peer-deps
Need to install the following packages:
create-amplify@1.0.6
Ok to proceed? (y) y


> amplifyapp@0.1.0 npx
> create-amplify

? Where should we create your project? .
(依存関係でinstallうまくいかなかったので --legacy-peer-depsつけました、のちに苦しみます)
% npx ampx sandbox
SSMCredentialsError: AccessDeniedException: User: arn:aws:iam:::user/amplify-dev is not authorized to perform: ssm:GetParameter on resource: arn:aws:ssm:us-east-1::parameter/cdk-bootstrap//version because no identity-based policy allows the ssm:GetParameter action
Resolution: Make sure your AWS credentials are set up correctly and have permissions to call SSM:GetParameter
なにやらアクセス権限のエラーが出てます。
作成したIAMユーザにAmazonSSMReadOnlyAccessポリシーを追加しました。
3分くらい待って反映されたので再度 npx ampx sandbox を実行...
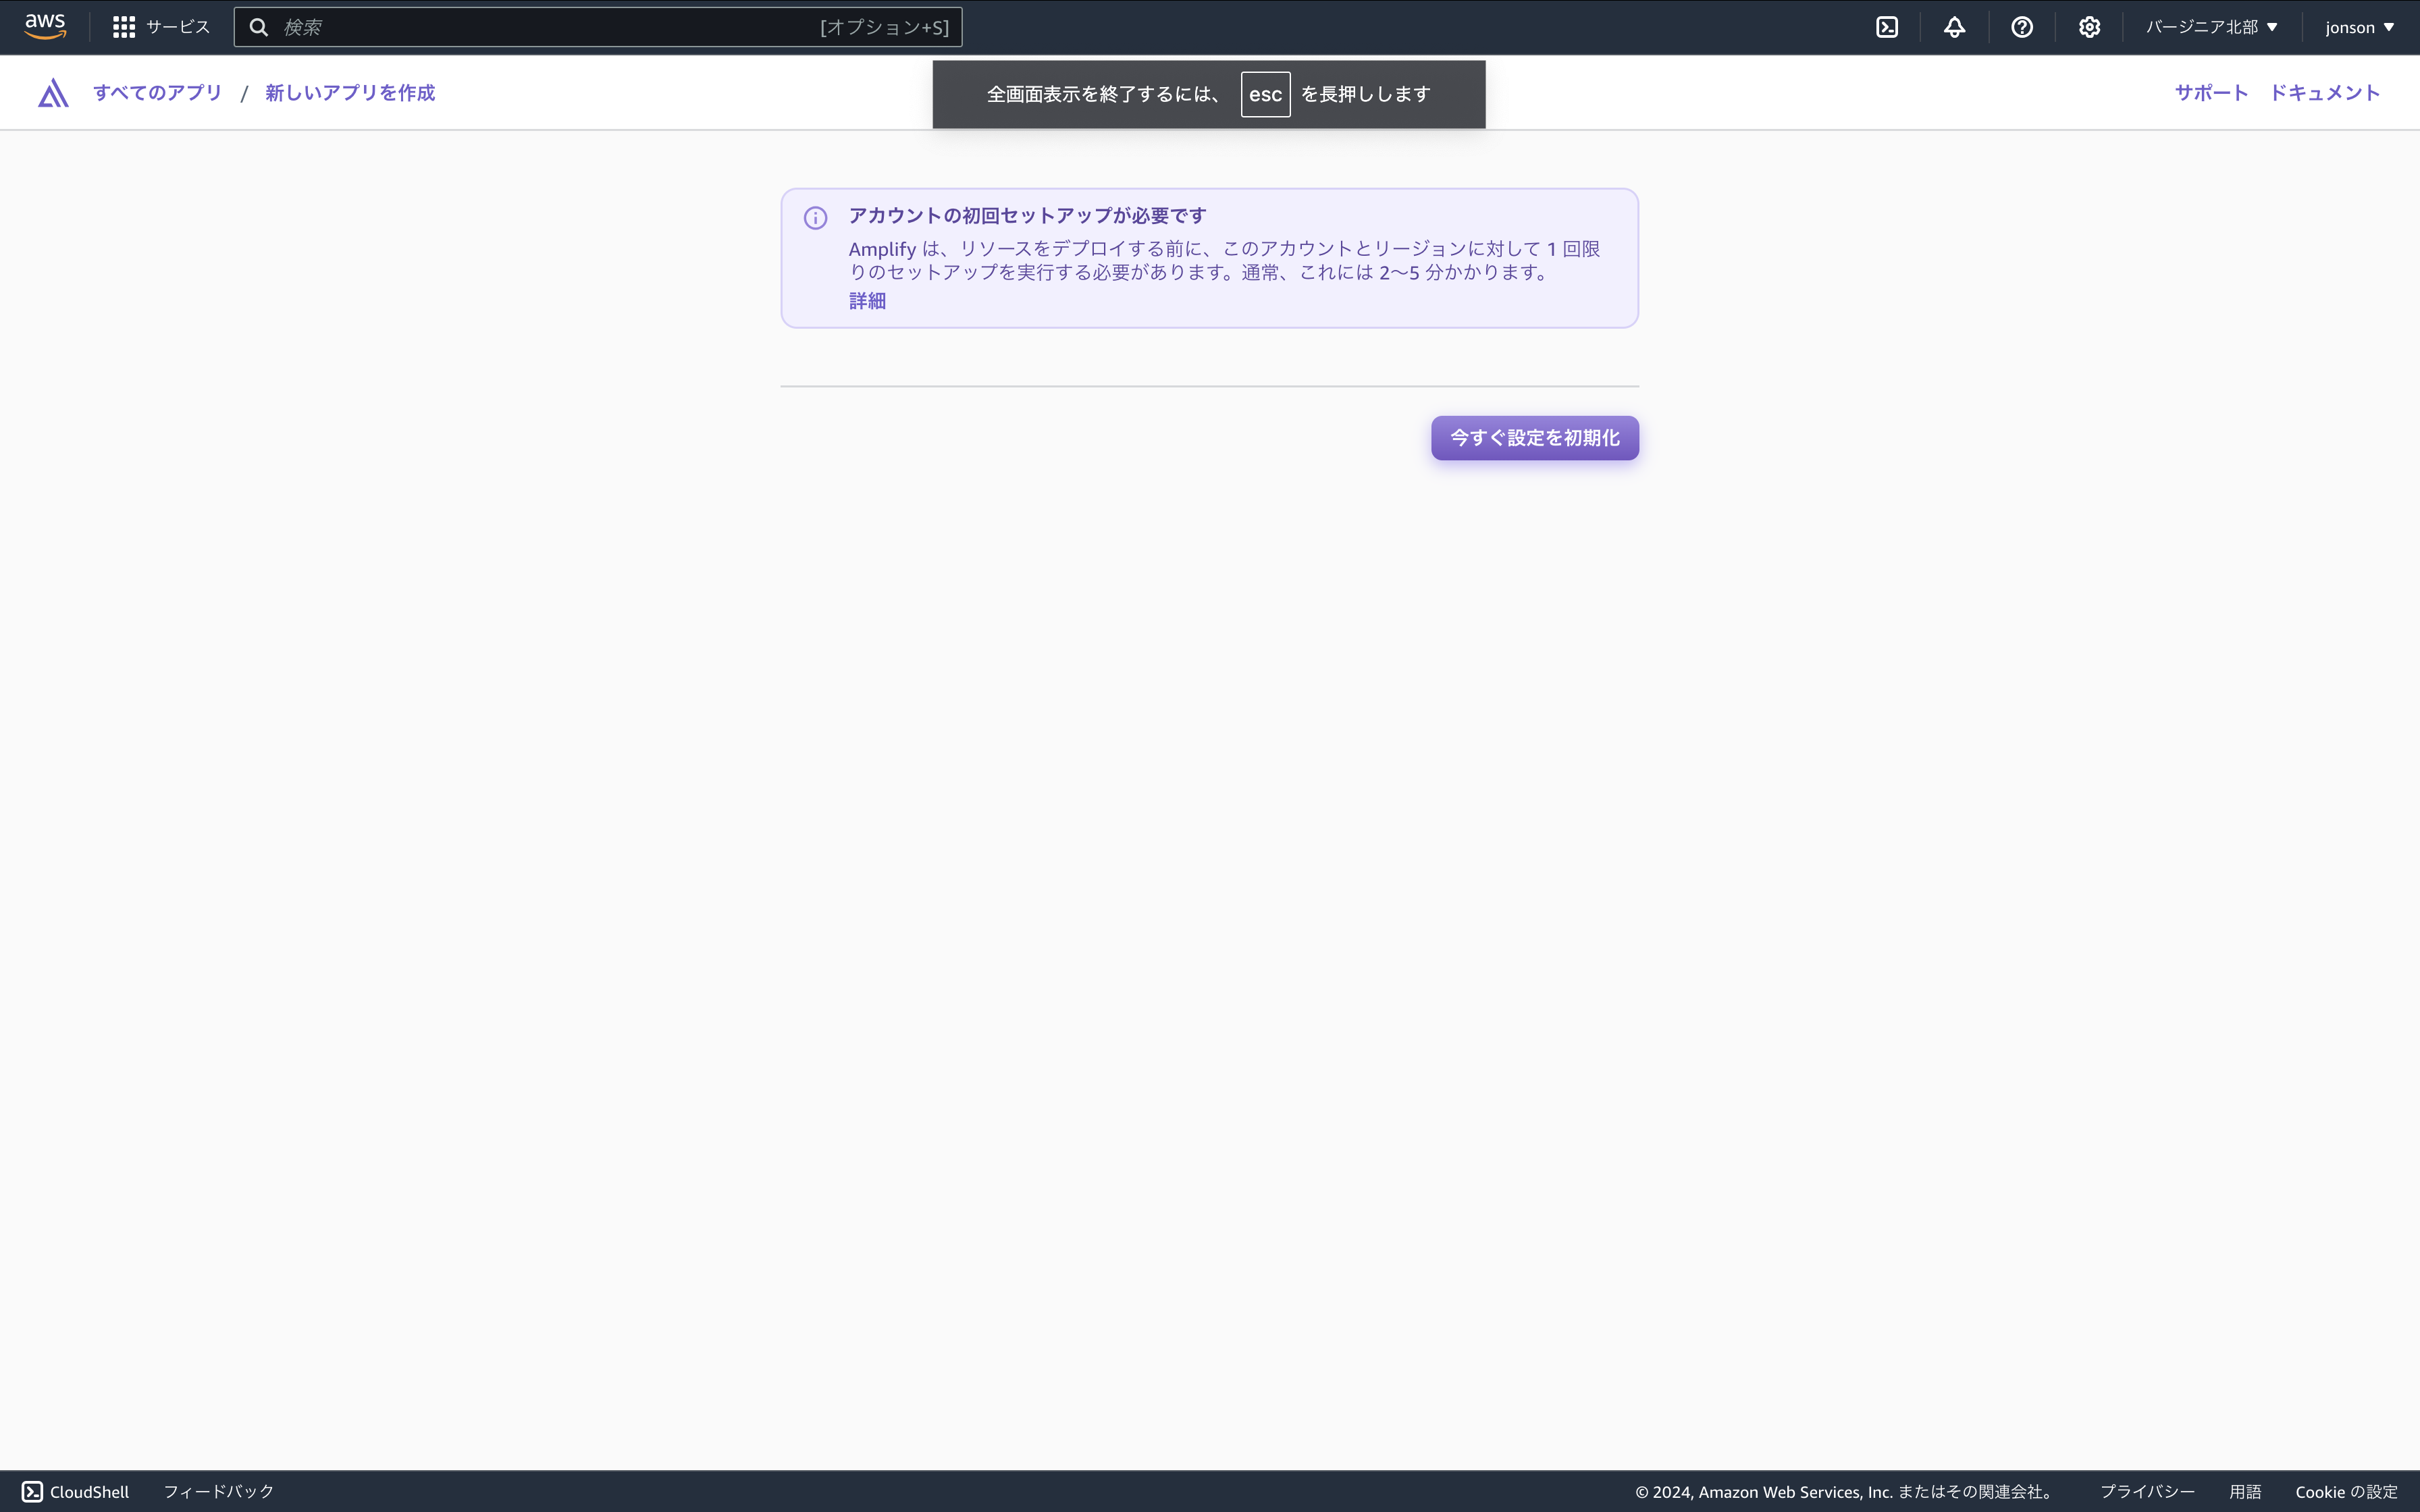
今すぐ設定を初期化をクリック
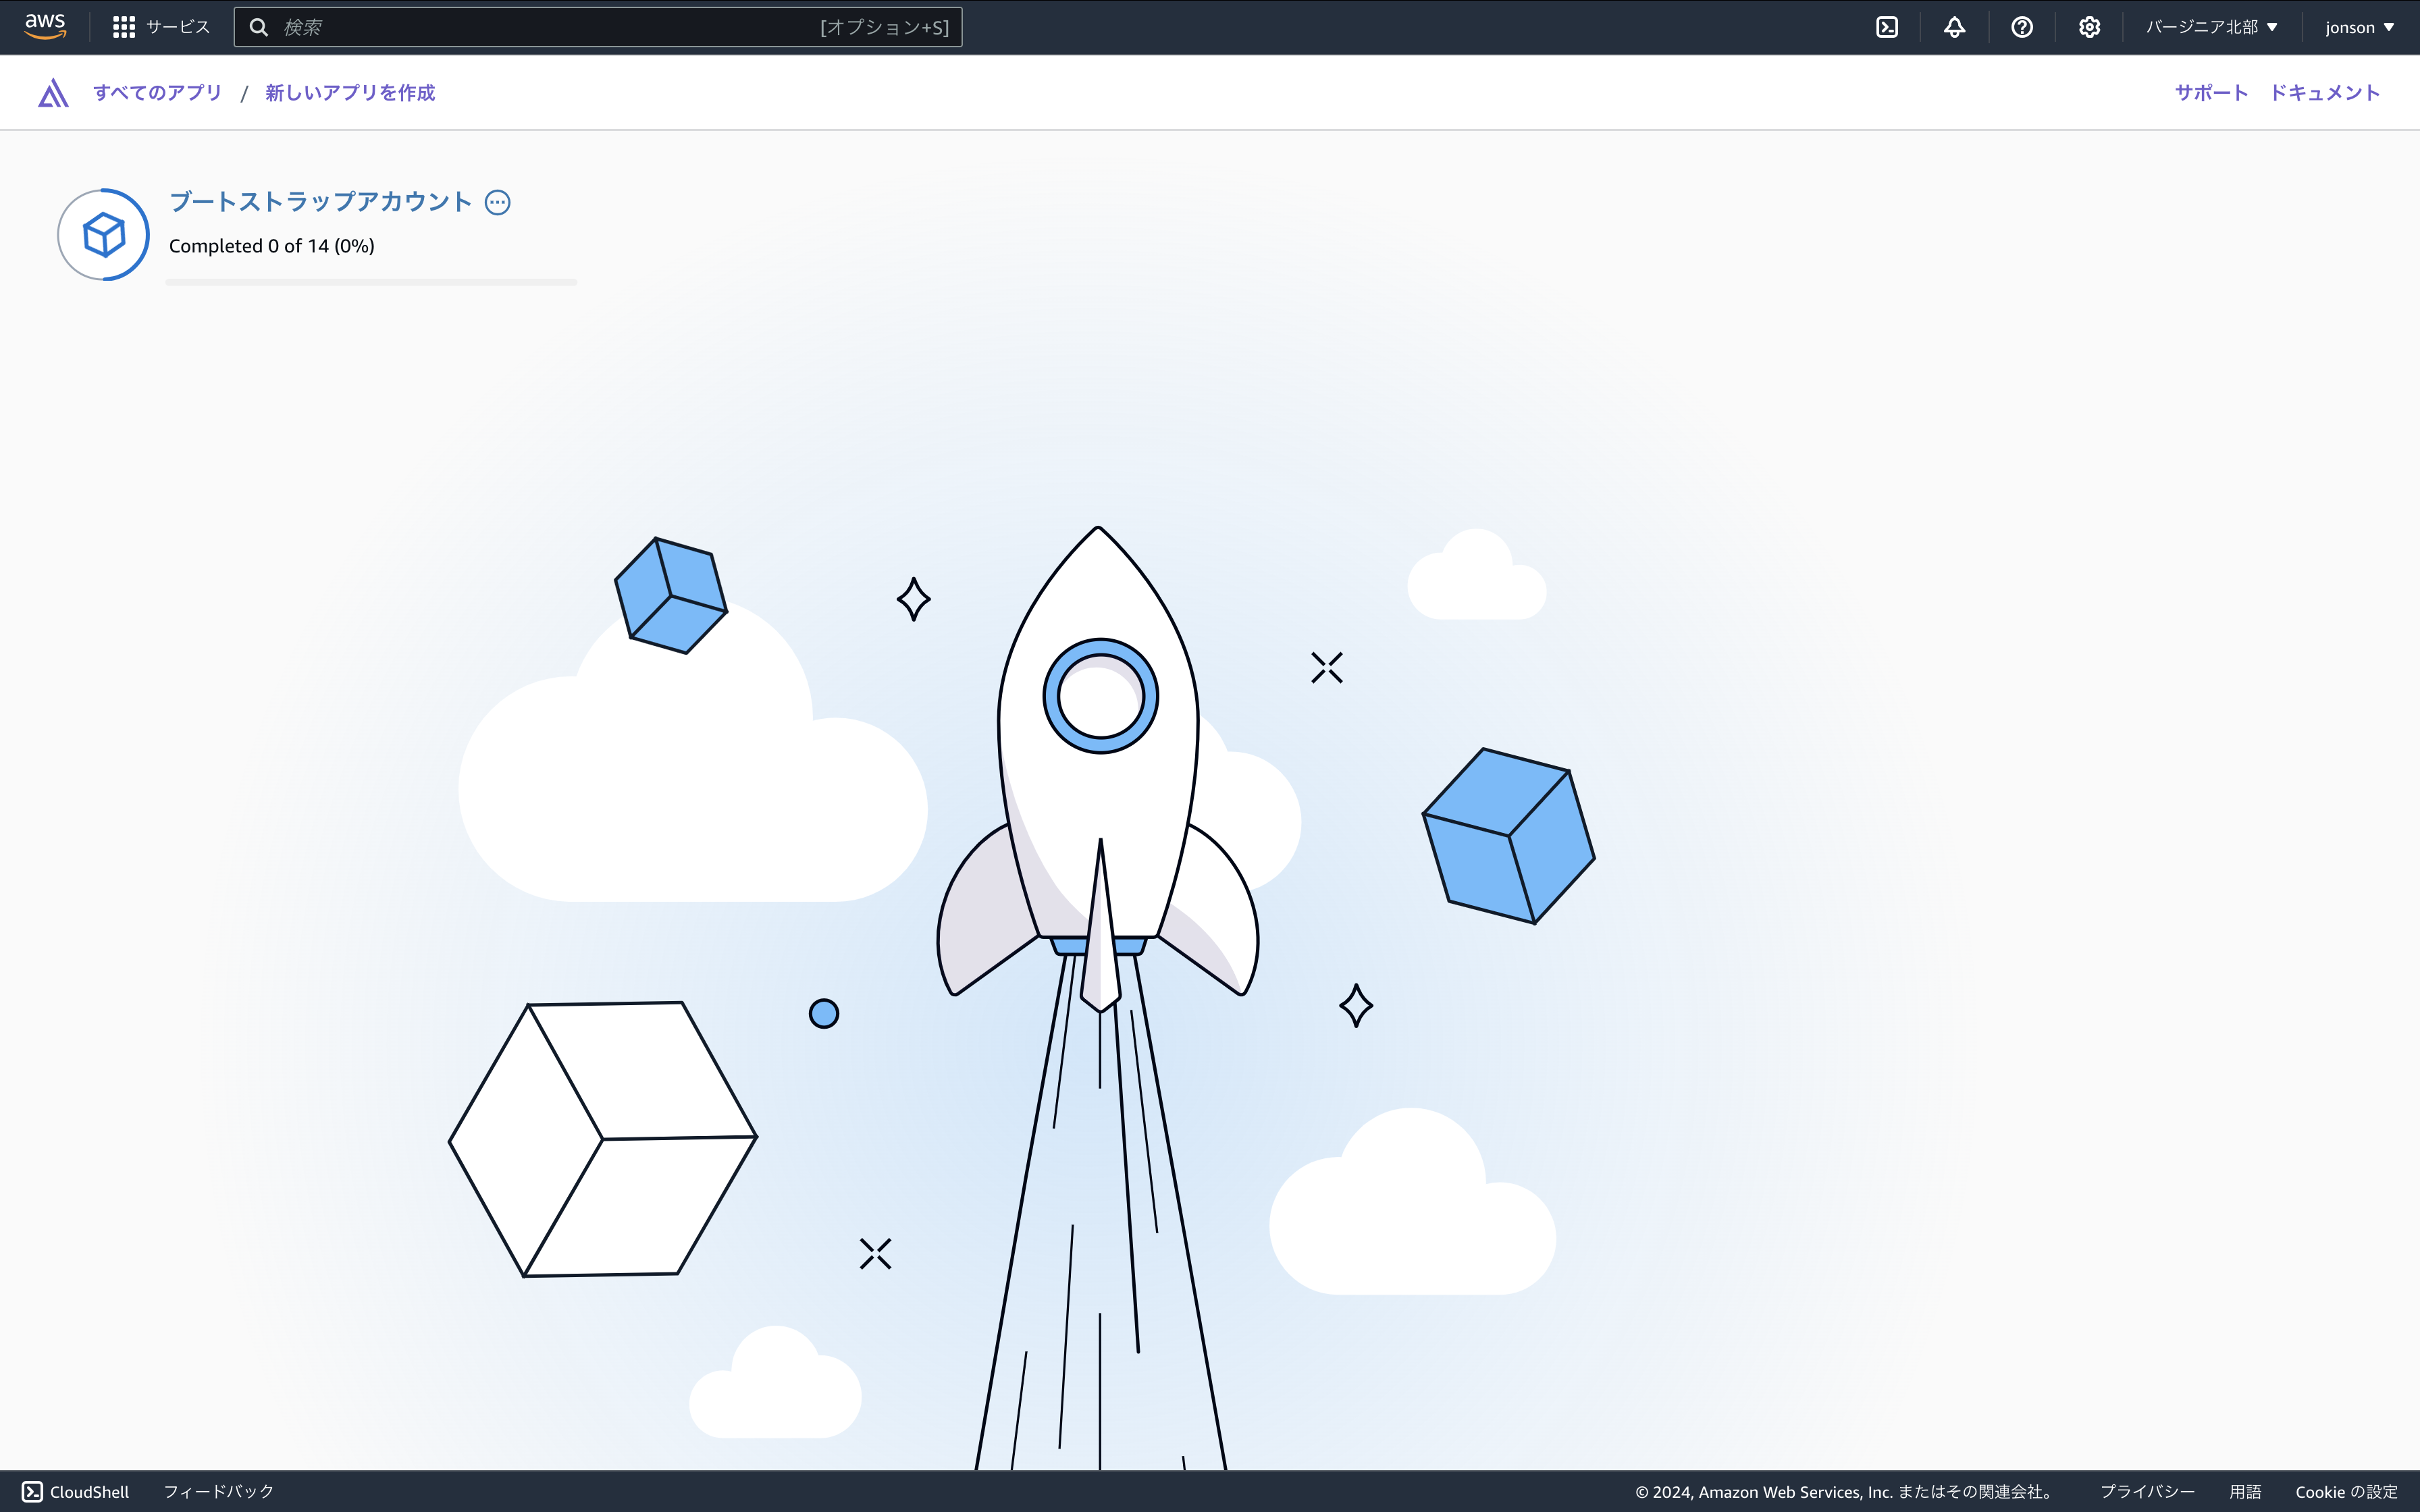
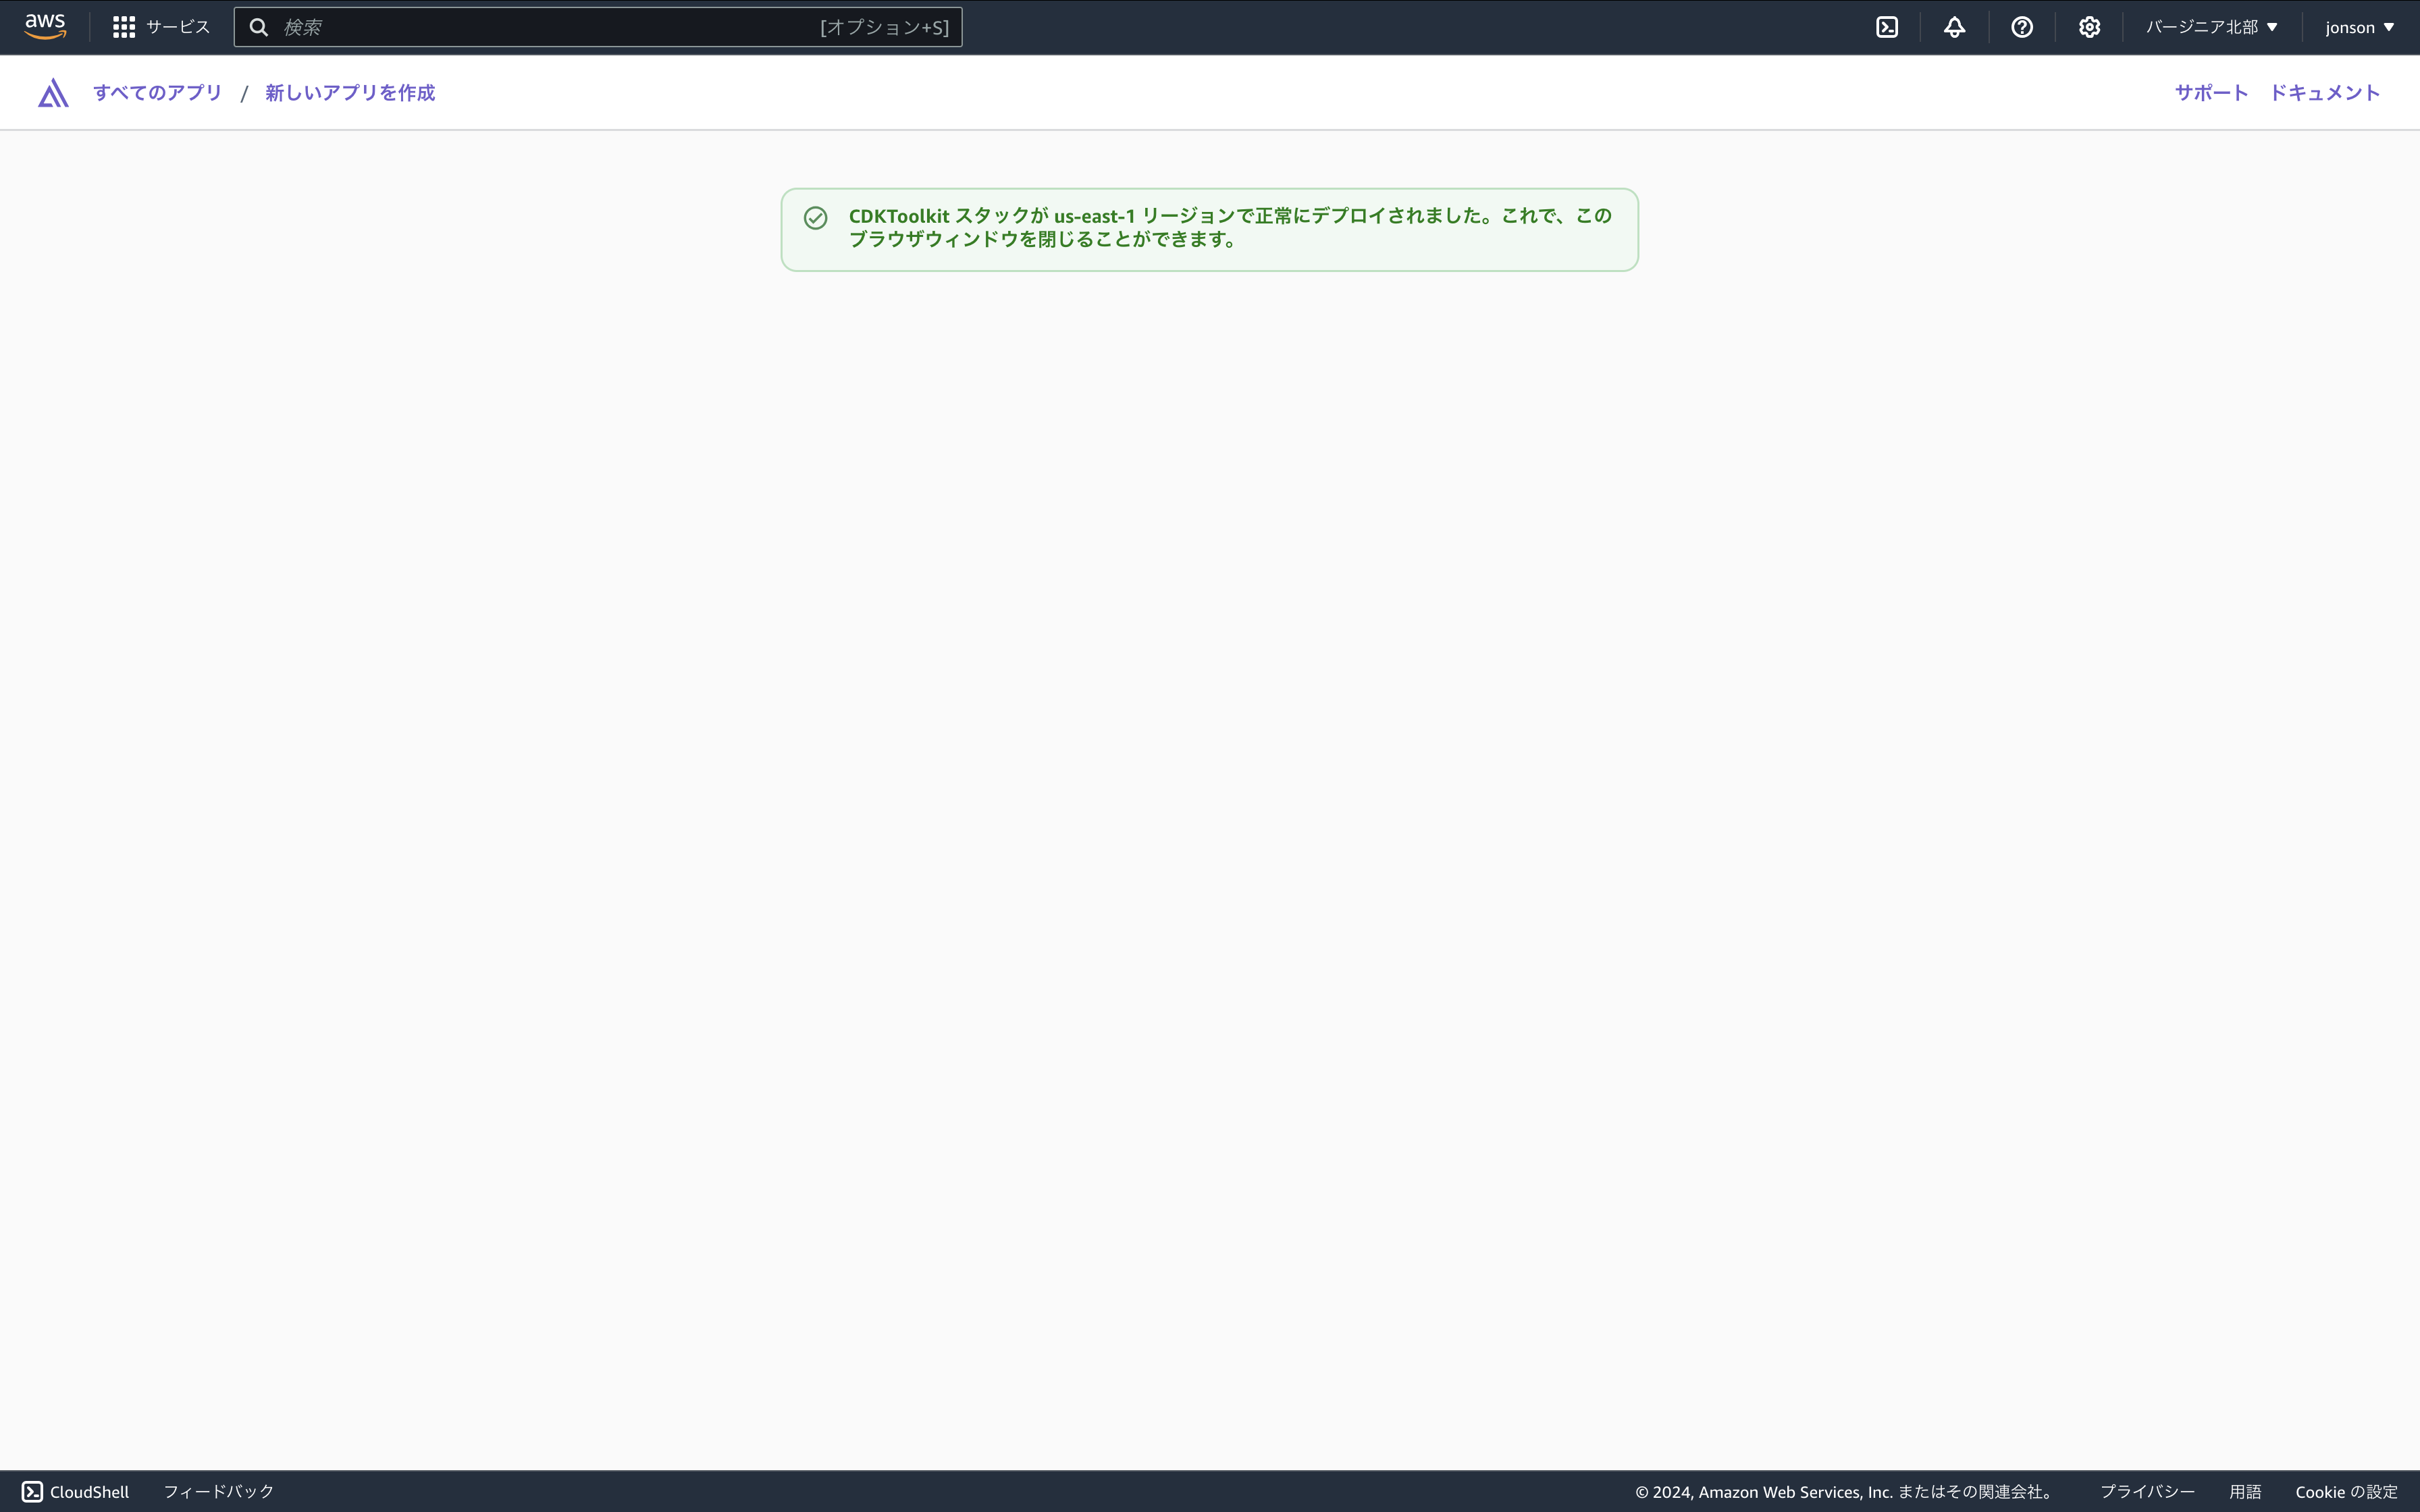
できたっぽいです。
さっき無理くりバージョンエラー通したとこのせいでデプロイ通らない...
バージョンを修正します。
npm install "typescript@^4.0.0"
git add .
git commit -m “バージョン修正”
git push origin main
無事通りました![]()
認証を追加する
Amplify CLI とライブラリを使用して、認証を設定し、アプリに追加します
ハンズオンの手順だとGen1のCLI使ってるのでGen2の手順でやっていきます
1. Amplifyライブラリをインストールする
npm add @aws-amplify/ui-react
2.フロントに認証フローを追加する
import { Authenticator } from '@aws-amplify/ui-react';
import '@aws-amplify/ui-react/styles.css';
import outputs from "amplify_outputs.json";
import { Amplify } from 'aws-amplify';

Amplify.configure(outputs);

export default function App() {
  return (
    <Authenticator>
      {({ signOut, user }) => (
        <main>
          <h1>Hello {user?.username}</h1>
          <button onClick={signOut}>Sign out</button>
        </main>
      )}
    </Authenticator>
  );
}
amplify_outputs.jsonが元々プロジェクトルートにあったんですがエラーになってしまうのでsrcに移しました
なんとか表示はできました
ここで気づいた
ハンズオンの手順いろいろ古いのでそれでいろいろつまづいている...?
下記のクイックスタートからやった方が楽だったかも...?
https://docs.amplify.aws/react/start/quickstart/
ちょっとやり直してみました。
Deploy a fullstack app to AWS
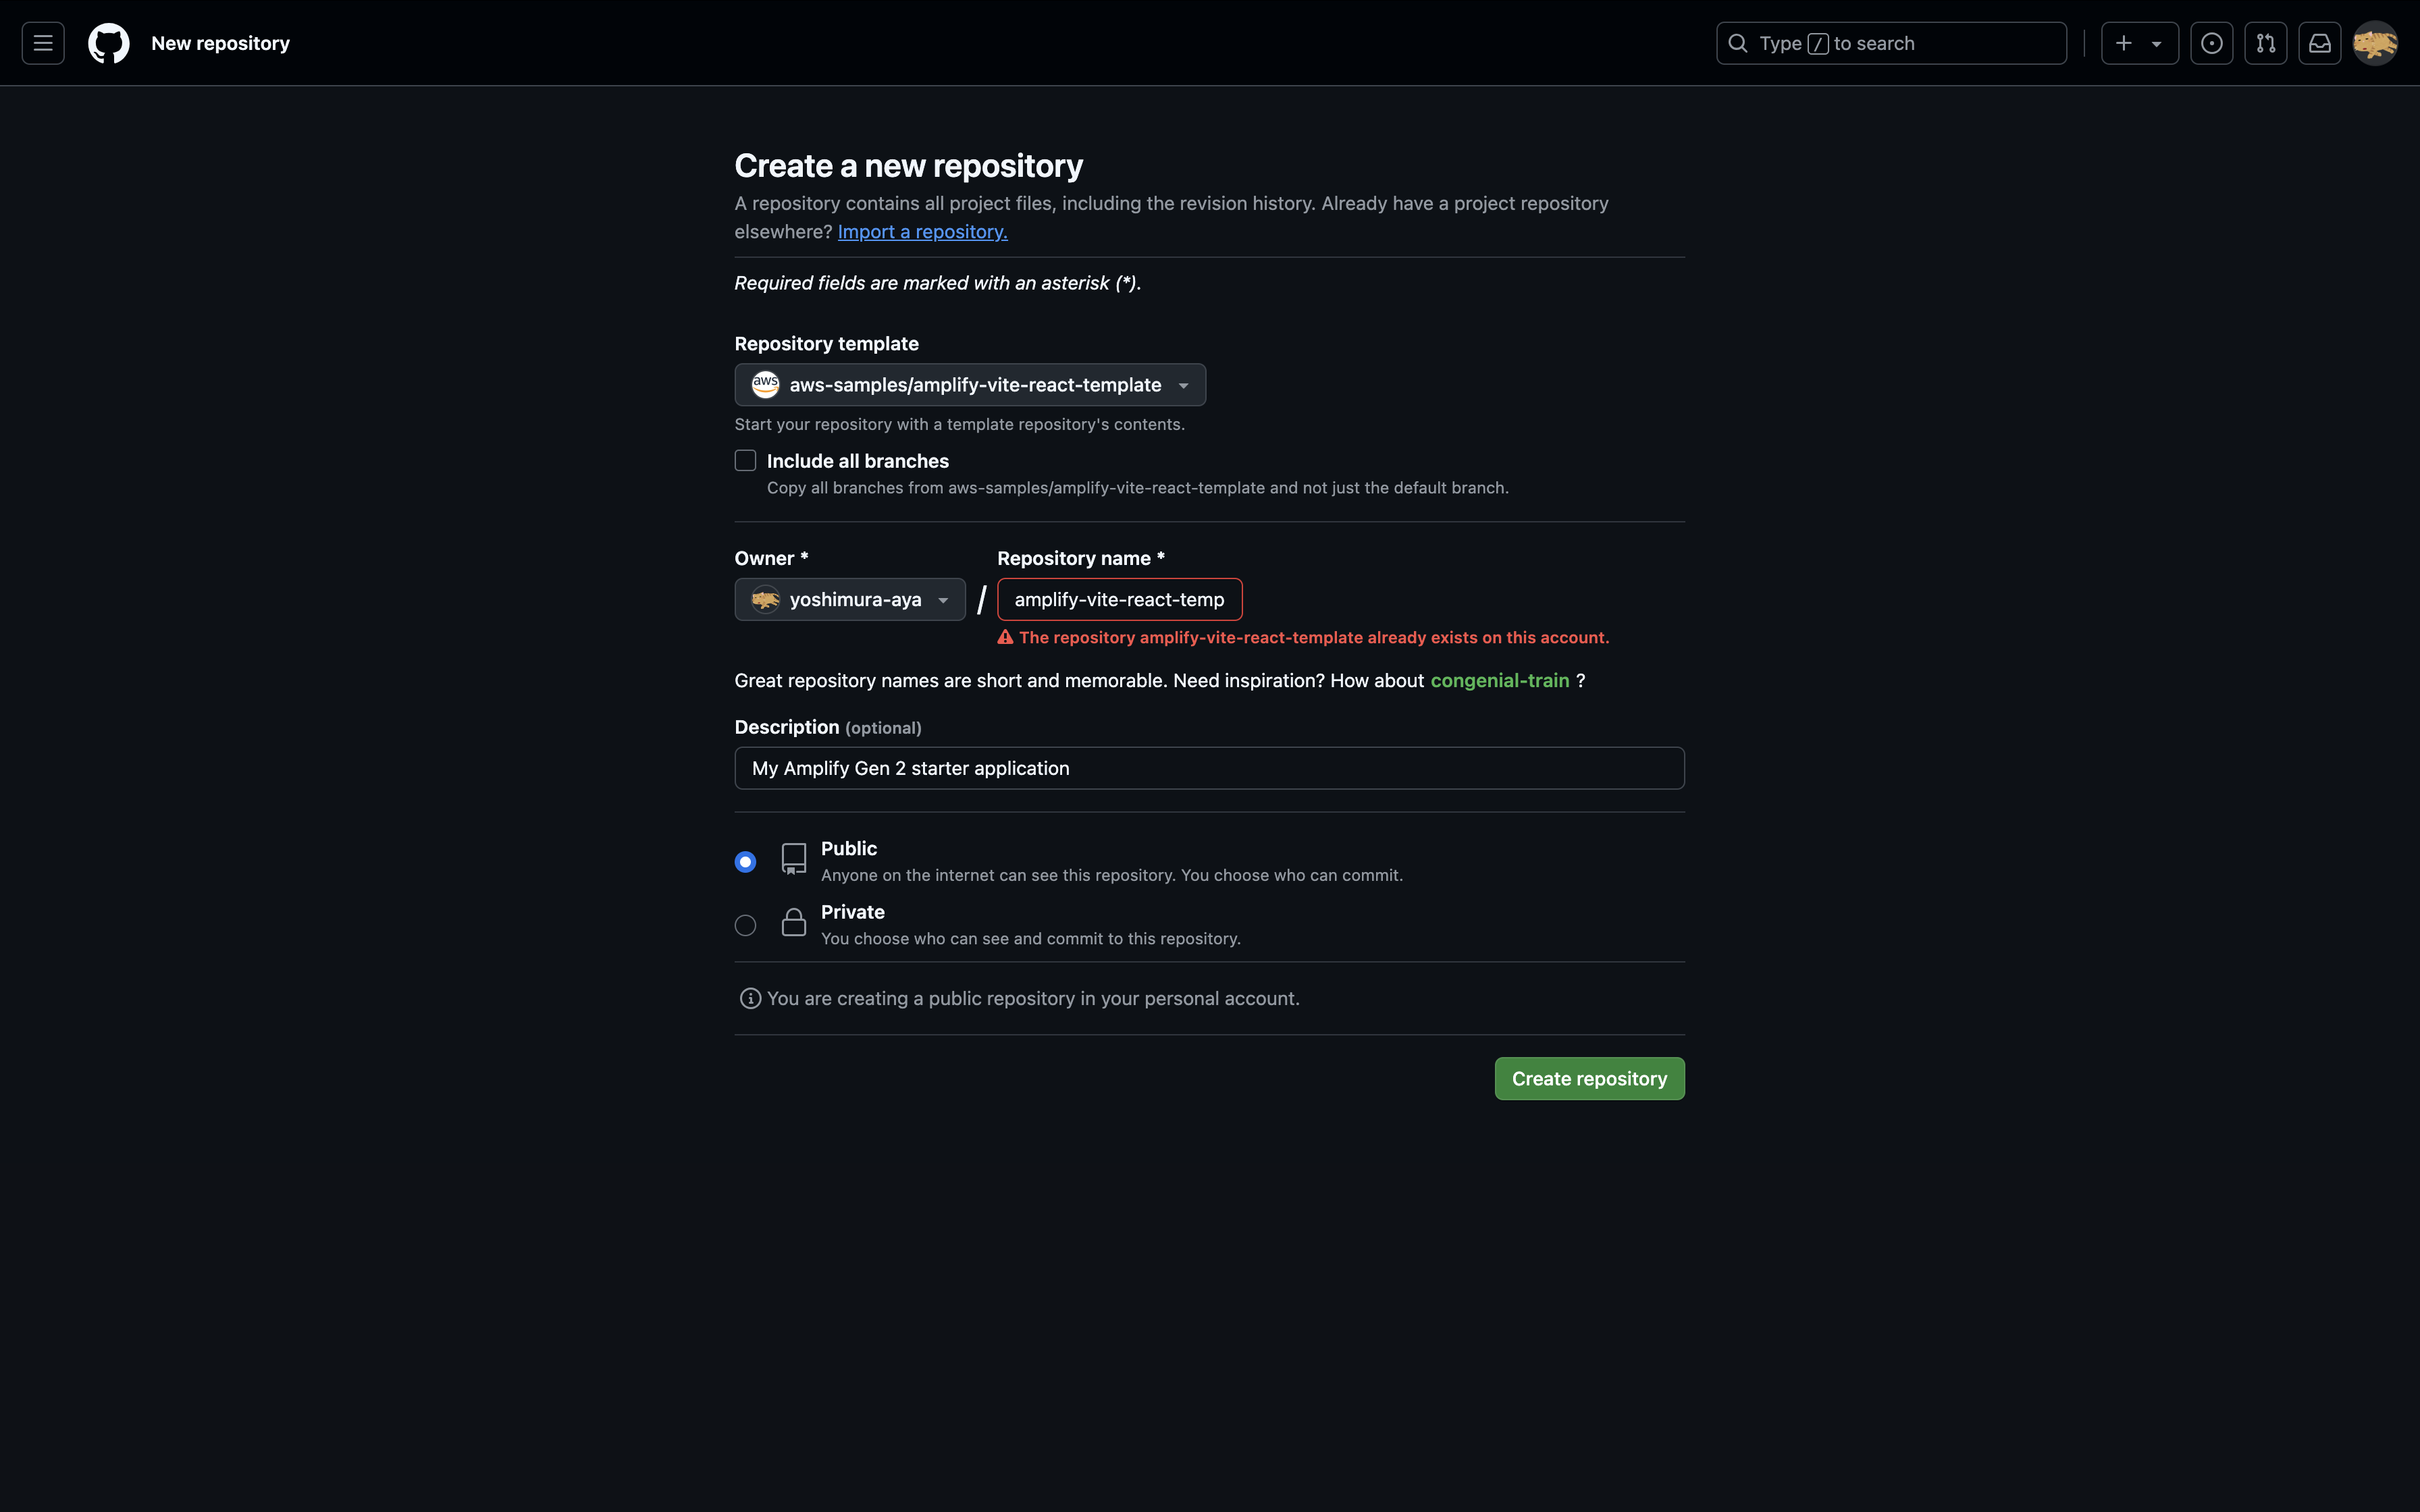
1. テンプレートからリポジトリを作成する
2. アプリケーションをデプロイする
初回との違いみたいなとこで行くと... フレームワークの部分がAmplify Gen 2になっている ![]()
保存してデプロイすると次のようなページが起動しました。
Make frontend updates
3. ローカル環境を準備する
git clone https://github.com/<github-user>/amplify-vite-react-template.git
cd amplify-vite-react-template && npm install
amplify_outputs.jsonをダウンロードし、プロジェクトルートに配置する。
├── amplify
├── src
├── amplify_outputs.json <== backend outputs file
├── package.json
└── tsconfig.json
4.TODO削除関数を実装する
リストがクリックされたらTodoが削除されるように変更します。
import { generateClient } from "aws-amplify/data";
import { useEffect, useState } from "react";
import type { Schema } from "../amplify/data/resource";

const client = generateClient<Schema>();

function App() {
  const [todos, setTodos] = useState<Array<Schema["Todo"]["type"]>>([]);

  useEffect(() => {
    client.models.Todo.observeQuery().subscribe({
      next: (data) => setTodos([...data.items]),
    });
  }, []);

  function createTodo() {
    client.models.Todo.create({ content: window.prompt("Todo content") });
  }

  function deleteTodo(id: string) {
    client.models.Todo.delete({ id })
  }

  return (
    <main>
      <h1>My todos</h1>
      <button onClick={createTodo}>+ new</button>
      <ul>
        {todos.map((todo) => (
          <li
            onClick={() => deleteTodo(todo.id)}
            key={todo.id}>
            {todo.content}
          </li>
        ))}
      </ul>
      <div>
        🥳 App successfully hosted. Try creating a new todo.
        <br />
        <a href="https://docs.amplify.aws/react/start/quickstart/#make-frontend-updates">
          Review next step of this tutorial.
        </a>
      </div>
    </main>
  );
}

export default App;
サーバー起動
npm run dev
http://localhost:5173/ にアクセスして、TODOをクリックしたら削除できることを確認します。
5.ログインUIを実装する
import React from "react";
import ReactDOM from "react-dom/client";
import { Authenticator } from '@aws-amplify/ui-react';
import App from "./App.tsx";
import "./index.css";
import { Amplify } from "aws-amplify";
import outputs from "../amplify_outputs.json";
import '@aws-amplify/ui-react/styles.css';

Amplify.configure(outputs);

ReactDOM.createRoot(document.getElementById("root")!).render(
  <React.StrictMode>
    <Authenticator>
      <App />
    </Authenticator>
  </React.StrictMode>
);
import { useAuthenticator } from '@aws-amplify/ui-react';
import { generateClient } from "aws-amplify/data";
import { useEffect, useState } from "react";
import type { Schema } from "../amplify/data/resource";

const client = generateClient<Schema>();

function App() {
  const { signOut } = useAuthenticator();
  const [todos, setTodos] = useState<Array<Schema["Todo"]["type"]>>([]);

  useEffect(() => {
    client.models.Todo.observeQuery().subscribe({
      next: (data) => setTodos([...data.items]),
    });
  }, []);

  function createTodo() {
    client.models.Todo.create({ content: window.prompt("Todo content") });
  }

  function deleteTodo(id: string) {
    client.models.Todo.delete({ id })
  }

  return (
    <main>
      <h1>My todos</h1>
      <button onClick={createTodo}>+ new</button>
      <ul>
        {todos.map((todo) => (
          <li
            onClick={() => deleteTodo(todo.id)}
            key={todo.id}>
            {todo.content}
          </li>
        ))}
      </ul>
      <div>
        🥳 App successfully hosted. Try creating a new todo.
        <br />
        <a href="https://docs.amplify.aws/react/start/quickstart/#make-frontend-updates">
          Review next step of this tutorial.
        </a>
      </div>
      <button onClick={signOut}>Sign out</button>
    </main>
  );
}

export default App;
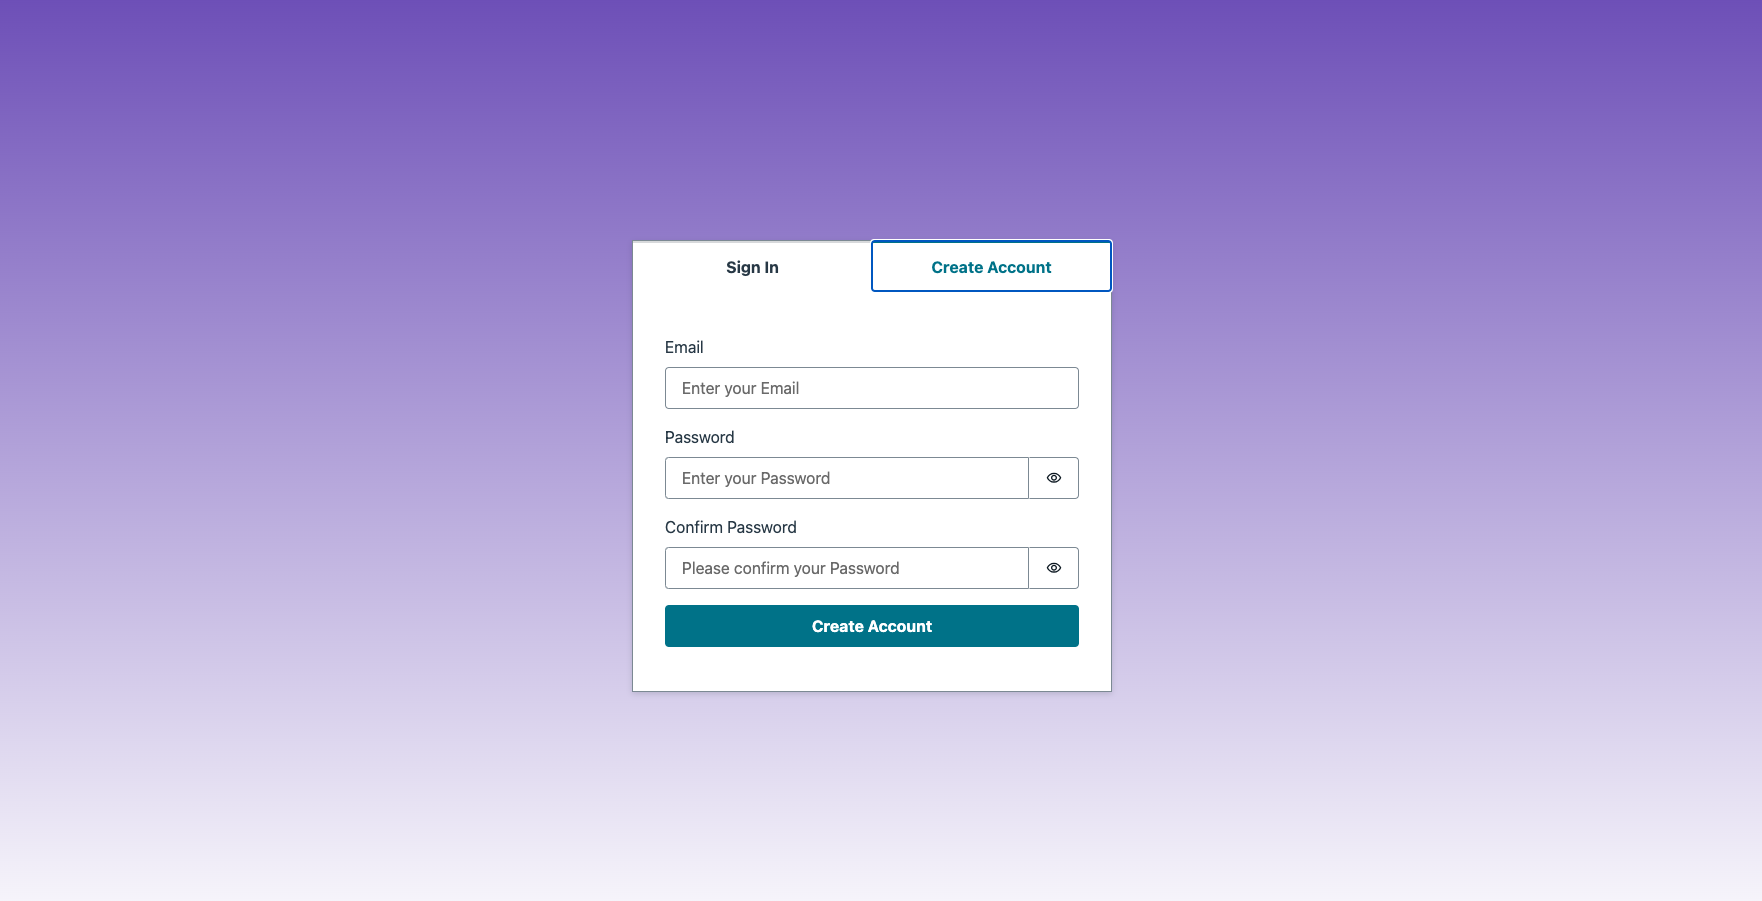
メールアドレスとパスワードをいれてCreateAccountします。
メールに記載されてるConfirmation Codeを入力し、Confirmをクリックします。
SignOutをクリックしたり、登録したメールアドレスとパスワードでログインできることを確認しました。
6.変更を反映する
git commit -am "added authenticator"
git push
Make backend updates
ここまででもう データも認証も使えるようになっている... 最新の手順めっちゃいいですね
npx ampx sandbox
本番ブランチに影響を与えずにバックエンドを更新するには、Amplify のクラウド サンドボックスを使用します。この機能は、チーム内の各開発者に個別のバックエンド環境を提供するため、ローカル開発とテストに最適です。
7. ユーザーごとの認証を実装する
import { type ClientSchema, a, defineData } from "@aws-amplify/backend";

const schema = a.schema({
  Todo: a
    .model({
      content: a.string(),
    }).authorization(allow => [allow.owner()]),
});

export type Schema = ClientSchema<typeof schema>;

export const data = defineData({
  schema,
  authorizationModes: {
    defaultAuthorizationMode: 'userPool',
  },
});
現在は本番ではなく、sandboxを使用してるので本番で登録しているユーザではログインができないです。
新しくユーザを登録します。
sandboxで登録したTODOは本番に影響がないことも確認しました。


変更を反映する
git commit -am "added per-user data isolation"
git push
8. 新しいデータを追加してみた
content、name、descriptionを持つNoteを追加します
import { type ClientSchema, a, defineData } from "@aws-amplify/backend";

const schema = a.schema({
  Todo: a
    .model({
      content: a.string(),
    }).authorization(allow => [allow.owner()]),
  Note: a.model({
    content: a.string(),
    name: a.string(),
    description: a.string()
  }).authorization(allow => [allow.owner()]),
});

export type Schema = ClientSchema<typeof schema>;

export const data = defineData({
  schema,
  authorizationModes: {
    defaultAuthorizationMode: 'userPool',
  },
});
import { Button, Flex, Heading, Text, TextField, useAuthenticator, View } from '@aws-amplify/ui-react';
import { generateClient } from "aws-amplify/data";
import { ChangeEvent, FormEvent, useEffect, useState } from "react";
import type { Schema } from "../amplify/data/resource";

const client = generateClient<Schema>();

function App() {
  const { user, signOut } = useAuthenticator();
  const [todos, setTodos] = useState<Array<Schema["Todo"]["type"]>>([]);
  const [notes, setNotes] = useState<Array<Schema["Note"]["type"]>>([]);
  const [formData, setFormData] = useState({
    name: '',content: '',description: ''
  });
  useEffect(() => {
    client.models.Todo.observeQuery().subscribe({
      next: (data) => setTodos([...data.items]),
    });
    client.models.Note.observeQuery().subscribe({
      next: (data) => setNotes([...data.items]),
    });
  }, []);

  async function createNote(e?: FormEvent<HTMLFormElement>) {
    e?.preventDefault();
    client.models.Note.create(formData);
    setFormData({
      name: '',content: '',description: ''
    });
  }

  function createTodo() {
    client.models.Todo.create({ content: window.prompt("Todo content") });
  }

  function deleteNote(id: string) {
    client.models.Note.delete({ id });
  }

  function deleteTodo(id: string) {
    client.models.Todo.delete({ id })
  }

  const changeNote = (e: ChangeEvent<HTMLInputElement>) => {
    const { name, value } = e.target;
    setFormData({
      ...formData,
      [name]: value,
    });
  };
  return (
    <main>
      <h1>{user?.signInDetails?.loginId}'s todos</h1>
      <button onClick={createTodo}>+ new</button>
      <ul>
        {todos.map((todo) => (
          <li
            onClick={() => deleteTodo(todo.id)}
            key={todo.id}>
            {todo.content}
          </li>
        ))}
      </ul>
      <h1>{user?.signInDetails?.loginId}'s notes</h1>
      <View as="form" margin="3rem 0" onSubmit={createNote}>
        <Flex direction="row" justifyContent="center">
          <TextField
            name="name"
            placeholder="Note Name"
            label="Note Name"
            labelHidden
            variation="quiet"
            onChange={changeNote}
            required
          />
          <TextField
            name="description"
            placeholder="Note Description"
            label="Note Description"
            labelHidden
            variation="quiet"
            onChange={changeNote}
            required
          />
          <TextField
            name="content"
            placeholder="Note Content"
            label="Note Content"
            labelHidden
            variation="quiet"
            onChange={changeNote}
            required
          />
          <Button type="submit" variation="primary">
            Create Note
          </Button>
        </Flex>
      </View>
      <Heading level={2}>Current Notes</Heading>
      <View margin="3rem 0">
        {notes.map((note) => (
          <Flex
            key={note.id || note.name}
            direction="row"
            justifyContent="center"
            alignItems="center"
          >
            <Text as="strong" fontWeight={700}>
              {note.name}
            </Text>
            <Text as="span">{note.content}</Text>
            <Button variation="link" onClick={() => deleteNote(note.id)}>
              Delete note
            </Button>
          </Flex>
        ))}
      </View>
      <div>
        🥳 App successfully hosted. Try creating a new todo.
        <br />
        <a href="https://docs.amplify.aws/react/start/quickstart/#make-frontend-updates">
          Review next step of this tutorial.
        </a>
      </div>
      <button onClick={signOut}>Sign out</button>
    </main>
  );
}

export default App;


