はじめに
React + IPFS + Ethereumで簡単なイメージアップローダーを作成します。
基本的なことは省いて要所だけを書いてるのでつずいたところがあればコメントください!
1. 環境構築
簡単に環境設定をしてくれる、truffleが提供するreact unboxを利用します。
$ mkdir ipfs_image_uploader
$ cd ipfs_image_uploader
$ truffle unbox react
Ganacheをインストール( https://www.trufflesuite.com/ganache )して起動します。
そしてローカルのブロックチェーンにコントラクトをデプロイします
$ truffle compile
$ truffle migrate --reset
react unboxではフロントエンドはclientディレクトリにあります。
$ cd client
$ npm start
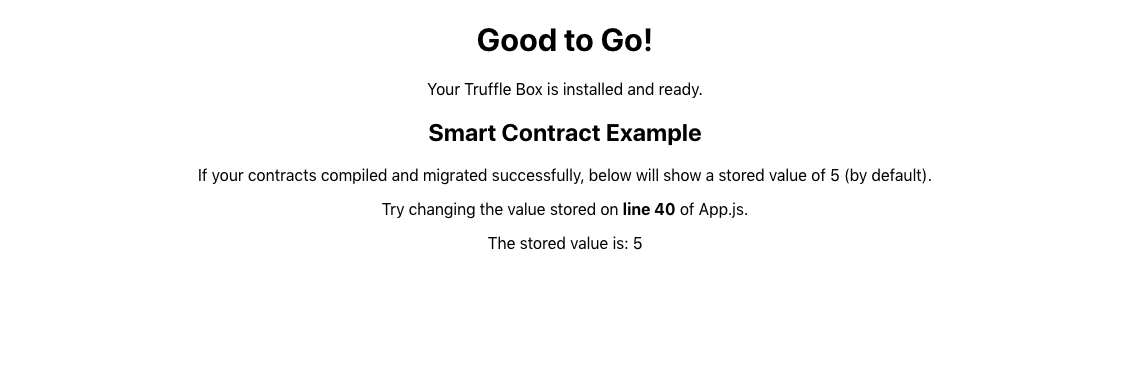
このような画面が開いたらreact unboxでの環境設定は成功です。
2. コントラクト
SimpleStorage.solのコントラクトを下記のように書き換えます。
簡単な説明をコメントアウトで書きました
//SimpleStore.sol
pragma solidity ^0.5.0;

contract SimpleStorage {
  string ipfsHash;

 //Ipfsいう構造体を作り、その中にはipfsのHash値が入ります
  struct Ipfs {
    string _ipfsHash;
  }

  //上記で作成したIpfs構造体を配列として格納できるIpfsHashを作ります。
  Ipfs[] public IpfsHash;

 // set関数でフロントからipfsのハッシュ値が渡されます
  function set(string memory _ipfsHash) public {
    ipfsHash = _ipfsHash;
   //Ipfs(ipfsHash)で渡されたHash値こ構造体に格納し、構造体の配列であるIpfsHashにpushします
    IpfsHash.push(Ipfs(ipfsHash));
  }

 //ipfsのHash値を取り出す関数
  function get() public view returns (string memory) {
    return ipfsHash;
  }

 //構造体の配列の大きさを取得する関数。フロントで使用します
  function arraylength() public view returns (uint) {
    return IpfsHash.length;
  }
}
コントラクトを書き終えたらサイドデプロイします。
$ truffle migrate --reset
3. IPFS
インスタンスを作成、ipfsファイルを読めるようにするJSライブラリをインストールします。
$ npm install ipfs-api
インストールが終了したらipfs.jsをApp.jsと同じディレクトリに作成し、このようなコードを書きます。
const IPFS = require('ipfs-api');
const ipfs = new IPFS({host:'ipfs.infura.io', port: 5001, protocol: 'https'});

export default ipfs;
INFURAを利用することによりIPFSのノードに自動的に繋げてくれるようになるそうです。
これでIPFSに繋がるようになりました。
4.フロント
App.jsを以下のように書き換えます。
import React, { Component } from "react";
import SimpleStorageContract from "./contracts/SimpleStorage.json";
import getWeb3 from "./utils/getWeb3";
import ipfs from "./ipfs.js";
import "./App.css";

class App extends Component {

  constructor(props) {
    super(props)
    this.state= {
      web3: null,
      accounts: null,
      contract: null,
      buffer: null,
      ipfsHash: [],
      hoge: '',
    }
    //関数を使えるようにする
    this.captureFile = this.captureFile.bind(this);
    this.onSubmit = this.onSubmit.bind(this);
    this.loadIpfsHash = this.loadIpfsHash.bind(this)
  }

  componentWillMount = async () => {
    try {
      // Get network provider and web3 instance.
      const web3 = await getWeb3();
      // Web3でユーザーのアドレスを取得
      const accounts = await web3.eth.getAccounts();
      // コントラクト情報をブロックチェーン上から取得
      const networkId = await web3.eth.net.getId();
      const deployedNetwork = SimpleStorageContract.networks[networkId];
    //コントラクトを定義する
      const instance = new web3.eth.Contract(
        SimpleStorageContract.abi,
        deployedNetwork && deployedNetwork.address,
      );
      //Stateにweb3, accounts, contractをセットする
      this.setState({ web3, accounts, contract: instance }, this.runExample);
    } catch (error) {
      alert(`Failed to load web3, accounts, or contract. Check console for details.`,);
      console.error(error);
    }
    await this.loadIpfsHash();
  };

  loadIpfsHash = async () => {
    const length = await this.state.contract.methods.arraylength().call()
    for (var i = 0; i <= length; i++) {
      const ipfsHashs = await this.state.contract.methods.IpfsHash(i).call()
      this.setState({
        ipfsHash: [...this.state.ipfsHash, ipfsHashs]
      })
    }
  }

  captureFile(event) {
    console.log('File loader ...')
    event.preventDefault()
    //fileにアクセスする
    const file = event.target.files[0]
    //fileを読み込む
    const reader = new window.FileReader()
    //fileをipfsにアクセスできるArrayに追加する
    reader.readAsArrayBuffer(file)
    reader.onloadend = () => {
      //結果をBufferに入れ,ipfsにアクセスできるようにする
      this.setState({ buffer: Buffer(reader.result) })
      console.log('buffer', this.state.buffer)
    }
  }

  onSubmit = async (event) => {
    console.log('on Submit ...')
    //Submit時にリロードしなくなる
    event.preventDefault()
    //ipfsにファイルを追加
    ipfs.files.add(this.state.buffer, async (error, result) => {
      if(error) {
        console.error(error)
        return
      }
      //ブロックチェーンにipfsHashを書きこむ
      this.state.contract.methods.set(result[0].hash).send({ from: this.state.accounts[0] })
      //iphsHashの値をアップデートする
      return this.loadIpfsHash();
    })
  }

  render() {
    if (!this.state.web3) {
      return <div>Loading Web3, accounts, and contract...</div>;
    }
    return (
      <div className="App">
        <h1>Your Image</h1>
        <p>This image is stored on IPFS & The Ethereum Blockchain!</p>
        {this.state.ipfsHash.map((hash, key) => {
          return(
            <div key={key}>
              <img src= {`https://ipfs.io/ipfs/${hash}`} alt=""></img>
            </div>
          )
        })}
        <h2>Upload image</h2>
        <form onSubmit={this.onSubmit} >
          <input type="file" onChange={this.captureFile} />
          <input type="submit" />
        </form>
      </div>
    );
  }
}

export default App;
captureFile()
captureFile()の関数で、アップロードしたデータをIPFSに追加できるようにしています。
onSubmit()
onSubmit()の関数でIPFSとブロックチェーンにそれぞれ書き込んでいます。
ipfs.files.add()でIPFSにアップロードしたファイルを追加しています。
そしてthis.state.contract.methods.set(result[0].hash)にてIPFSのハッシュ値をブロックチェーンに書き込んでいます。
5. 終わりに
意外と簡単にIPFSを使うことができました。
何かわからないこと、また間違い等ありましたらコメントいただけると幸いです。
GitHubはこちらです
参考サイト
Dapp University
基本的にはこのサイトもとにして、少し付け加える形で作成しました。