PDFファイルのサイズを圧縮したい
仕事で使うPDFファイルを用意したがファイルサイズに制限があった…
そんなことありませんでしょうか。
私はありました。
環境
Windows 11 (22H2)
Python 3.12.4 (packaged by Anaconda)
解決策1
手作業で圧縮する
一番簡単です。
CubePDFなどを使用してPDF->PDFの印刷を行います。
件数が少なかったり、頻度が低いのであればこれで問題ないと思います。
解決策2
ツールを作成する
今回の目玉です。
pythonのAspose.PDFライブラリを使用してPDFファイルを圧縮します。
ライブラリのインストール
pip install aspose-pdf
参考
コード
pdf-compress.py
import aspose.pdf as ap
import os

# カレントディレクトリを実行ファイルのディレクトリに変更
os.chdir(os.path.dirname(os.path.abspath(__file__)))

# カレントディレクトリのファイルリストを読み込む
files = os.listdir(os.getcwd())

# 出力先フォルダを作成
if os.path.isdir('compressed'):
    pass
else:
    os.mkdir('compressed')

# pdfファイルのみを取り出す
pdf_files = [i for i in files if i.endswith('.pdf')]
path = os.getcwd()

for pdf_file in pdf_files:
    in_file = path + '\\' + pdf_file
    compressPdfDocument = ap.Document(in_file)
    count = 1
    quality = 91
    print('-----------')
    print(pdf_file)
    print(str(count) + '回目')
    print(os.path.getsize(pdf_file))

    # オブジェクトの作成
    pdfoptimizeOptions = ap.optimization.OptimizationOptions()

    # 画像圧縮を有効にする
    pdfoptimizeOptions.image_compression_options.compress_images = True

    # 画質を設定する
    pdfoptimizeOptions.image_compression_options.image_quality = quality

    # PDFを圧縮
    compressPdfDocument.optimize_resources(pdfoptimizeOptions)

    # 圧縮されたPDFファイルを保存する
    out_file = path + '\\compressed\\' + pdf_file
    compressPdfDocument.save(out_file)

    # ファイルサイズの上限を設定
    limit_mb = 1
    limit_byte = limit_mb * ( 1024 ** 2 )

    # ファイルサイズが指定値を超える場合画質を落として再実行
    compressPdfDocument = ap.Document(out_file)
    while os.path.getsize(out_file) > limit_byte:
        count += 1
        quality -= 10
        print(str(count) + '回目')
        print(os.path.getsize(out_file))
        pdfoptimizeOptions.image_compression_options.image_quality = quality
        compressPdfDocument.optimize_resources(pdfoptimizeOptions)
        compressPdfDocument.save(out_file)
        if quality <= 1:
            break
コードの詳細
挙動としては以下のようになっています。
- カレントディレクトリ内に出力先ファイルを作成
- カレントディレクトリ内のPDFファイルを読み込む
- 指定サイズ以下になるまで画質を段階的に落としながらサイズ圧縮
ポイントは3. 指定サイズ以下になるまで画質を段階的に落としながらサイズ圧縮の部分です。
ファイルサイズ制限があるので、そこまでは自動的に繰り返し圧縮できるようにしました。
動作確認用に何回目の圧縮で何byteになったかを出力するようにしていますが、この辺りはツールとしては不必要な部分です。
また、本コード内では指定ファイルサイズを1MBとしていますが、ここは必要に応じて変更してください。
(MB以外の単位を使用する場合はlimit_byteの調整が必要な点に注意)
    limit_mb = 1
    limit_byte = limit_mb * ( 1024 ** 2 )
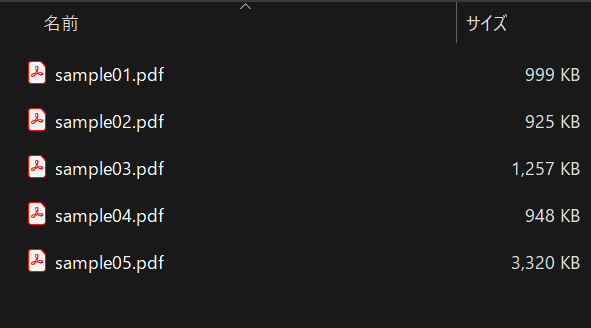
実行

↓

compressedフォルダ
最後に
画質設定を0-100の間で指定する必要があるため、画質設定:1(10回目の圧縮)でも指定ファイル以下にならなかった場合は最初に挙げた手作業での圧縮で対応する必要があります。
画像や文字の割合によって圧縮率が変わるようなので、ファイルによっては指定サイズ以下にならないことがある点は残念ですが、この記事がどなたかの参考になれば幸いです。