はじめに
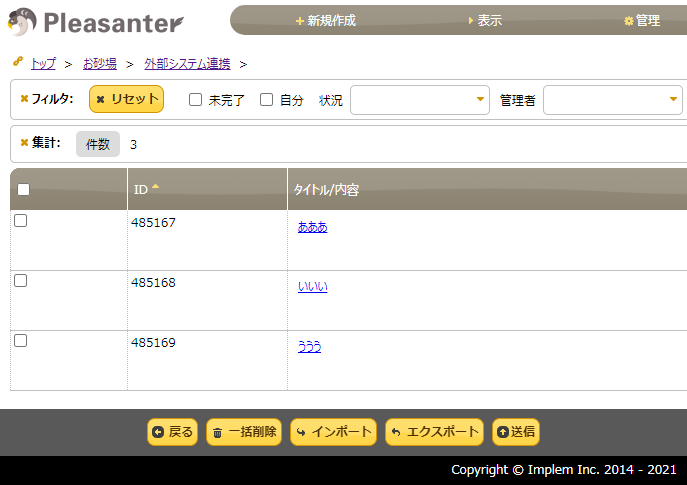
プリザンターの一覧画面で選択したレコードを送信する方法を記述します。
(送信先のプログラムでPDF帳票を作成して返す、のような使用を想定しています。)
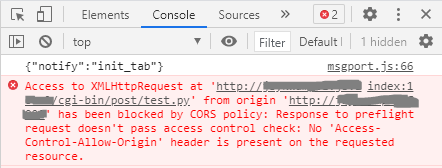
CORSエラーでハマったので、備忘と情報共有のため記事にします。
ボタン追加
スクリプトで一覧画面にボタンを追加します。
// ======== 初期化 ========
// 一覧表示のロード時に初期化を呼び出す
$p.events.on_grid_load = function () {
    init();
}

/* =============================================================================
 関数:init
 機能:初期化を行う
       ・ボタン追加
       ・ボタンクリック時の処理を登録
       ・XMLHttpRequestと応答処理を作成
 引数:なし
 備考:一覧画面のロード時に呼び出される
============================================================================== */
function init(){
	// ======== ボタン作成 ========
	var description = '';

	// 送信ボタンを追加
	description += '<button id="post" class="button button-icon ui-button ui-corner-all" type="button"><span class="ui-icon ui-icon-circle-arrow-n"></span>送信</button>';

	// エクスポートボタンの右にボタンを追加
	var element = document.getElementById("MainCommands");
	element.insertAdjacentHTML('beforeend', description);

	// ======== ボタンクリック時の処理を登録 ========
	// 送信ボタンクリック時の処理
	document.getElementById("post").onclick = function() {
		post();
	}
}
送信プログラム
続けて、スクリプトに送信処理を追加します。
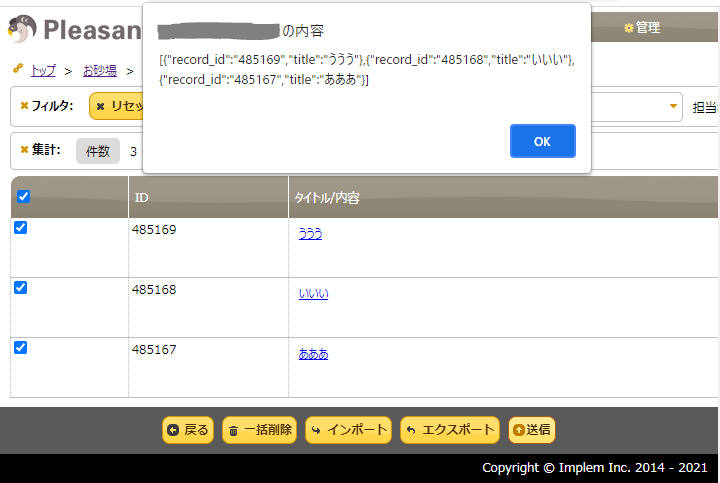
今回はレコードIDとタイトルをJSON形式で送信します。
(一覧表示に表示されない項目は、送信先のプログラムからAPIを使って取得します)
/* =============================================================================
 関数:post
 機能:レコードIDを送信する
 引数:なし
============================================================================== */
function post(){
	// 表の行を取得
	var elements = document.getElementsByClassName("grid-row");

	// チェックが入った行を抽出
	var rows = Array.prototype.filter.call(elements, function(x) {
		return x.getElementsByClassName("grid-check")[0].checked;
	});

	if (rows.length > 0) {
		var request = [];

		for (var i=0; i<rows.length; i++){
			// レコードIDとタイトルを格納
			request[i] = {
				record_id: rows[i].getAttribute("data-id"),
				title: rows[i].children[2].textContent,
			}
		}

		// リクエスト送信
		fetch('http://hogehoge.com/cgi-bin/post/test.py', {
			method: 'POST',
			headers: {
				'Content-Type': 'application/json;charset=UTF-8'
			},
			body: JSON.stringify(request)
		}).then((response) => {
			// 返ってきたJSONを表示
			return response.json().then((json) => {
				alert(JSON.stringify(json));
			});
		});
	}
}
これで、test.pyにJSONが送信されます。
送信先のプログラム
送信先のプログラムを作成します。
今回は、プリザンターから受信したJSONをそのまま返します。
test.py
# ! C:\Python\Python38\python.exe
# -*- coding: utf-8 -*-
import json
import sys, io

# 文字化け対策
sys.stdin  = io.TextIOWrapper(sys.stdin.buffer,  encoding='utf-8')
sys.stdout = io.TextIOWrapper(sys.stdout.buffer, encoding='utf-8')
sys.stderr = io.TextIOWrapper(sys.stderr.buffer, encoding='utf-8')

# ヘッダ出力
header = "Content-type: text/html\n"
header += "Access-Control-Allow-Origin: http://pleasanter-server.com\n" # プリザンターのサーバを指定
header += "Access-Control-Allow-Headers: ""X-Requested-With, Origin, X-Csrftoken, Content-Type, Accept""\n"
header += "\n"
print(header)

# プリザンターからJSONを受信
data = sys.stdin.buffer.read()
params = json.loads(data.decode())

# 受信したJSONをそのまま返す
print(json.dumps(params))
なお、test.pyでAccess-Control-Allow-OriginとAccess-Control-Allow-Headersをヘッダ出力しないと、CORSエラーになります。
(ここでハマりました)

まとめ
一覧画面から複数行を外部に送信して処理したいと思っていたのですが、ようやく実現できました。

