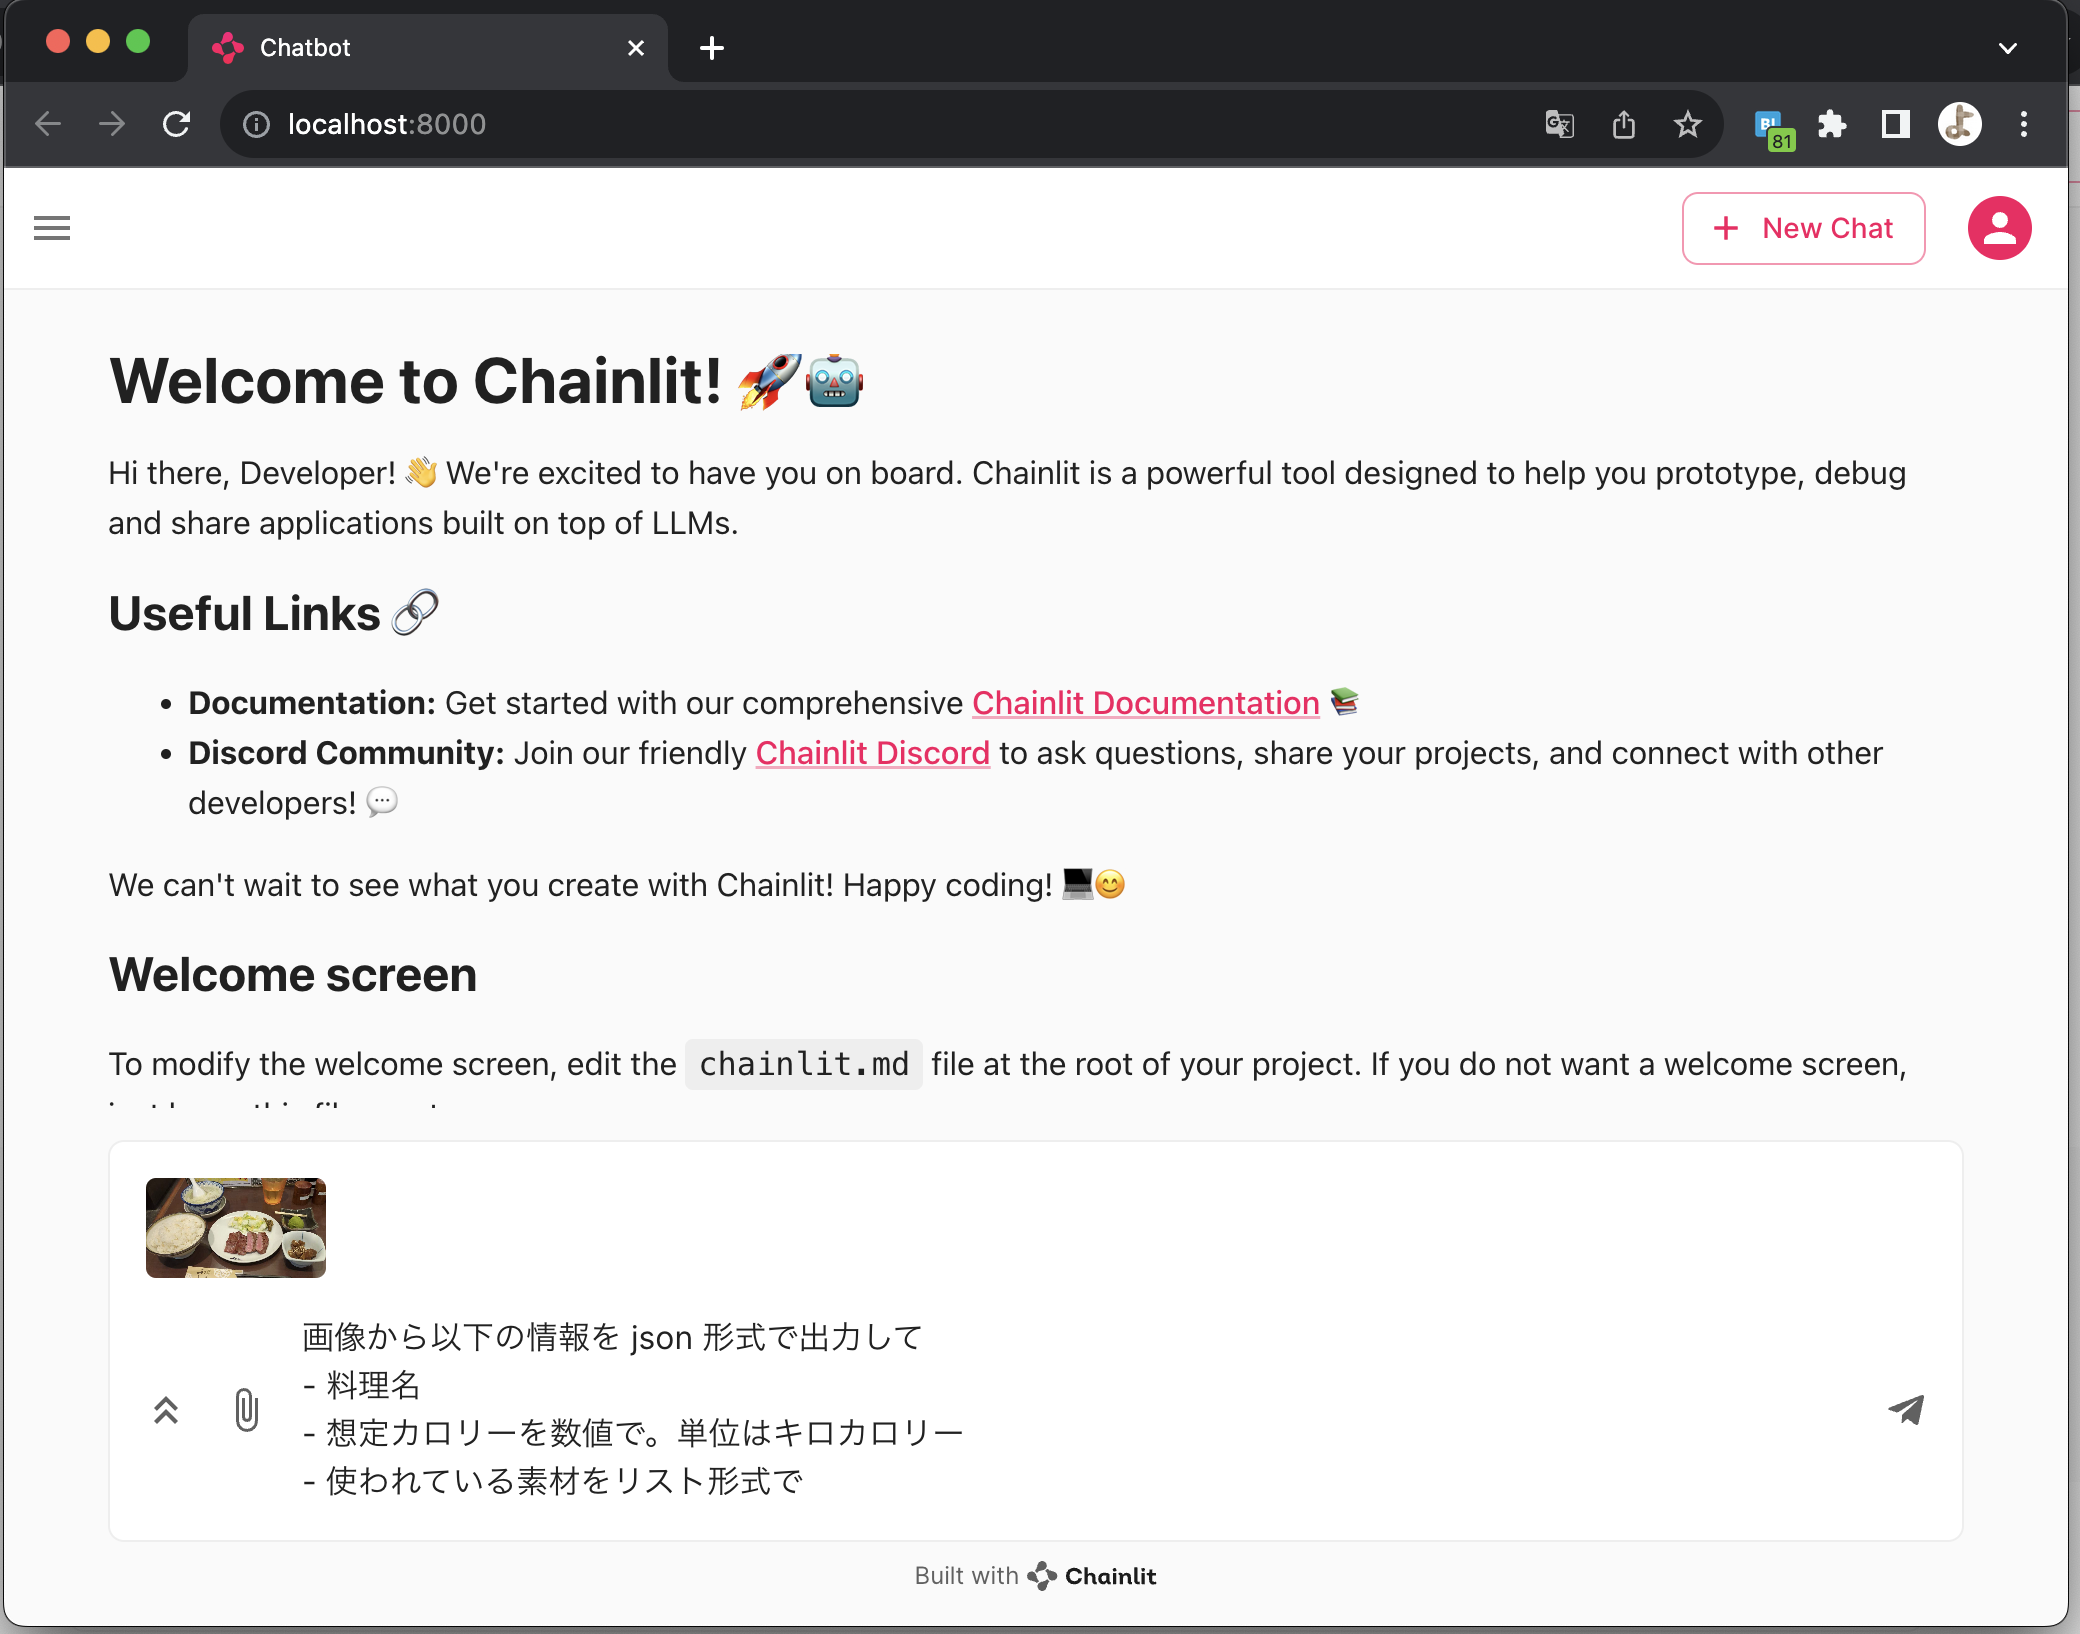
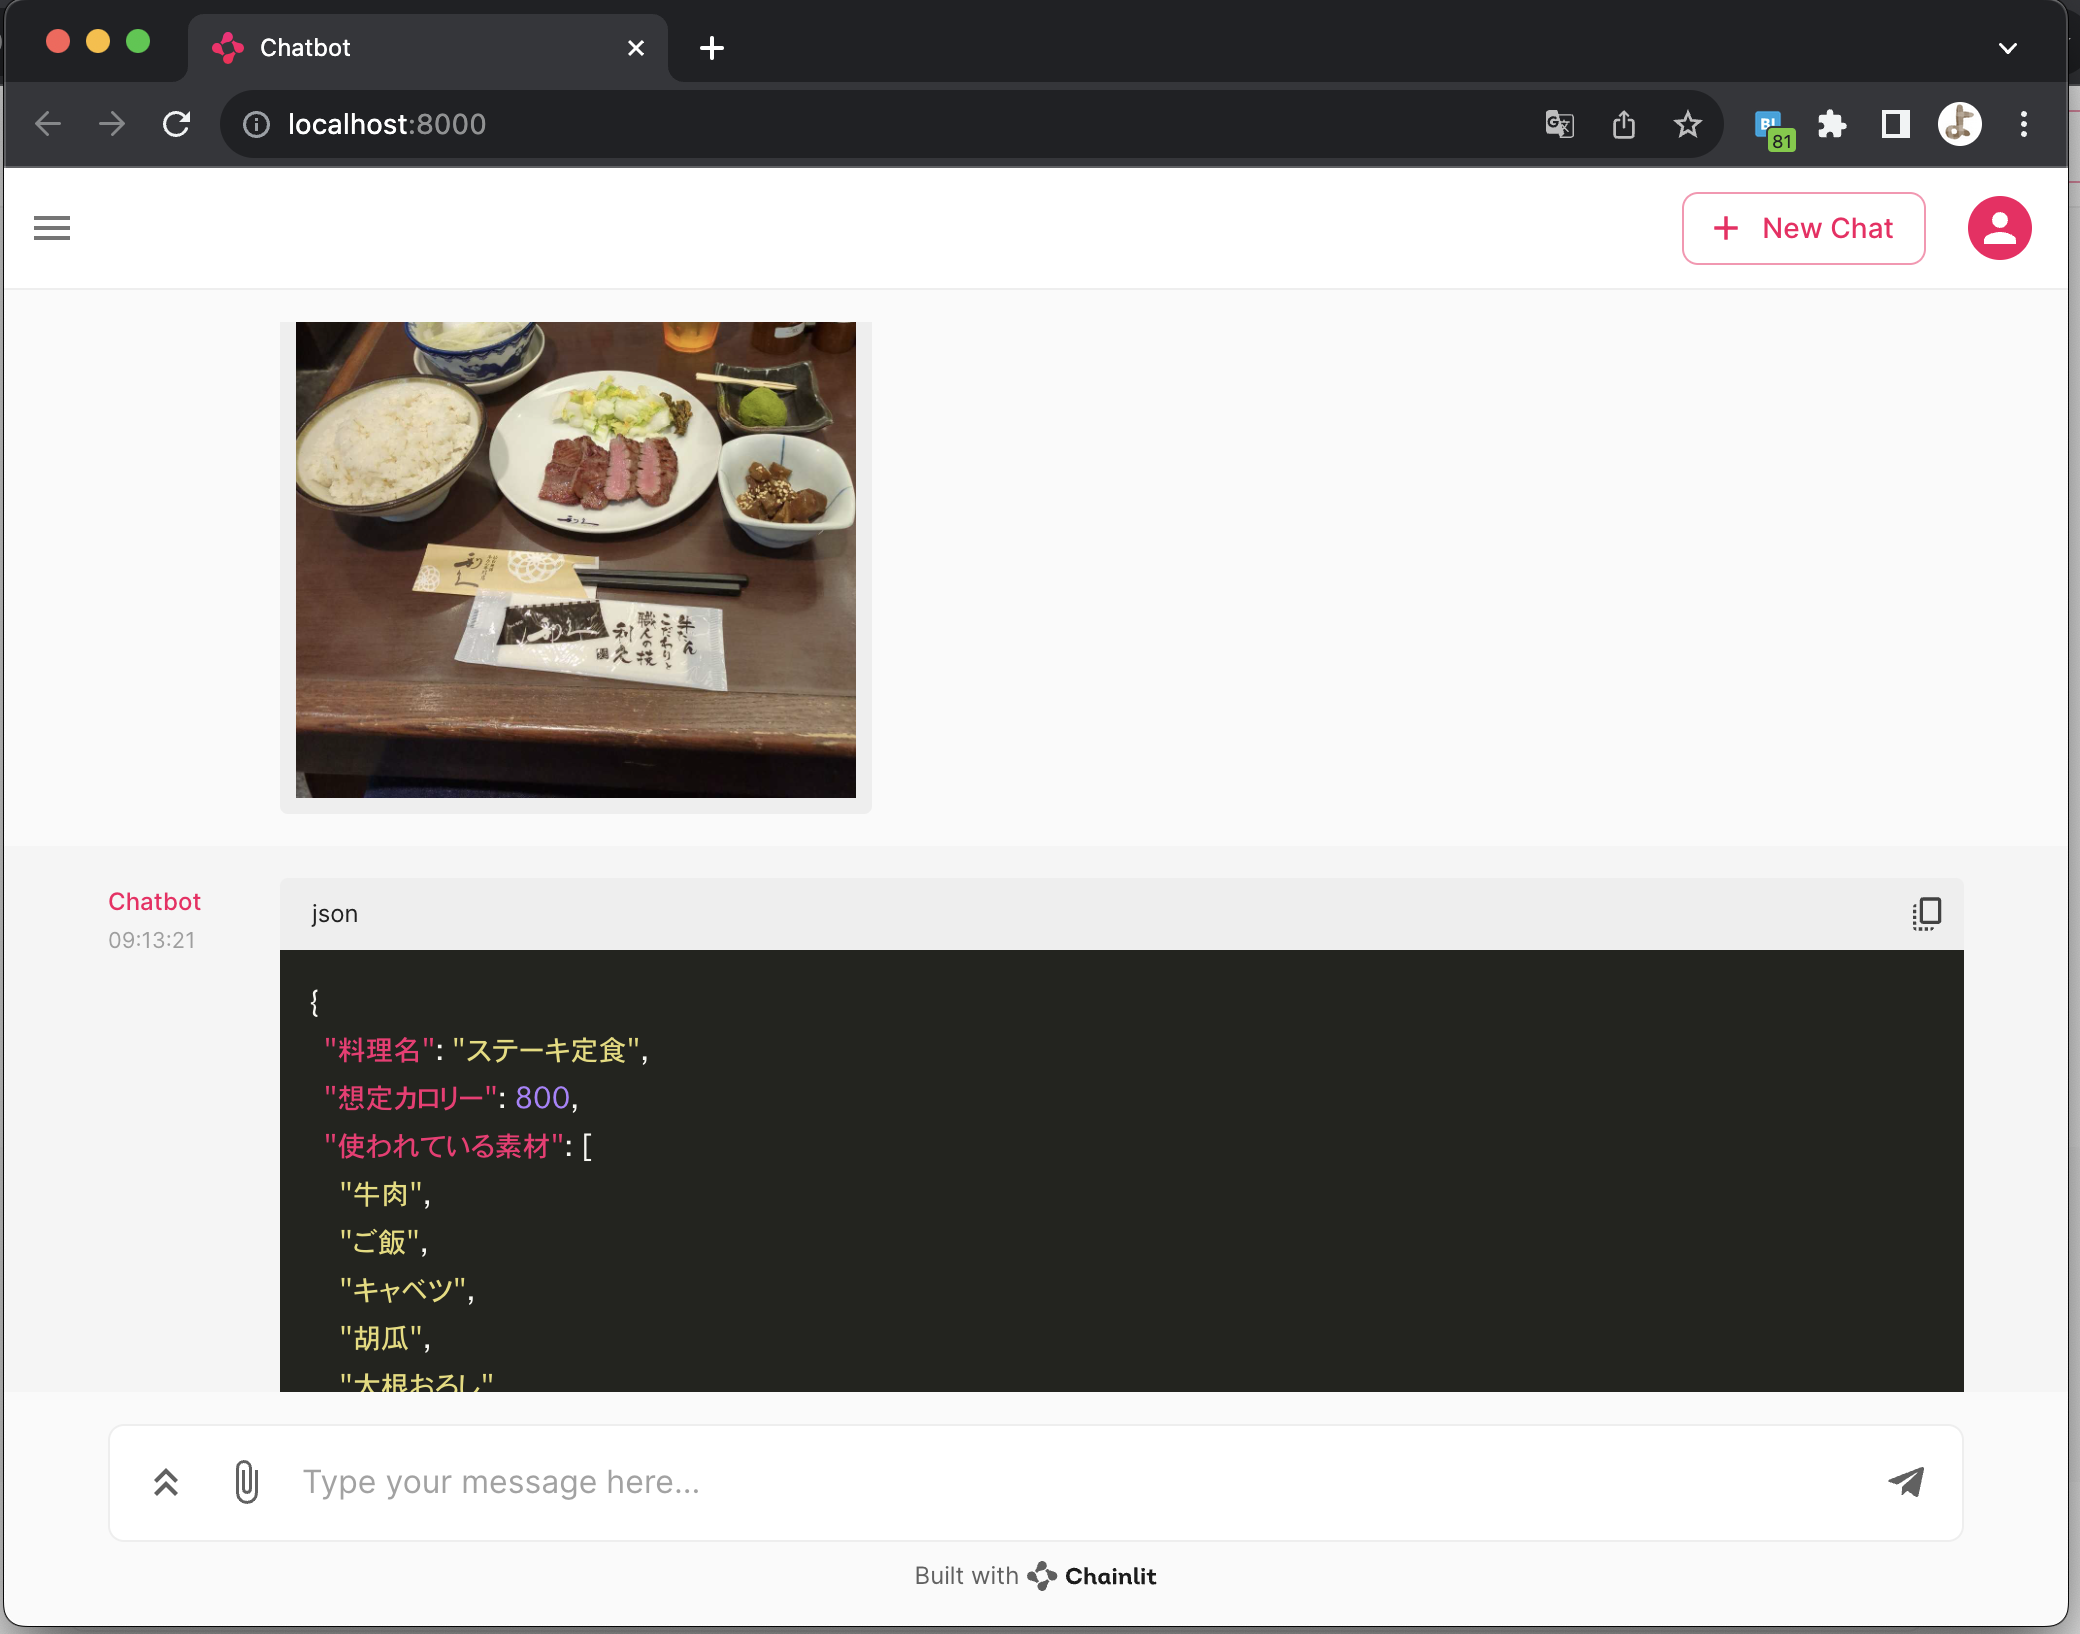
この記事は セゾン情報システムズ Advent Calendar 2023 4日目の記事です。
背景
- OpenAI の ChatGPT で画像をインプットとする機能がリリースされ、API も利用可能になった
- Azure OpenAI で試したかったが、まだ未リリースなので OpenAI の API を試してみる
- 副次的な効果として最低限の費用で ChatGPT の機能を試せます
- API の最低クレジット 5$ から
- 最低限のプログラムで実現したい
前提
- OpenAI にアカウントを登録している
- python が利用可能
目次
OpenAI で API キーを生成
API キーを生成
- 以下 URL にアクセス
https://platform.openai.com/api-keys - 「Create new secret key」ボタンをクリック
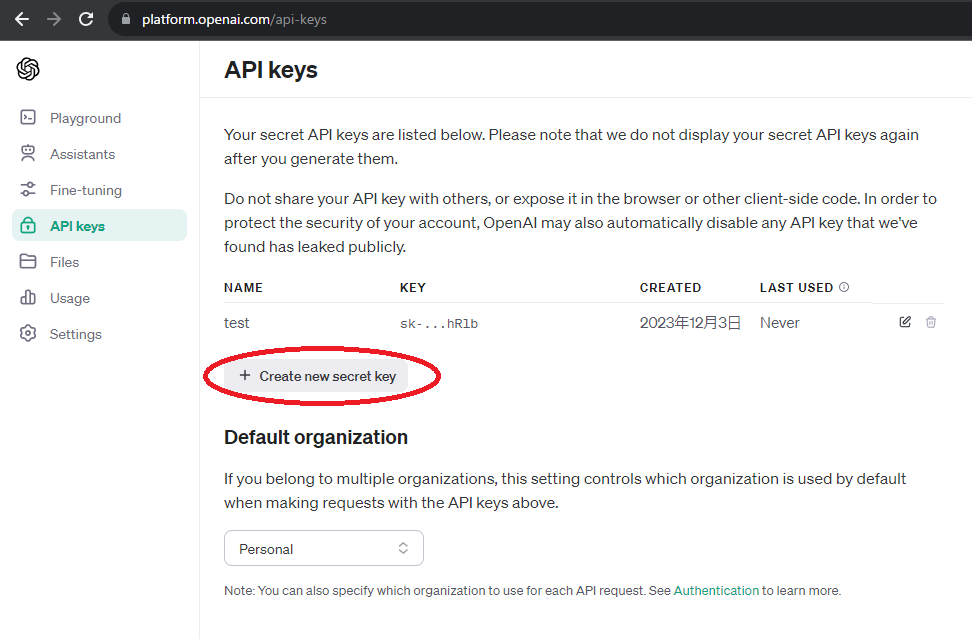
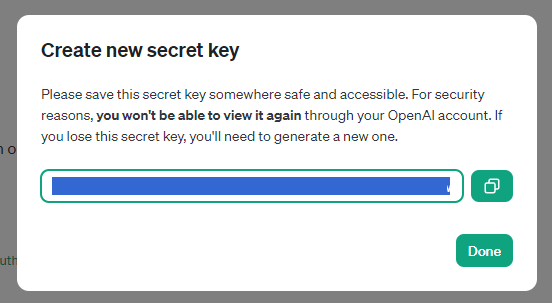
- 適当な名前を入力し、「Create secret key」 をクリック
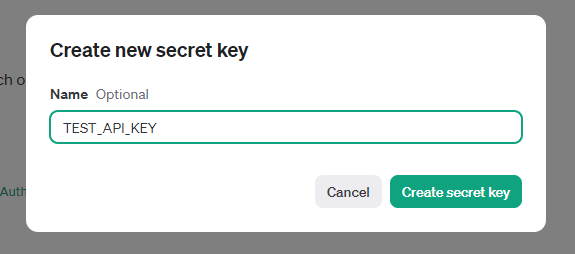
- 生成されたキーが表示されるので、コピーして控えておく
クレジットをチャージ(課金)
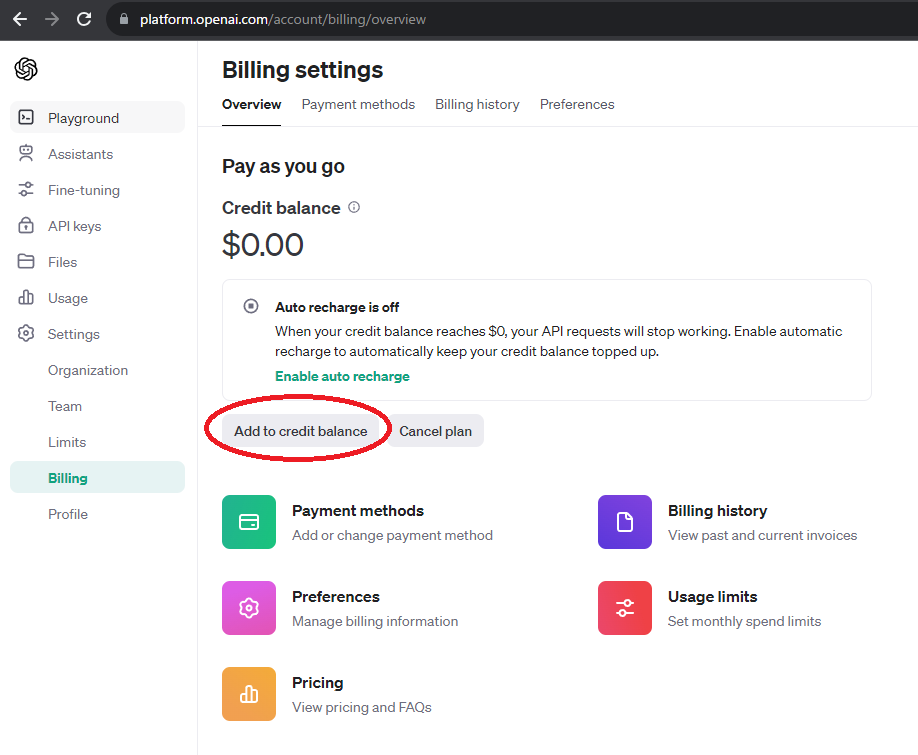
API を利用するにはクレジットをチャージする必要がある。最低 5$ からになります。
- 以下 URL にアクセス
https://platform.openai.com/account/billing/overview - 「Add to credit balance」をクリック
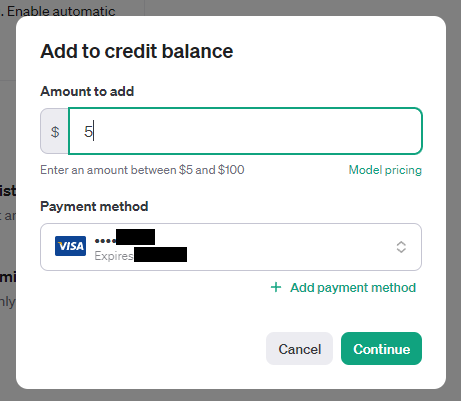
- チャージする金額を入力。最低 5 $ から。
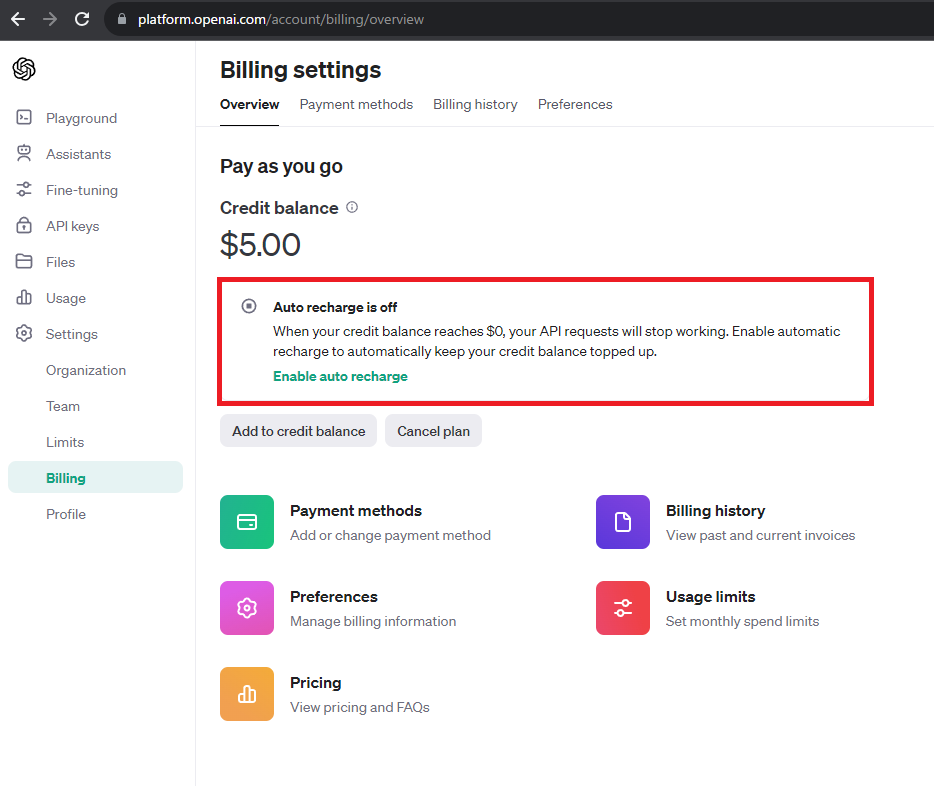
注意点
Auto recharge is off クレジットのオートリチャージがオフになっていることを確認しておく
python で chainlit を利用して簡単なプログラムを作成
ライブラリインストール
chainlit というライブラリを使ってチャット Web アプリケーションを最低限のコードで動かします
pip や pipenv を使ってインストール
pip install openai
pip install chainlit
2023/12/04時点のバージョンは以下
- openai
- 1.3.7
- chainlit
- 0.7.700
スクリプトファイル作成
app.py など適当なファイルを作成して、以下コードを貼り付ける
import os
import base64
import chainlit as cl
from openai import OpenAI

client = OpenAI(
    api_key=os.environ.get("OPENAI_API_KEY")
)

@cl.on_message
async def on_message(message: cl.Message):
    if not message.elements:
        await cl.Message(content="画像が存在しません").send()
        return

    # 画像を取得して、base64エンコーディング
    images = [file for file in message.elements if "image" in file.mime]
    encoded = base64.b64encode(images[0].content).decode()

    # テキストと画像を送信
    messages=[
            # {"role": "user", "content": message.content},
            {
                "role": "user",
                "content": [
                    {"type": "text", "text": message.content},
                    {
                        "type": "image_url",
                        "image_url": f"data:image/jpeg;base64, {encoded}"
                    },
                ]
            }
        ]
    response = client.chat.completions.create(
        model="gpt-4-vision-preview",
        messages=messages,
        max_tokens=1000
    )

    # 受け取った結果をチャットに送信
    await cl.Message(
        content=response.choices[0].message.content,
    ).send()
環境変数をセット
-
OPENAI_API_KEYという環境変数名で、生成した API キーをセット - (コードに直接記述でも一応 OK)
アプリケーション起動
以下コマンドでアプリケーションを起動
chainlit run app.py
ブラウザでアクセス
ブラウザで以下 URL にアクセス
http://localhost:8000
使ってみる
まとめ
- GPT-4 with Vision を API 経由で体験できました
- Azure OpenAI でも利用可能になったら速攻で試していきたい
