はじめに
この記事では、Playwright を使ってテスト中にスクリーンショットを取得する方法を解説します。
UI の見た目を記録したり、テスト失敗時のデバッグ資料としてスクリーンショットを自動で保存するユースケースを紹介します。
開発環境
開発環境は以下の通りです。
- Windows 11
- VSCode
- React 18.3.1
- TypeScript 5.8.3
- Playwright 1.52.0
事前準備
事前準備として、Playwright の利用設定を行います。
手順は公式ドキュメントや以下の記事に記載があります。
1. ページ全体のスクリーンショットを取得
Playwright の page.screenshot() を使うと、現在のビューポートまたはフルページ全体のスクリーンショットを取得できます。
まずはテスト対象のページを実装します。
export const About = () => {
  return (
    <div>
      <h1>About</h1>
      <p>You are on the about page.</p>

      {Array.from({ length: 20 }).map((_, i) => (
        <section key={i}>
          <h2>Section {i + 1}</h2>
          <p>section {i + 1} is good.</p>
        </section>
      ))}
    </div>
  );
};
次に上記のページのスクリーンショットを取得するテストコードを実装します。
import { test } from "@playwright/test";

test("full page screenshot", async ({ page }) => {
  await page.goto("/about");

  await page.screenshot({ path: "screenshots/viewport.png" });
  await page.screenshot({ path: "screenshots/full-page.png", fullPage: true });
});
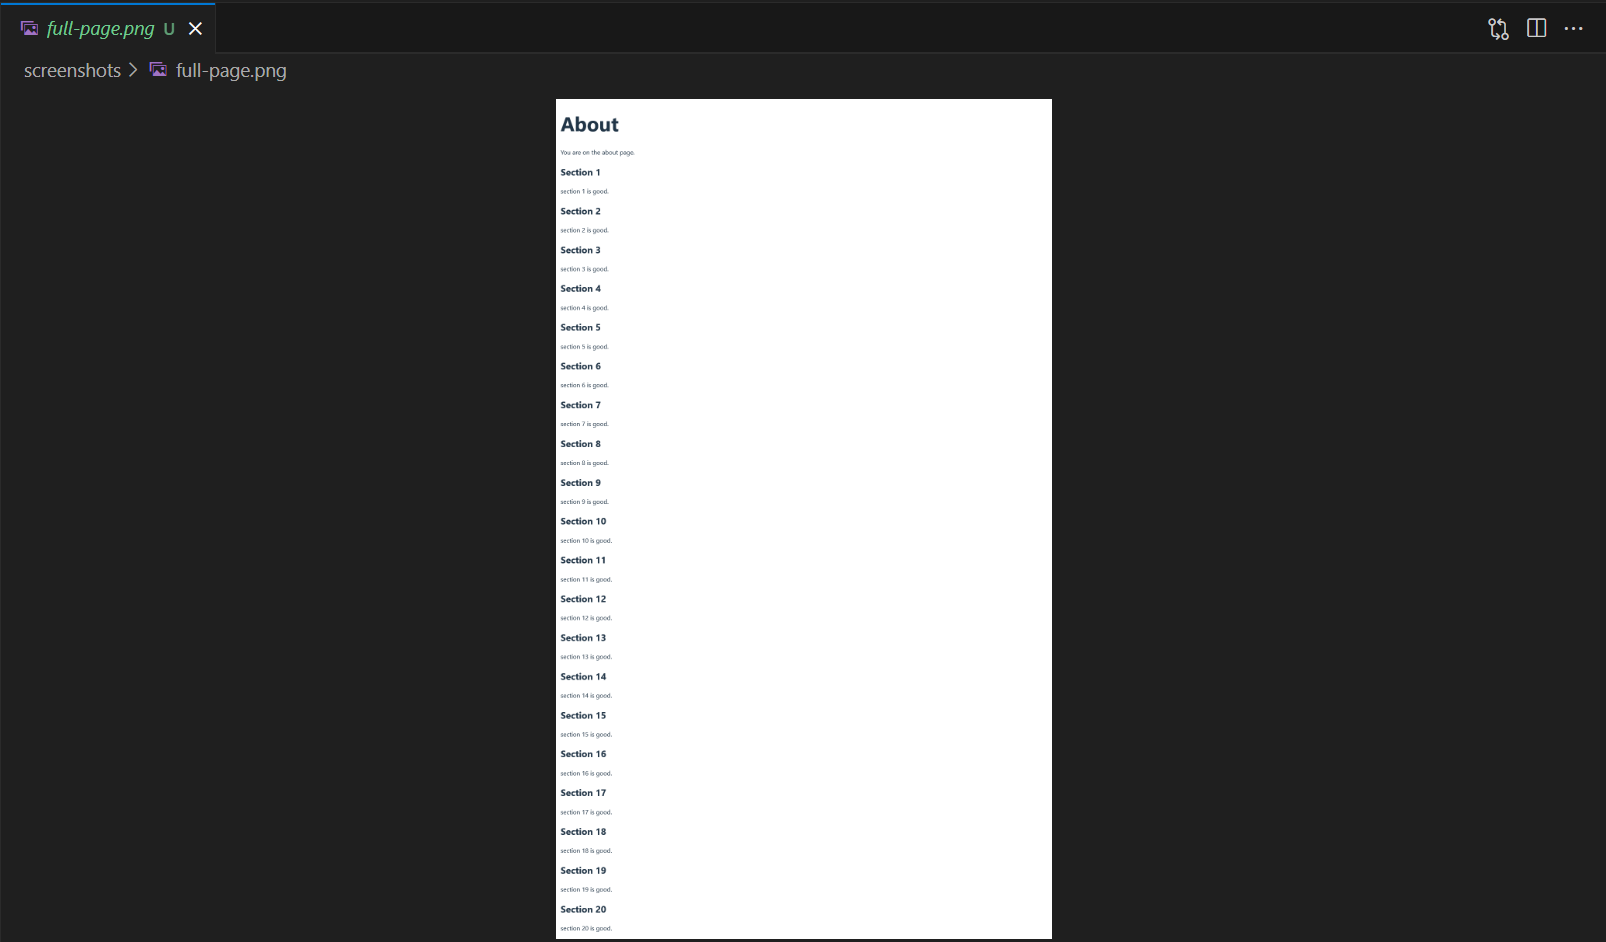
テストを実行すると、ビューポートのスクリーンショットとページ全体のスクリーンショットが取得できます。
- ビューポートのスクリーンショット

- ページ全体のスクリーンショット
2. 要素単位のスクリーンショットを取得
特定の要素だけキャプチャしたい場合は、locator.screenshot() を使用します。
import { test } from "@playwright/test";

test("heading screenshot", async ({ page }) => {
  await page.goto("/about");

  await page
    .getByRole("heading", { name: "About" })
    .screenshot({ path: "screenshots/header.png" });
});

3. テスト失敗時に自動でスクリーンショットを保存
playwright.config.ts の screenshot: 'only-on-failure' を設定しておくと、テストが失敗したタイミングで自動的にスクリーンショットが取得されます。手動で撮影する必要がなく、CI 環境でも失敗時の状況が記録されます。
上記の設定をしていれば、テストコード上にスクリーンショットを取得するコードがなくてもテスト失敗時にスクリーンショットが取得されます。
import { test, expect } from "@playwright/test";

test("on failure screenshot", async ({ page }) => {
  await page.goto("/about");

  await expect(page.locator("#not-found")).toBeVisible();
});

デフォルトでは、プロジェクト直下の test-results/ フォルダがスクリーンショットの保管場所として使われます。
playwright.config.ts の outputDir で任意のフォルダの保管することもできます。
4. スナップショット比較による視覚的回帰テスト
Playwright の toMatchSnapshot() を使えば、前回取得したスクリーンショットと比較してビジュアル差分を検知できます。
import { test, expect } from "@playwright/test";

test("compare snapshot", async ({ page }) => {
  await page.goto("/about");

  await expect(page.getByText("You are on the about page.")).toHaveScreenshot(
    "screenshot/description.png"
  );
});
前回からの差分があった場合、テストは失敗し、差分のスクリーンショットが出力されます。失敗時の差分が意図した差分である場合、以下のコマンドでスナップショットを上書きします。
npx playwright test --update-snapshots
まとめ
この記事では、Playwright を使ってさまざまな方法でスクリーンショットを取得・管理する手順を紹介しました。改めてポイントを振り返ります。
- ページ全体/ビューポートのキャプチャ
-
page.screenshot()でビューポートのみ、 -
page.screenshot({ fullPage: true })でページ全体を一枚の画像として取得できる
-
- 要素単位のキャプチャ
-
locator.screenshot()を使うことで、特定の要素だけを切り出して取得できる
-
- テスト失敗時の自動保存
-
playwright.config.tsにscreenshot: 'only-on-failure'を設定すると、テストのアサーション失敗時に自動でスクリーンショットがtest-results/(またはoutputDirで指定したフォルダ)に保存され、デバッグが容易になる
-
- 視覚的回帰テスト(スナップショット比較)
-
expect(locator).toHaveScreenshot('baseline.png')を使うことで、既存のベースライン画像と比較し、意図しない UI のズレを自動検知できる - 差分が発生した際は CI 上でテストが失敗し、--update-snapshots オプションで承認済みの変更をベースラインに反映できる
-
これらの機能を組み合わせることで、UI テストの信頼性を高めつつ、テスト失敗時の調査コストを大幅に削減できます。