はじめに
この記事では、Cloudinary というクラウドベースの画像や動画の管理サービスへ画像をアップロードする機能を開発するために必要な情報の収集方法と実装方法を記載します。
開発環境
開発環境は以下の通りです。
- Windows11
- VSCode
- TypeScript 5.4.2
- React 18.3.1
ユーザー登録
まず、以下のURLにアクセスします。
画面右上の「SIGN UP FOR FREE」をクリックして、ユーザー登録します。

ユーザー登録すると以下の画面に遷移します。
この画面で「Dashboard」をクリックします。
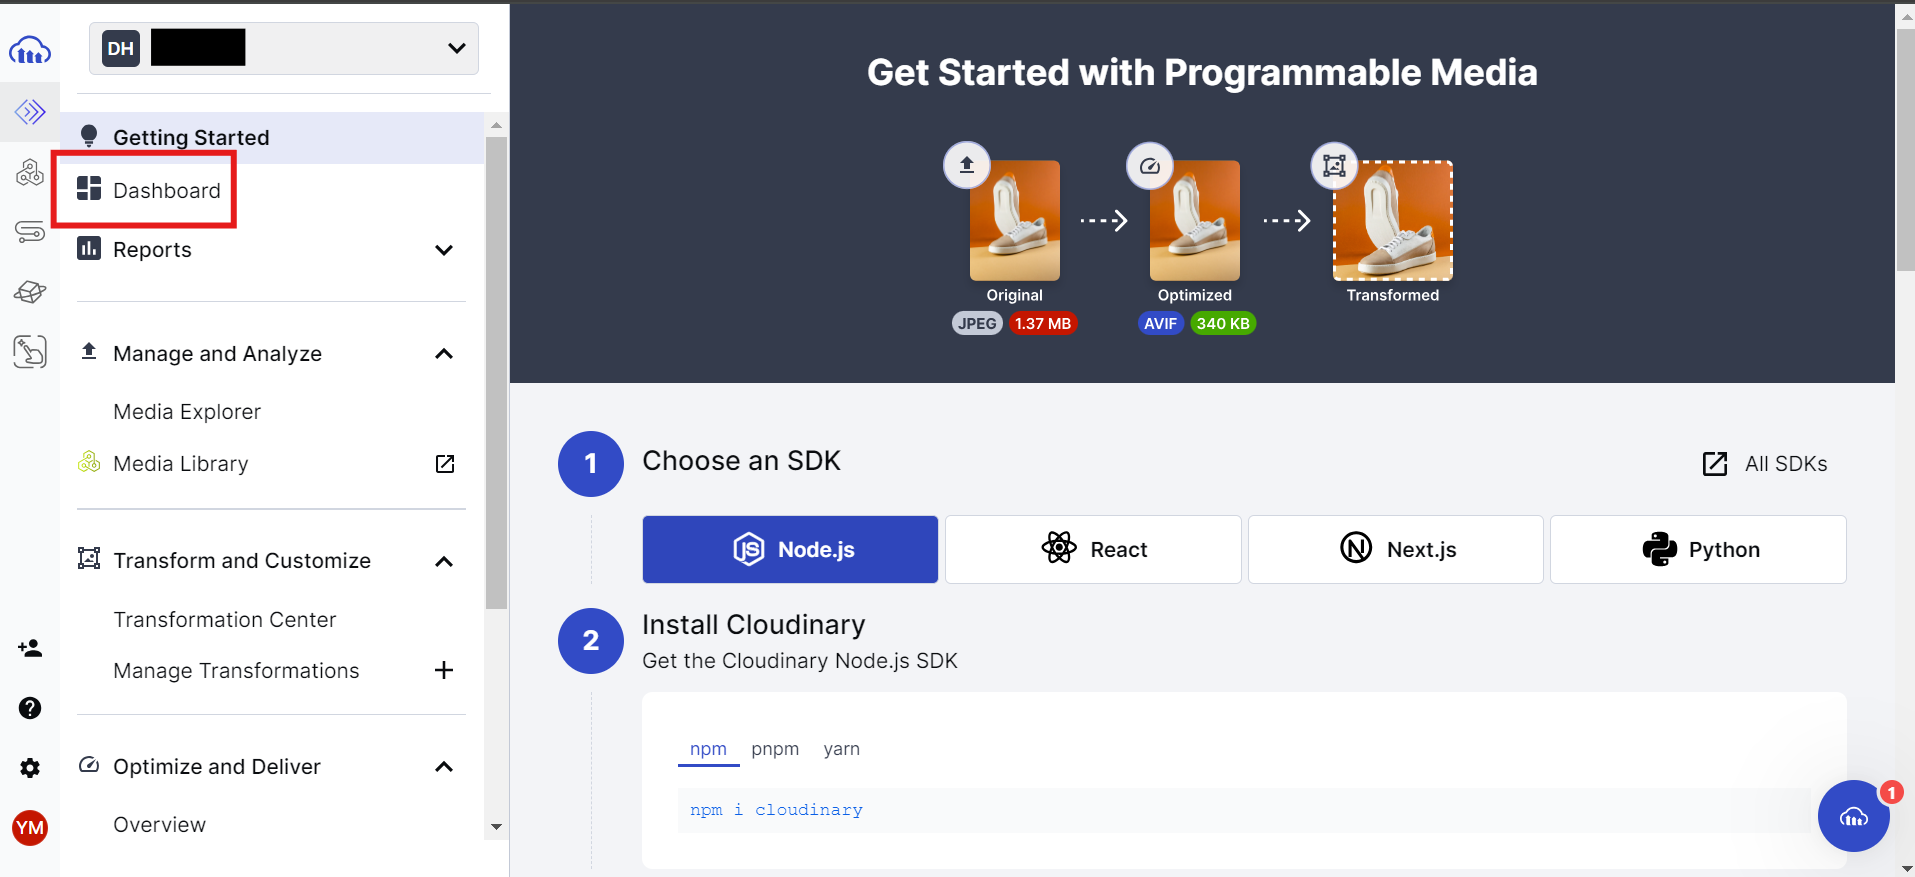
Dashboard 画面で「See All Access Keys」をクリックします。

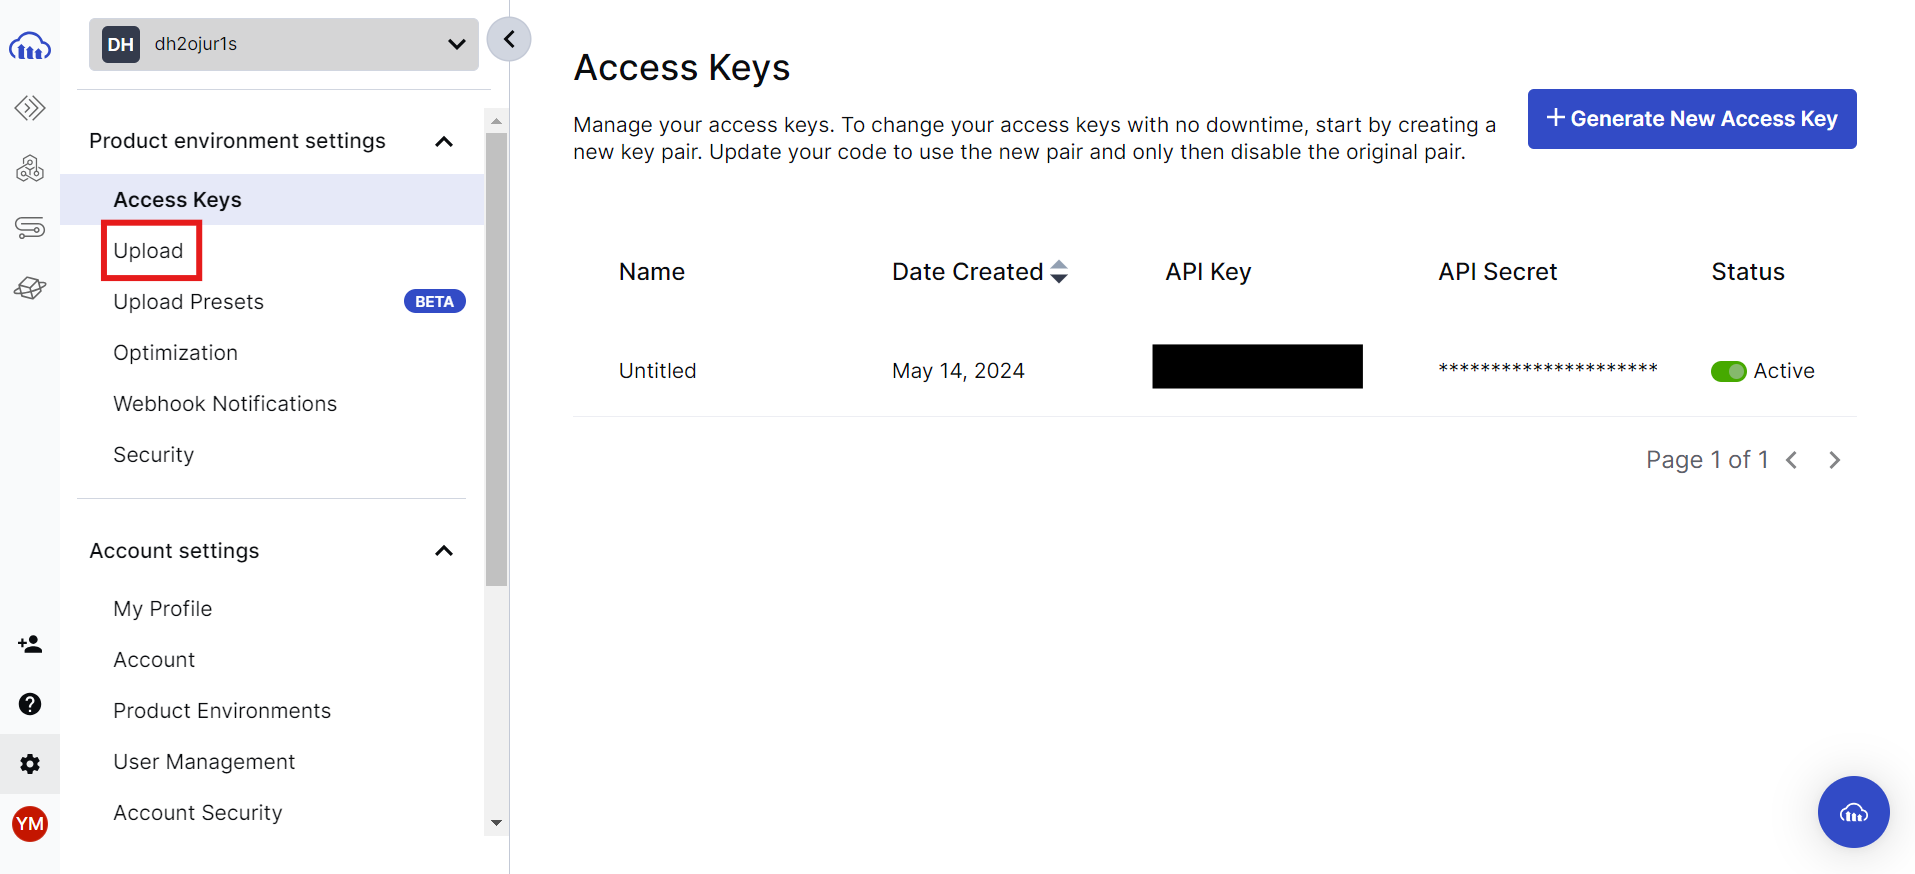
必要に応じて Access Key の Name を適当な値に変更します。

Access Keys 画面で、「Upload」をクリックします。
Upload 画面で、「Enable unsigned uploading」をクリックし、サインインしていないユーザーでも画像をアップロードできるようにします。

「Enable unsigned uploading」をクリックすると、「Add upload present」という表示が出てくるので、これをクリックします。

Signing Mode を「Unsigned」に変更します。

実装
以下の実装を通して Cloudinary へ画像アップロードすることができます。
App.tsx
import { ChangeEvent, FC, useState } from "react";

const UPLOAD_PRESET = import.meta.env.VITE_CLOUDINARY_UPLOAD_PRESET || "test";
const CLOUD_NAME = import.meta.env.VITE_CLOUDINARY_CLOUD_NAME || "test";

export const App: FC = () => {
  const [image, setImage] = useState("");
  const [uploadedImage, setUploadedImage] = useState("");

  const handleChooseImage = (event: ChangeEvent<HTMLInputElement>) => {
    if (!event.target.files || event.target.files.length === 0)
      return alert("Failed to choose image");

    const file = event.target.files[0];
    setImage(URL.createObjectURL(file));
  };

  const handleUploadImage = async () => {
    try {
      const data = new FormData();
      data.append("file", image);
      data.append("upload_preset", UPLOAD_PRESET);
      data.append("cloud_name", CLOUD_NAME);

      const response = await fetch(
        // ref. https://cloudinary.com/documentation/upload_images#basic_uploading
        `https://api.cloudinary.com/v1_1/${CLOUD_NAME}/image/upload`,
        {
          method: "POST",
          body: data,
        }
      );
      const jsonData = await response.json();
      setUploadedImage(jsonData.url);
      setImage("");
      alert("Succeeded in image upload");
    } catch (error) {
      alert("Failed to image upload");
    }
  };

  return (
    <div>
      <h2>Image Upload</h2>
      <input type="file" onChange={handleChooseImage} />
      <button onClick={handleUploadImage} disabled={!image}>
        Image Upload
      </button>
      <hr />
      <h3>Chosen Image</h3>
      {image ? <img src={image} alt="chosen" /> : <p>No Image Chosen</p>}
      <hr />
      <h3>Uploaded Image</h3>
      <p>{uploadedImage || "No Image Uploaded"}</p>
    </div>
  );
};