Word-As-Imageとは
Word-As-Imageとは、Stable Diffusionを使って既存のフォントを編集し、単語の意味をフォントに埋めこむ技術です。
この技術を利用することで、以下のような画像を生成することができます。


元はこちらの論文で紹介され、1週間ほど前にこちらのリポジトリでコードが公開されました。
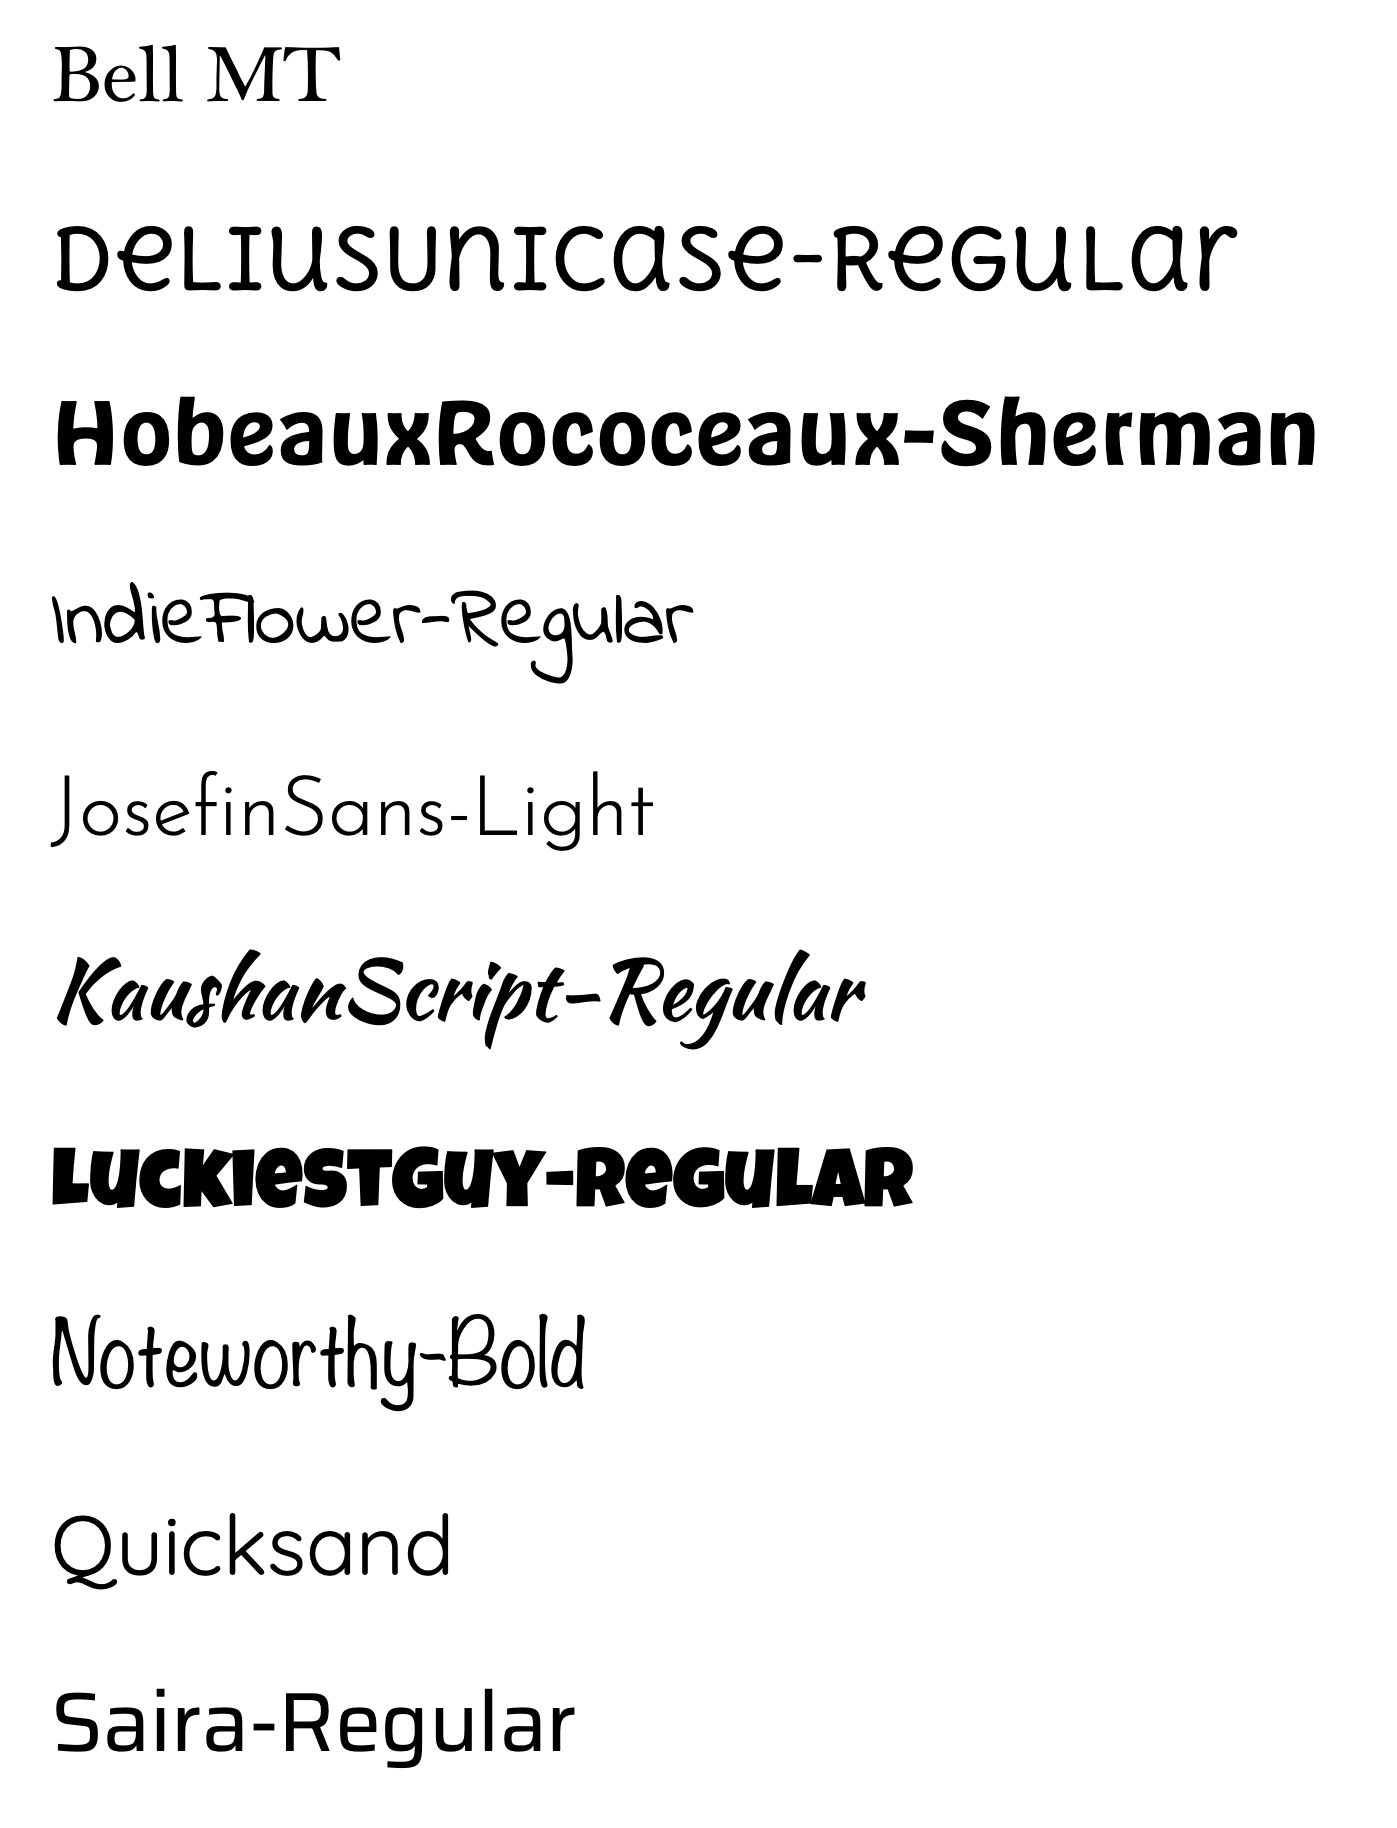
デフォルトで以下の10種類のフォントを利用することができ、.ttfファイルがあれば好きなフォントを利用することもできます。
本記事では、Word-As-ImageをGoogle Colab上で実行する方法を解説します。なお、完成形はこちらです。
本記事では画像生成に関する技術的な解説は行いません。
セットアップ
インストール編
git clone https://github.com/WordAsImage/Word-As-Image.git
cd Word-As-Image
依存関係のインストール
-qqオプションは、インストールをquietモード(非表示モード)で行うためのものです。
また、今回はAnacondaを使わないためオリジナルのコードを少し書き換えています。
!pip install -qq torch==1.12.1+cu113 torchvision==0.13.1+cu113 --extra-index-url https://download.pytorch.org/whl/cu113
!pip install -qq numpy scikit-image
!pip install -qq svgwrite svgpathtools cssutils numba torch-tools scikit-fmm easydict visdom freetype-py shapely
!pip install -qq opencv-python==4.5.4.60
!pip install -qq kornia==0.6.8
!pip install -qq wandb
!pip install -qq shapely
変更点
- Anacondaの仮想環境は使わないので関連するコマンドを削除
-
cmake,ffmpegはColabにはインストール済みのため、関連するコマンドを削除 -
conda installからpip installに変更
以下のようなエラーが表示されますが無視して問題ありません。
ERROR: pip's dependency resolver does not currently take into account all the packages that are installed. This behaviour is the source of the following dependency conflicts.
torchtext 0.15.1 requires torch==2.0.0, but you have torch 1.12.1+cu113 which is incompatible.
torchdata 0.6.0 requires torch==2.0.0, but you have torch 1.12.1+cu113 which is incompatible.
torchaudio 2.0.1+cu118 requires torch==2.0.0, but you have torch 1.12.1+cu113 which is incompatible.
続いてdiffuesersをインストールします。こちらは変更無しです。
!pip install -qq diffusers==0.8
!pip install -qq transformers scipy ftfy accelerate
次にdiffvgをインストールします。
まずは先ほどcloneしたWord-As-Imageの中に移動してdiffvgをcloneします。
そのままsetup.pyを動かすとエラーが発生します。
調べると、セル内に%tensorflow 1.xと記述することで回避できると出てきますが、1.xはもう動かないと怒られます。
そこで、CMakeLists.txtの末尾8行ほどを削除することで対応します。
%cd /content/Word-As-Image
!git clone https://github.com/BachiLi/diffvg.git
%cd diffvg
!git submodule update --init --recursive

# avoid build error
filename = "/content/Word-As-Image/diffvg/CMakeLists.txt"
with open(filename, 'r') as file:
    lines = file.readlines()

lines = lines[:-8]

with open(filename, 'w') as file:
    file.writelines(lines)

!python setup.py install

%cd /content/Word-As-Image
こちらの記事を参考にしました。
これでセットアップは完了です。
あとはExampleに記載されているような形で利用することができます。
python code/main.py --semantic_concept "BUNNY" --optimized_letter "Y" --font "KaushanScript-Regular" --seed 0
使いかた
ここからは、私のColabの設定を載せておきます。
基本的に使う変数は以下の4つになるかと思います。
-
SEMANTIC_CONCEPT
fishやtreeなど、フォントに付与する意味を入力します。WORDを指定しない限り、ここで指定した文字列が実際に使われます。 -
OPTIMIZED_LETTER
実際に意味を付与する -
FONT
利用するフォントを選択します。インストール済みのフォントが選択できるようになっていますが、ttfファイルを使って別のフォントを追加する場合は、code/data/fonts/にフォントファイルを配置後、ファイル名を入力します。 -
WORD(省略可)
画像化する文字列をSEMANTIC_CONCEPTとは別に指定することができます。指定しない限り、SEMANTIC_CONCEPTが画像化されます。
例えばGORILLAのIをFISHに変形させる場合、次のように設定します。

#@markdown # Basic options
#@markdown *** The semantic concept to insert**
SEMANTIC_CONCEPT = "FISH"  #@param {type:"string"}
semantic_concept_option = f"--semantic_concept {SEMANTIC_CONCEPT}"

#@markdown *** One letter in the word to optimize**
OPTIMIZED_LETTER = "I"  #@param {type:"string"}
optimized_word_option = f"--optimized_letter {OPTIMIZED_LETTER}"

#@markdown *** Font name, Please select a font from the sample images below, which are of the pre-installed fonts.**

#@markdown If you want to use a custom font file, place the `.ttf` file in the `code/data/fonts/` directory and enter the filename without the extension.
FONT = "LuckiestGuy-Regular"  #@param ["Bell MT", "DeliusUnicase-Regular", "HobeauxRococeaux-Sherman", "IndieFlower-Regular", "JosefinSans-Light", "KaushanScript-Regular", "LuckiestGuy-Regular", "Noteworthy-Bold", "Quicksand", "Saira-Regular"] {allow-input: true}
font_option = f"--font {FONT}"

#@markdown **The text to work on.** Default: `SEMANTIC_CONCEPT`
WORD = ""  #@param {type:"string"}
word_option = f"--word {WORD}" if WORD != "" else ""

#@markdown **Seed** Default: `0`
SEED = 0 #@param {type:"number"}
seed_option = f"--seed {SEED}"

#@markdown ---
#@markdown # Advanced options

#@markdown **Path to config file.** Default: `code/config/base.yaml`
CONFIG = "" #@param {type:"string"}
config_option = f"--config {CONFIG}" if CONFIG != "" else ""

#@markdown **You can specify any experiment in the config file.** Default: `conformal_0.5_dist_pixel_100_kernel201`
EXPERIMENT = "" #@param {type:"string"}
experiment_option = f"--experiment {EXPERIMENT}" if EXPERIMENT != "" else ""

#@markdown **Output Folder.** Default: `Word-As-Image/output/`
OUTPUT = "" #@param {type:"string"}
log_dir_option = f"--log_dir {OUTPUT}" if OUTPUT != "" else ""

#@markdown **Prompt Suffix.** Default: `minimal flat 2d vector. lineal color. trending on artstation`
PROMPT_SUFFIX = "" #@param {type:"string"}
prompt_suffix_option = f"--prompt_suffix {PROMPT_SUFFIX}" if PROMPT_SUFFIX != "" else ""


import os
import glob
directory_path = OUTPUT if OUTPUT != "" else "output"
before_files = set(glob.glob(os.path.join(directory_path, "*","*","*","*.png")))
!python code/main.py $semantic_concept_option $word_option  $optimized_word_option $font_option $seed_option $config_option $experiment_option $log_dir_option $prompt_suffix_option

after_files = set(glob.glob(os.path.join(directory_path, "*","*","*","*.png")))
new_files = after_files - before_files

from IPython.display import Image
png_path = new_files.pop()

print("Results in ", os.path.dirname(png_path))
Image(png_path)
まとめ
本記事では、Word-As-Imageを活用して、単語の意味をフォントに埋め込む方法をGoogle Colabを用いて解説しました。
Word-As-Imageを活用することで、ノンデザイナーでも込み入ったフォントを作成することができるようになりそうですね。