LaTeX で図表などのコンテンツを文章に回り込ませたい場合、wrapfig パッケージを使うことがよく知られています。
しかし、wrapfig ではリスト環境や定理環境内で利用できない等、いくつか知られた問題があることも事実です。
本記事では、上のような問題を回避できるかもしれない wrapfig パッケージの類似機能を提供する wrapstuff パッケージを利用する方法を紹介します。
wrapstuff パッケージを使う
wrapstuff パッケージは以下のようなパッケージの機能を統合・拡張しようとするパッケージです。
- cutwin
- floatflt
- picinpar
- wrapfig
- wrapfig2
また、wrapstuff パッケージは wrapstuff 環境のみを提供します。
基本的な使い方
基本的な使い方は wrapfig パッケージと同じです。
回り込ませたい文章の前に wrapstuff 環境を配置します。
\begin{wrapstuff}
  %% コンテンツ
\end{wrapstuff}
%% 回り込ませる文章
回り込ませる文章はコンテンツを覆えるくらい十分に長い文章である必要があります。(短い文章では不格好になります)
wrapfig では配置場所やはみ出し量、幅などを環境の引数として指定していました。
%% 右側に配置、20mm はみ出し、幅 0.3\linewidth の場合の例
\begin{wrapfigure}{r}[20mm]{0.3\linewidth}
wrapstuff では、これらを環境のオプション引数として指定します。
%% 右側に配置、20mm はみ出し、幅 0.3\linewidth の場合の例
\begin{wrapstuff}[type = figure, r, hoffset = 20mm, width = 0.3\linewidth]
wrapstuff パッケージには figure や table に対応する環境はないので、type オプションから figure や table を指定することで対応します。
この他のオプションではコンテンツ周囲の余白の調整も可能です。これらオプションの詳細は 次節 で紹介します。
オプション
以下で示すオプションは wrapstuff 環境のオプション引数の他、\wrapstuffset で全体に適用することが出来ます。
| オプション | 値 | 説明 |
|---|---|---|
top |
非負整数 | コンテンツ上部に配置するテキストの行数 |
width |
長さ | コンテンツの幅 |
height |
長さ | コンテンツの高さ |
lines |
正整数 | コンテンツが占める行数 |
linewidht |
長さ | 全体の幅(規定では \linewidth) |
column |
true, false, par
|
中央に配置した際に、文章を分ける位置の制御 |
leftsep, rightsep, hsep
|
長さ | 左右のスペース |
abovesep, belowsep, vsep
|
長さ | 上下のスペース |
hoffset |
長さ | 左右のはみ出し量(外方向に正) |
voffset |
長さ | 上下のはみ出し量(上方向に正) |
type |
figure, table 等 |
フロートの種類 |
wrapstuff 環境にテキストが含まれる場合は width オプションが必要になります。
また、type オプションを指定すると、\caption を使って図表等のキャプションを追加できます。(ただし、キャプションはテキストなので width オプションも必要です)
column オプションの詳細については この節 を参照してください。
加えて、配置場所を指定する 6 つの指定子があります。
| 配置指定子 | 説明 |
|---|---|
r |
右側(デフォルト) |
c |
中央 |
l |
左側 |
i |
内側 (twoside) |
o |
外側 (twoside) |
ratio |
数値に対応した位置(0~1) |
wrapfig パッケージのフロートとして指定する R や I といったような指定子はありません。
wrapfig と書き方を互換にする
wrapstuff パッケージで提供される wrapstuff 環境は wrapfig パッケージで提供される wrapfigure 環境などとは異なる書き方をします。
そのため、書き方に慣れないこともあるかも知れません。
そのような際には、以下のように wrapstuff 環境を wrapfigure・wraptable 環境として定義すれば良いでしょう。
\NewDocumentEnvironment{wrapfigure}{o m O{0pt} m o}%
{%
  \IfNoValueTF{#1}%
  {\begin{wrapstuff}[#2, type = figure, hoffset = #3, width = #4, #5]}%
  {\begin{wrapstuff}[lines = #1, #2, type = figure, hoffset = #3, width = #4, #5]}%
}%
{\end{wrapstuff}}
\NewDocumentEnvironment{wraptable}{o m O{0pt} m o}%
{%
  \IfNoValueTF{#1}%
  {\begin{wrapstuff}[#2, type = table, hoffset = #3, width = #4, #5]}%
  {\begin{wrapstuff}[lines = #1, #2, type = table, hoffset = #3, width = #4, #5]}%
}%
{\end{wrapstuff}}
\begin の最末にオプション引数として wrapfigure・wraptable 環境にはないオプションを課せるようにしています。
次ページに送られたコンテンツをページ下部に配置する
wrapstuff 環境にはコンテンツの高さを調整する height オプションがあります。
これを利用することで、ページ末ではみ出すようなコンテンツを回り込みの対象にする場合に有意義になります。
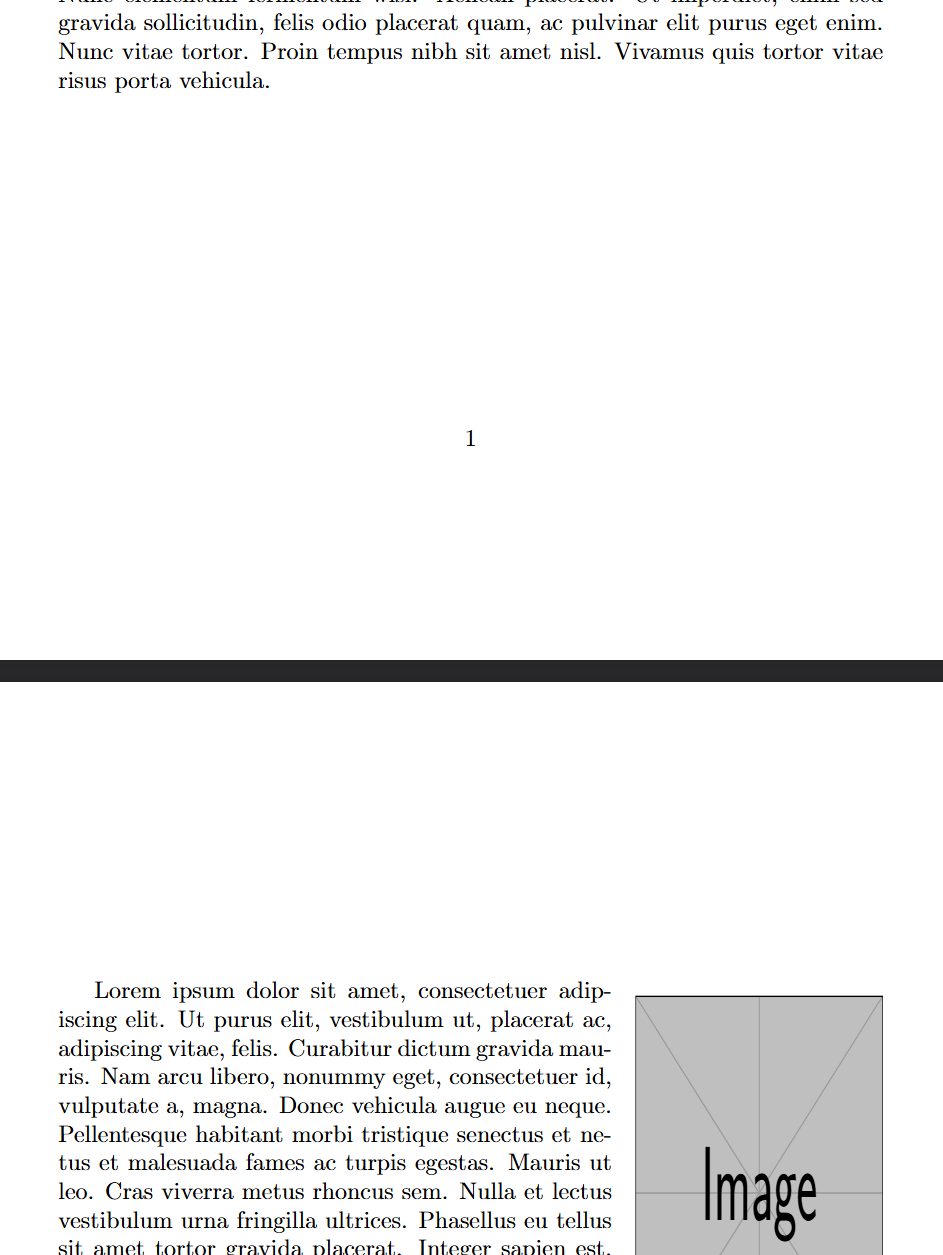
wrapstuff 環境内のコンテンツの高さが余白よりも大きい場合、次表左側の Before のように文章とコンテンツを次のページに送ってしまいます。この場合、本来文章で埋まるはずの部分が空白となってしまい、不格好な空白が生じてしまいます。
wrapstuff では、表右側の After のようにフッターにはみ出す形でコンテンツを置いて文章を回り込ませるように出来ます。
| Before | After |
|---|---|
 |
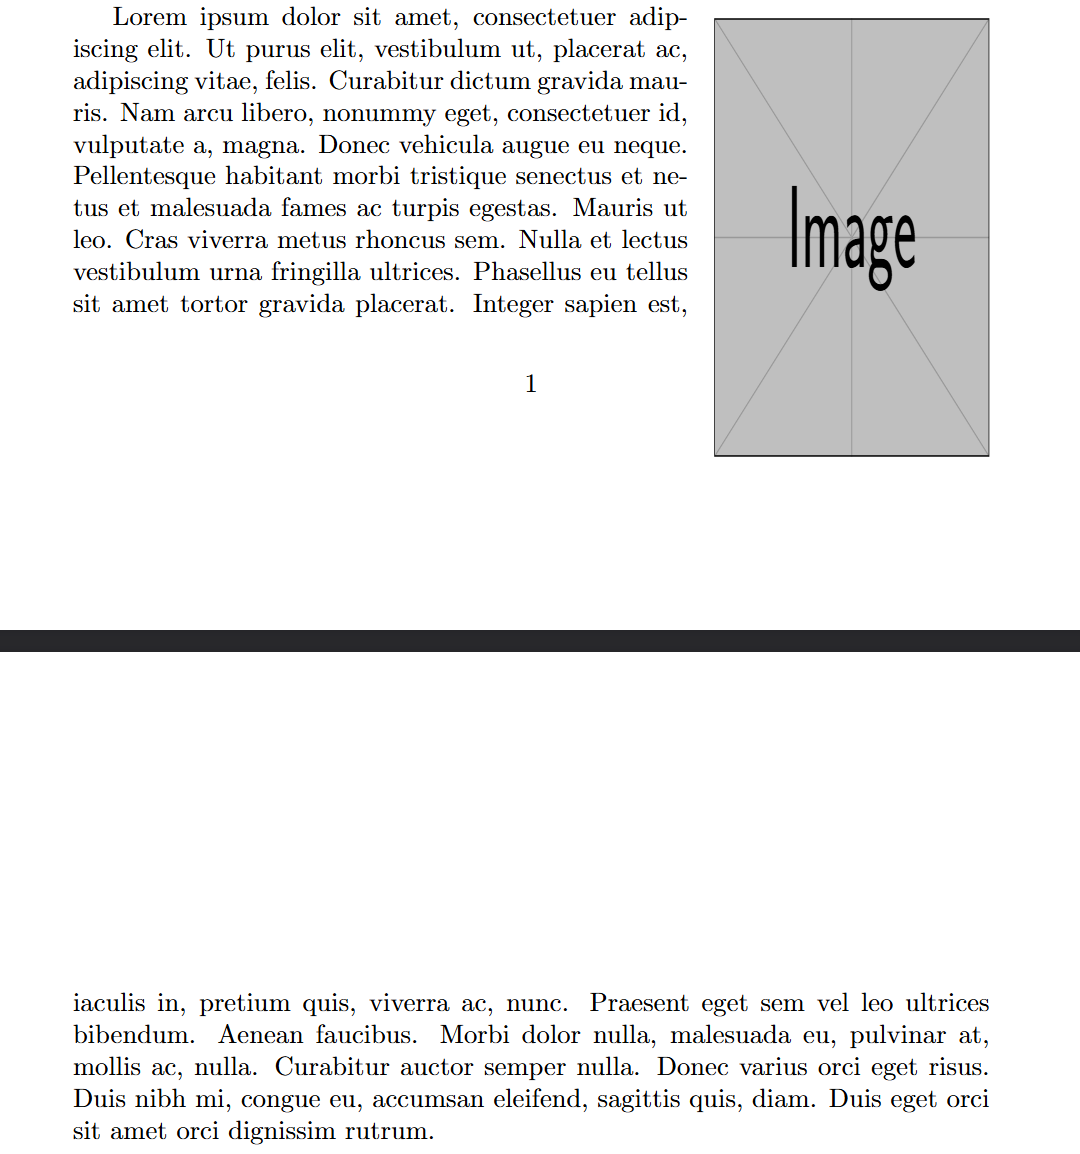 |
これを実現するには、空白になっている高さ分だけのコンテンツであると wrapstuff に解釈させれば良いので、height オプションを空白の高さ分に指定します。
また、上下の位置を voffset オプションで調節します。
したがって、以下のようにします。
\lipsum[1-4]

\begin{wrapstuff}[
    width = 0.3\linewidth,
    height = 40mm,   %% ← これを追加
    voffset = -10mm  %% ← これを追加
  ]
  \includegraphics[ width = \linewidth, height = 0.3\textheight ]{example-image}
\end{wrapstuff}
\lipsum[1]
もしも文字がコンテンツと被る場合であっても、height と voffset オプションを上手く調節することで、綺麗に収めることができるでしょう。
利用例
本節の例では、サンプルを作成するために mwe パッケージを使用します。また、ダミーテキストを lipsum パッケージから作成します。
リスト環境や定理環境の中
wrapfig パッケージでは、itemize・enumerate 環境などのリスト環境や \newtheorem から提供される定理環境の中ではそのまま利用できませんでした。
そのため、minipage 環境を使う等のテクニックが必要で、それなりにパッケージに対する習熟が必要でした。
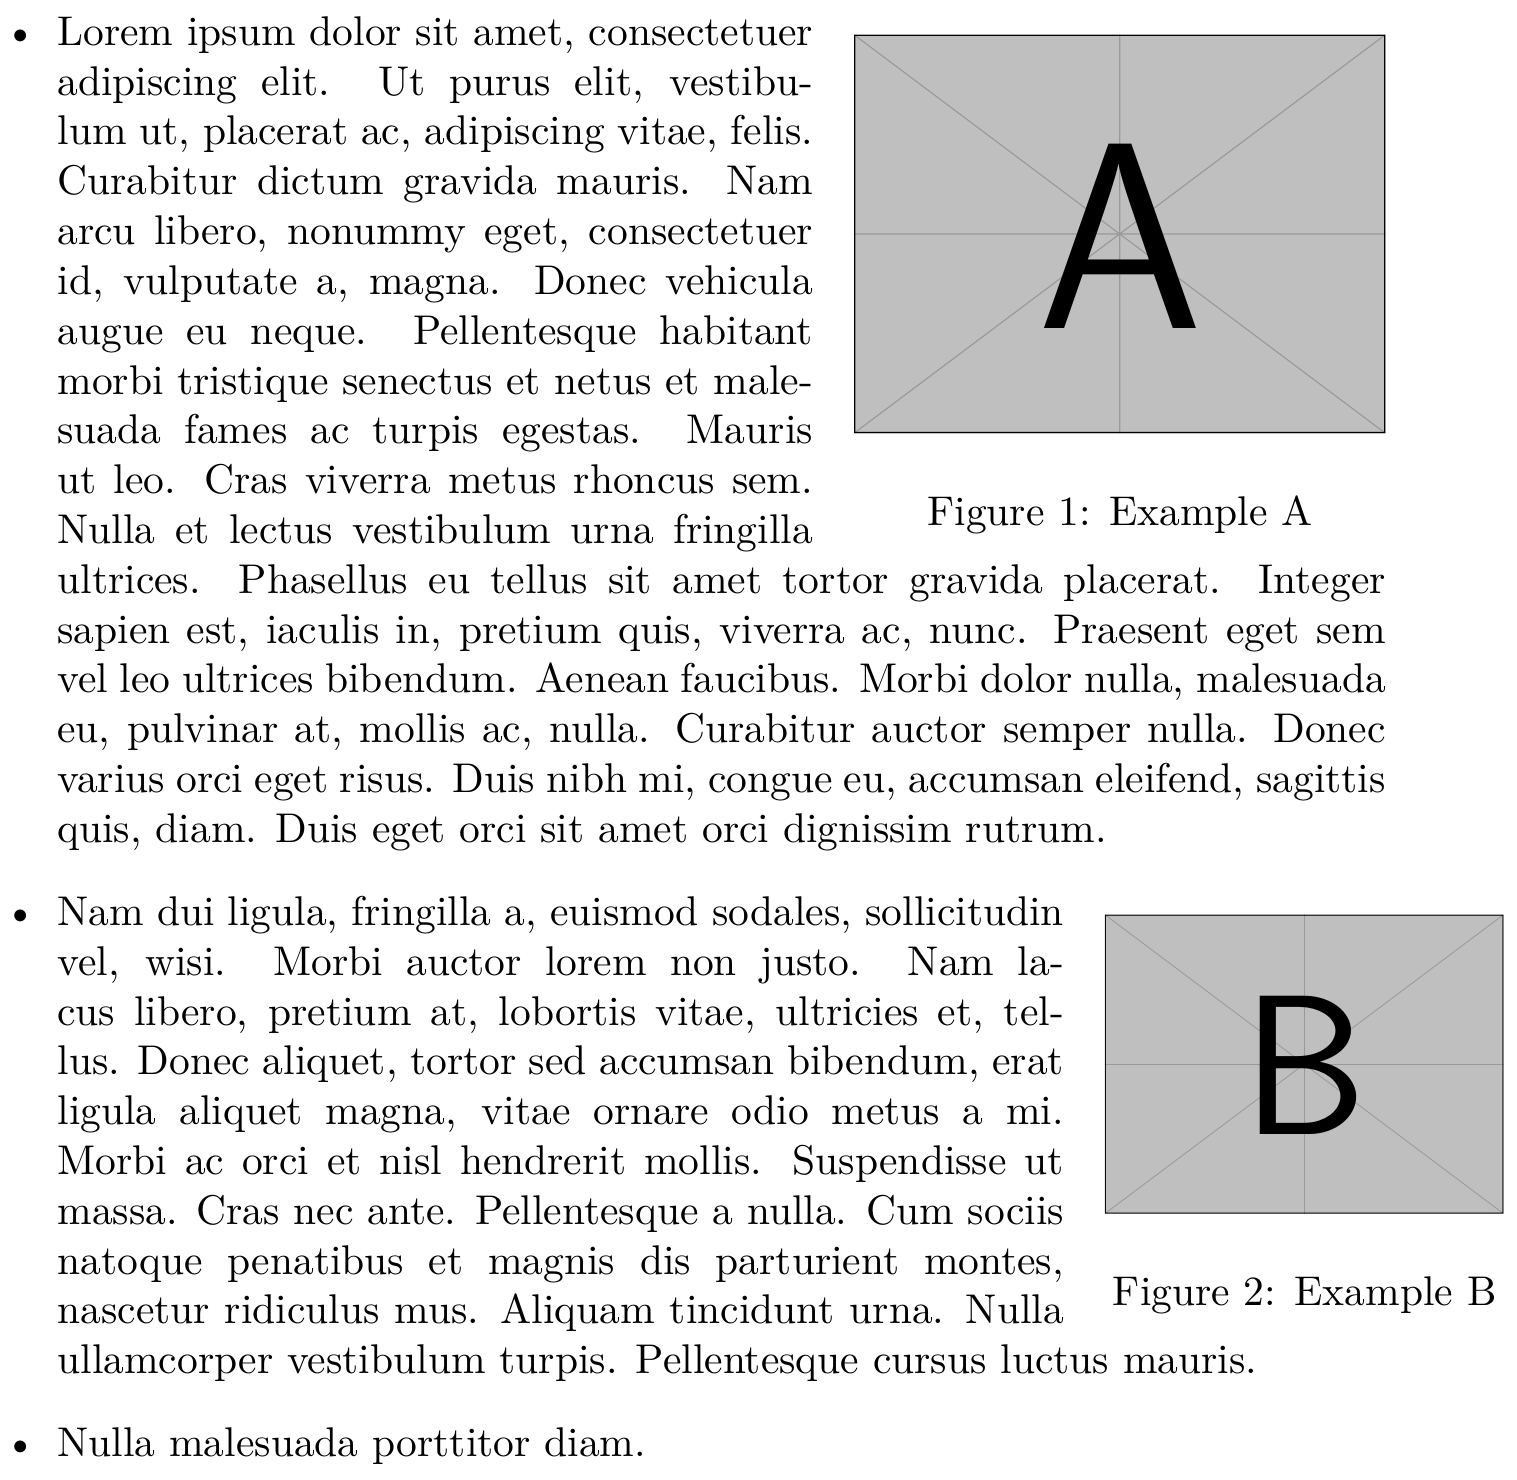
wrapstuff パッケージはこれらの問題はなく、リスト環境や定理環境でもふつうに使うことが出来ます。
\begin{itemize}
  \item
      \begin{wrapstuff}[type = figure, width = 0.4\linewidth]
        \includegraphics[width = \linewidth]{example-image-a}
        \caption{Example A}
      \end{wrapstuff}
      \lipsum[1]
  \item
    \begin{wrapstuff}[type = figure, hoffset = 10mm, width = 0.3\linewidth]
      \includegraphics[width = \linewidth]{example-image-b}
      \caption{Example B}
    \end{wrapstuff}
    \lipsum[2]
  \item \lipsum[3][1]
\end{itemize}
\begin{wrapstuff}[width = 0.23\linewidth]
  \includegraphics[width = \linewidth]{example-image-a}
\end{wrapstuff}
\begin{itemize}
  \item \lipsum[1][1-2]
  \item \lipsum[1][3-4]
  \item \lipsum[1][5-6]
\end{itemize}
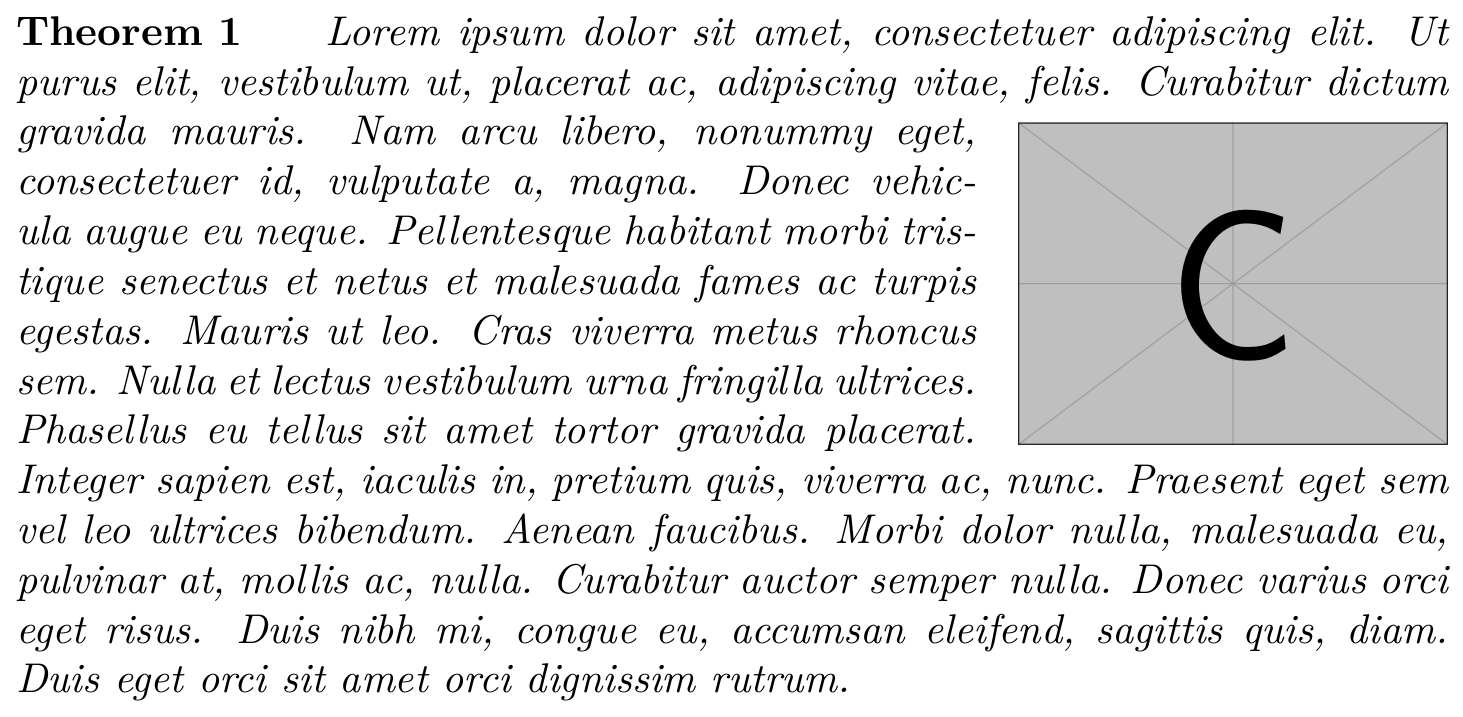
\newtheorem{theorem}{Theorem}
\begin{theorem}
  \begin{wrapstuff}[top = 2, width = 0.3\linewidth]
    \includegraphics[width = \linewidth]{example-image-c}
  \end{wrapstuff}
  \lipsum[1]
\end{theorem}
図表以外のコンテンツ
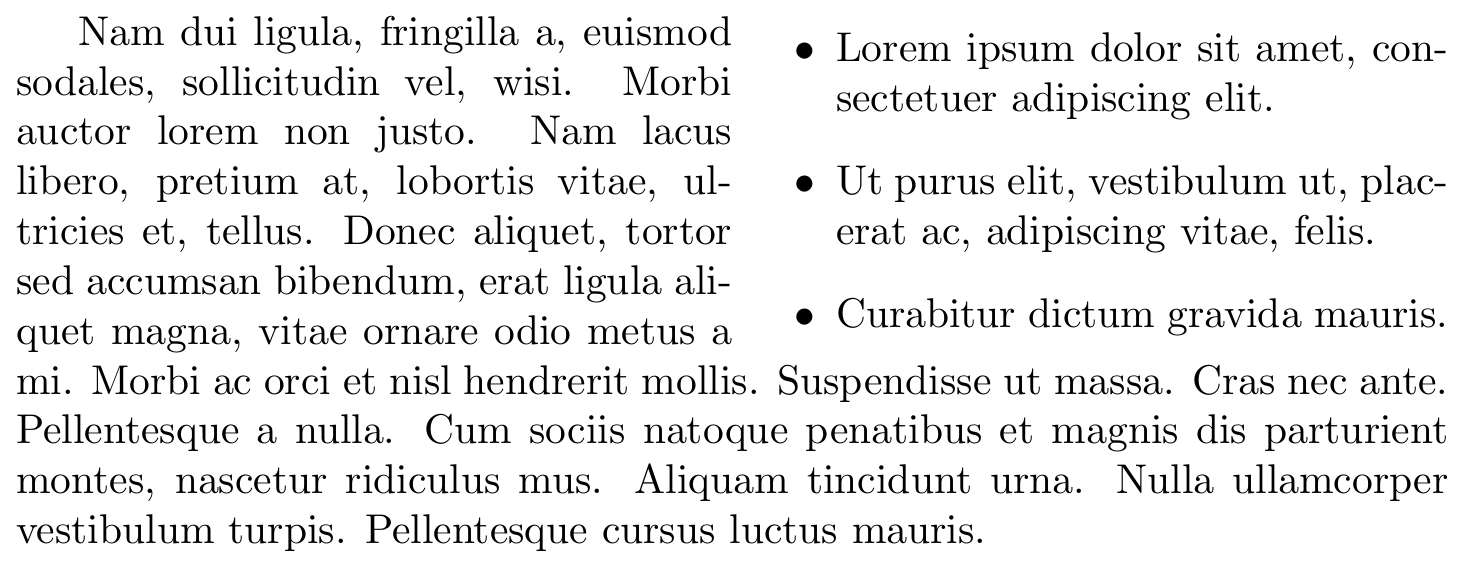
wrapstuff 環境には図表の他にもリスト、定理環境、数式や listings パッケージによるコードなども含めることが出来ます。
\begin{wrapstuff}[width = 0.5\linewidth, leftsep = 0pt]
  \begin{itemize}
    \item \lipsum[1][1]
    \item \lipsum[1][2]
    \item \lipsum[1][3]
  \end{itemize}
\end{wrapstuff}
\lipsum[2]
\begin{wrapstuff}[width = 0.4\linewidth]
  \begin{theorem}
    \lipsum[1][1]
  \end{theorem}
\end{wrapstuff}
\lipsum[2]
\begin{wrapstuff}[width = 0.4\linewidth]
  \[
    e^{i\theta} = \cos\theta + i \sin\theta
  \]
\end{wrapstuff}
\lipsum[1][1-4]
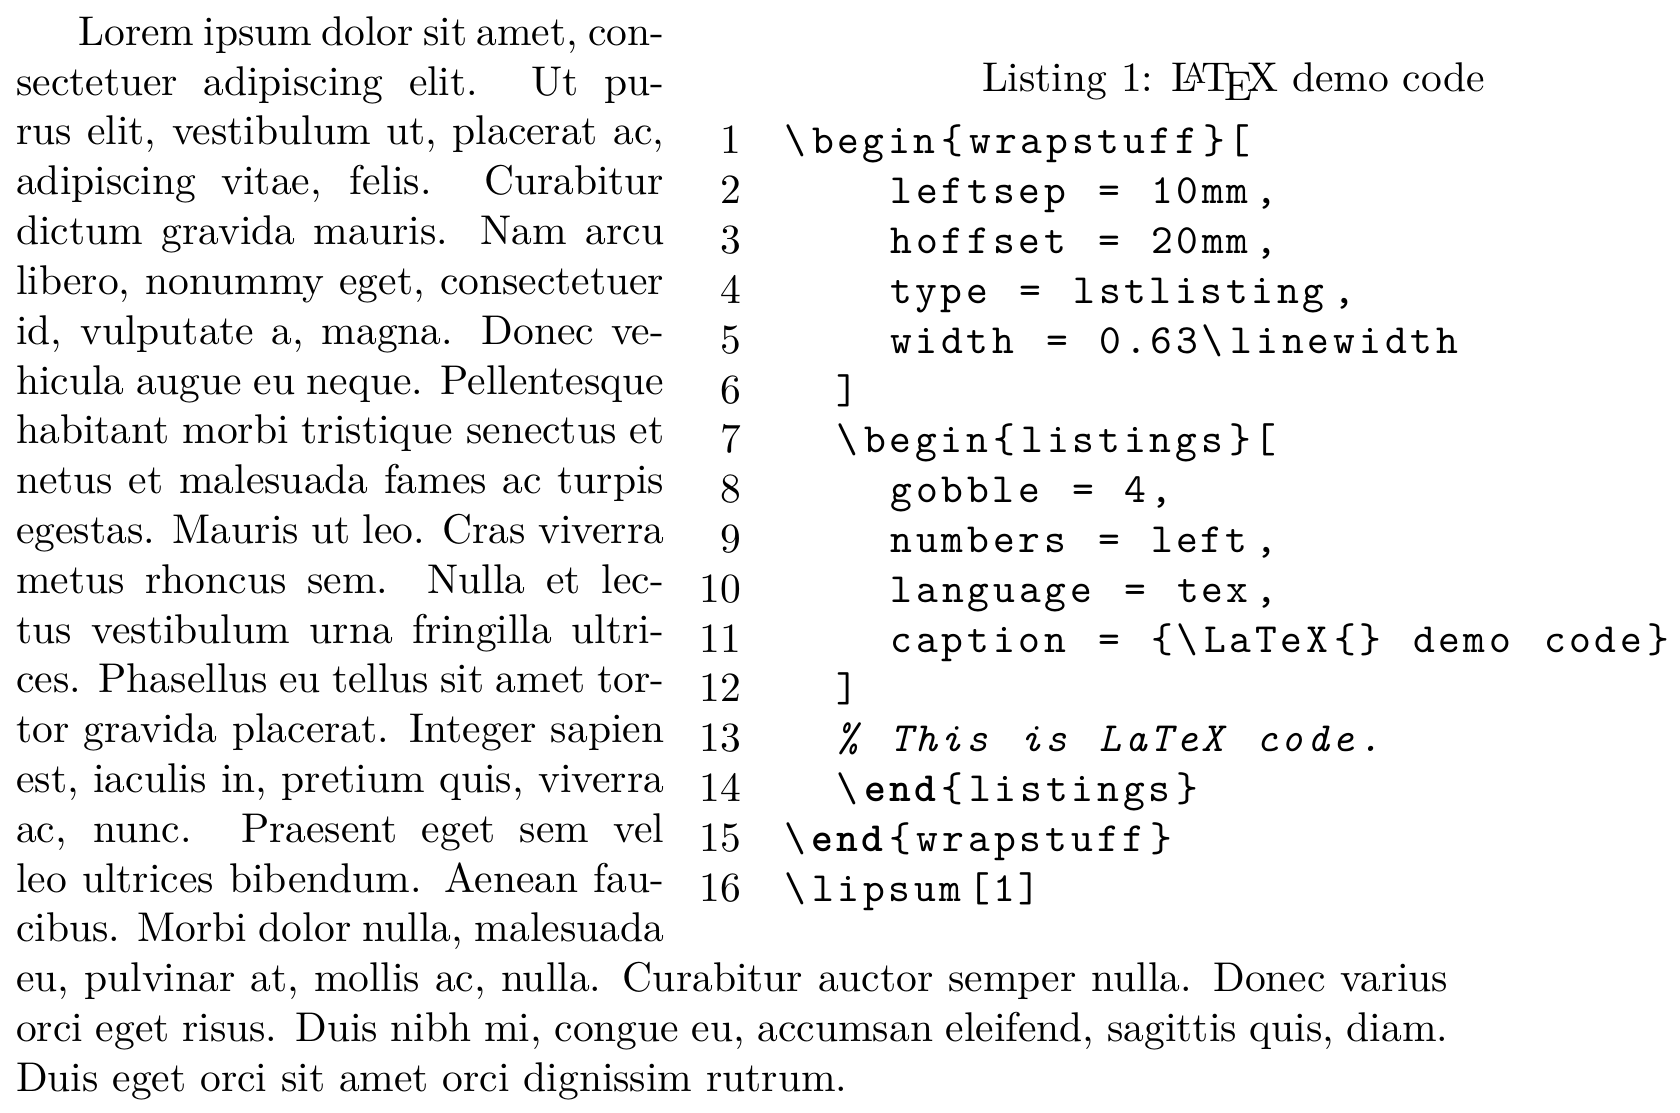
listings パッケージから提供される lstlistings 環境を wrapstuff で回り込みさせることも可能です。
コード(折りたたみ)
\documentclass{article}
\usepackage[T1]{fontenc}
\usepackage{lmodern}
\usepackage{listings}
\usepackage{wrapstuff}
\usepackage{mwe}
\lstset{basicstyle=\ttfamily}
\pagestyle{empty}
\begin{document}

\begin{wrapstuff}[leftsep = 10mm, hoffset = 20mm, type = lstlisting, width = 0.63\linewidth]
  \begin{lstlisting}[ gobble = 4, language = tex, numbers = left, caption = {\LaTeX{} demo code} ]
    \begin{wrapstuff}[
        leftsep = 10mm,
        hoffset = 20mm,
        type = lstlisting,
        width = 0.63\linewidth
      ]
      \begin{listings}[
        gobble = 4,
        numbers = left,
        language = tex,
        caption = {\LaTeX{} demo code}
      ]
      % This is LaTeX code.
      \end{listings}
    \end{wrapstuff}
    \lipsum[1]
  \end{lstlisting}
\end{wrapstuff}
\lipsum[1]

\end{document}
ただし、上の画像のように numbers オプションから行番号を表示させる場合、leftsep を調節して余白を多めに取る必要があります。
余談
wrapstuff を使えば wrapfig で抱えていた問題が解消するかも。
ただ、wrapstuff 環境で回り込みにするコンテンツにキャプションを課す場合、他のフロートになっているコンテンツと順序が入れ替わらないように注意しましょう。
例えば、placeins パッケージの \FloatBarrier を使用すると、フロートが越えられない壁を作ることが出来ます。
パッケージガイドは中国語のみが用意されていますが、wrapstuff-doc-en に英語のドキュメントがあります。
そのため、texdoc でパッケージガイドを英語で閲覧したい場合は texdoc wrapstuff-doc-en から検索してください。
開発は GitHub 上で行われているので、問題があれば Issue を提出すると良いでしょう。
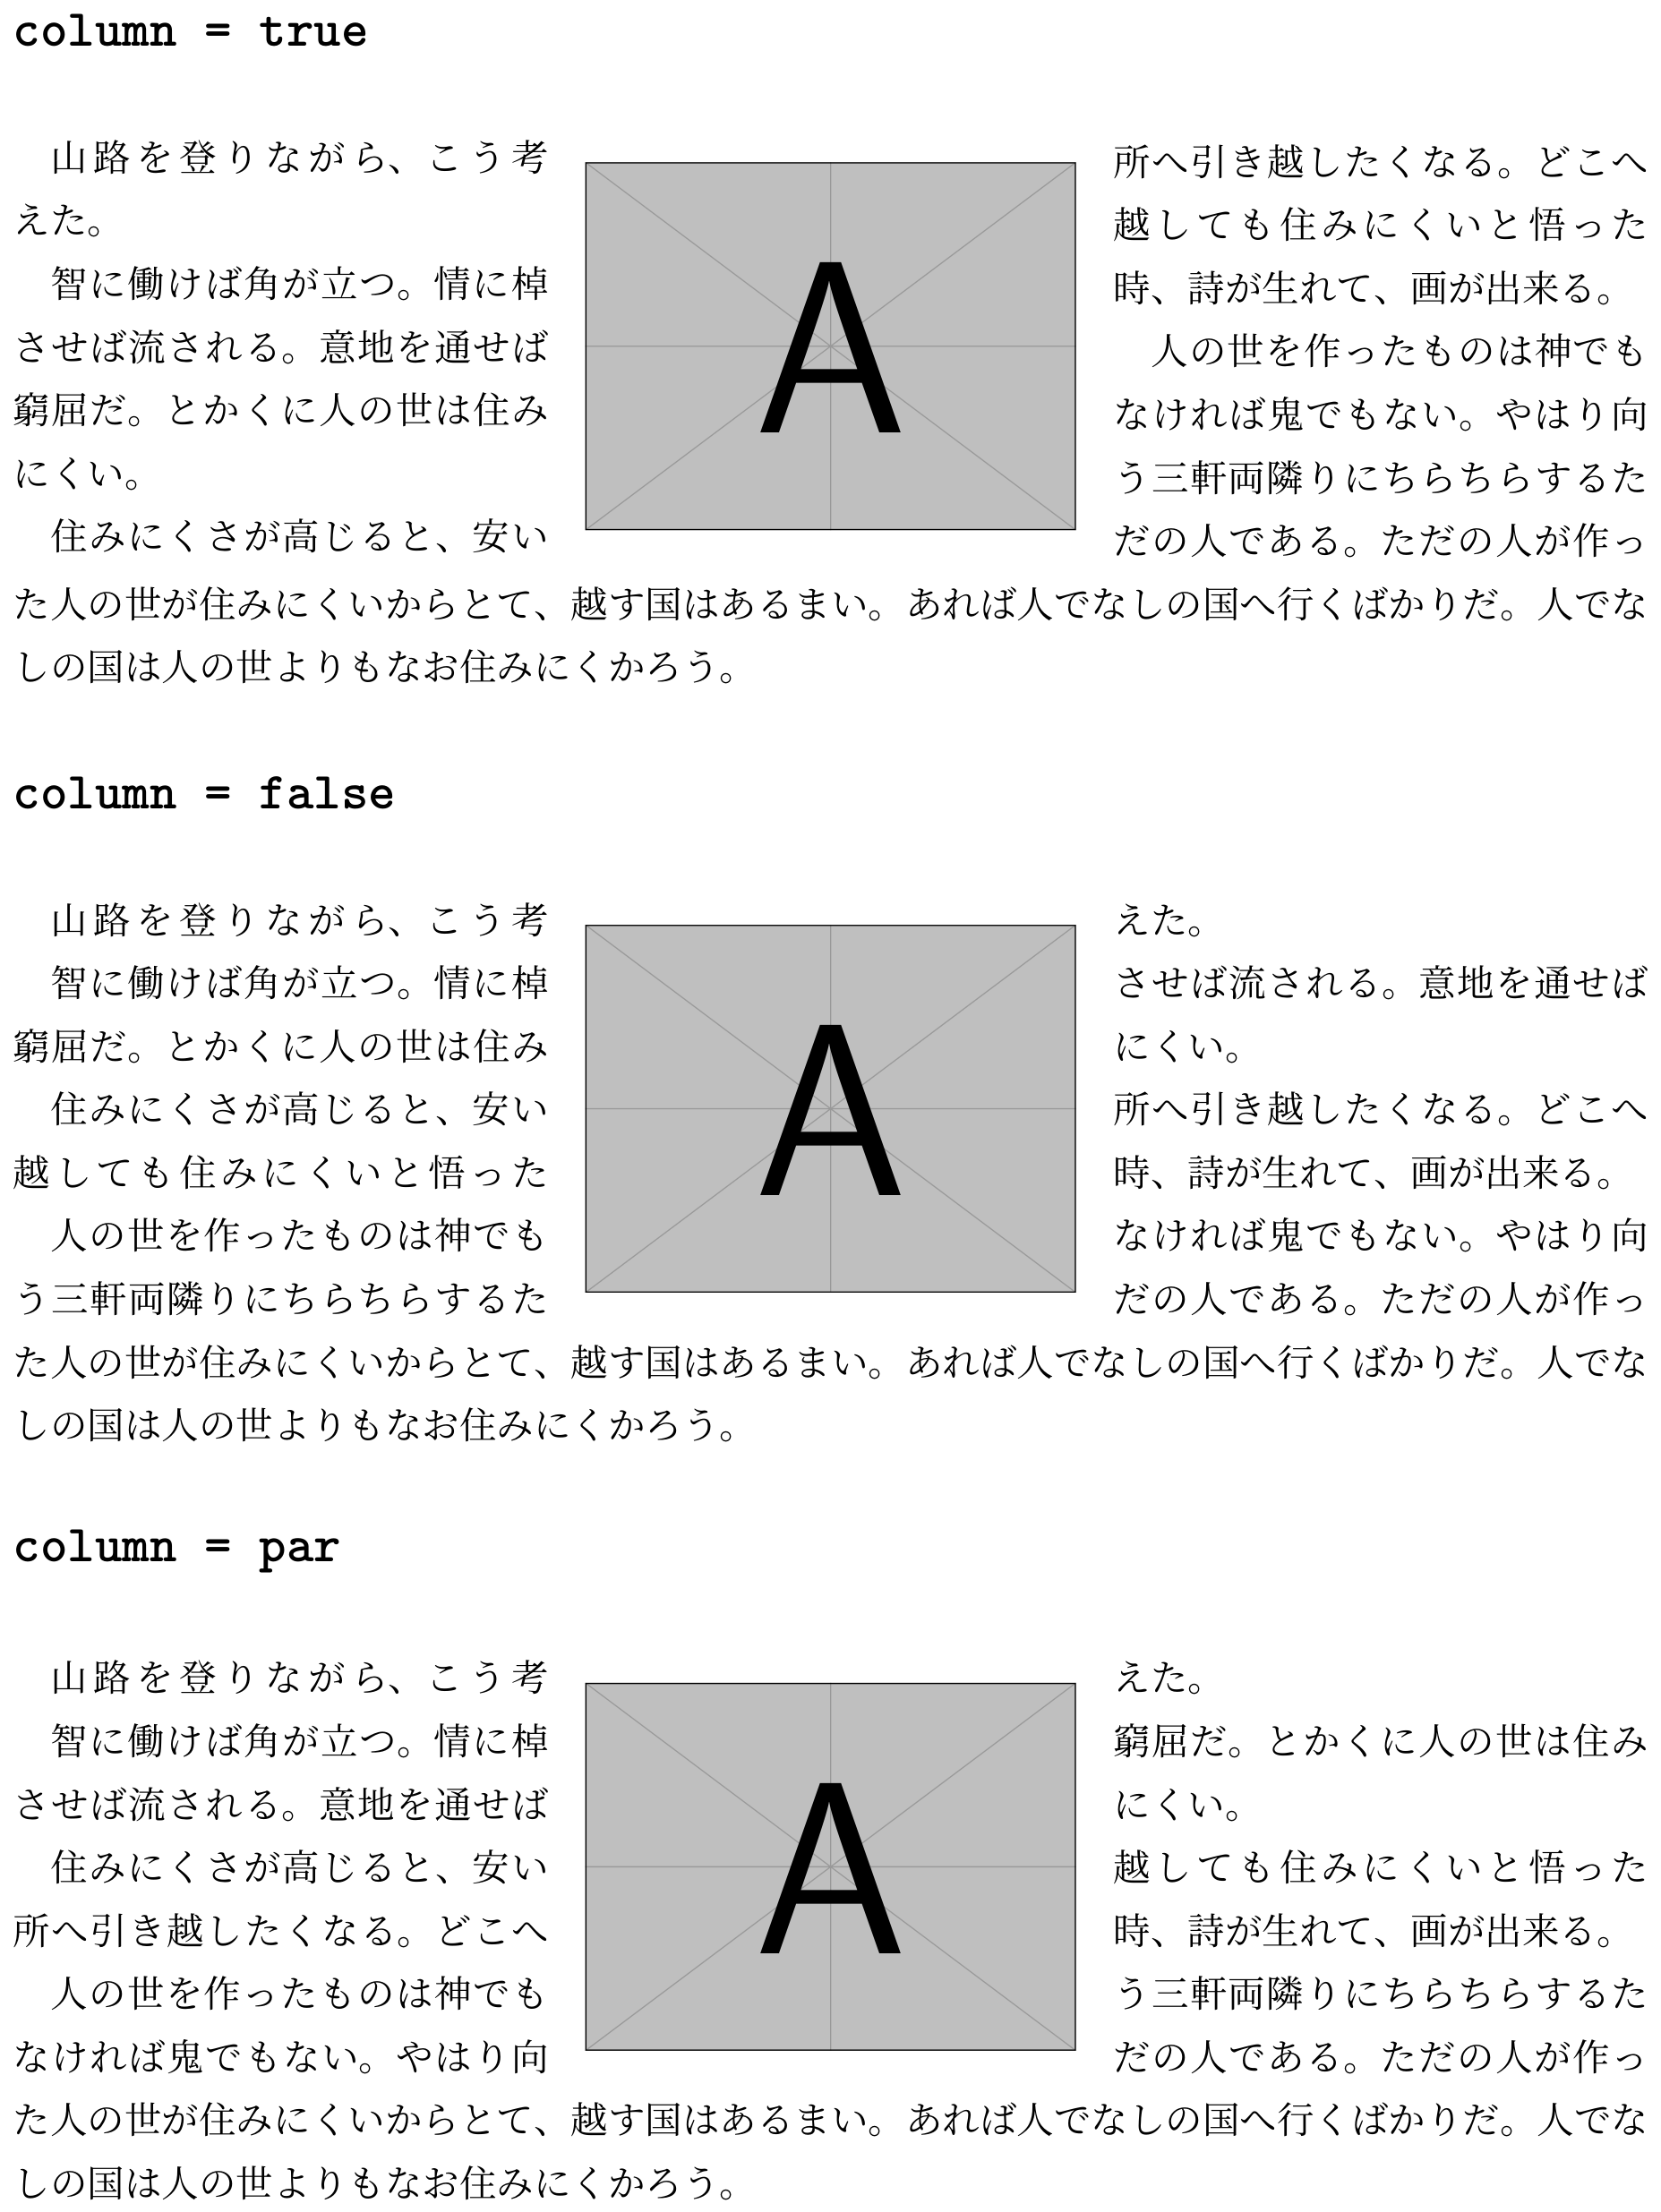
column オプション
column オプションはラップさせるコンテンツを端以外(c や ratio を指定する場合)に配置した場合に意味を成します。
このオプションには true・false・par の 3 つがあります。
| 値 | 説明 |
|---|---|
true |
コンテンツ左側に文章を埋めてから右側を埋める(デフォルト) |
false |
コンテンツをまたぎながら文章を埋める |
par |
コンテンツの左右で行数が同じになるように、コンテンツ左側を埋めてから右側を埋める |
column コード(折りたたみ)
\documentclass{jlreq}
\usepackage{wrapstuff}
\usepackage{mwe}
\usepackage{bxjalipsum}
\pagestyle{empty}
\begin{document}

\section*{\ttfamily column = true}
\begin{wrapstuff}[c, column = true, width = 0.3\linewidth]
  \includegraphics[width = \linewidth]{example-image-a}
\end{wrapstuff}
\jalipsum[1-4]{kusamakura}

\section*{\ttfamily column = false}
\begin{wrapstuff}[c, column = false, width = 0.3\linewidth]
  \includegraphics[width = \linewidth]{example-image-a}
\end{wrapstuff}
\jalipsum[1-4]{kusamakura}

\section*{\ttfamily column = par}
\begin{wrapstuff}[c, column = par, width = 0.3\linewidth]
  \includegraphics[width = \linewidth]{example-image-a}
\end{wrapstuff}
\jalipsum[1-4]{kusamakura}

\end{document}
MS Word の[文字列の折り返し]では false のようになっているような気がします。
wrapfig と wrapfig2
実は、wrapfig パッケージは 2003 年以降更新されておらず、その後継は wrapfig2 パッケージに引き継がれています。
wrapfig2 パッケージでは以下の機能が提供されています。
- wrapfigure・wraptable 環境について
- wrapfig で提供されていた両環境を下位互換としてサポート
- wrapfigure・wraptable 環境の幅指定をオプション化
-
*オプションによって行の高さ計算
- wraptext 環境を提供
- tcolorbox のようなテキストの枠組みコマンドの提供
ただし、wrapfig2 パッケージであっても wrapfig パッケージと同様にリスト環境や定理環境内でそのまま利用できません。(どうして……)
