この記事はAngular+Firebaseでチャットアプリを作るのエントリーです。
前記事:AngularのPipeを使って、日付を変換する
次記事:AngularのプロジェクトにFirebaseを導入する
この記事で行うこと
本稿では、Firebaseの環境構築を行っていきます。
Firebaseとは
2014年にGoogleに買収された、MBaas(Mobile Backend as a Service)プラットフォームです。
Realtime DatabaseやCloud Storage、Hostingなど、モバイルアプリ、WEBアプリの開発に必要なインフラを提供しています。
インフラの種類によって有料、無料のプランが異なりますが、開発レベルの使用であればほとんどのインフラを無料で利用することができます。
これまでバックエンド開発にかけていた手間がかなり少なくなるので、フロントエンドの開発に集中したい、スタートアップで素早くサービスを構築したいという方にオススメです。
(追記:2020/6)現時点(2020年6月)での最新の内容に書き換えています。
実装内容
Firebaseのプロジェクトを作成する
Firebaseを利用する場合は、大前提としてGoogleのアカウントを取得する必要があります。
まだGoogleアカウントを取得していない場合は、無料版もあるのでそちらを取得してください。
アカウントの準備ができたら、Firebaseのコンソールにログインします。
右上にある「コンソールへ移動」を押して、コンソール画面に遷移します。

コンソールに移動したら、画面中央にある「プロジェクトを追加」をクリックします。
表示される指示に従って、新しいプロジェクトを作成します。
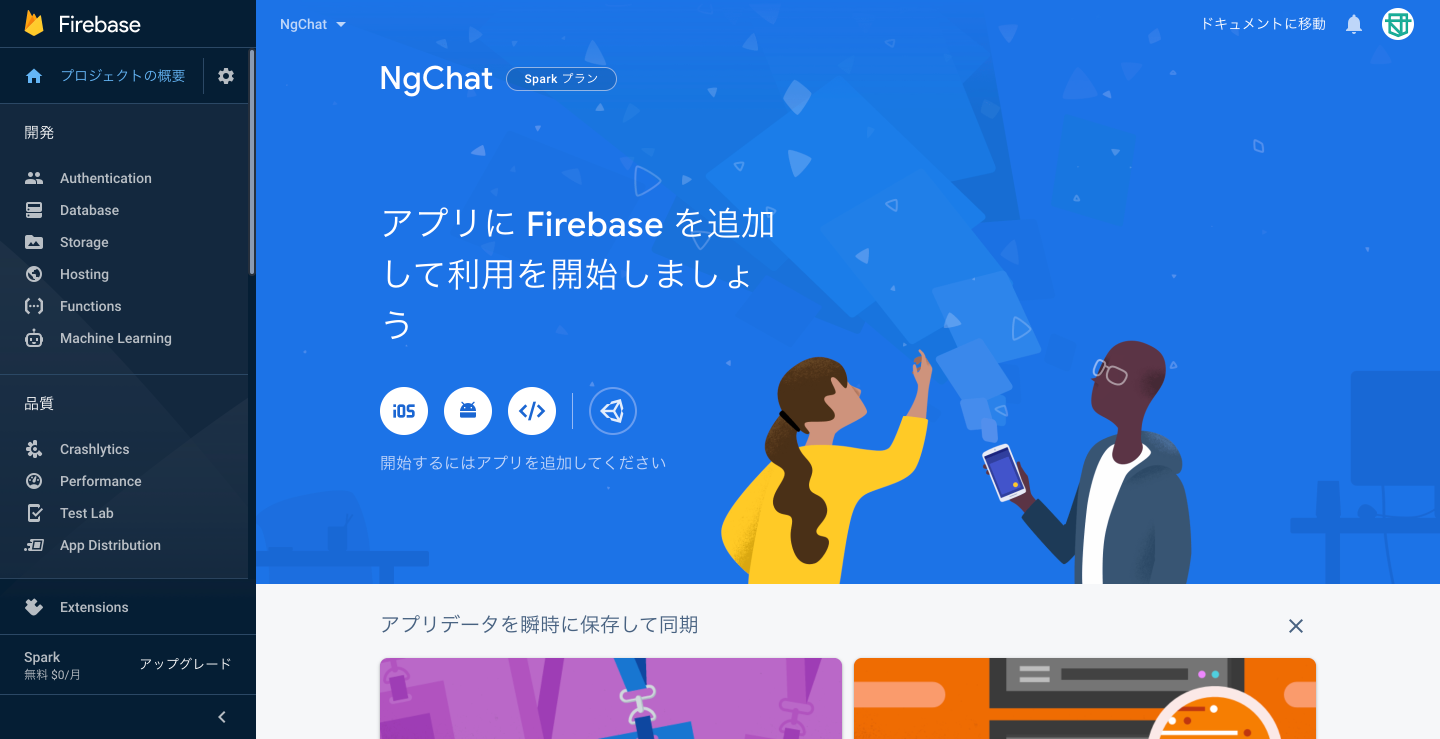
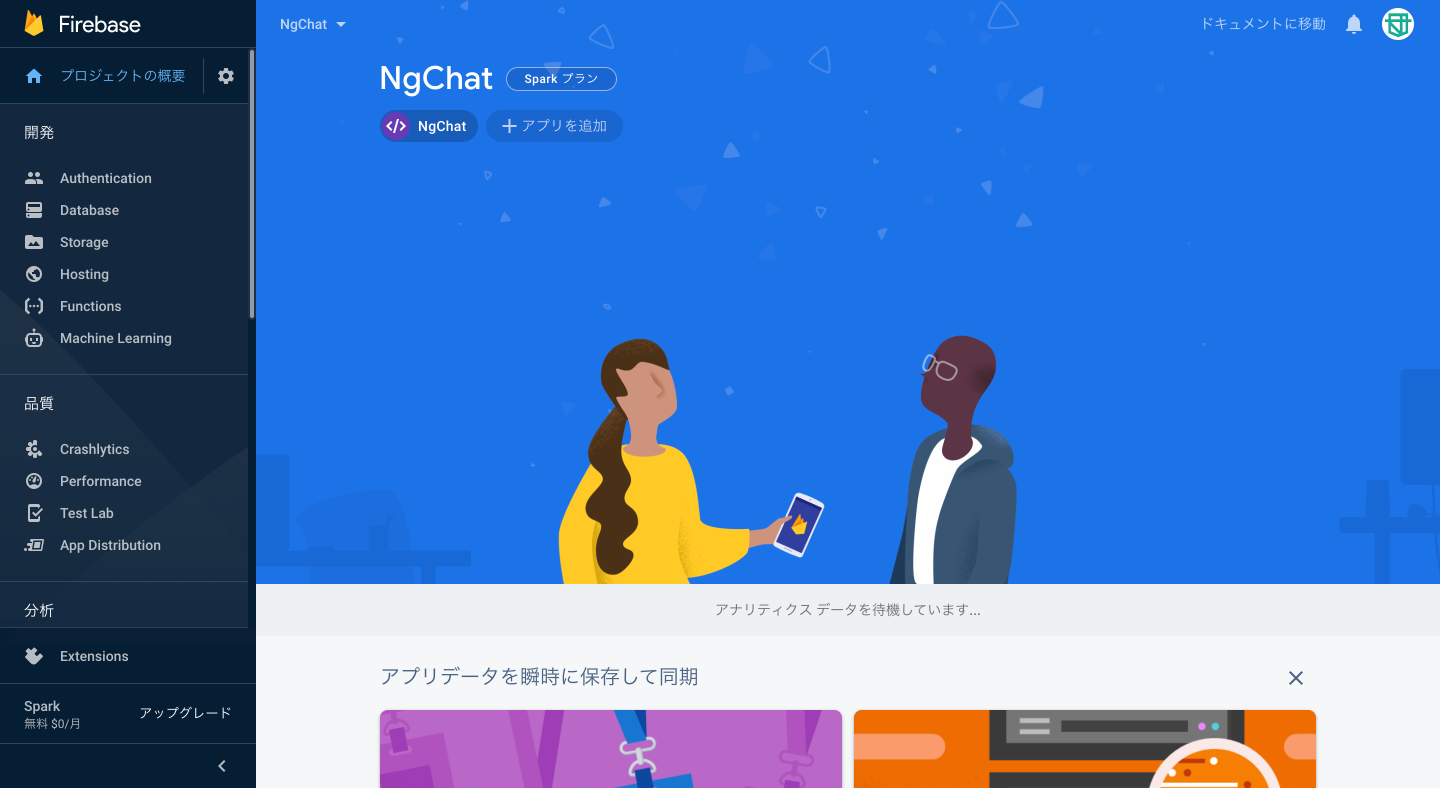
これでプロジェクトの作成は完了です。
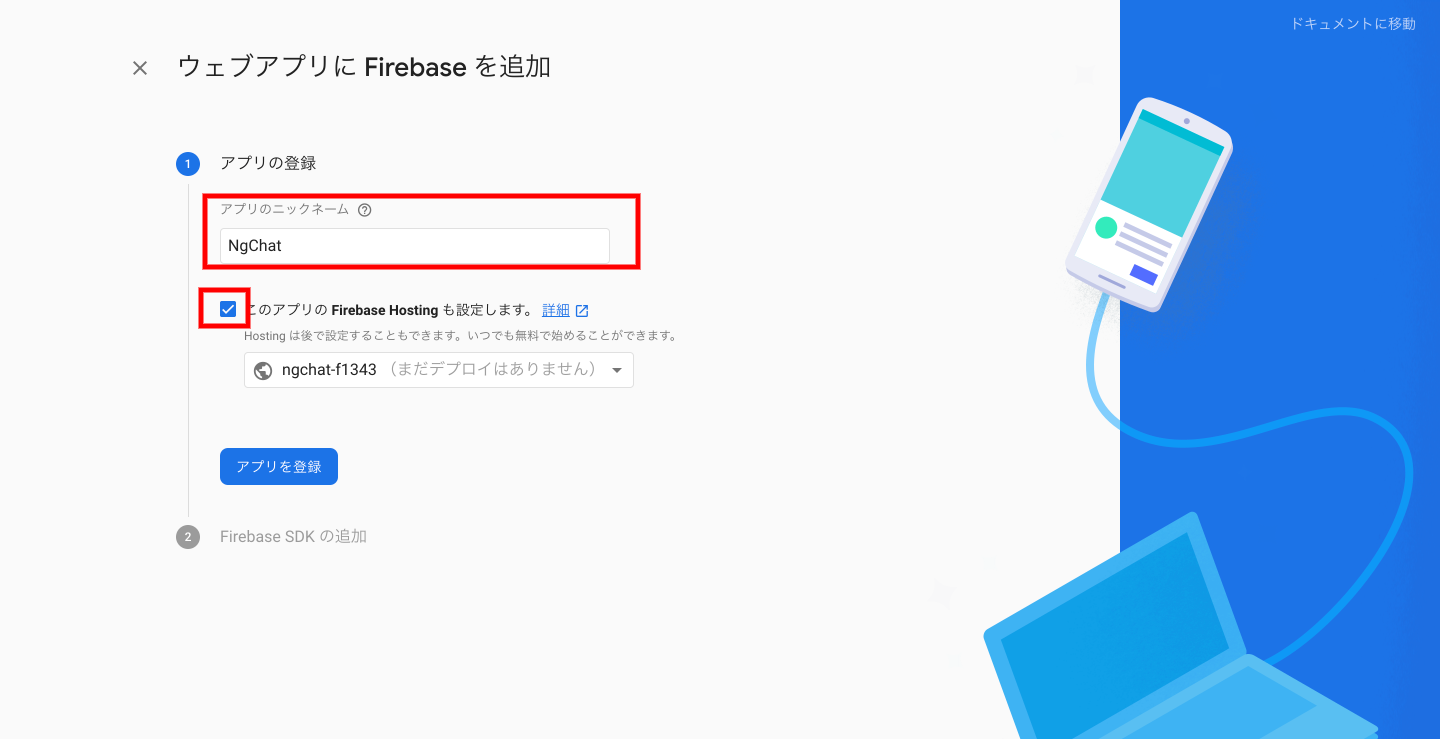
今回作成するのはWEBアプリなので、画面中央にある「>」をクリックします。

クリックすると「ウェブアプリにFirebaseを追加」という画面が表示されるので、アプリのニックネームを入力し、Hostingの設定にチェックをいれて「アプリを登録」ボタンを推します。
「Firebase SDK の追加」、「Firebase CLI のインストール」は内容を確認した後、「次へ」ボタンを押してください。
「Firebase Hosting へのデプロイ」画面に遷移したら、内容を確認し、「コンソールに進む」をクリックしてください。ここに書かれている内容は、次のセクションで実行します。
Firebase CLIをインストールする
Firebaseを利用するには、「Firebase CLI」が必要になります。
これによって、ローカル環境からリモートのFirebaseを操作できるようになります。
npm install -g firebase-tools
// ハンズオンを進める場合はバージョンを合わせるため、
// npm install -g firebase-tools@8.4.3
// でインストールしてください。
Firebase CLI をインストールしたら、Googleアカウントを使用してログインします。
firebase login
? Allow Firebase to collect CLI usage and error reporting information? y
上記コマンドを実行すると、Googleアカウントの認証画面に遷移します。
FirebaseCLIのアクセス許可をすると、次の画面が表示されログインが完了します。

Firebaseのデプロイをする
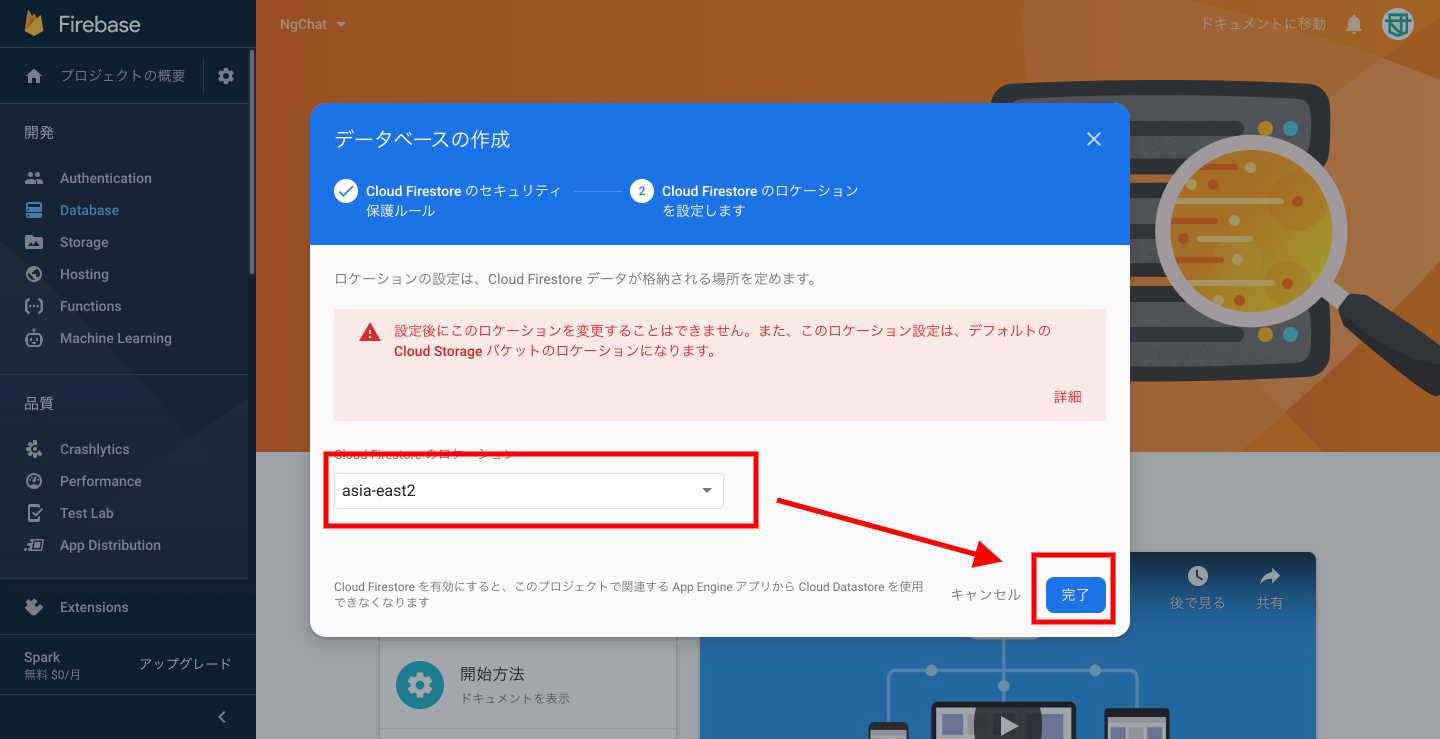
本プロジェクトでは「Firestore」「Hosting」を利用します。
「Firestore」を利用するためには、Firebaseのコンソール画面で初期設定が必要になります。
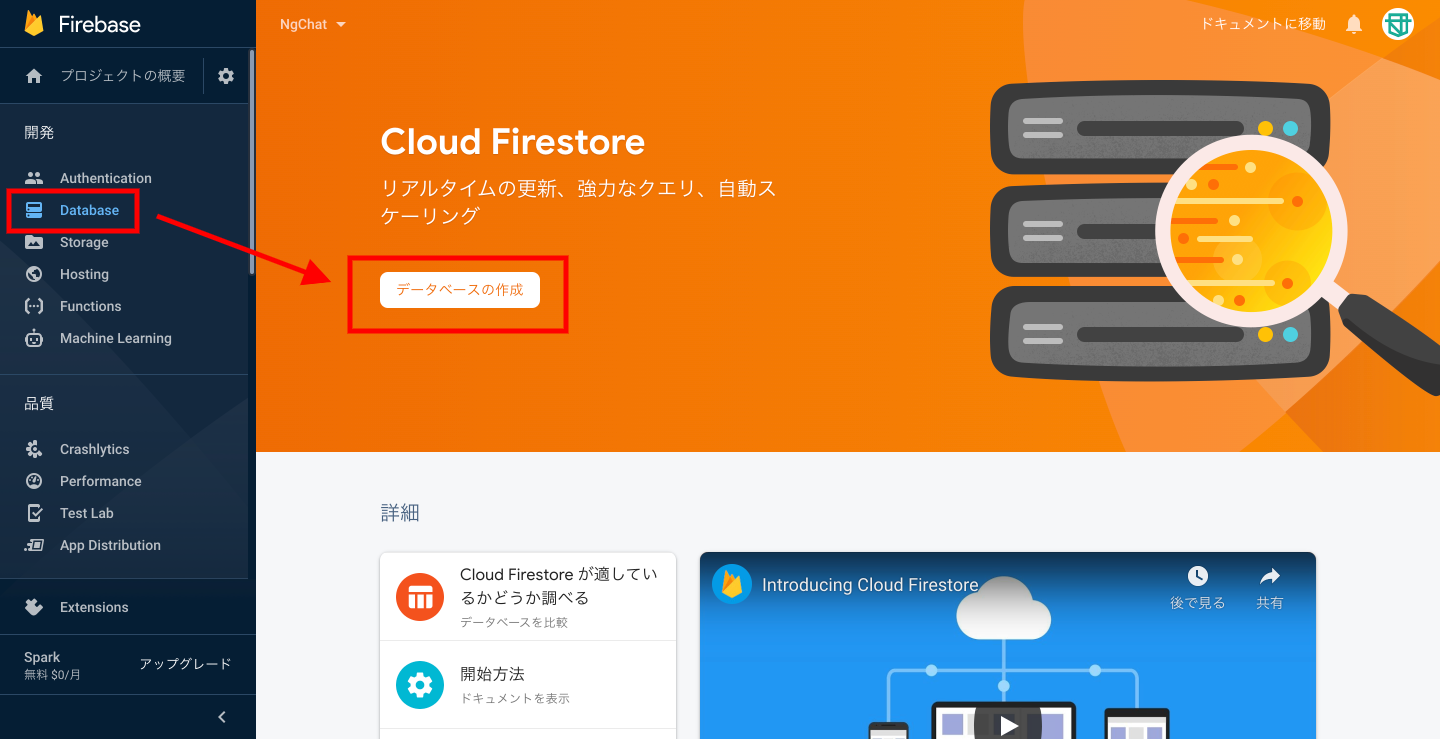
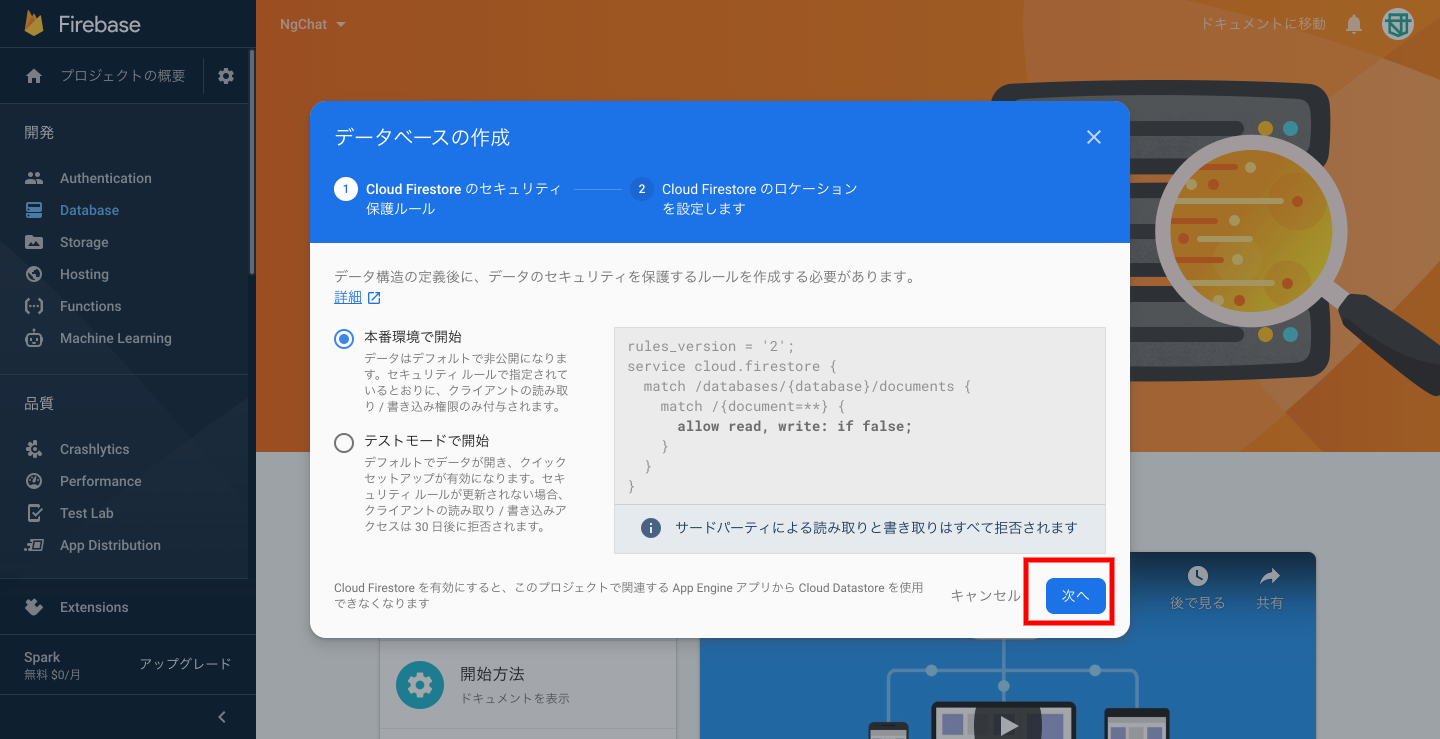
リビジョンを選択肢、完了をクリックすれば初期設定は終了です。
ターミナルでデプロイしたいプロジェクトに移動し、初期コマンドを叩きます。
本プロジェクトでは「Firestore」「Hosting」を利用するので、spaceキーを使って該当項目にチェックをいれます。
cd MyApp
firebase init
? Which Firebase CLI features do you want to set up for this folder? Press Space to select features, then Enter to confirm your choices.
 ◯ Database: Deploy Firebase Realtime Database Rules
 ◉ Firestore: Deploy rules and create indexes for Firestore
 ◯ Functions: Configure and deploy Cloud Functions
 ◉ Hosting: Configure and deploy Firebase Hosting sites
 ◯ Storage: Deploy Cloud Storage security rules
 ◯ Emulators: Set up local emulators for Firebase features
利用するFirebaseのプロジェクトを確認されるので、上記で作成したプロジェクトを選択します。
? Please select an option: (Use arrow keys)
❯ Use an existing project
  Create a new project
  Add Firebase to an existing Google Cloud Platform project
  Don't set up a default project
? Select a default Firebase project for this directory: (Use arrow keys)
❯ ngchat-xxxx (NgChat)
ダイアログ形式で設定方法を聞かれますので、基本デフォルト設定、FunctionsはTypeScriptで進めていきます。
? What file should be used for Firestore Rules? (firestore.rules)
? What file should be used for Firestore indexes? (firestore.indexes.json)
? What do you want to use as your public directory? (public)
? Configure as a single-page app (rewrite all urls to /index.html)? (y/N) y
✔  Firebase initialization complete!
これで基本設定は完了です。
最後にデプロイをし、Hosting URLにアクセスして表示を確認します。
firebase deploy
///
✔  Deploy complete!
Project Console: https://console.firebase.google.com/project/ngchat-xxx/overview
Hosting URL: https://ngchat-xxx.web.app
hostingを停止させるときは、次のコマンドを実行します。
? Are you sure you want to disable Firebase Hosting?
  This will immediately make your site inaccessible! y
✔  Hosting has been disabled for ngchat-xxx. Deploy a new version to re-enable.
これでFirebaseの環境構築は完了です。
次からはAngularプロジェクトにFirebaseの導入をしていきます。
ソースコード
この時点でのソースコード