本記事ではNext.js+TypeScript+AWS Amplify+Recoilを使って、モダンなToDoリストを作る方法を紹介します。

Githubリポジトリを公開しますので、不具合や不適切な実装を見つけた場合はドシドシIssueかPull-Requestいただけると幸いです。
背景
私自身普段はRuby on Railsを使って開発しています。JavaScriptは正直まだ苦手です。
Railsは爆速でアプリを開発出来る点が魅力的ですが、一方でモバイルアプリとの連携やリッチなUIが求められる案件では、フロントエンドとバックエンドを分離した構成にせざるをえないケースがあります。
そのような構成だと、かえってRailsがリッチ過ぎるとも感じており、AWS Amplifyのようにバックエンドをスピーディーに構築してくれるサービスを一度使ってみたいと思っていました。
そのため、Next.js+AWS Amplisyで簡単なアプリを作ってみて、いわゆるモダンなアプリ開発のノウハウを学んでみることにしました。
使用する技術要素
- Next.js(React.js)
- AWS Amplify
- TypeScript
- Recoil
- React Hook Form
プロジェクトの作成
Next.jsのexamplesにwith-typescript-eslint-jestが公開されているので、これをベースにしました。
$ create-next-app
✔ What is your project named? … next-ts-amplify-recoil-todolist
✔ Pick a template › Example from the Next.js repo
✔ Pick an example › with-typescript-eslint-jest
# 省略
Amplifyのセットアップ
続いて、AWS Amplifyをセットアップします。
初期化
amplify init を実行して初期化します。
$ cd next-ts-amplify-recoil-todolist
$ amplify init
? Enter a name for the project todolist
? Enter a name for the environment dev
? Choose your default editor: Visual Studio Code
? Choose the type of app that you\'re building javascript
Please tell us about your project
? What javascript framework are you using react
? Source Directory Path: src
? Distribution Directory Path: out
? Build Command:  npm run-script build
? Start Command: npm run-script start
? Do you want to use an AWS profile? Yes
? Please choose the profile you want to use (使用するprofile)
Hostingのときにハマらないよう、Distribution Directory Pathは out にしています。
詳細は こちらの記事 を参照ください。
ホスティング(CI/CD含む)
経験上、後からホスティングを追加するとトラブルシューティングが難しくなるので、できるだけ早い段階でCI/CDによるホスティングを設定しておきます。
❯ amplify add hosting
? Select the plugin module to execute Hosting with Amplify Console (Managed hosting with custom domains, Continuous deployment)
? Choose a type Continuous deployment (Git-based deployments)
? Continuous deployment is configured in the Amplify Console. Please hit enter once you connect your repository
# ブラウザでAWS Amplify Consoleが表示されるので諸々設定をした後、Enterを入力
Amplify hosting urls:
┌──────────────┬──────────────────────────────────────────────┐
│ FrontEnd Env │ Domain                                       │
├──────────────┼──────────────────────────────────────────────┤
│ master       │ https://master.d14mfq14xzgfle.amplifyapp.com │
└──────────────┴──────────────────────────────────────────────┘
build の出力先を out に変更するため、手元の環境で package.json を一部修正する必要があります。
詳細は こちらの記事 を参照ください。
また、Amplify Consoleの「ビルドの設定」からamplify.ymlを次のように修正します。
version: 1
backend:
  phases:
    build:
      commands:
        - '# Execute Amplify CLI with the helper script'
        - amplifyPush --simple
frontend:
  phases:
    preBuild:
      commands:
        - yarn install
    build:
      commands:
        - yarn run build
  artifacts:
    baseDirectory: out
    files:
      - '**/*'
  cache:
    paths:
      - node_modules/**/*
さらに、「ビルドの設定」→「Build image settings」→「Edit」→「Live package updates」でAmplify CLI を latest とする必要があります。これをしていないと、デプロイに失敗するので要注意です。

デプロイが終わり、表示されたURLにアクセスすると、ページが表示されます。
認証基盤
以下コマンドで認証基盤を追加します。
$ amplify add auth
? Do you want to use the default authentication and security configuration? Default configuration
? How do you want users to be able to sign in? Username
? Do you want to configure advanced settings? No, I am done.
# 省略

$ amplify push
✔ Successfully pulled backend environment production from the cloud.

Current Environment: production

| Category | Resource name        | Operation | Provider plugin   |
| -------- | -------------------- | --------- | ----------------- |
| Auth     | besttodolistf818478c | Create    | awscloudformation |
| Hosting  | amplifyhosting       | No Change |                   |
? Are you sure you want to continue? Yes
# 省略
GraphQL API
予めGraphQLのスキーマファイルを作成しておきます。
type Todo @model {
  id: ID!
  name: String!
  completed: Boolean!
  timestamp: AWSTimestamp!
}
以下コマンドでバックエンドのGraphQL APIを追加します。
$ amplify add api
? Please select from one of the below mentioned services: GraphQL
? Provide API name: todolist
? Choose the default authorization type for the API Amazon Cognito User Pool
Use a Cognito user pool configured as a part of this project.
? Do you want to configure advanced settings for the GraphQL API No, I am done.
? Do you have an annotated GraphQL schema? Yes
? Provide your schema file path: ./schema.graphql
# 省略
念の為mockサーバを起動して動作確認をしておきます。
このとき、クライアントのコードも生成されます。
$ amplify mock api
# 省略
Running GraphQL codegen
? Choose the code generation language target typescript
? Enter the file name pattern of graphql queries, mutations and subscriptions src/graphql/**/*.ts
? Do you want to generate/update all possible GraphQL operations - queries, mutations and subscriptions Yes
? Enter maximum statement depth [increase from default if your schema is deeply nested] 2
? Enter the file name for the generated code src/API.ts
? Do you want to generate code for your newly created GraphQL API Yes
# 省略
AppSync Mock endpoint is running at http://xxx.xxx.xxx.xxx:20002
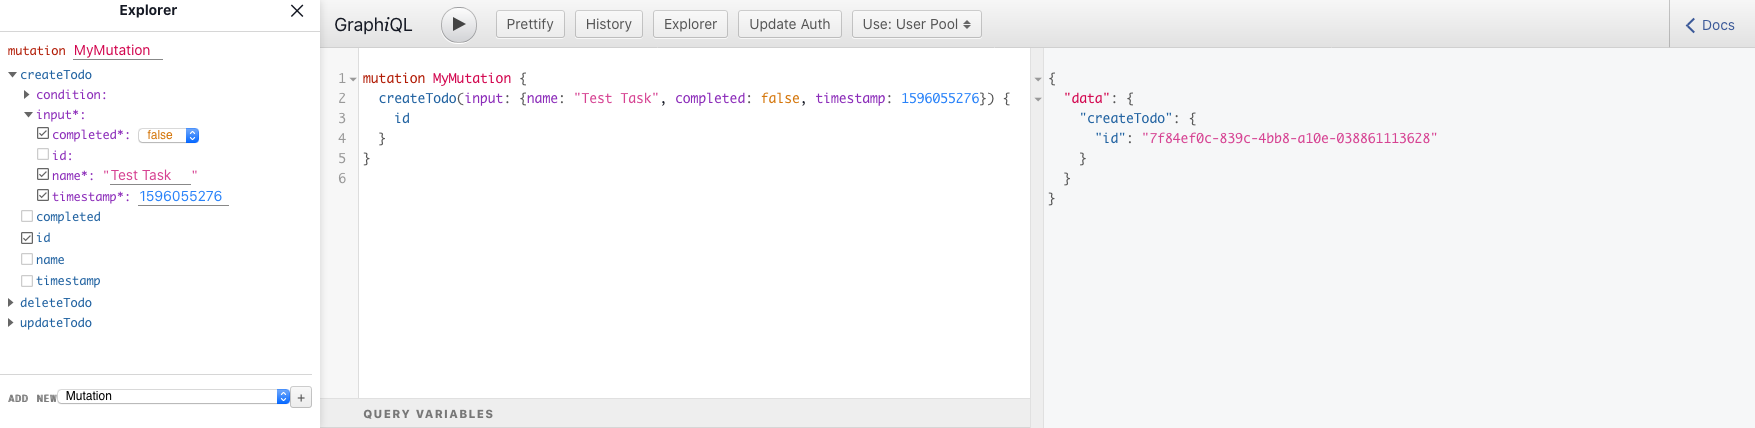
表示されたURLにアクセスすると、Graphiqlの画面が表示され、GraphQLのリクエストを試すことができます。
特に問題がなければ、amplify push しておきましょう。
❯ amplify push
✔ Successfully pulled backend environment production from the cloud.

Current Environment: production

| Category | Resource name        | Operation | Provider plugin   |
| -------- | -------------------- | --------- | ----------------- |
| Api      | bestTodolist         | Create    | awscloudformation |
| Hosting  | amplifyhosting       | No Change |                   |
| Auth     | besttodolistf818478c | No Change | awscloudformation |
? Are you sure you want to continue? Yes
# 省略
? Do you want to update code for your updated GraphQL API Yes
? Do you want to generate GraphQL statements (queries, mutations and subscription) based on your schema types?
This will overwrite your current graphql queries, mutations and subscriptions Yes
# 省略
フロントエンドの実装
npmパッケージのインストール
以下コマンドでインストールします。
$ yarn add @material-ui/core @material-ui/icons aws-amplify @aws-amplify/ui-react react-hook-form recoil
Lint/Formatterのignoreを追加
Next.jsがexportしたファイルやAWS Amplifyで自動生成したコードはLint/Formatterの対象外にしておきます。
**/node_modules/*
**/out/*
**/.next/*
src/aws-exports.js
node_modules
.next
yarn.lock
package-lock.json
public
out
一覧ページの実装
以下ファイルを所定のディレクトリへコピペしてください。
ページ
ベースとなる _app.tsx と _document.tsx も必要です。
_document.tsx は、まだFunction Componentでは書けないようです。
https://github.com/yuuu/next-ts-amplify-recoil-todolist/blob/master/pages/_app.tsx
https://github.com/yuuu/next-ts-amplify-recoil-todolist/blob/master/pages/_document.tsx
https://github.com/yuuu/next-ts-amplify-recoil-todolist/blob/master/pages/index.tsx
コンポーネント
各ページの部品となるコンポーネントを作成します。
https://github.com/yuuu/next-ts-amplify-recoil-todolist/blob/master/src/component/Header.tsx
https://github.com/yuuu/next-ts-amplify-recoil-todolist/blob/master/src/component/Footer.tsx
https://github.com/yuuu/next-ts-amplify-recoil-todolist/blob/master/src/component/Todo.tsx
ストア
正直TodoListのレベルであれば、ストアを使う必要は無いのですが、前々から使ってみたいと思っていたRecoilを使うことにしました。
テーマ
Material UIのベースとなるテーマを定義します。
動作確認
CI/CDが無事に完了し、ページにアクセスするとログイン画面が表示されます。
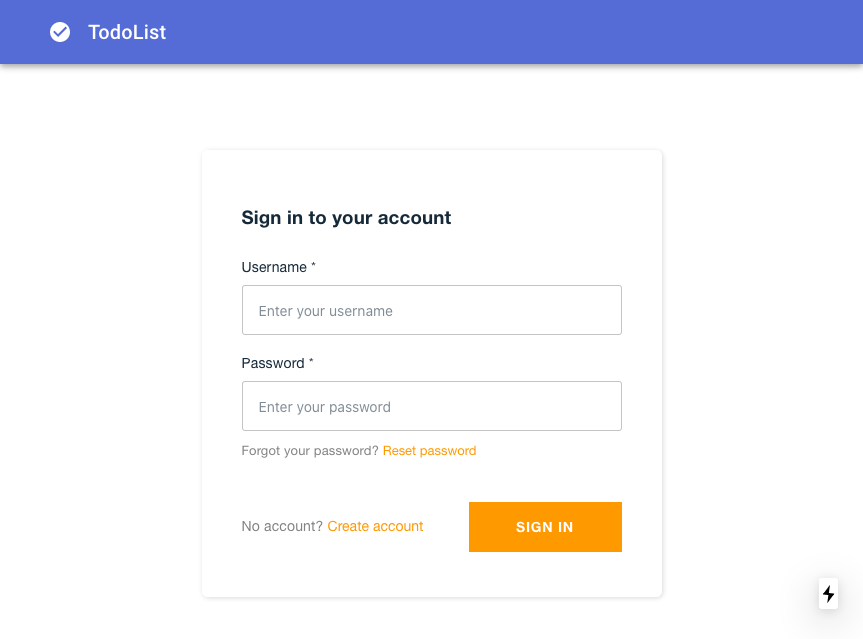
Create Account でアカウント作成するとログインができるようになります。
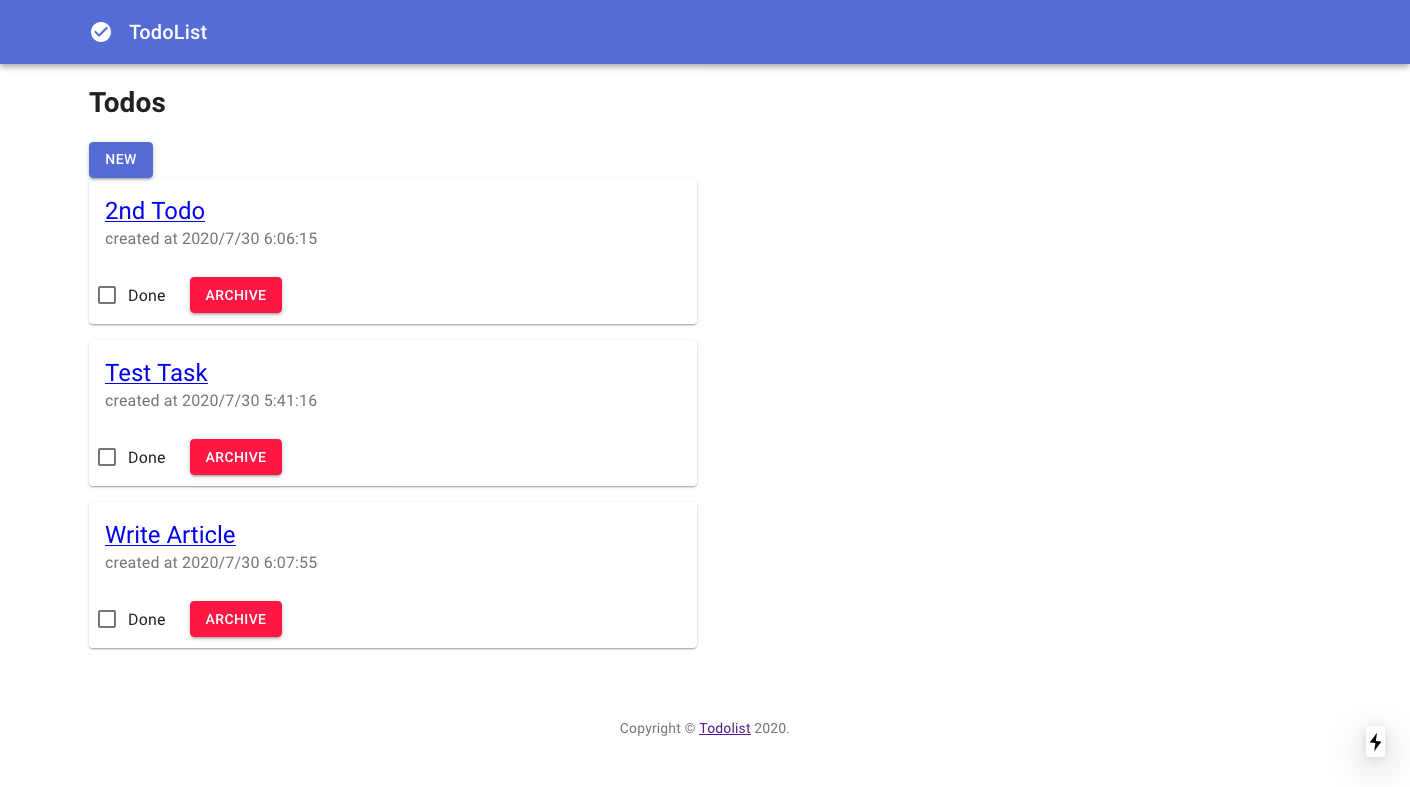
無事、一覧画面が無事表示されました。
その他の画面の実装
新規登録画面
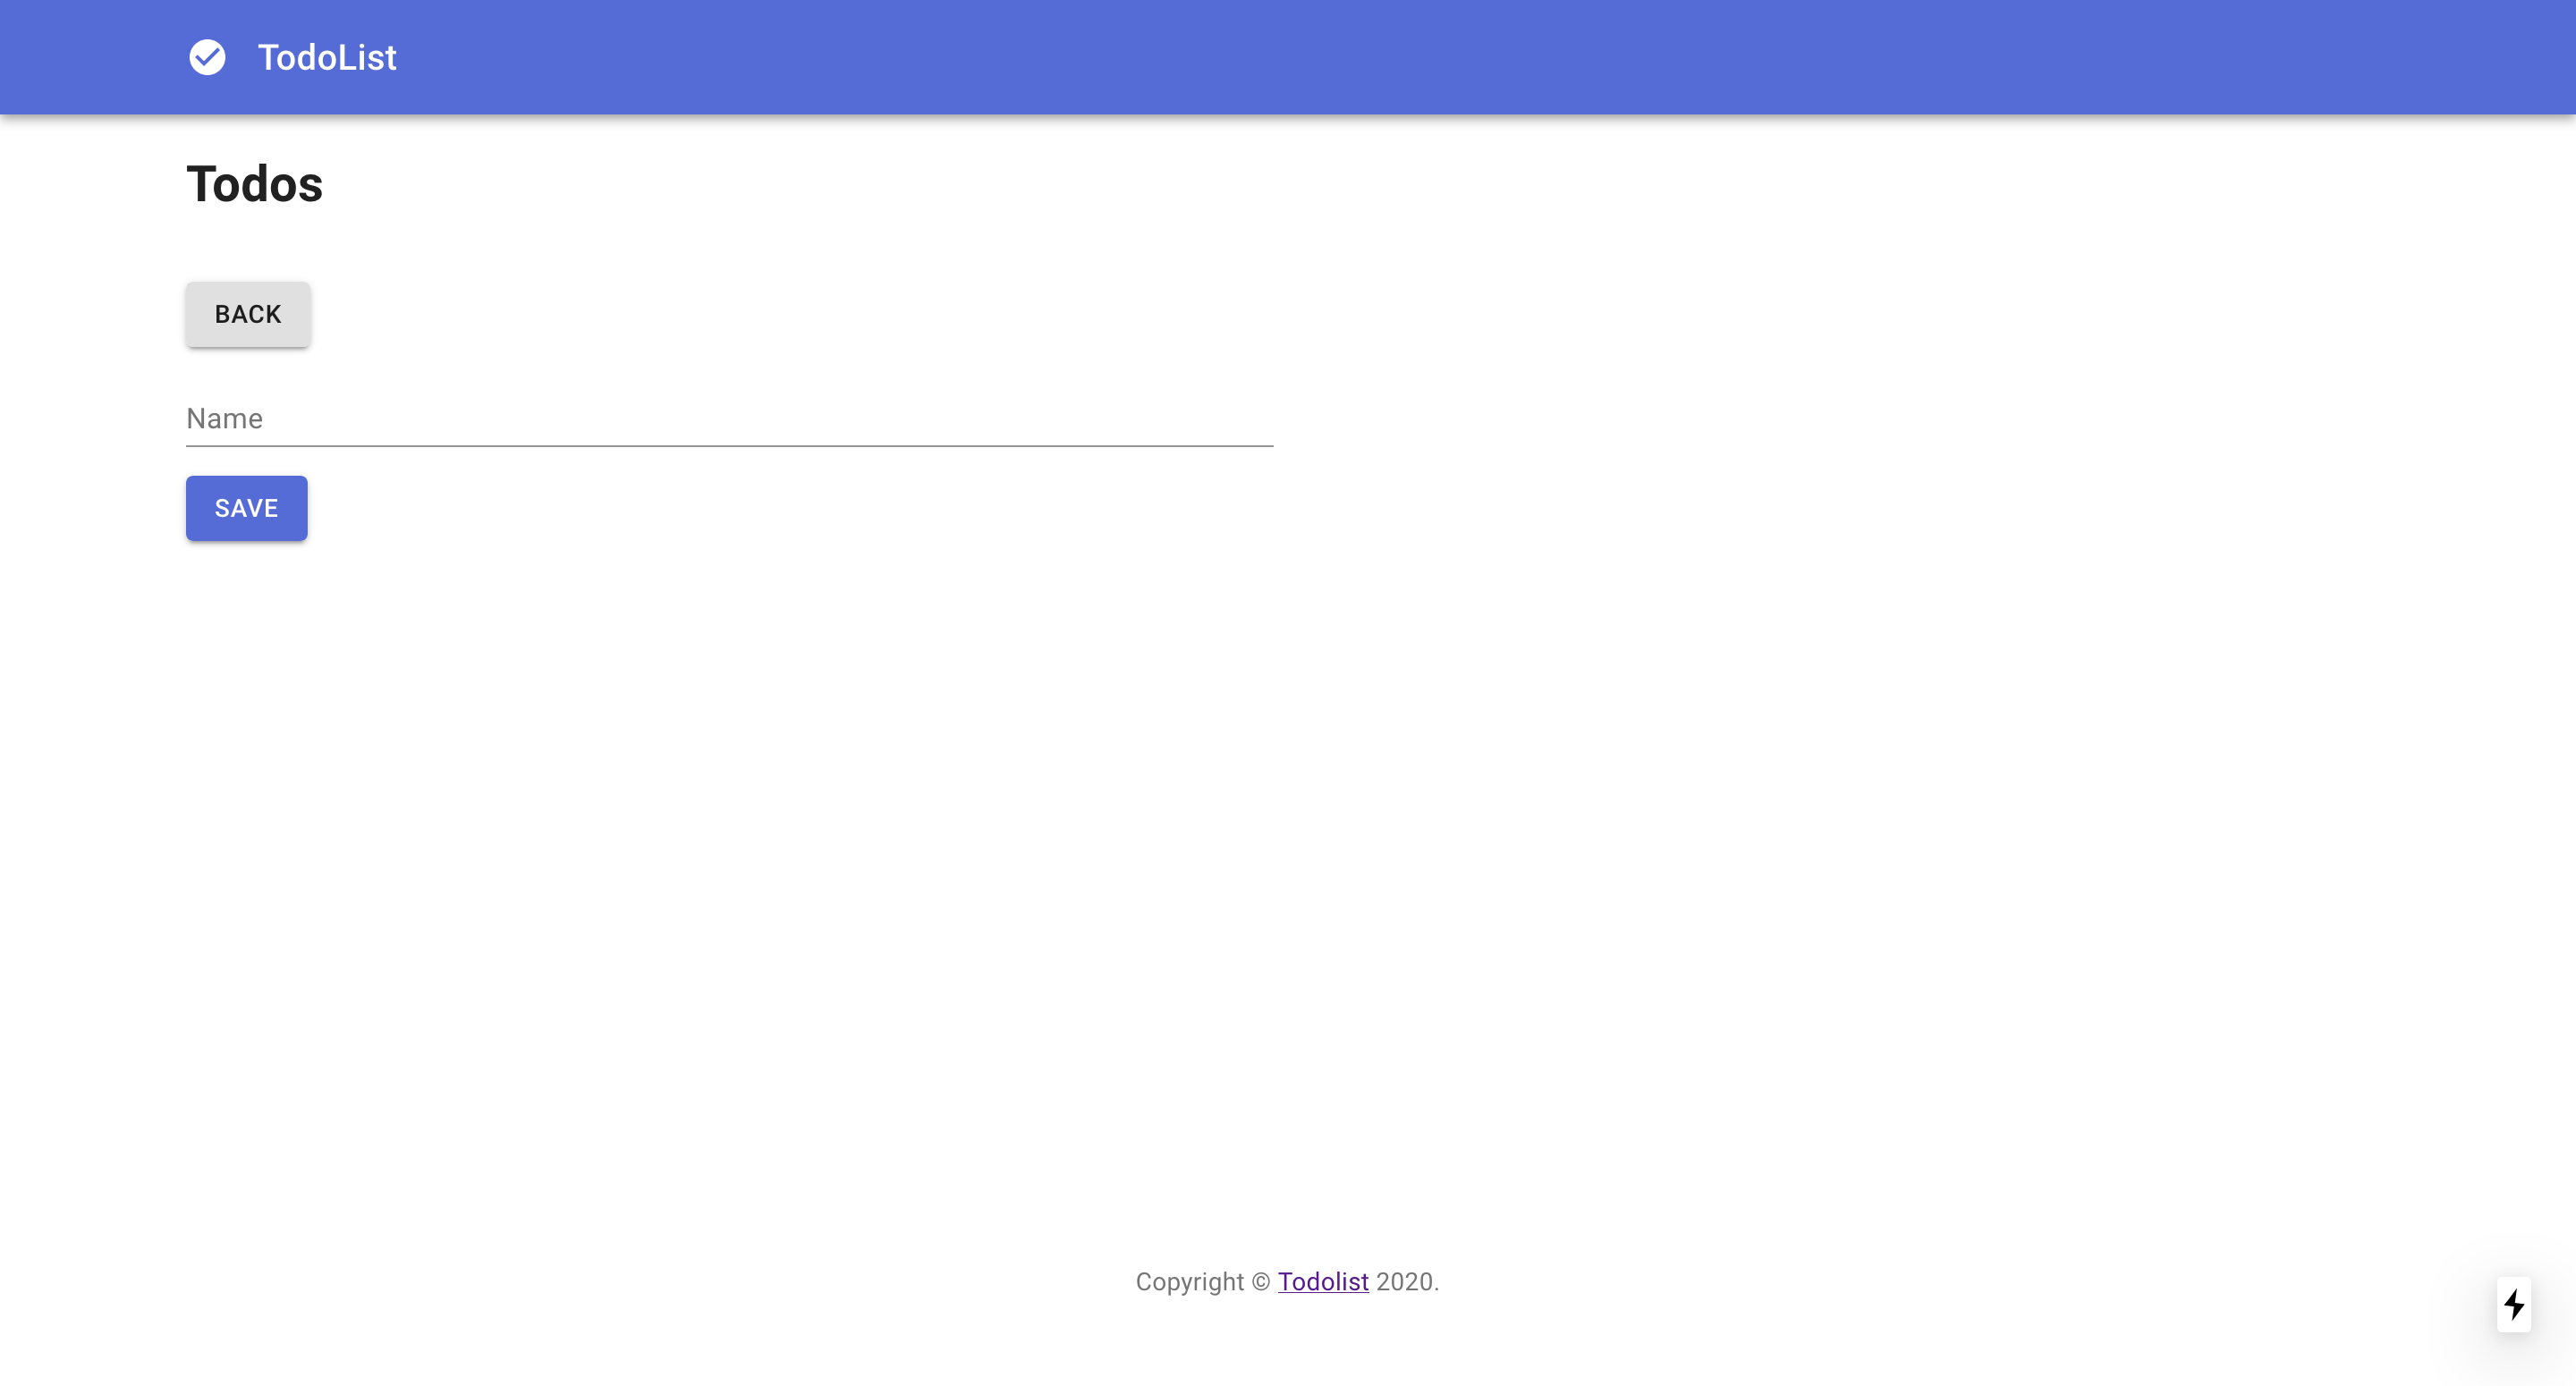
次のファイルを pages に追加します。
フォームは編集画面でも使うためコンポーネント化しておきます。
詳細画面
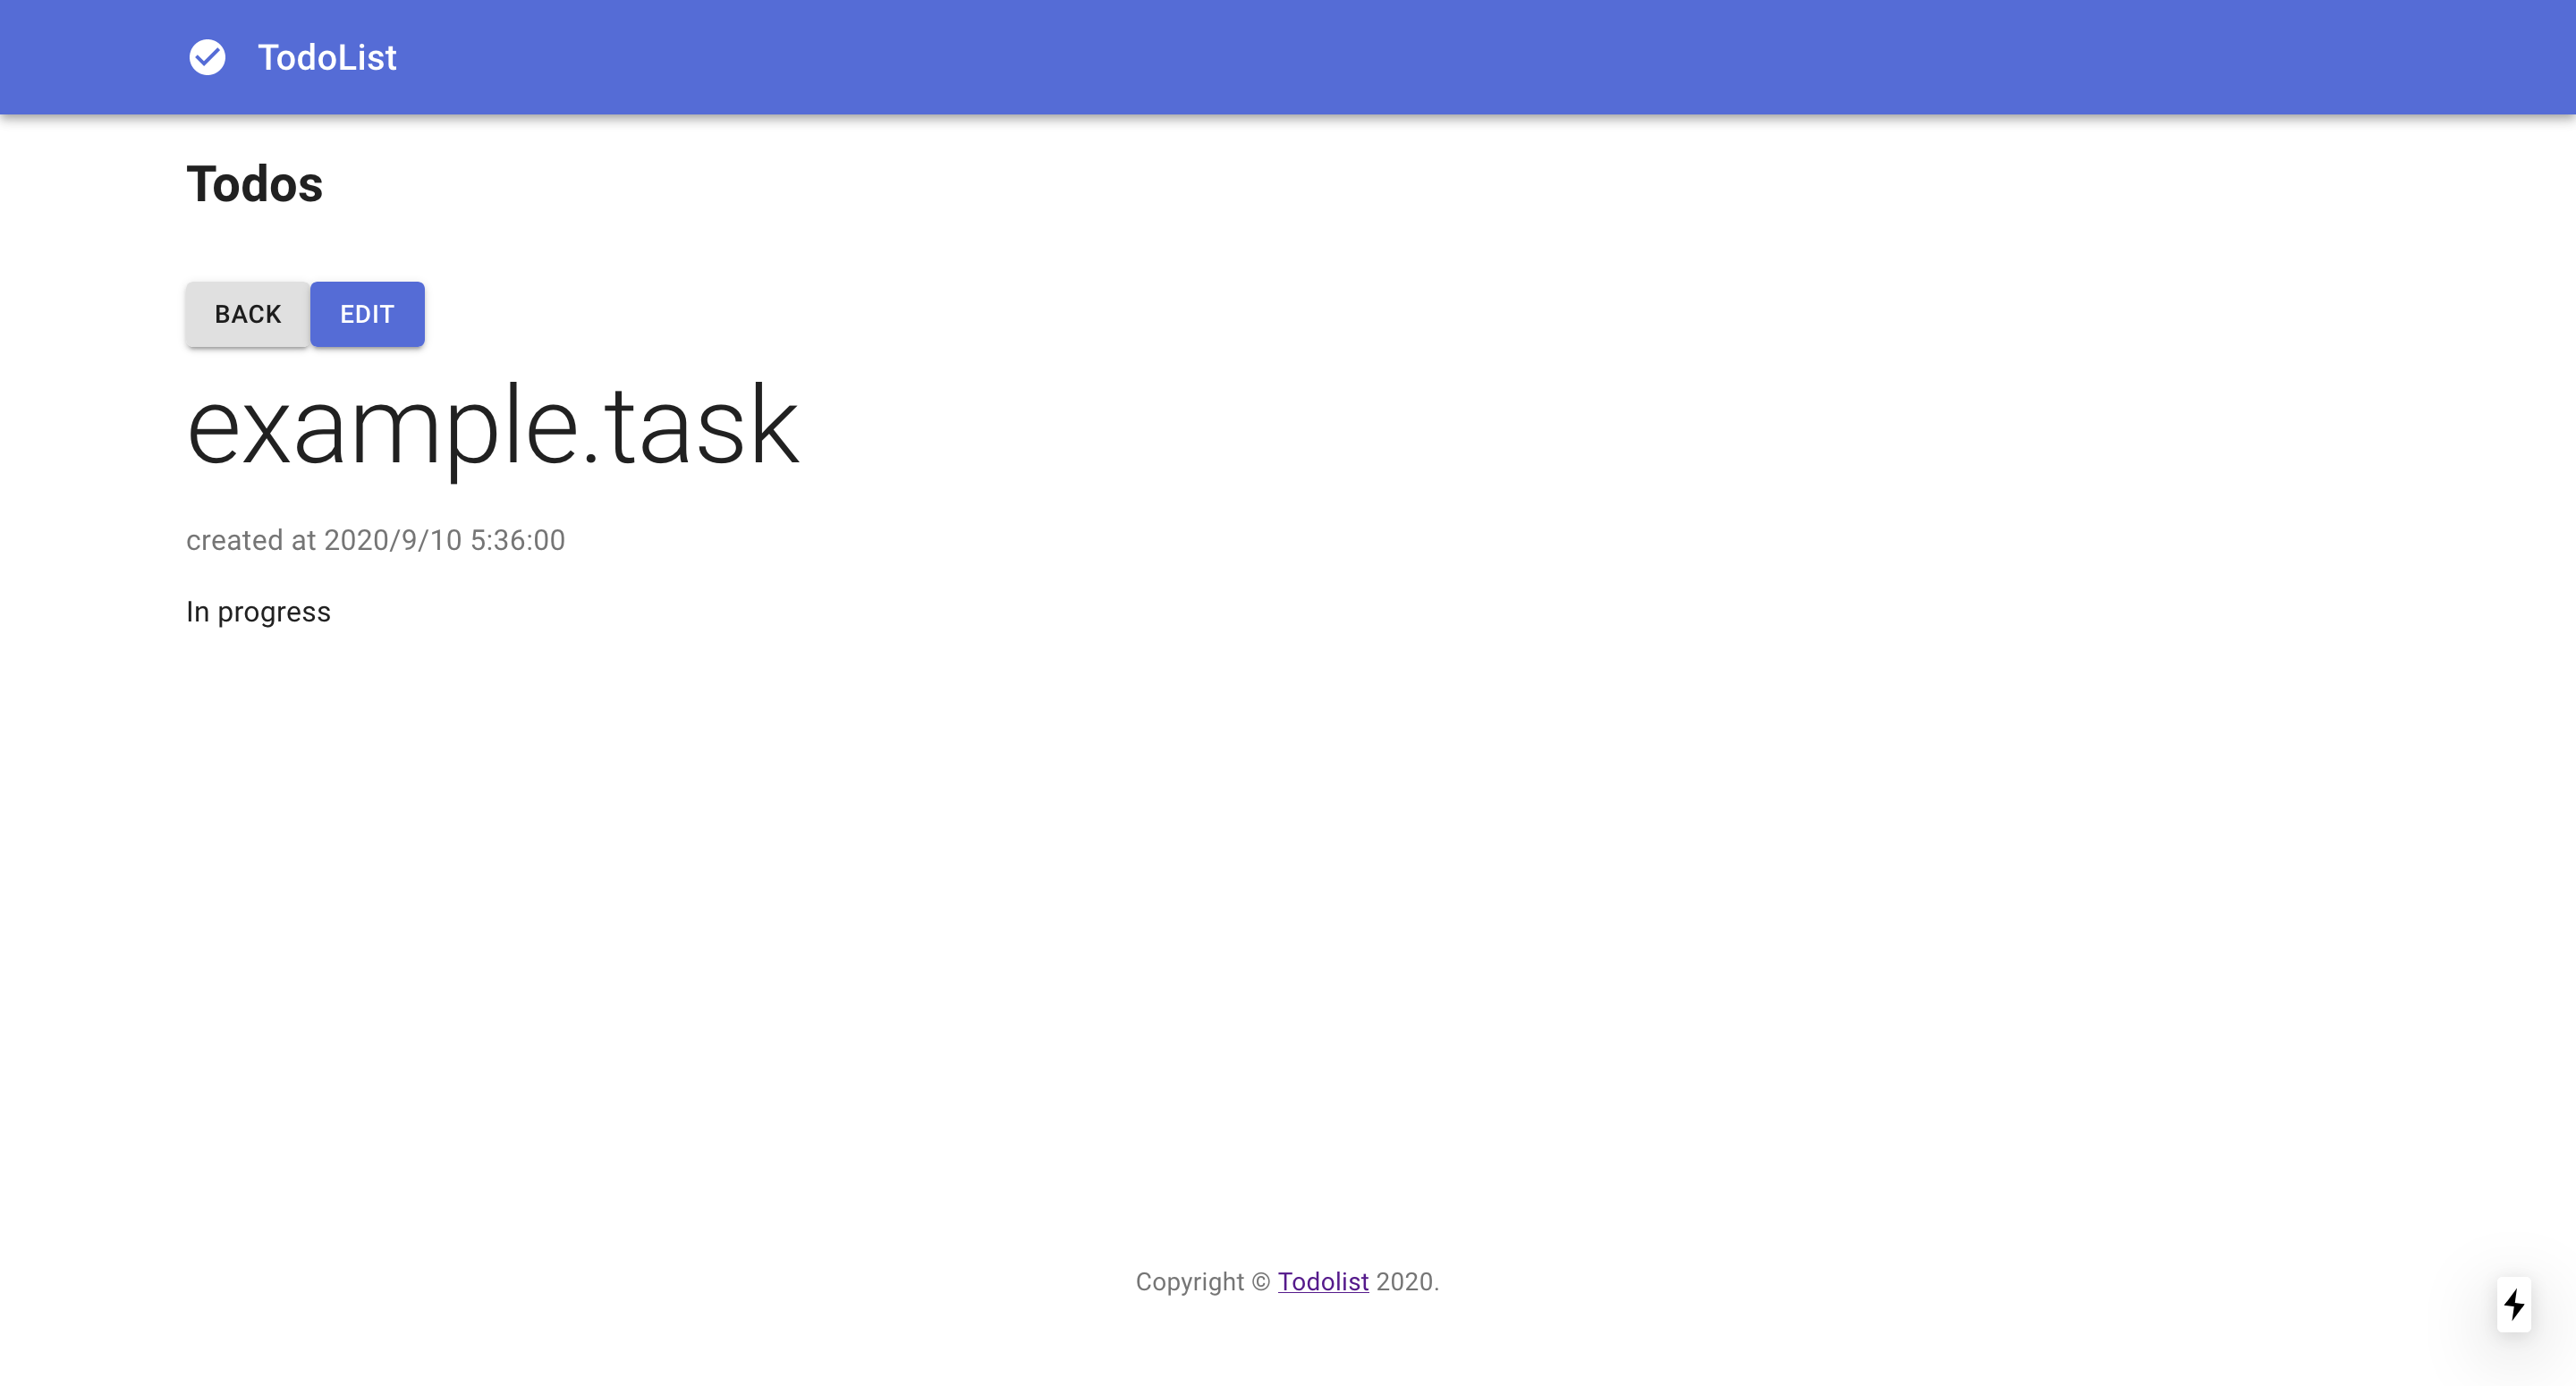
次のファイルを pages に追加します。
編集画面

次のファイルを pages に追加します。
まとめ
手元の環境でアプリを開発して画面を揃えるところまでは順調に進んだのですが、CI/CDでハマりどころが多く苦労しました。
ここまでの環境が揃っていれば、あとはスピーディーに開発していけそうな気がしています。
ぜひ、お試しください。