今回のポイントは、キャラクターを移動させる事と敵を配置させる事。
(攻撃アクションは次回から)
敵キャラの配置
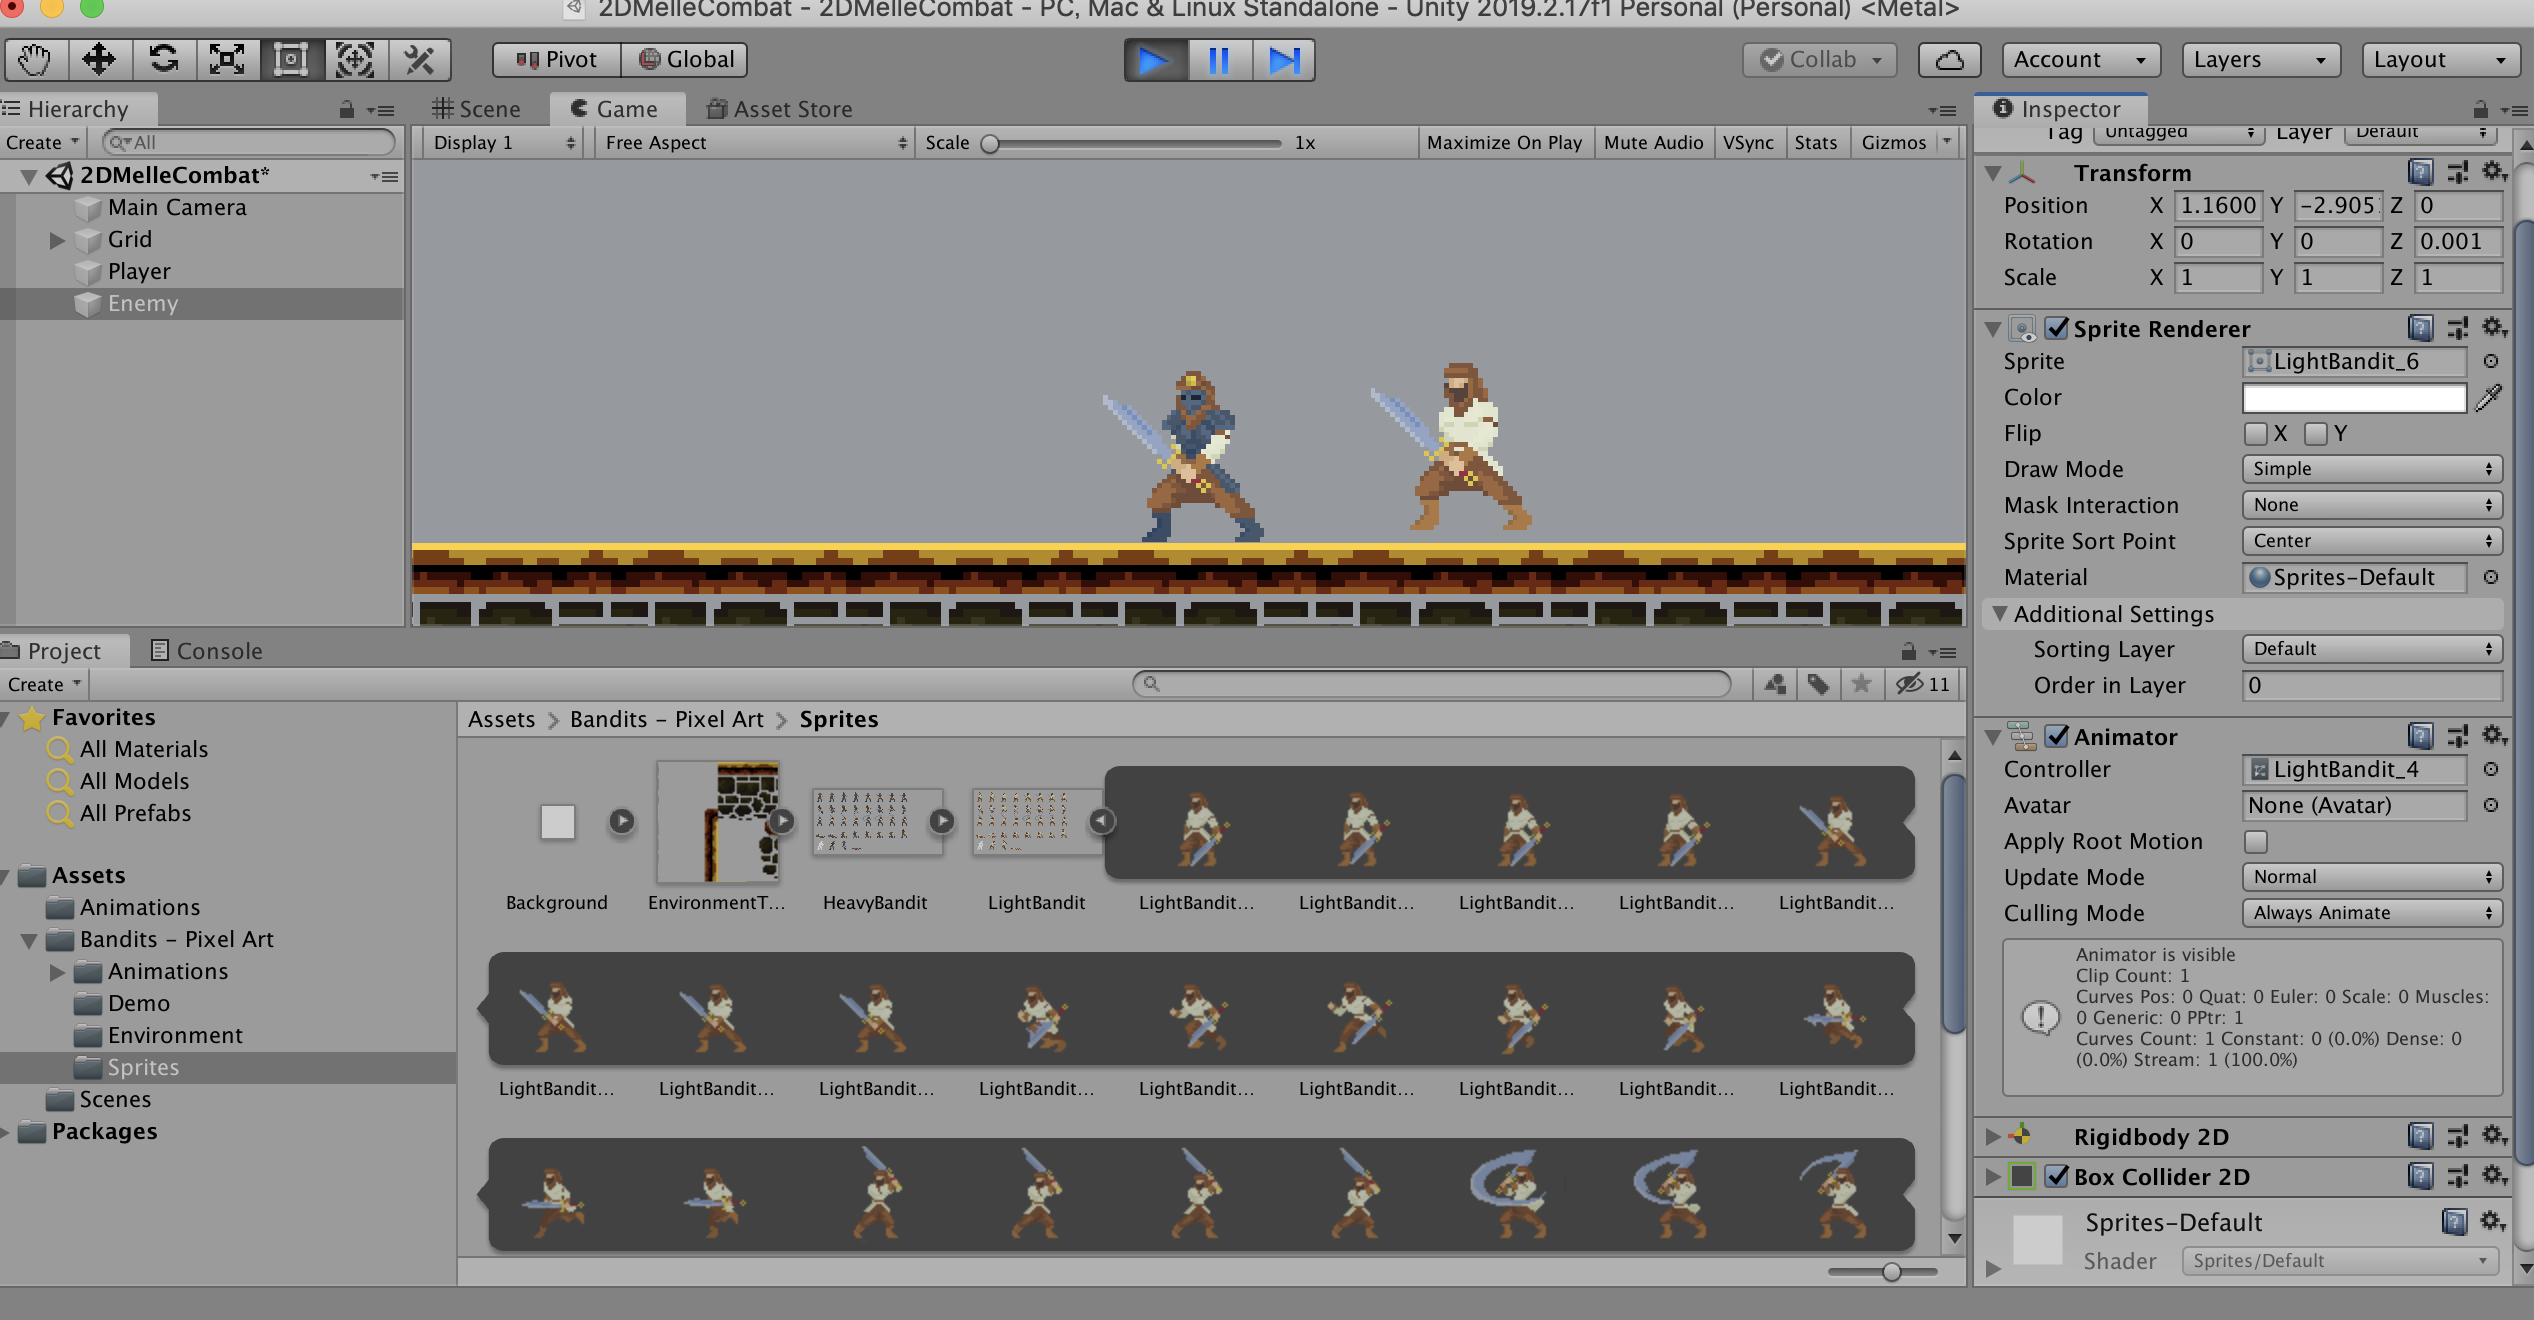
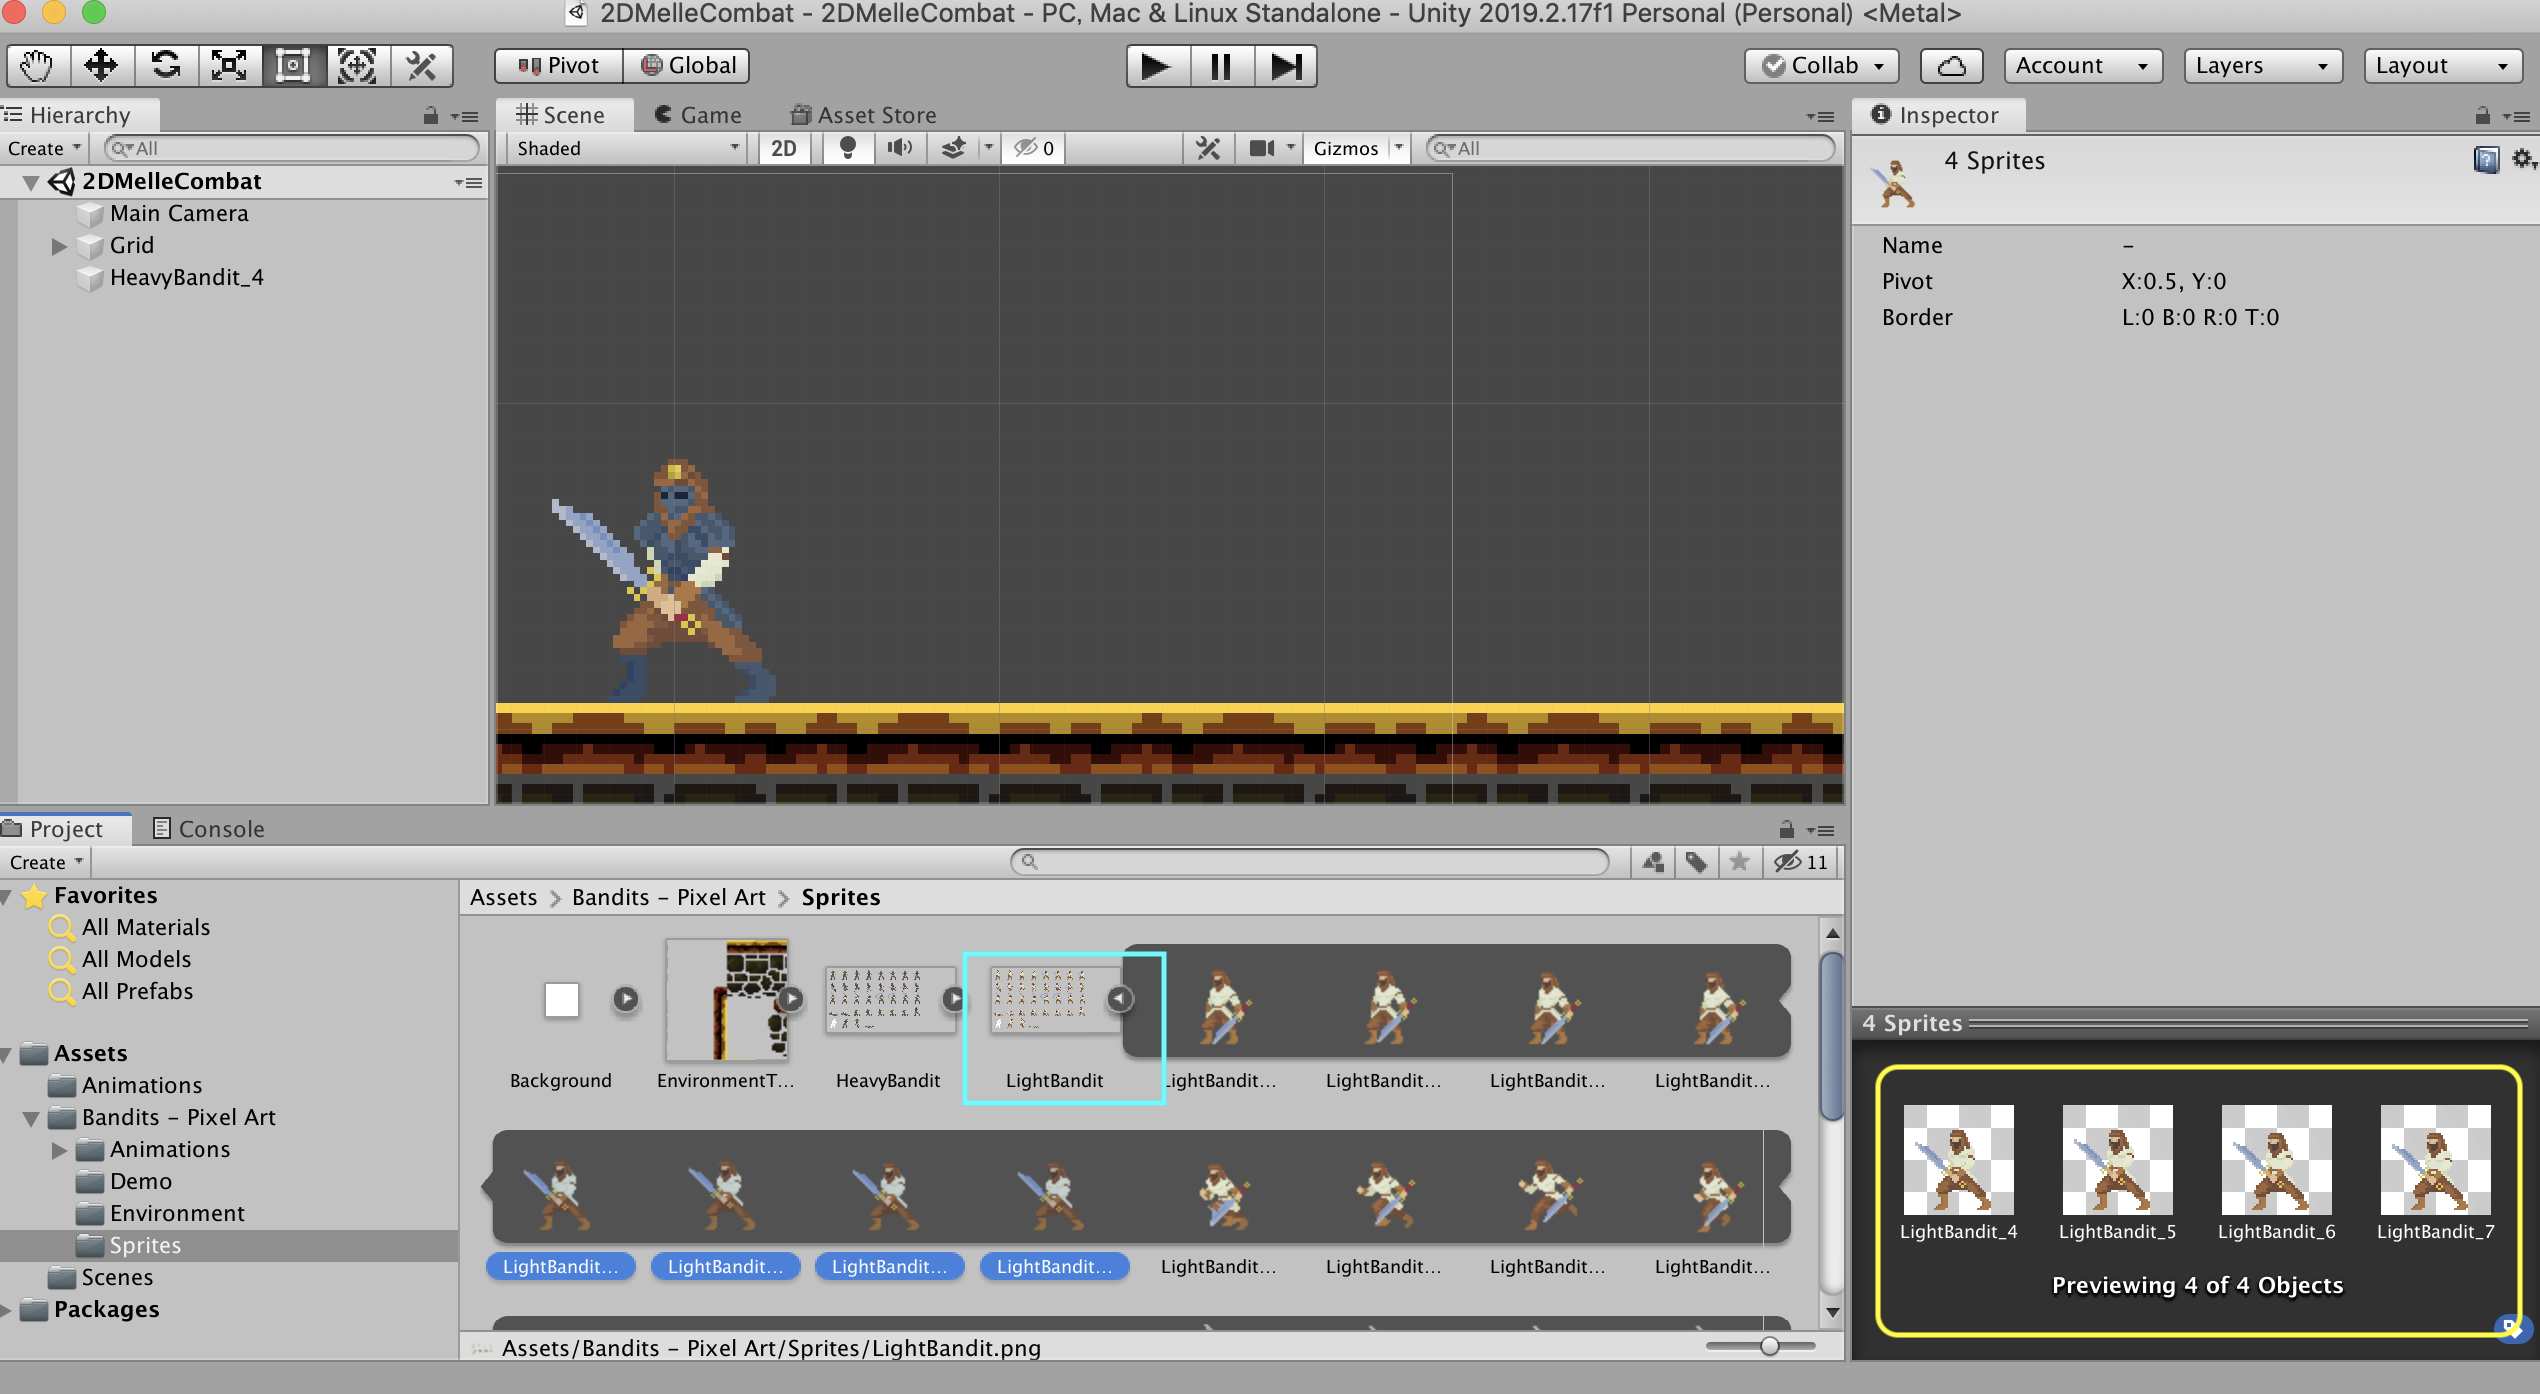
左下のプロジェクトビューの[Sprites]からLightBanditの画像数字の4.5.6.7.を複数選択し、真ん中のシーンビューにドラッグ&ドロップをしてください。
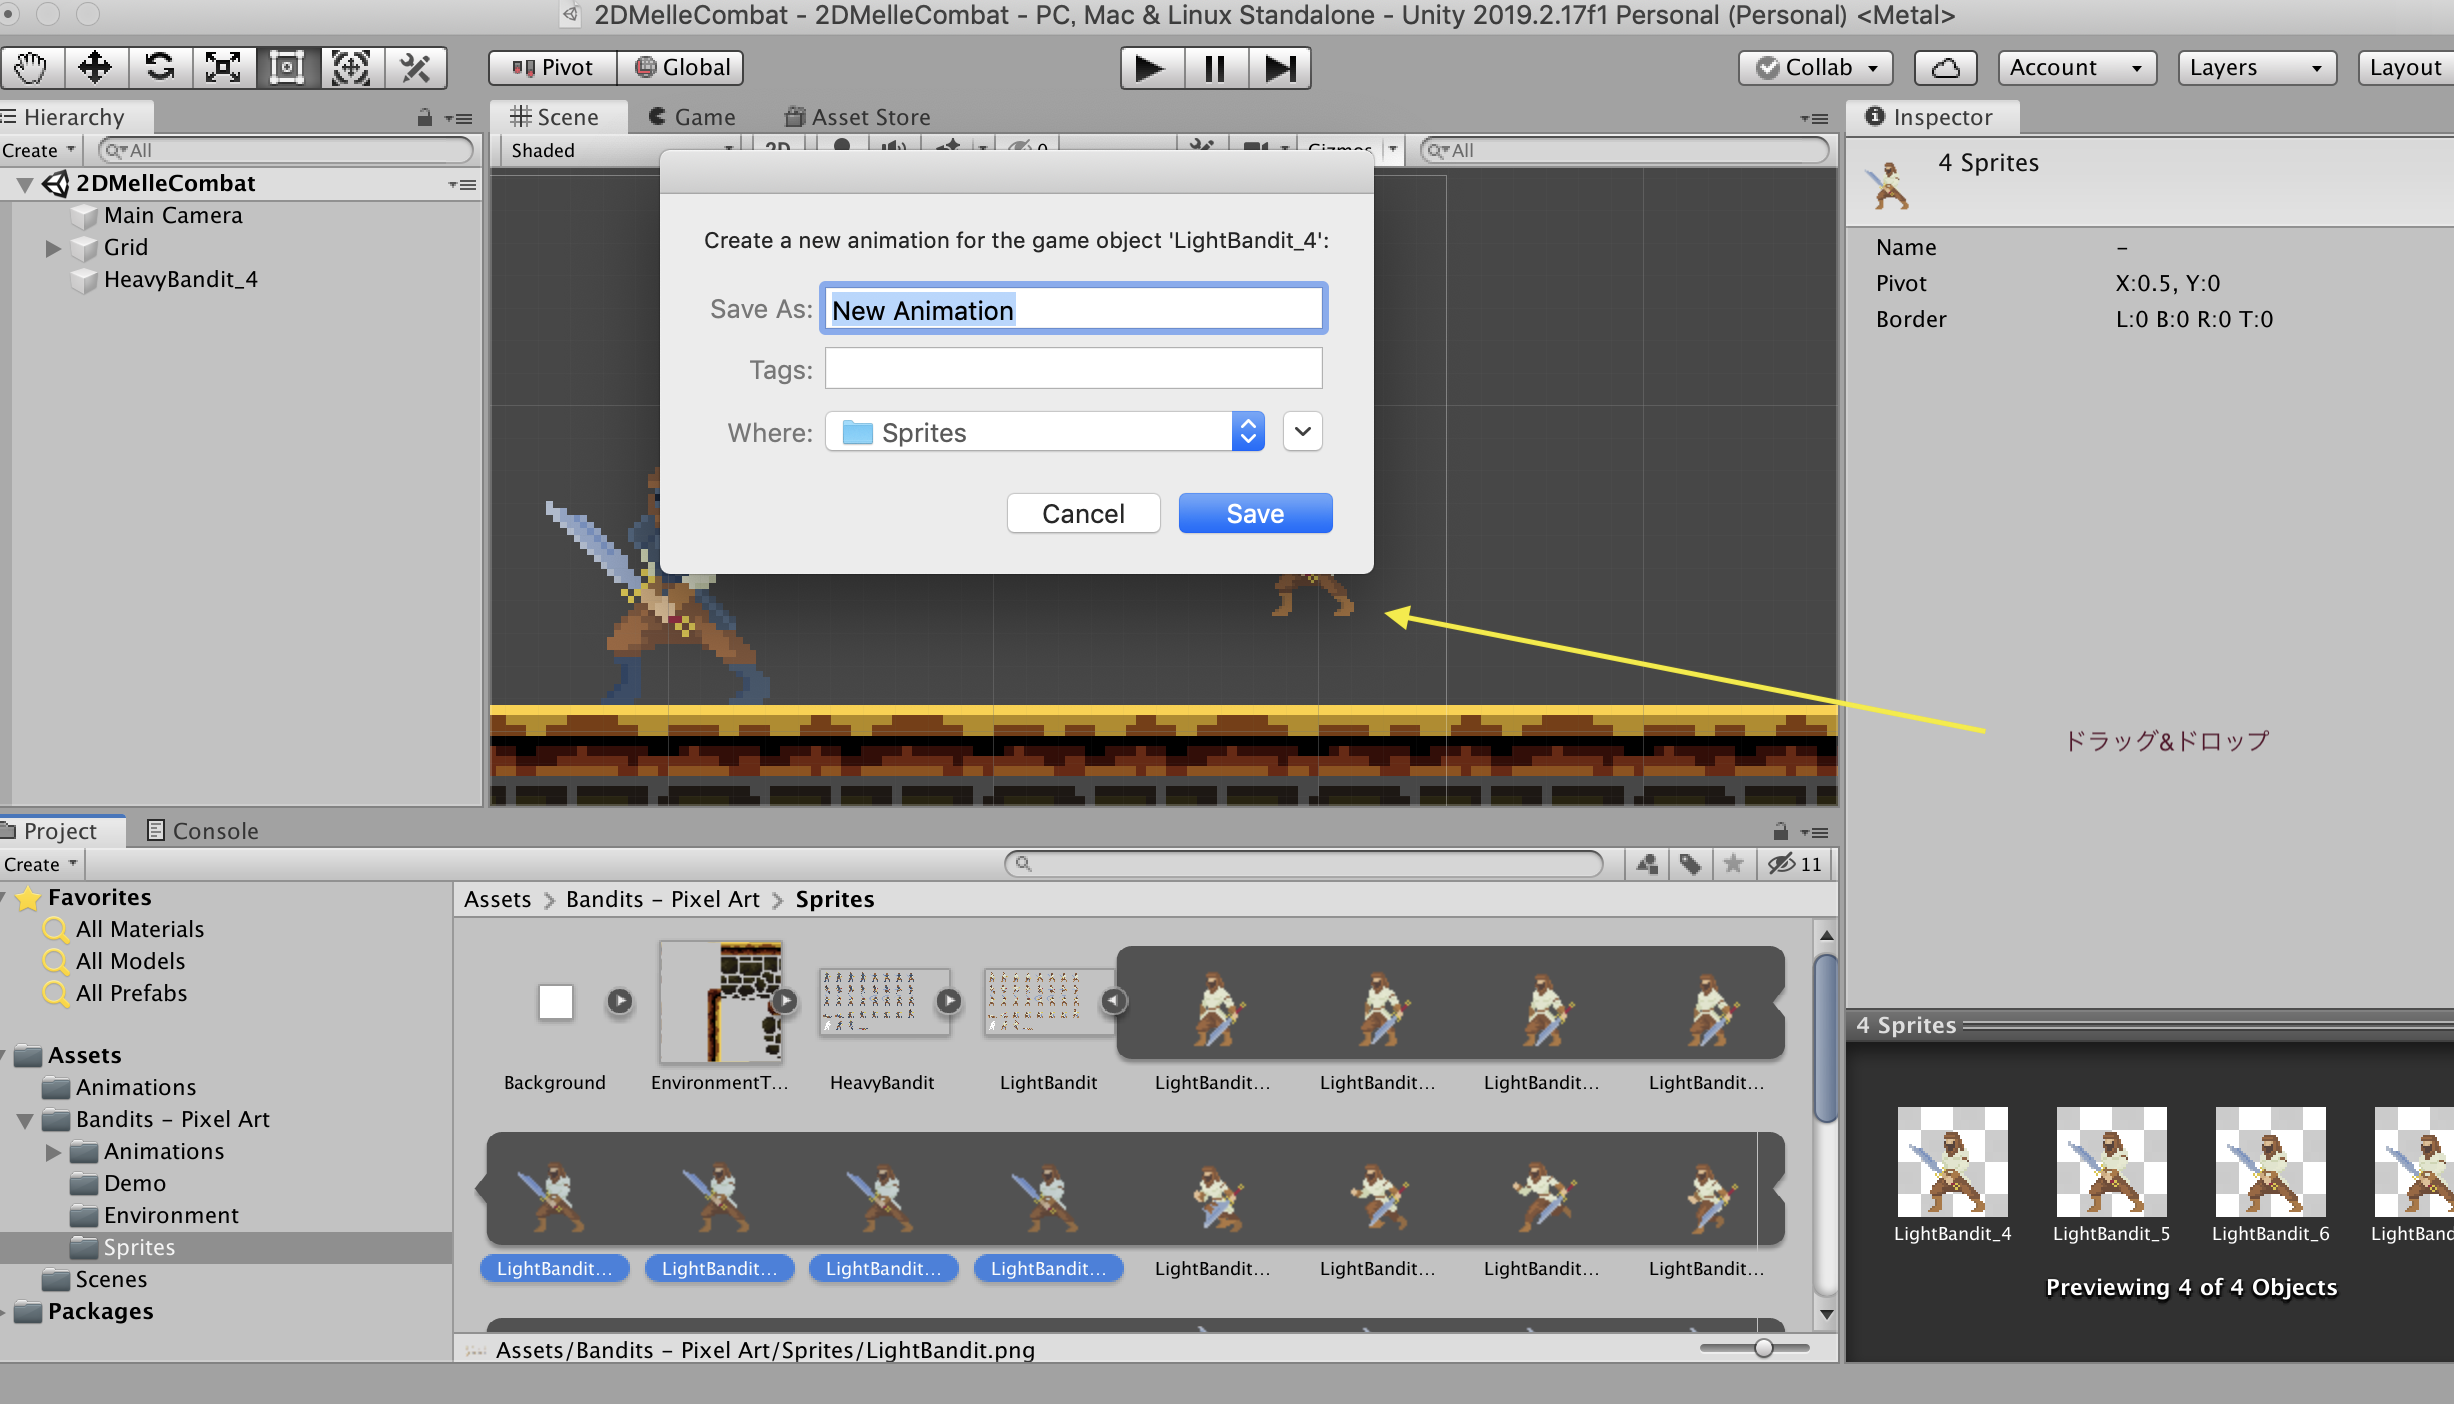
また保存先を聞かれるので、このように[Animations]先に[LightBanditIdle]と名前を付けて「Save」をクリック。

次は、敵キャラのサイズを合わしたいと思うので、前回に紹介したピクセル画像についてを見て頂けたら、分かると思うので、このまま設定していきます。
敵キャラ画像の全体を選択した状態で、ピクセルサイズを48に変えて下にスクロールをしたら[Apply]があるのでクリックします。


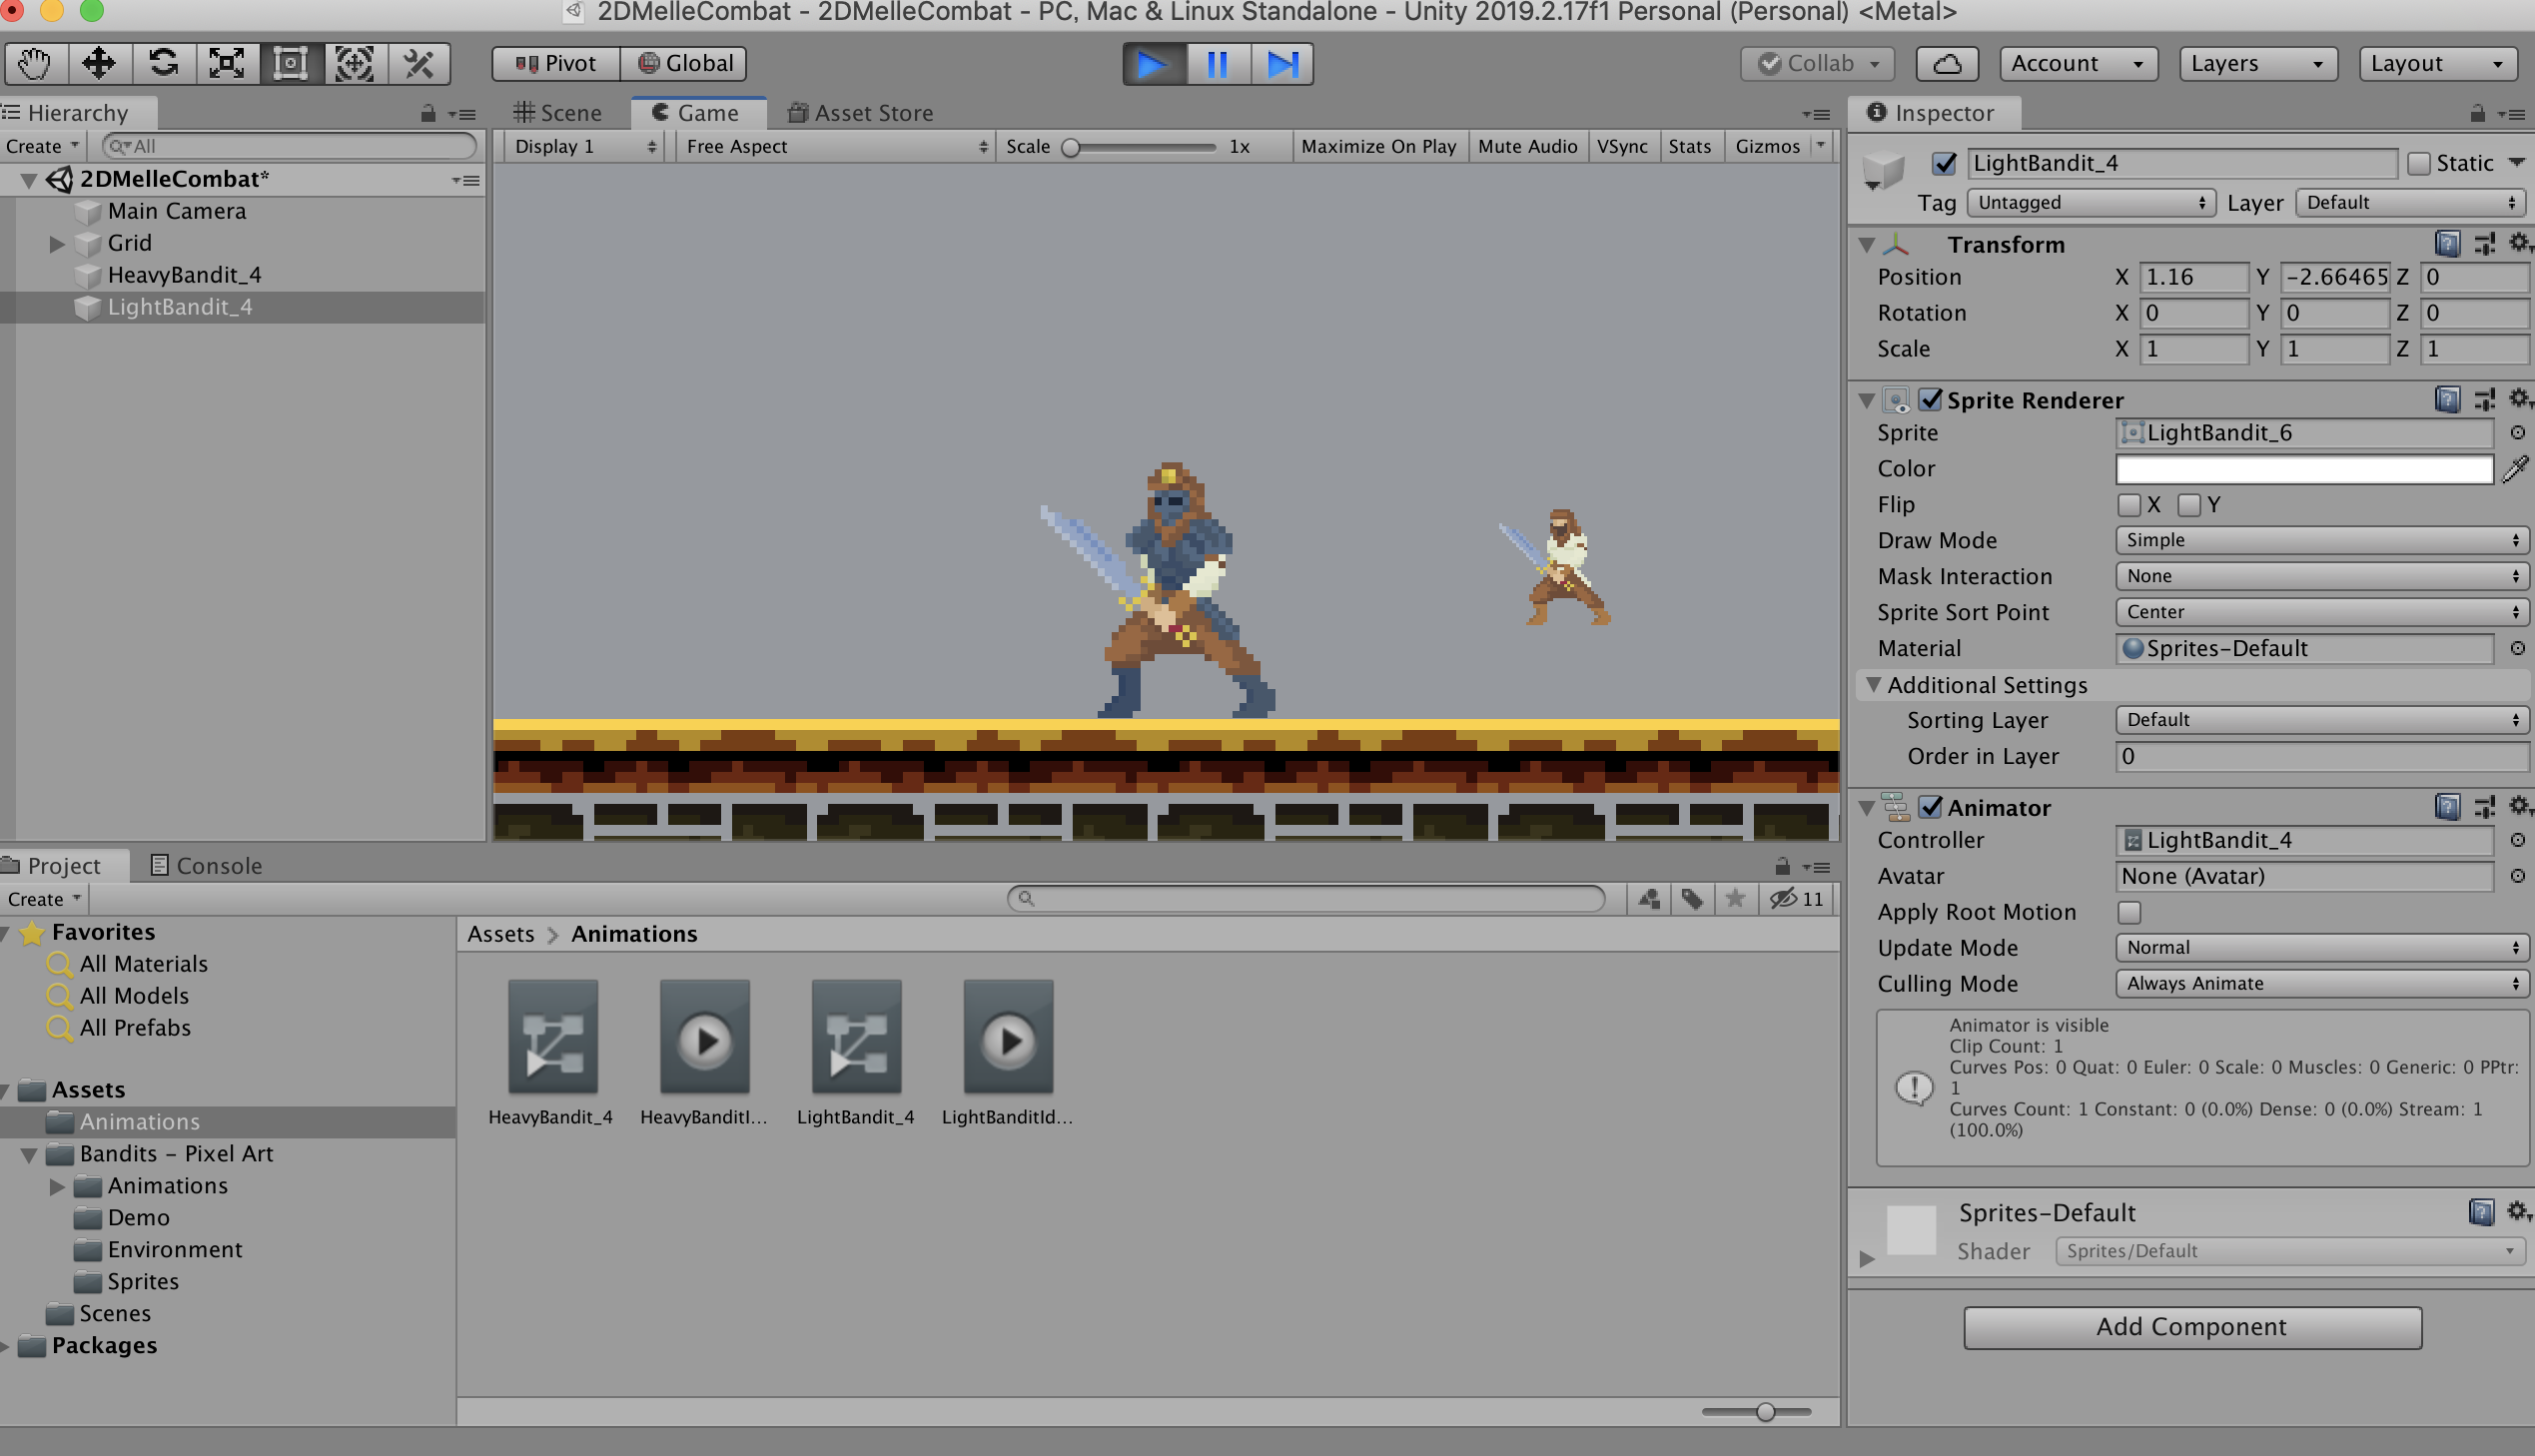
次に、左側にあるヒエラルキーの『HeavyBandit_4』→ (Player)『LightBandit_4』→ (Enemy)に変えてあげる。
次に前回と同様で、Enemy(敵キャラ)にも[Rigidbody2D]を付けてあげる。
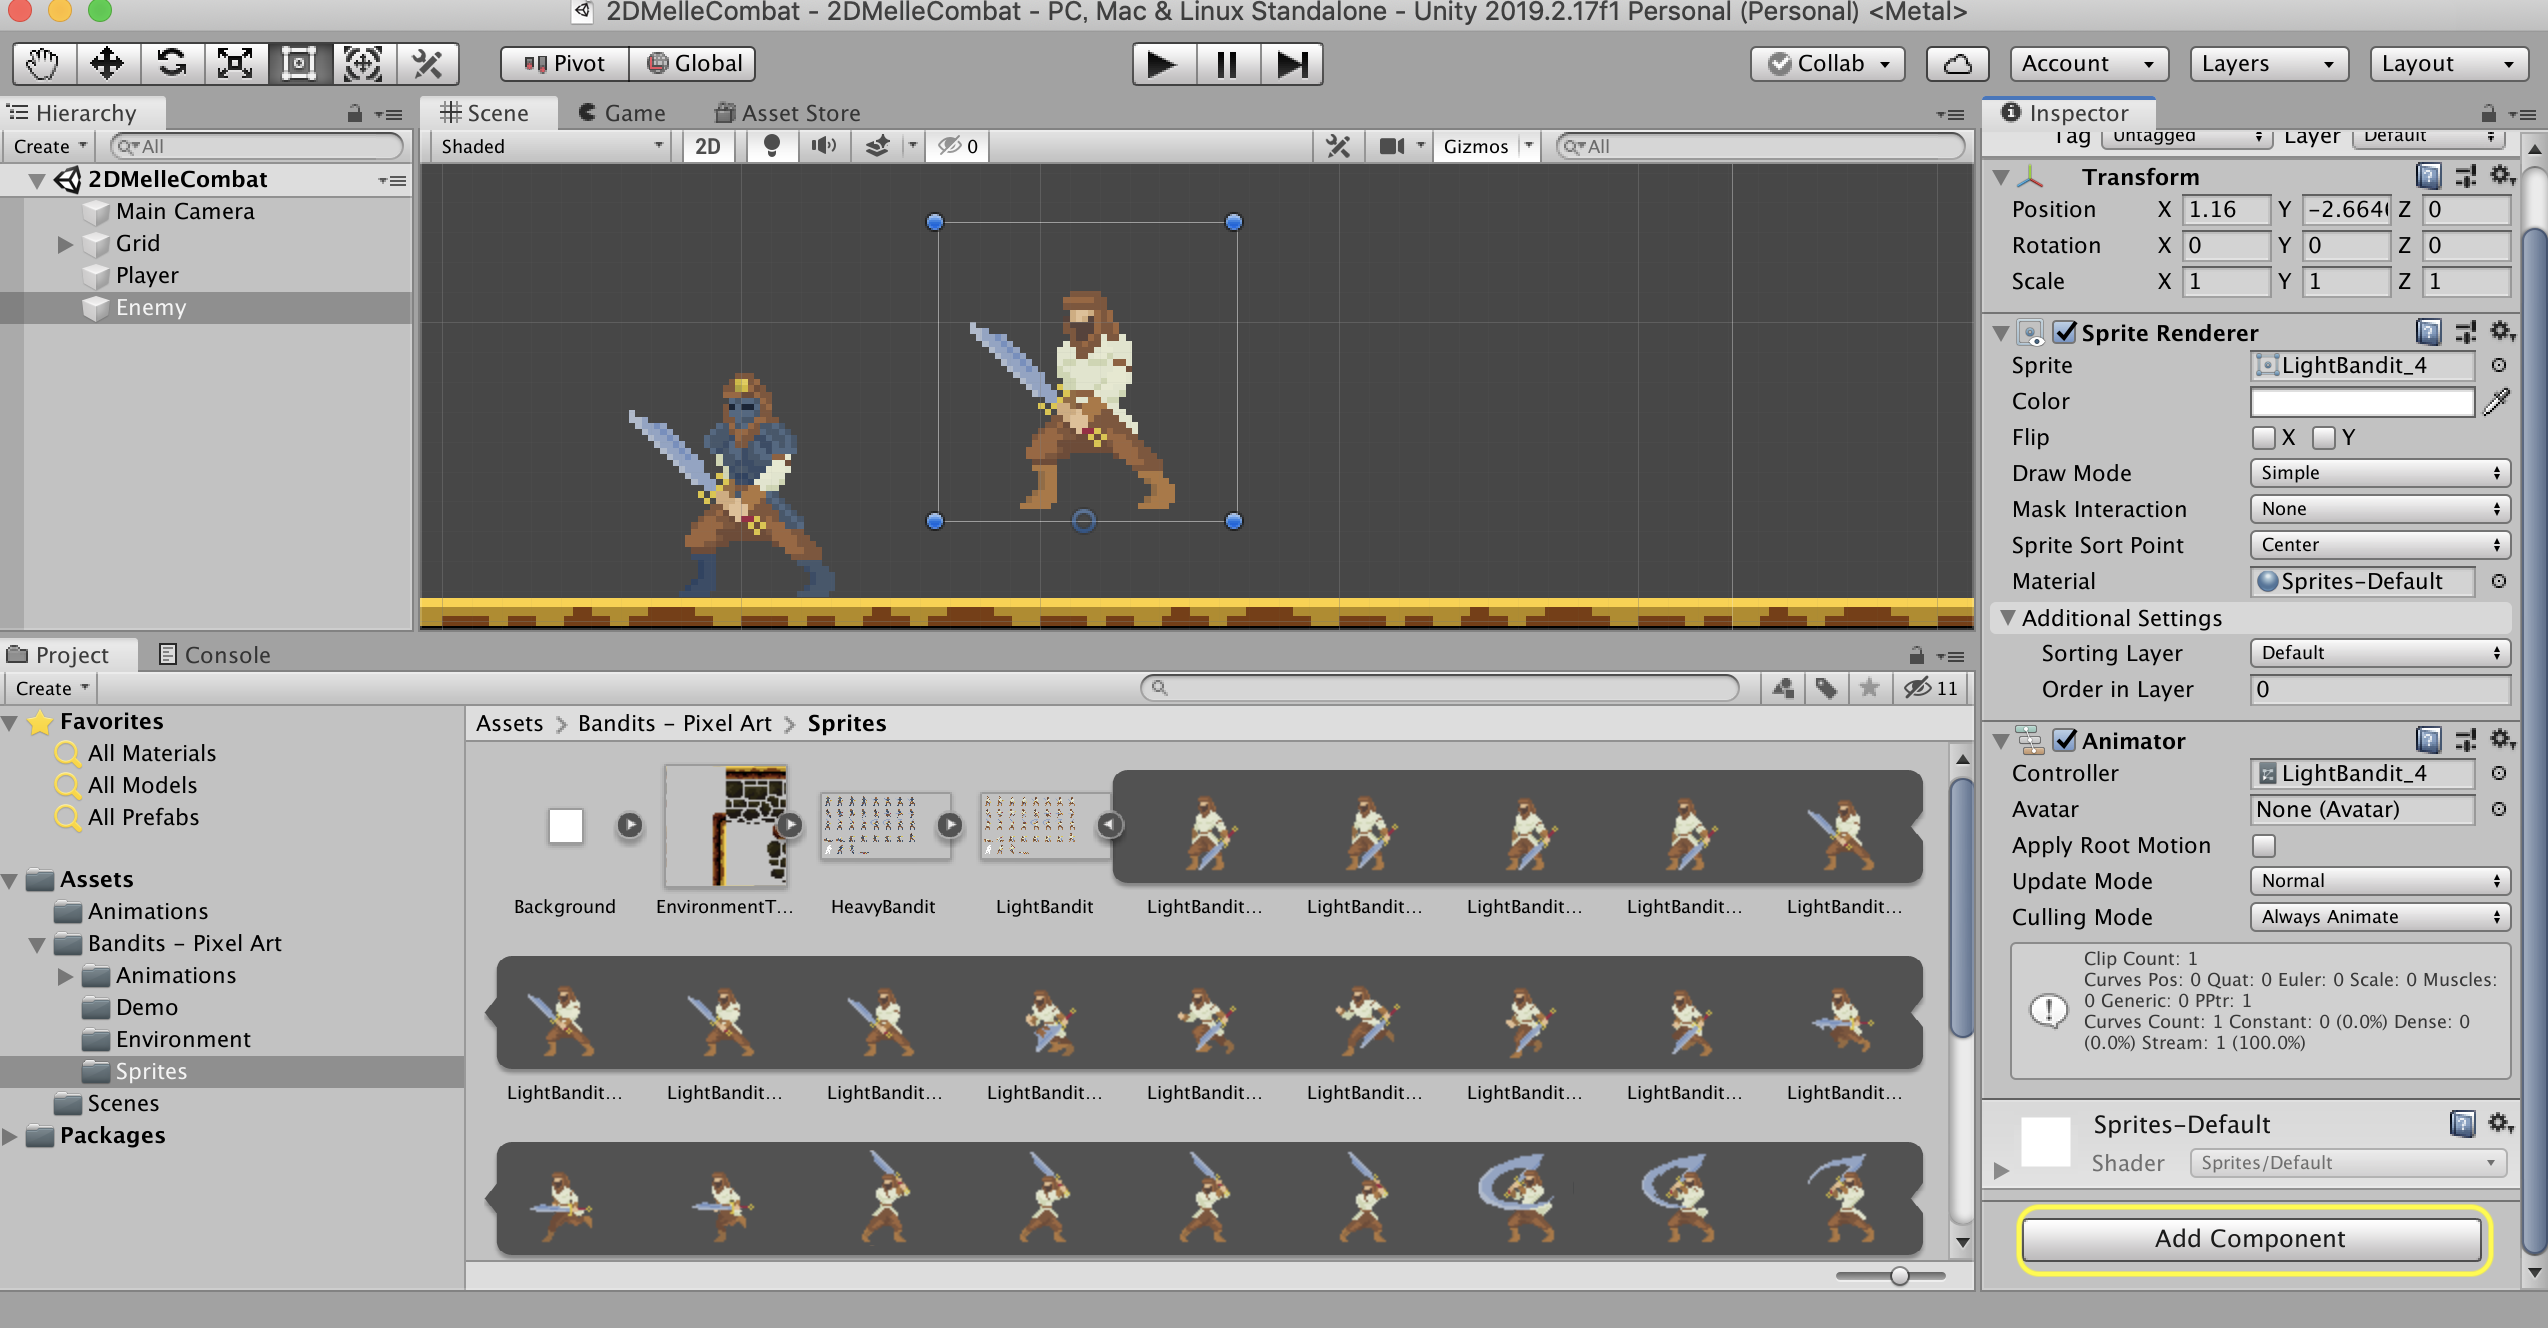


まだ見た目的には、宙に浮いている状態なので、[BoxCollider2D]を修正して上げましょう。
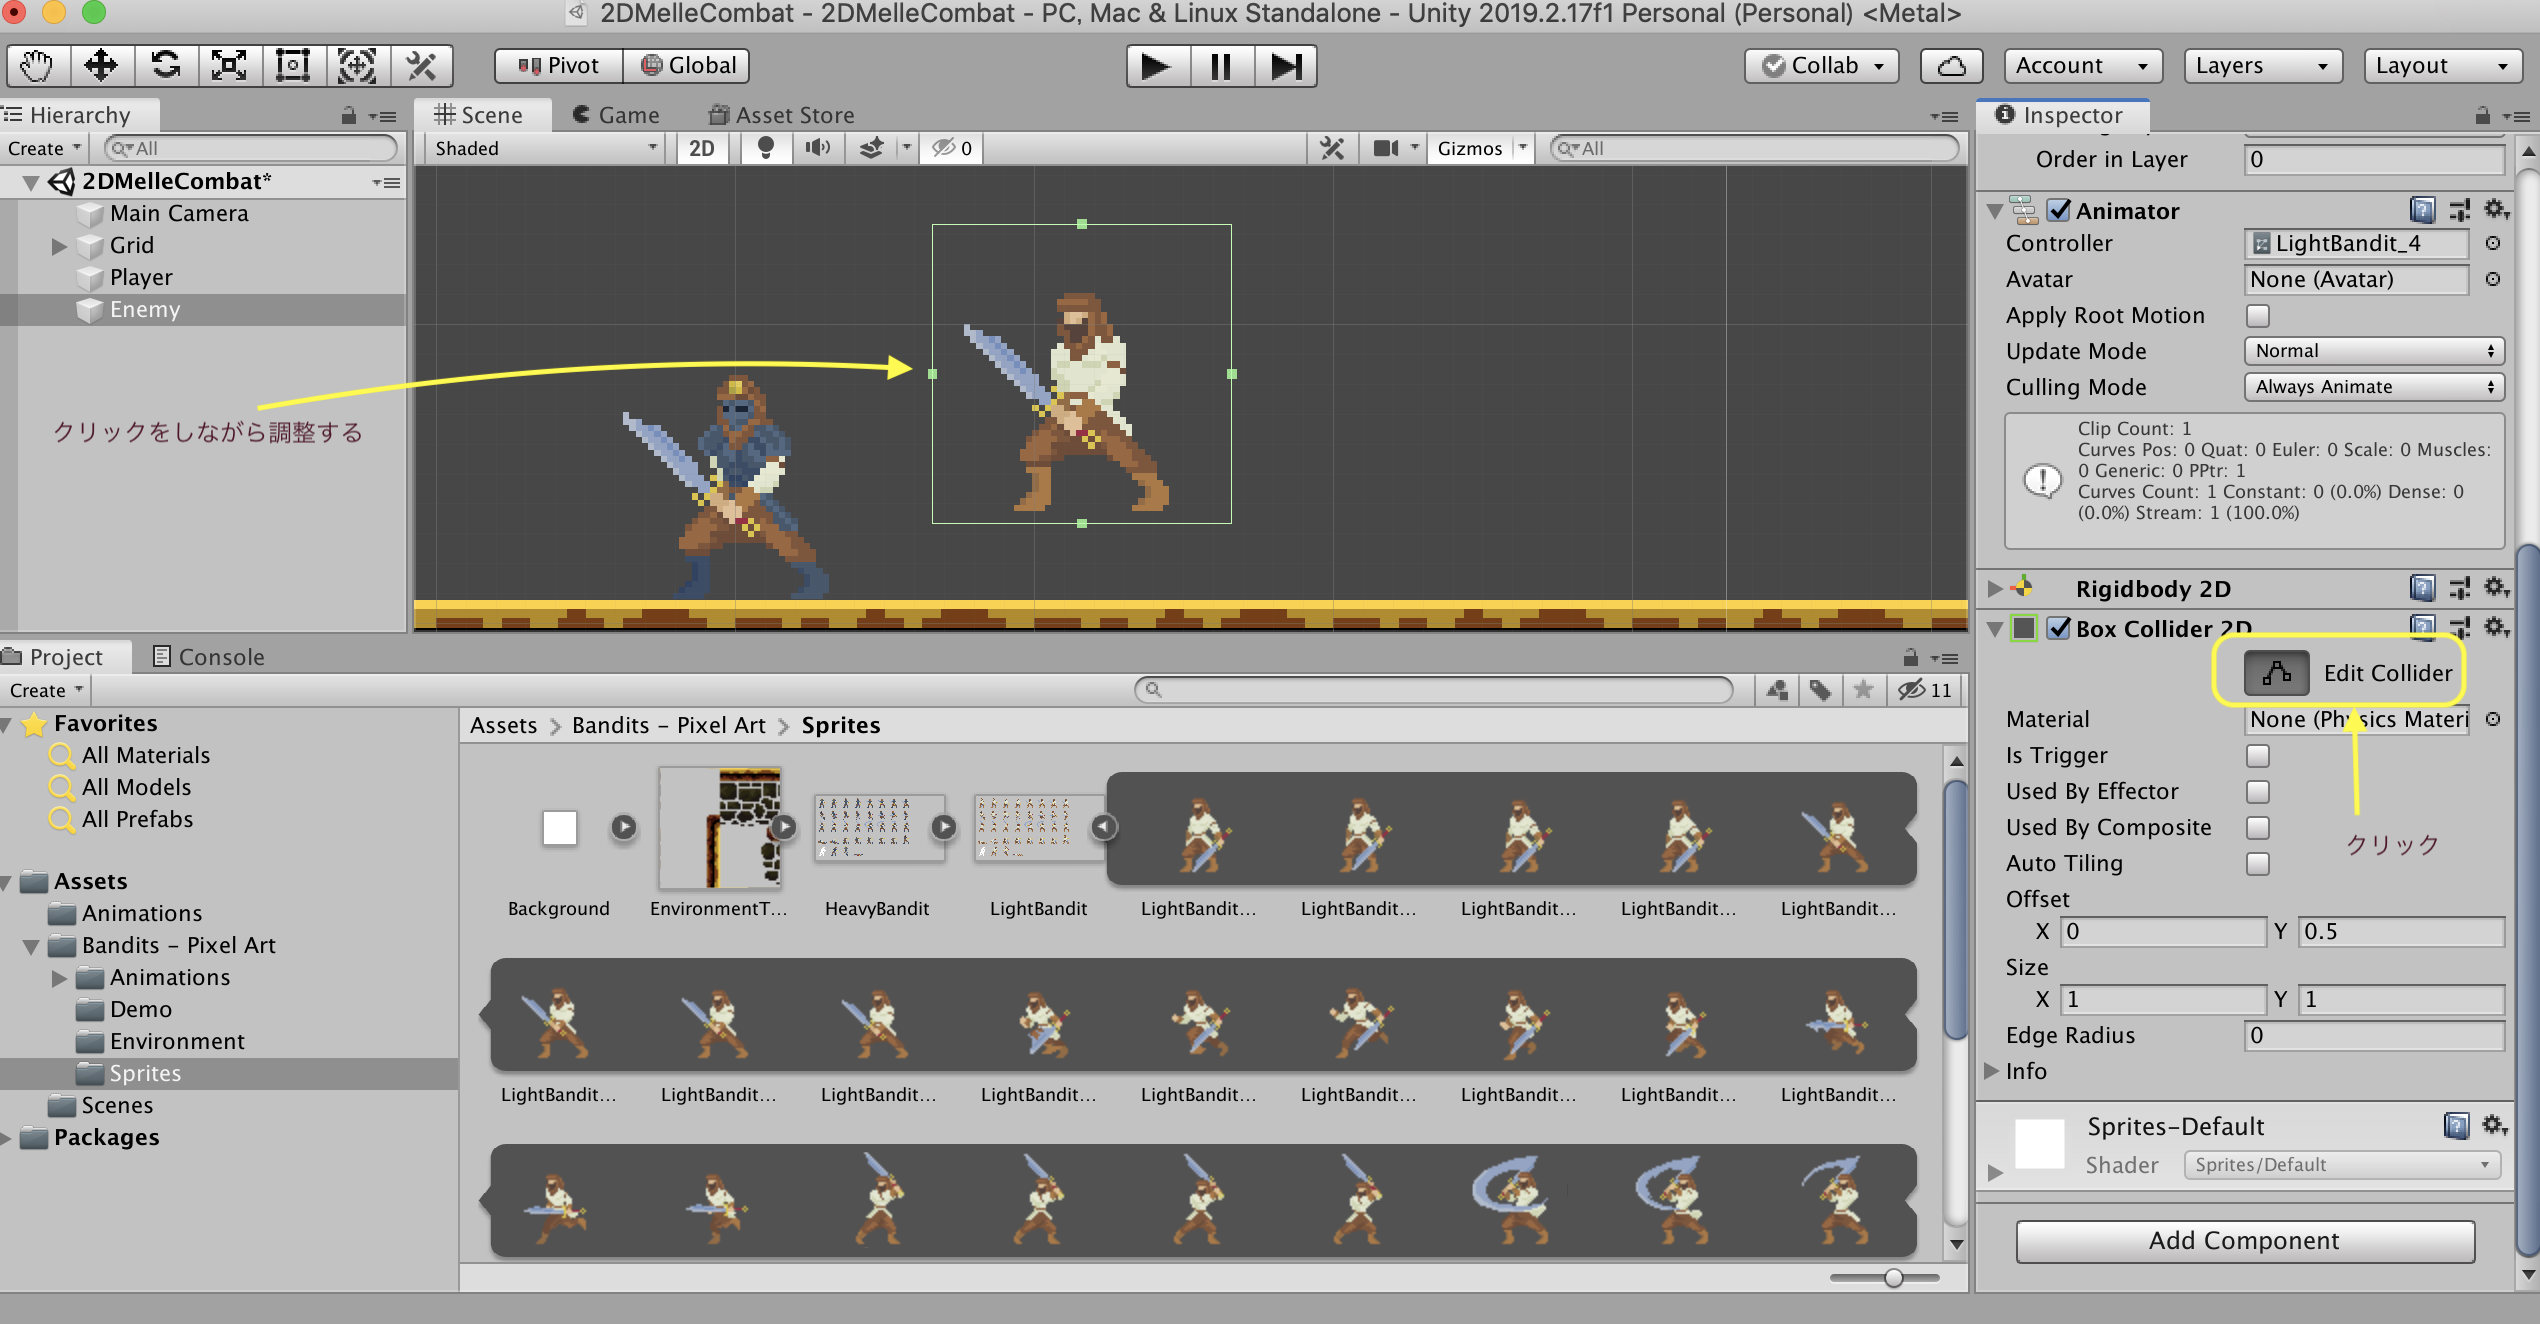
[BoxCollider2D]も大きく囲む必要がないので、小さくしましょう。

プレイヤーの移動
プレイヤーを動かせるのはプログラムになるので、まず[Assets]をクリックしてこの画面にします。


先ほど作った[Scripts]をクリックして開いた状態で[Create]をクリックして[C# Scripts]をクリックします。

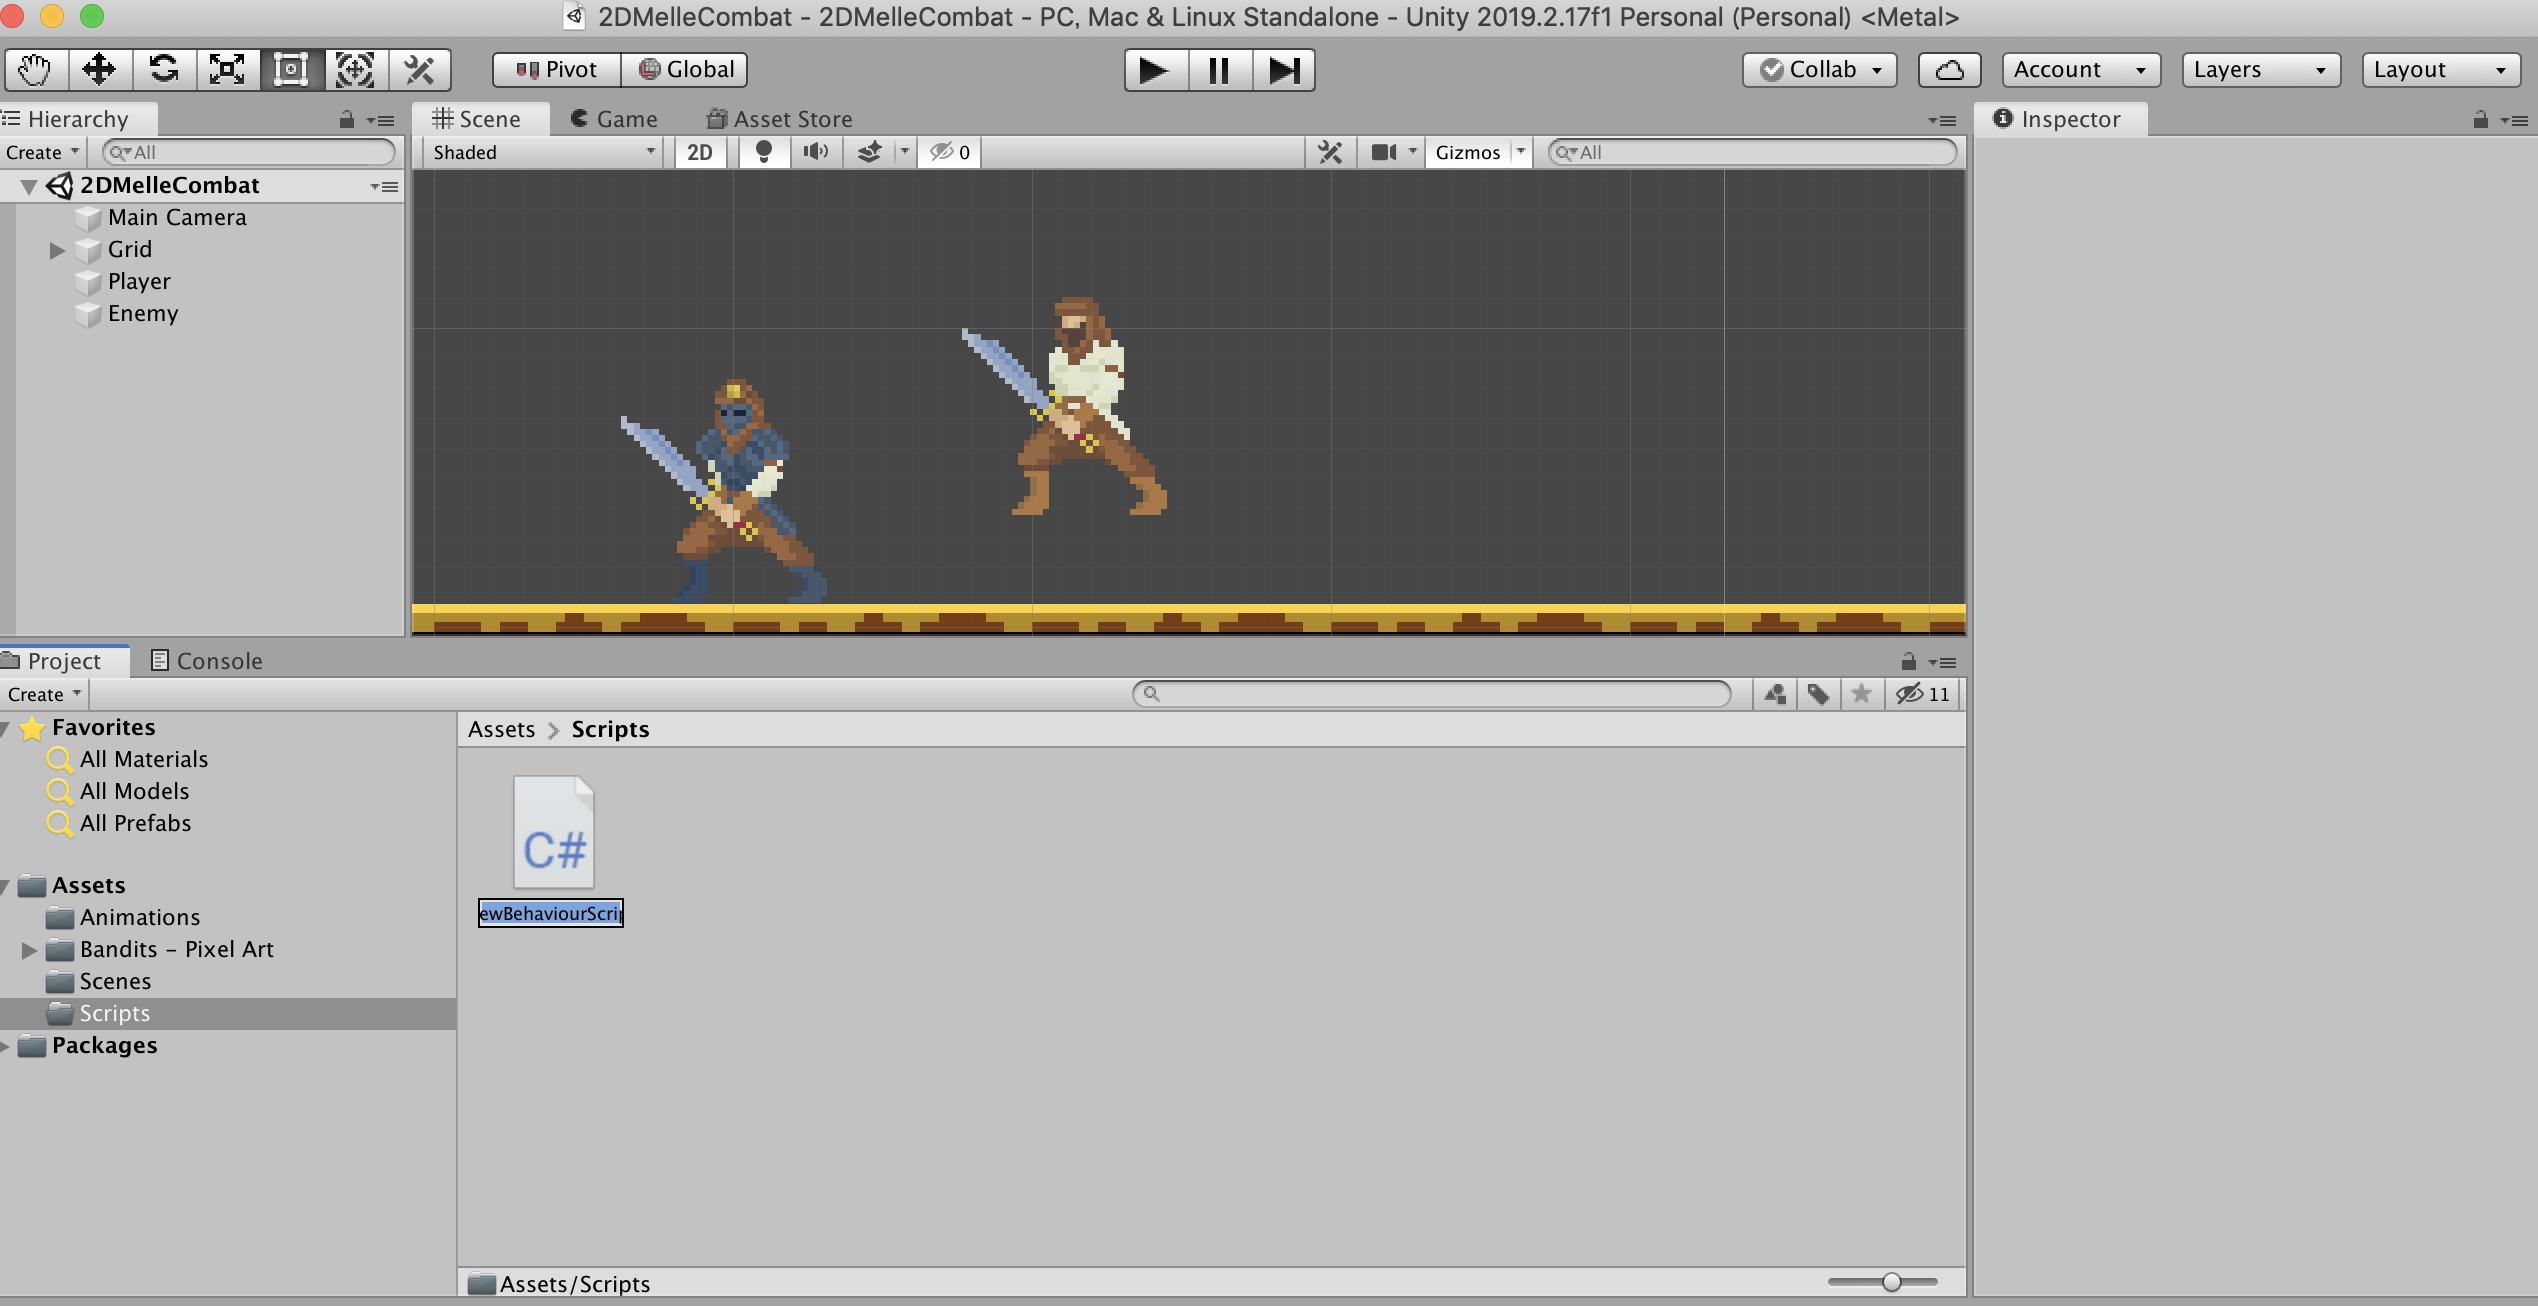
[C# Scripts]の名前を[PlayerManager]に変更します。

[PlayerManager]のスクリプトをプレイヤーにアタッチします。

アタッチが出来たらインスペクターに付いている事が分かります。

次に[PlayerManager]のスクリプトをクリックして開きます。
using System.Collections;
using System.Collections.Generic;
using UnityEngine;

public class PlayerManager : MonoBehaviour
{
    // Start is called before the first frame update
    void Start()
    {

    }

    // Update is called once per frame
    void Update()
    {

    }
}
このスクリプトで実行してみましょう
using System.Collections;
using System.Collections.Generic;
using UnityEngine;

public class PlayerManager : MonoBehaviour
{
    Rigidbody2D rb;
    // 1回だけ実行される
    void Start()
    {
        //ここは重要 プレイヤーのコンポーネント(インスペクターからRigidbody2D)を取得するため
        rb = GetComponent<Rigidbody2D>();
    }

    // 0.02秒に1回実行される(パラパラ漫画みたいなイメージ)
    void Update()
    {
        // GetAxisRawとGetAxisはどちらでも良い Horizonは水平の意味
        float x = Input.GetAxisRaw("Horizontal");  //方向キーの横
        Debug.Log(x);  //試しにDebug.Logで確認する
        // velocityは速さか速度に関わる  Vector2(1f, rb.velocity.y)は、右を押すと右に一回動く(1fが1回の意味)
        rb.velocity = new Vector2(1f, rb.velocity.y);
    }
}
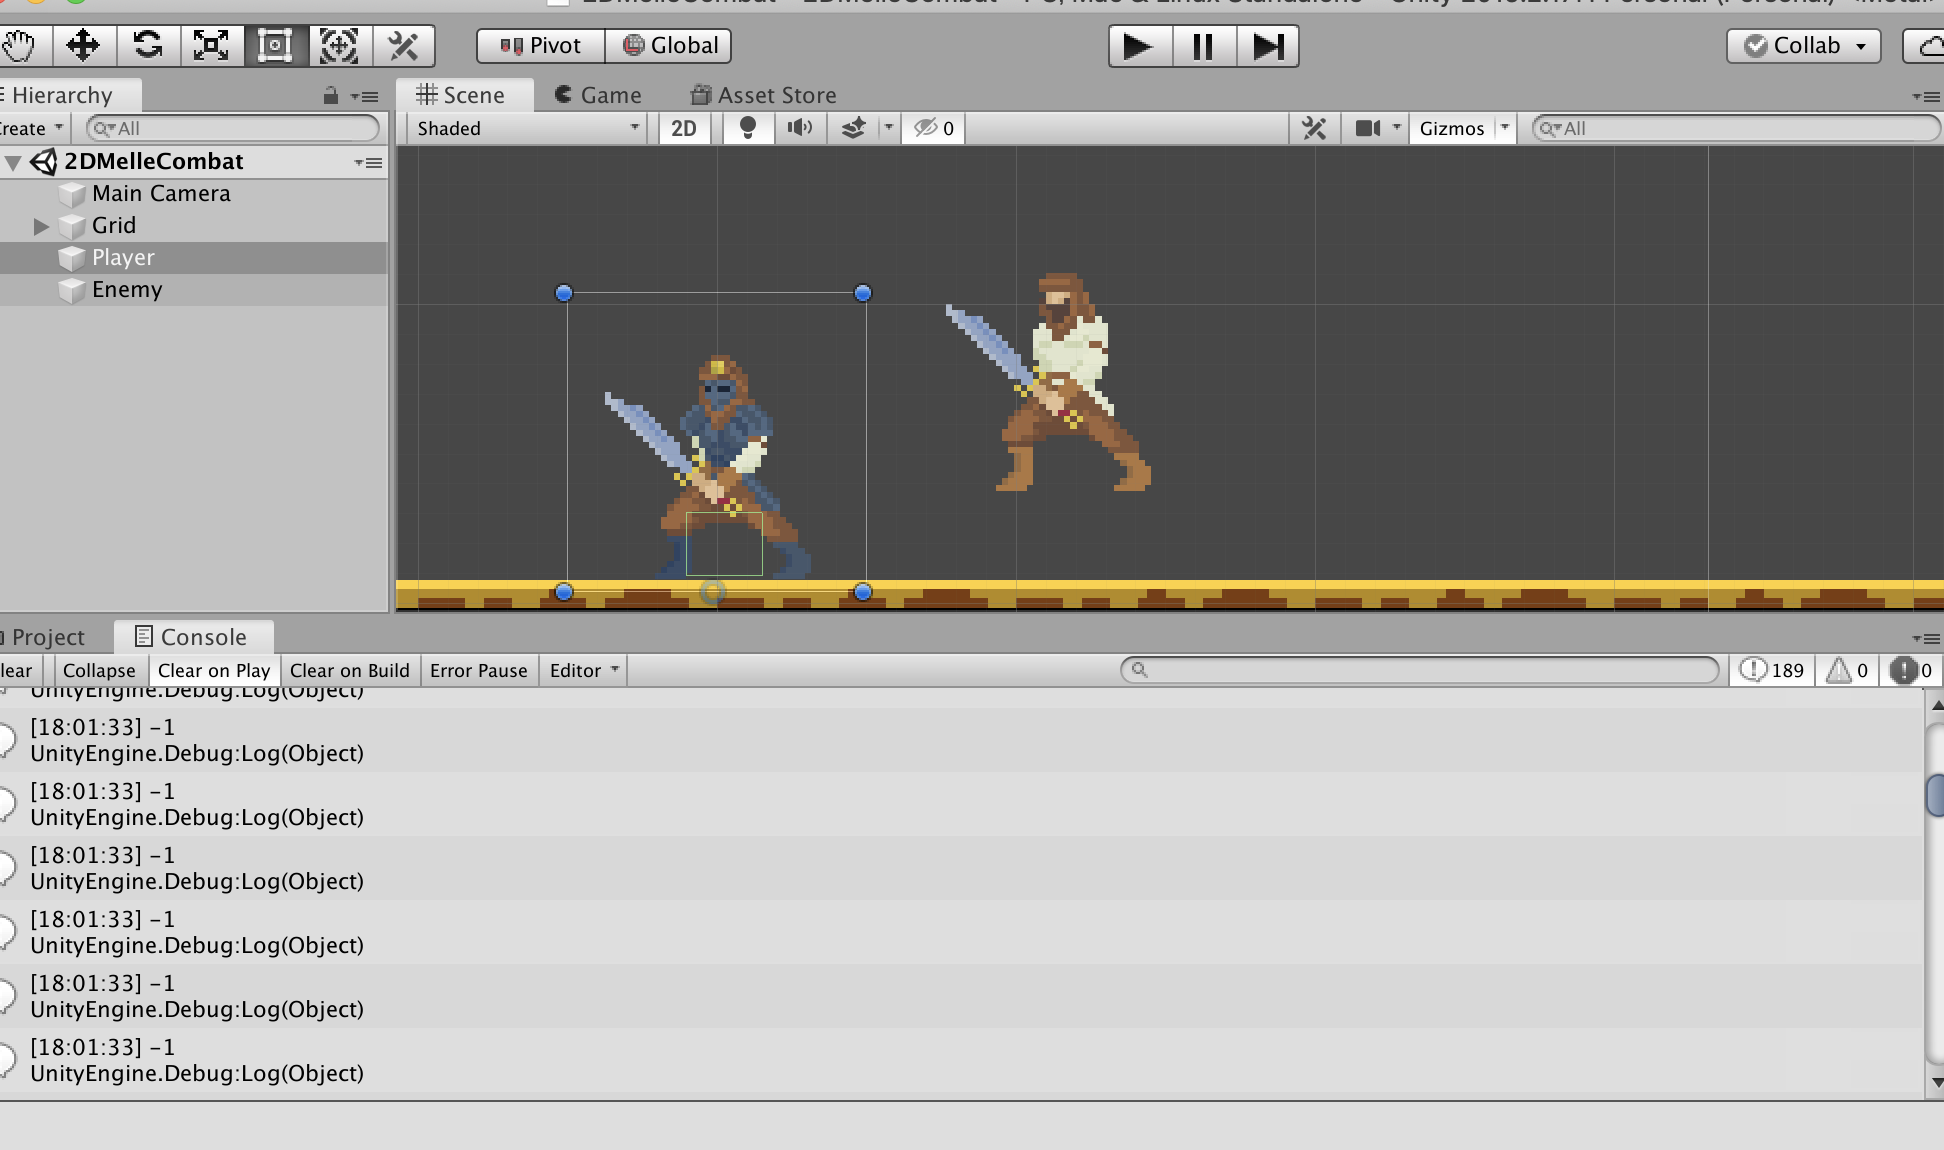
このように再生ボタンを押すと0の数値がずっと続いてキャラクターが勝手に右に進む

1fをxに変えるとキャラクターが移動する
using System.Collections;
using System.Collections.Generic;
using UnityEngine;

public class PlayerManager : MonoBehaviour
{
    Rigidbody2D rb;
    // 1回だけ実行される
    void Start()
    {
        //ここは重要 プレイヤーのコンポーネント(インスペクターからRigidbody2D)を取得するため
        rb = GetComponent<Rigidbody2D>();
    }

    // 0.02秒に1回実行される(パラパラ漫画みたいなイメージ)
    void Update()
    {
        // GetAxisRawとGetAxisはどちらでも良い Horizonは水平の意味
        float x = Input.GetAxisRaw("Horizontal");  //方向キーの横
        Debug.Log(x);  //試しにDebug.Logで確認する
        // velocityは速さか速度に関わる  Vector2(1f, rb.velocity.y)は、右を押すと右に一回動く(1fが1回の意味)
        rb.velocity = new Vector2(x, rb.velocity.y);
    }
}
moveSpeedを追加する事によってキャラクターのスピードが上がる
using System.Collections;
using System.Collections.Generic;
using UnityEngine;

public class PlayerManager : MonoBehaviour
{
    public float moveSpeed = 3f;
    Rigidbody2D rb;
    // 1回だけ実行される
    void Start()
    {
        //ここは重要 プレイヤーのコンポーネント(インスペクターからRigidbody2D)を取得するため
        rb = GetComponent<Rigidbody2D>();
    }

    // 0.02秒に1回実行される(パラパラ漫画みたいなイメージ)
    void Update()
    {
        // GetAxisRawとGetAxisはどちらでも良い Horizonは水平の意味
        float x = Input.GetAxisRaw("Horizontal");  //方向キーの横
        Debug.Log(x);  //試しにDebug.Logで確認する
        // velocityは速さか速度に関わる  Vector2(1f, rb.velocity.y)は、右を押すと右に一回動く(1fが1回の意味)
        rb.velocity = new Vector2(x*moveSpeed, rb.velocity.y);
    }
}
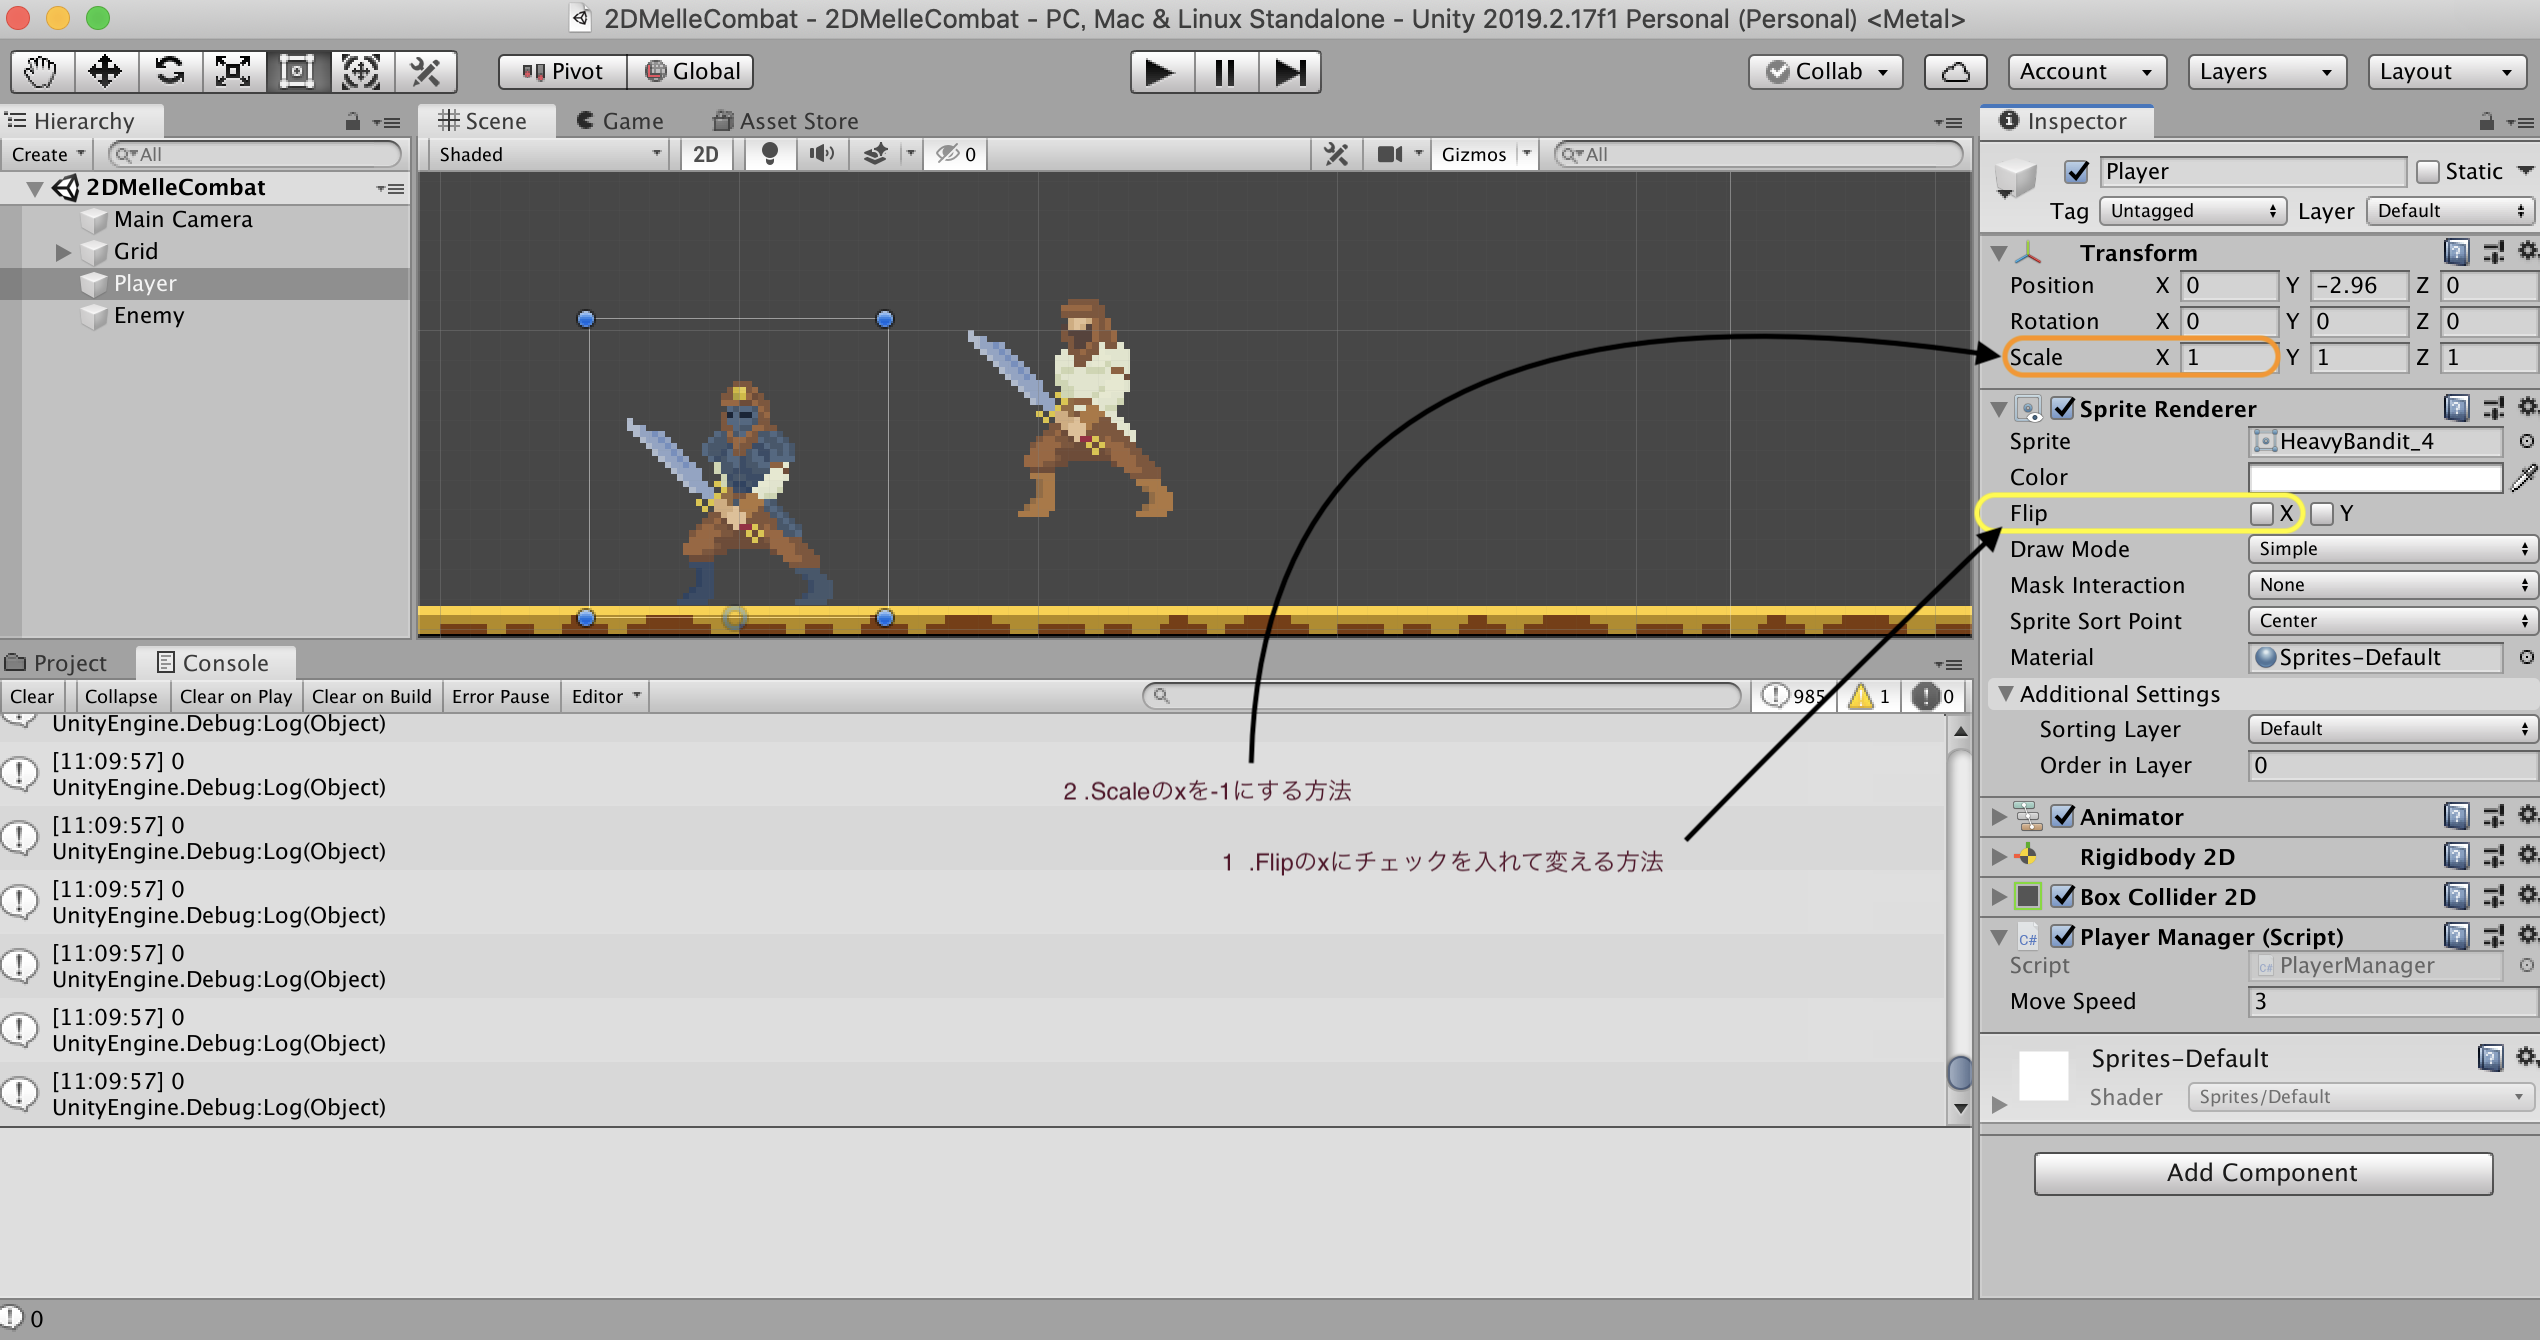
今回は、2の方法(Transform)をします。このようにコードを書きます。
using System.Collections;
using System.Collections.Generic;
using UnityEngine;

public class PlayerManager : MonoBehaviour
{
    public float moveSpeed = 3f;
    Rigidbody2D rb;

    void Start()
    {

        rb = GetComponent<Rigidbody2D>();
    }

    void Update()
    {
        float x = Input.GetAxisRaw("Horizontal");  //方向キーの横
        Debug.Log(x);
        // 右向きだったら
        if (x > 0)
        {
            transform.localScale = new Vector3(-1, 1, 1);
        }
        // 左向きだったら
        if (x < 0)
        {
            transform.localScale = new Vector3(1, 1, 1);
        }
            rb.velocity = new Vector2(x*moveSpeed, rb.velocity.y);
    }
}
ここまで出来たら次にアニメーションの切り替え方法を実装します。
アニメーションの切り替えについて
(走るアニメーション)
[HeavyBandit]の8,9,10,11,12,13,14,15を複数選択してヒエラルキーの[Player]にドラッグ&ドロップします。

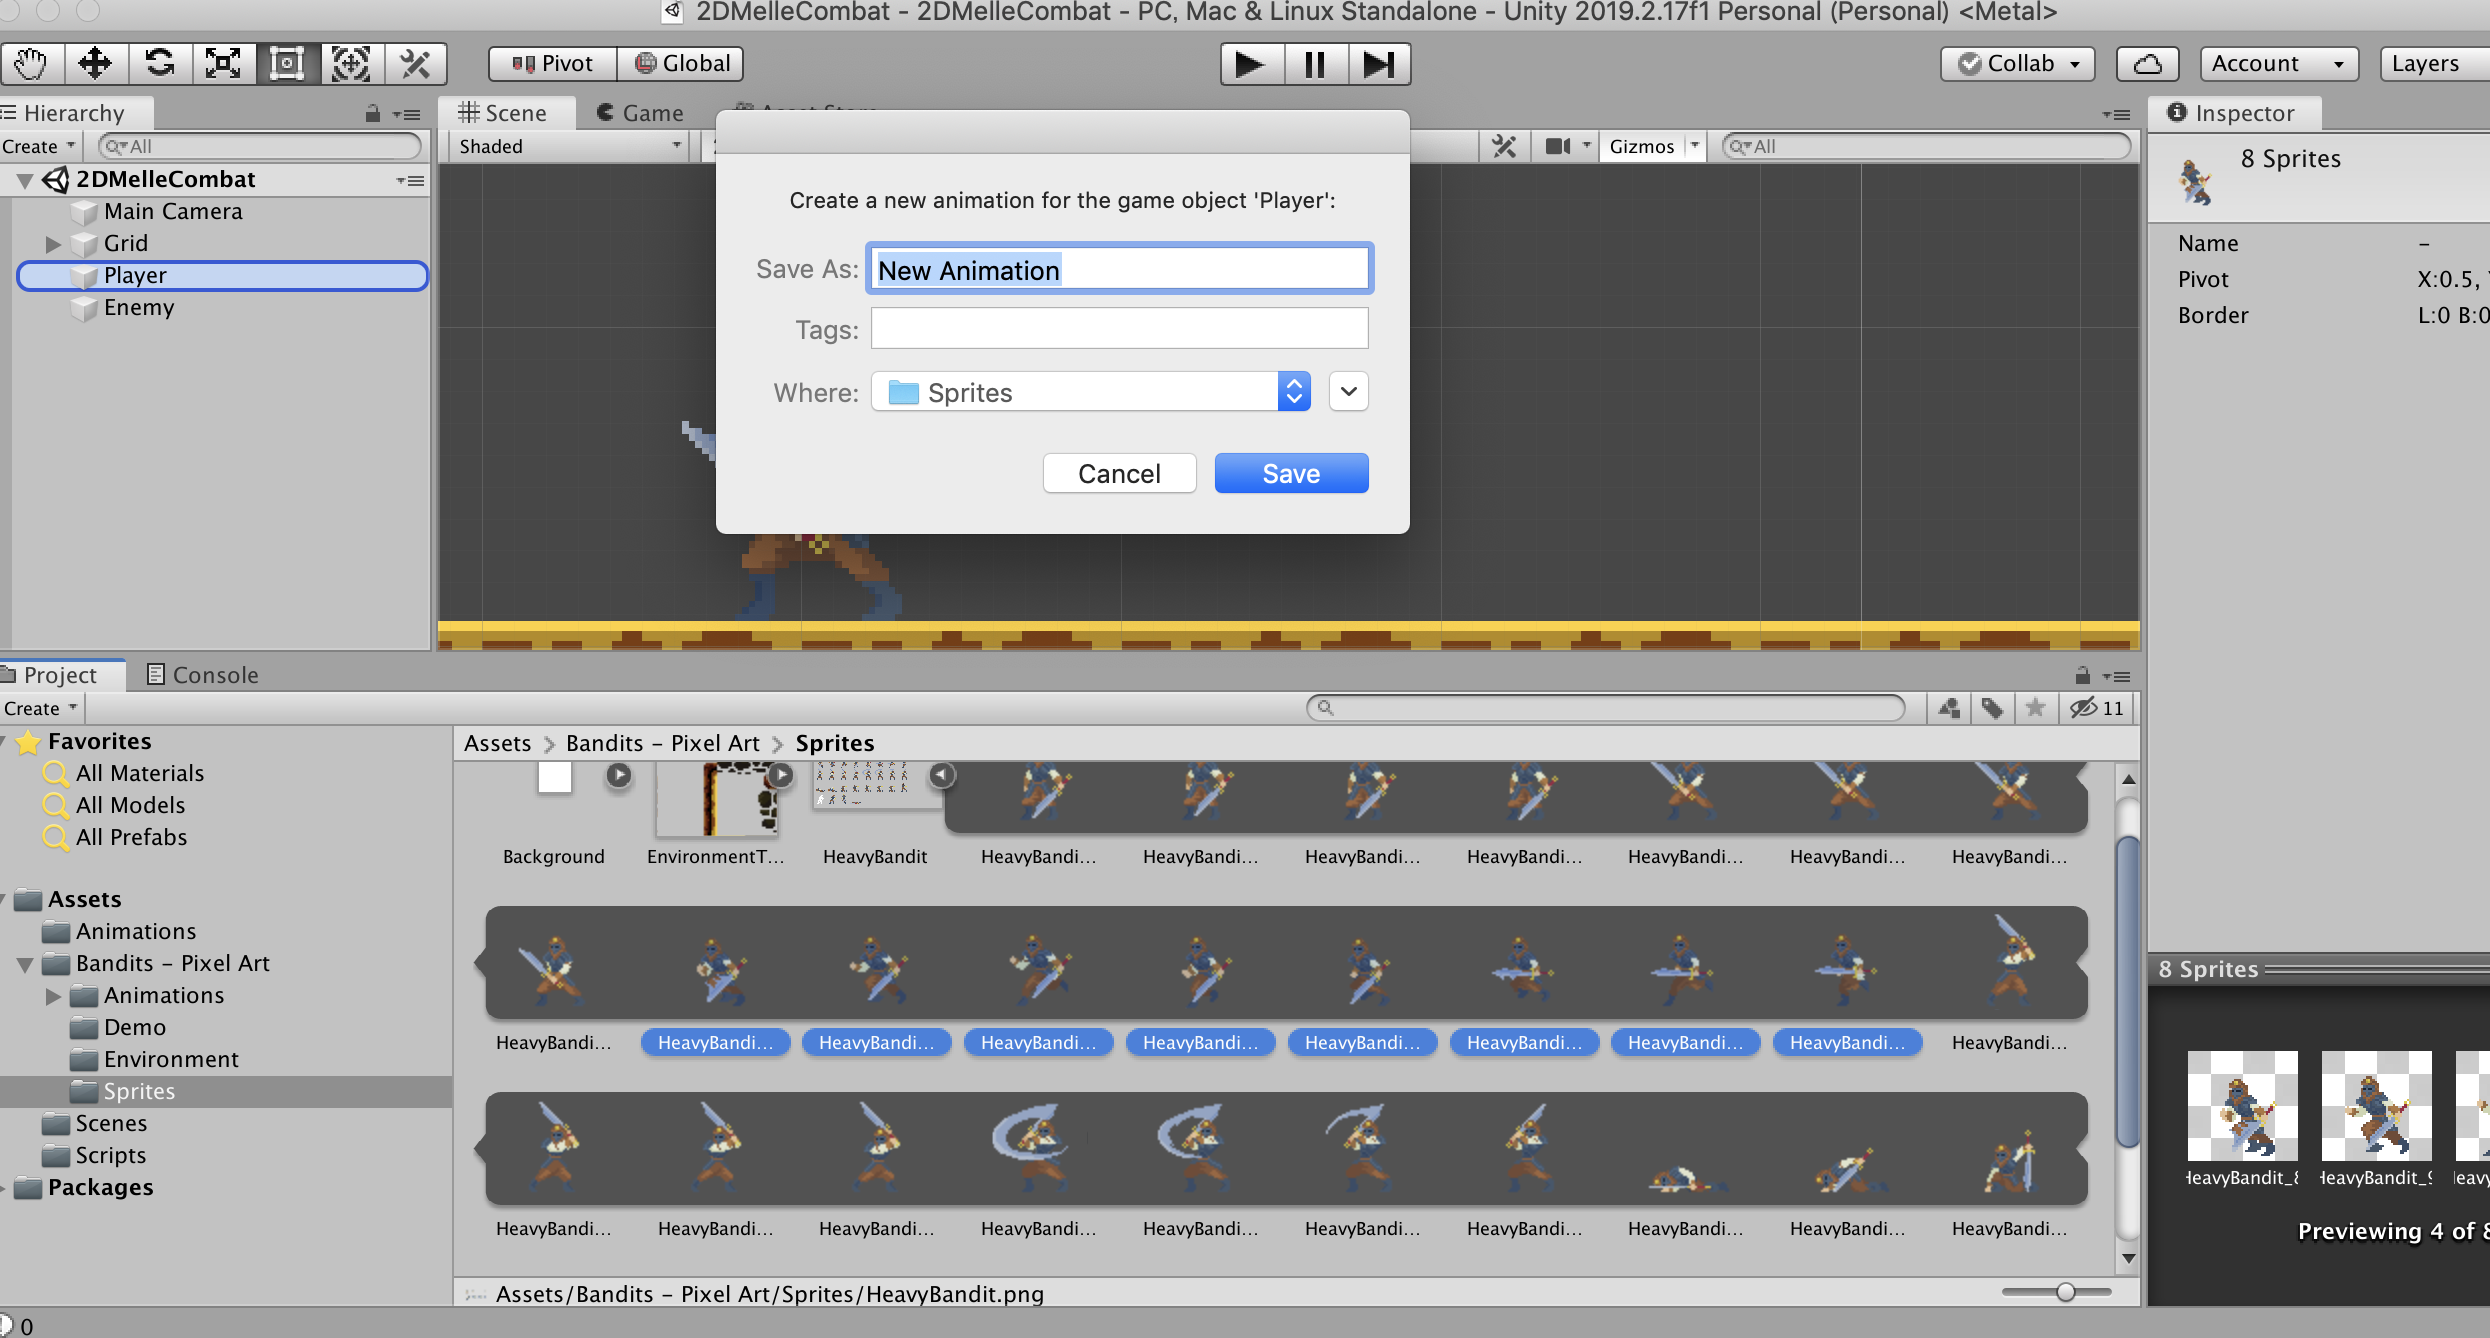

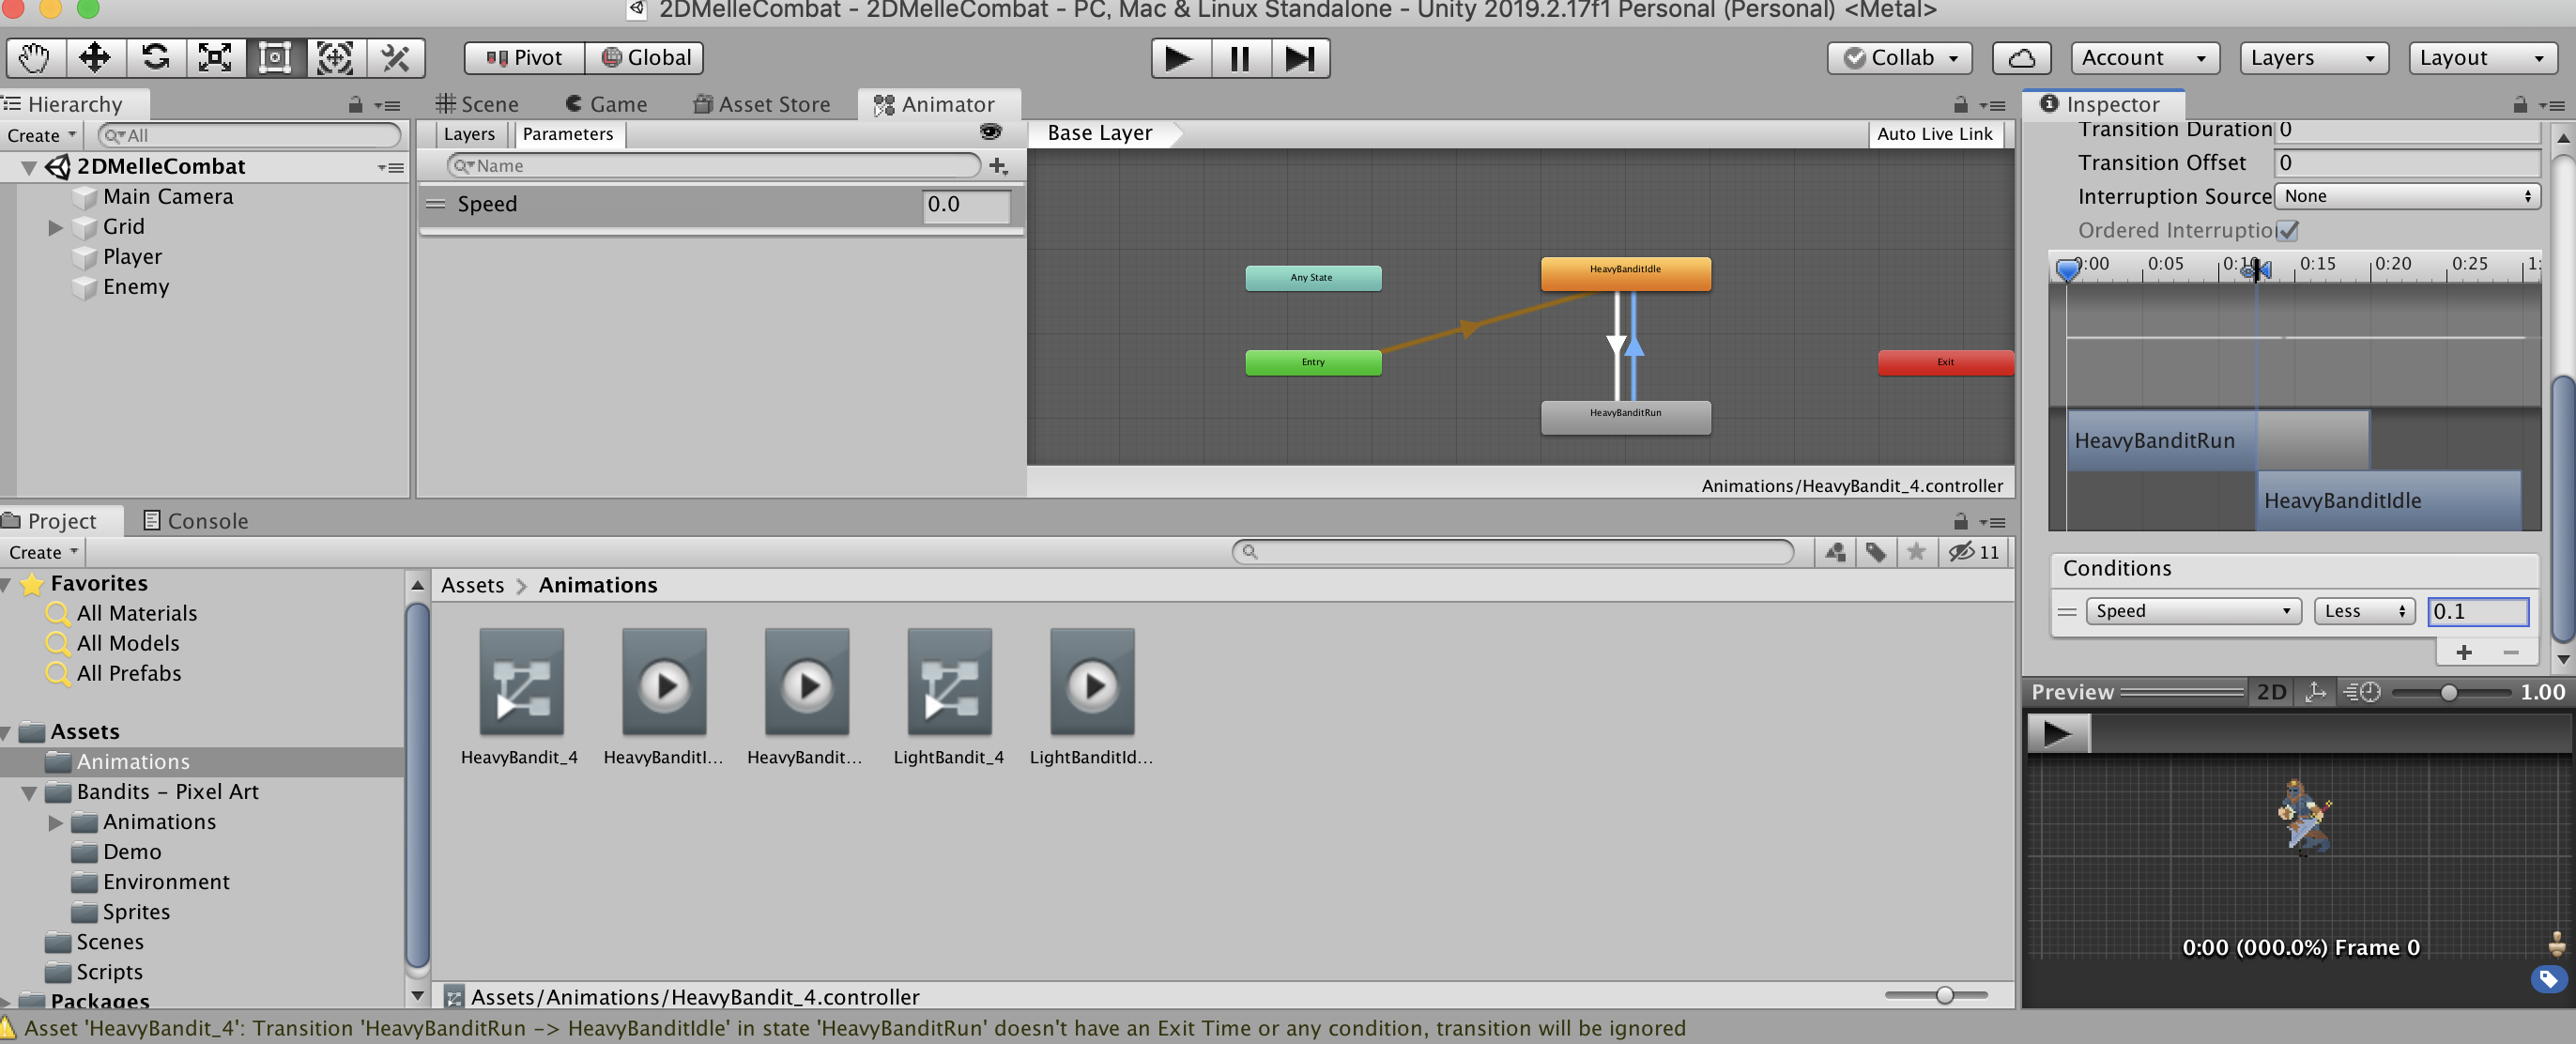
[Save]が出来たら、[AnimatorのController]をダブルクリックします。

右クリックで[Make Transition]を選んで矢印をつけましょう。


こちらも右クリックで[Make Transition]を選んで矢印をつけましょう。


このように両方に矢印をつける事が出来たら、先ほどつけた矢印をクリックしてこのようにします。[Has Exit Time]を外します

[Transition Duration]の0.25を0に設定します。


次は[Conditions]を設定します。「Idle」状態から走る状態と、走ってる状態から「Idle」状態に戻る事がしたいので。
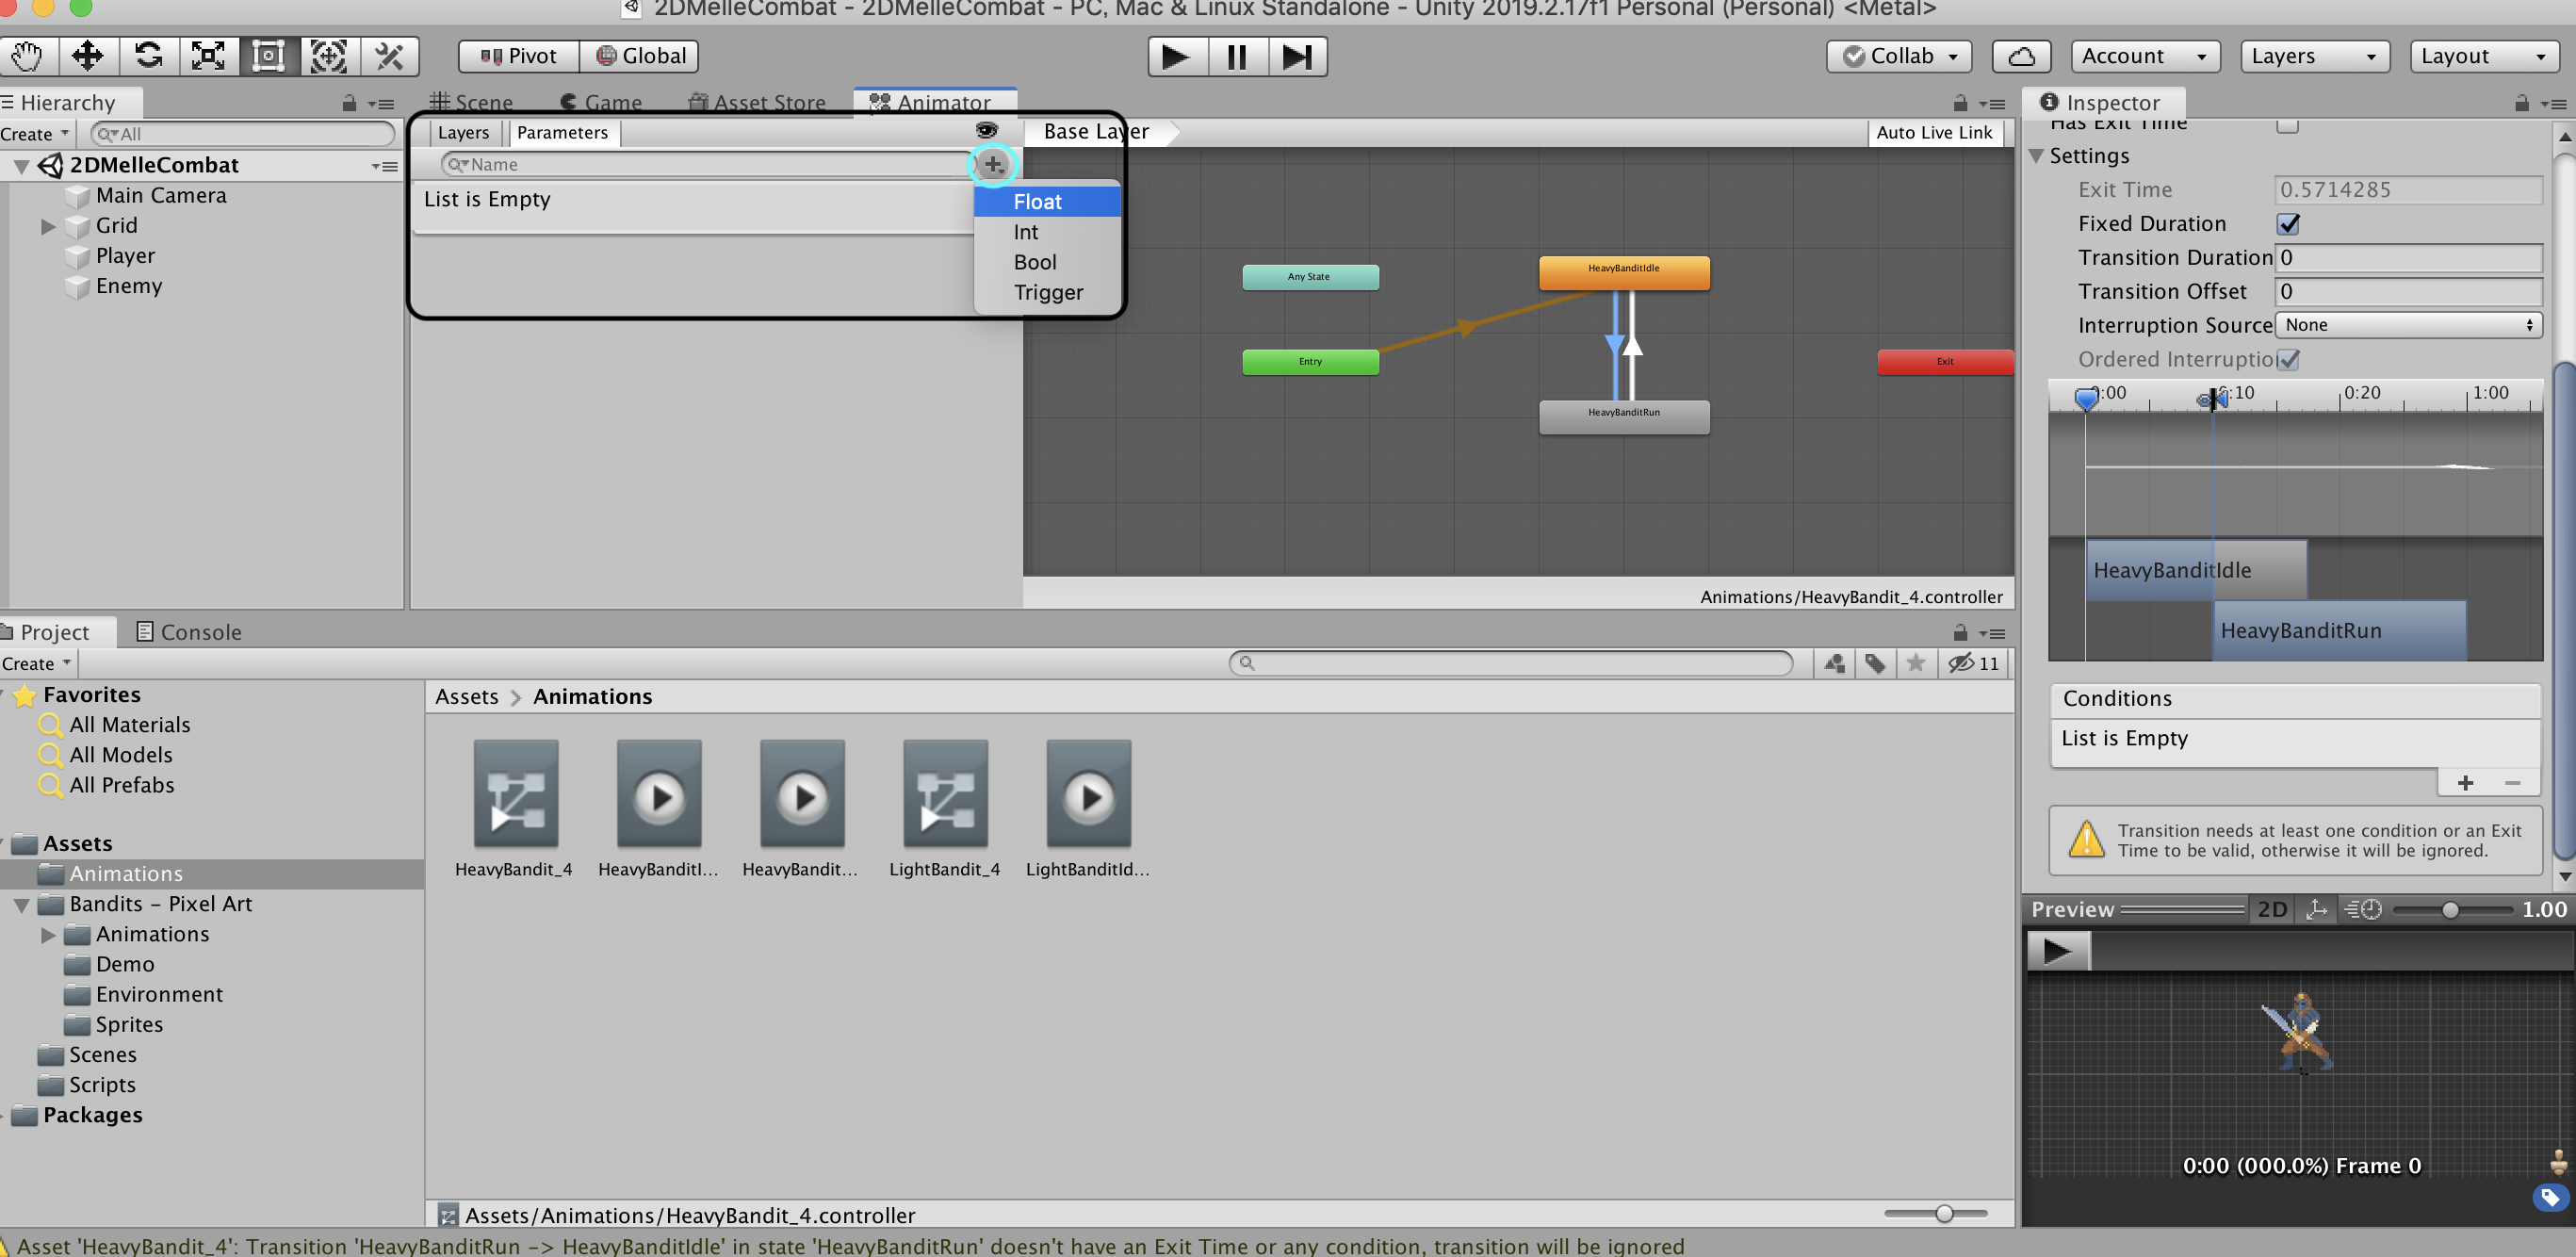
動作確認をしたいので、[Animator]をドラッグ&ドロップで[インスペクター]に配置します。

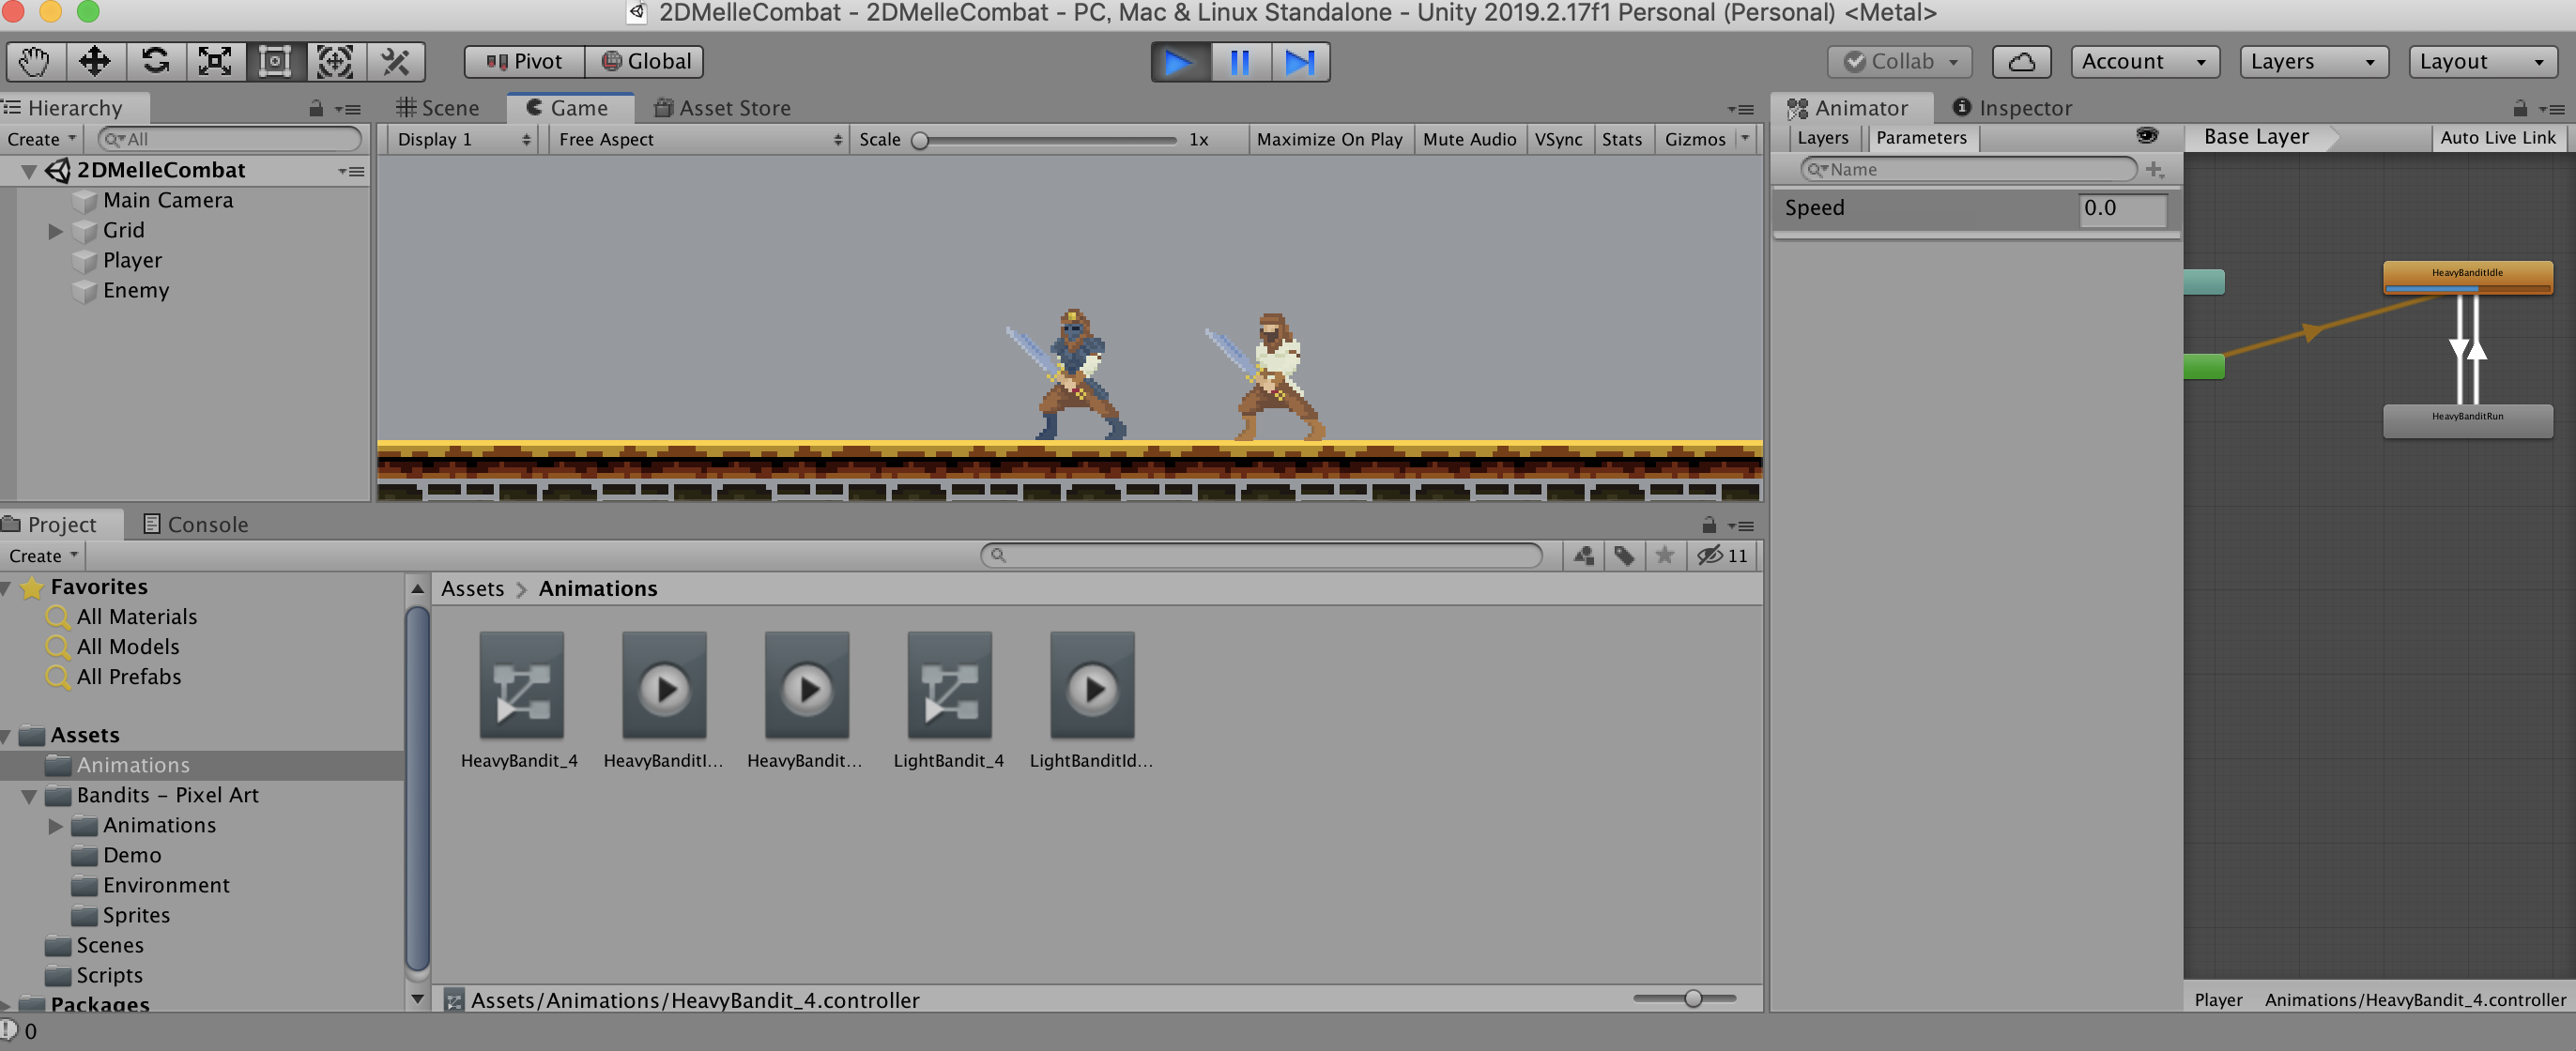
こちらも走りましたね。絶対値をかけて0.1より大きかったら、走るようになります。

インスペクターの[Animator]を操作する事が分かったので、スクリプトに戻りましょう。

このコードを書きましょう。
using System.Collections;
using System.Collections.Generic;
using UnityEngine;

public class PlayerManager : MonoBehaviour
{
    public float moveSpeed = 3f;
    Rigidbody2D rb;
    Animator animator;

    void Start()
    {

        rb = GetComponent<Rigidbody2D>();
        animator = GetComponent<Animator>();
    }

    void Update()
    {
        float x = Input.GetAxisRaw("Horizontal");  //方向キーの横
        Debug.Log(x);
        // 右向きだったら
        if (x > 0)
        {
            transform.localScale = new Vector3(-1, 1, 1);
        }
        // 左向きだったら
        if (x < 0)
        {
            transform.localScale = new Vector3(1, 1, 1);
        }
        animator.SetFloat("Speed", x);
            rb.velocity = new Vector2(x*moveSpeed, rb.velocity.y);
    }
}
再生で動かすと、左のキーを押したら、走っているアニメーションじゃなくて、右のキーを押すと走っているアニメーションになります。(止まっている画像なので、分かりづらいかもしれないのですが)

Mathf.Absの絶対値をつけてあげると左右に走る事が出来る。
using System.Collections;
using System.Collections.Generic;
using UnityEngine;

public class PlayerManager : MonoBehaviour
{
    public float moveSpeed = 3f;
    Rigidbody2D rb;
    Animator animator;

    void Start()
    {

        rb = GetComponent<Rigidbody2D>();
        animator = GetComponent<Animator>();
    }

    void Update()
    {
        float x = Input.GetAxisRaw("Horizontal");  //方向キーの横
        Debug.Log(x);
        // 右向きだったら
        if (x > 0)
        {
            transform.localScale = new Vector3(-1, 1, 1);
        }
        // 左向きだったら
        if (x < 0)
        {
            transform.localScale = new Vector3(1, 1, 1);
        }
        animator.SetFloat("Speed", Mathf.Abs(x));
            rb.velocity = new Vector2(x*moveSpeed, rb.velocity.y);
    }
}
これで、上手く動くと思います。もし分からない事があれば、動画もご一緒に見ながらこの資料も見ていただけると効果的だと思うので良かったらぜひ!
スタジオしまづのYouTubeチャンネル
https://www.youtube.com/watch?v=SXUT0yZtayY
スタジオしまづが運営する「Unityゲーム開発サロン」
https://community.camp-fire.jp/mypage/projects/149191


