AWS CLIインストール
pythonとpipのpath追記 ※前段作業
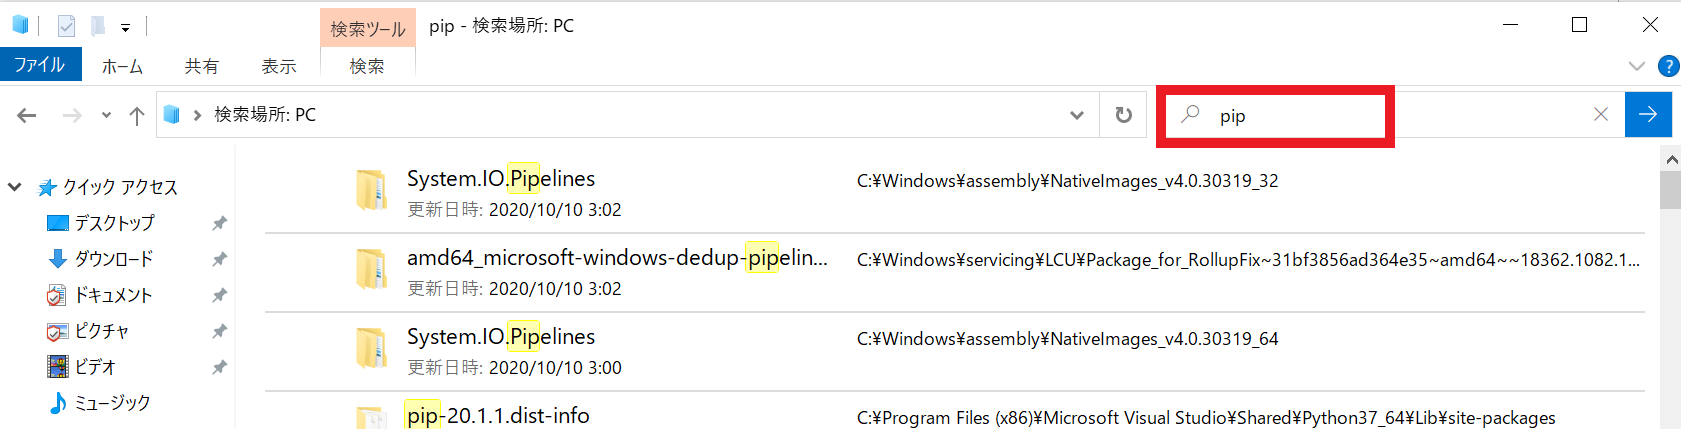
・pythonとpipのPath確認方法
エクスプローラで確認
・pathの追記
コマンドプロンプトから下記を開いていく
システムとセキュリティ→システム→システムの詳細設定→環境変数
システム環境変数の一覧からPathを選択し、編集をクリック
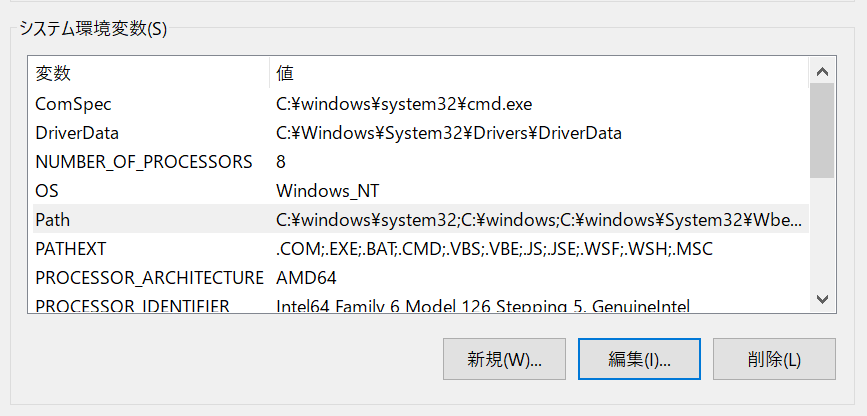
pythonとpipのPathがなければ新規にて作成
AWS CLIインストール
C:\Users\USER>pip install awscli
Defaulting to user installation because normal site-packages is not writeable
Collecting awscli
  Downloading awscli-1.18.157-py2.py3-none-any.whl (3.4 MB)
     |████████████████████████████████| 3.4 MB 504 kB/s

Installing collected packages: six, python-dateutil, jmespath, urllib3, botocore, PyYAML, pyasn1, rsa, s3transfer, colorama, docutils, awscli
  WARNING: The scripts pyrsa-decrypt.exe, pyrsa-encrypt.exe, pyrsa-keygen.exe, pyrsa-priv2pub.exe, pyrsa-sign.exe and pyrsa-verify.exe are installed in 'C:\Users\USER\AppData\Roaming\Python\Python37\Scripts' which is not on PATH.
  Consider adding this directory to PATH or, if you prefer to suppress this warning, use --no-warn-script-location.
Successfully installed PyYAML-5.3.1 awscli-1.18.157 botocore-1.18.16 colorama-0.4.3 docutils-0.15.2 jmespath-0.10.0 pyasn1-0.4.8 python-dateutil-2.8.1 rsa-4.5 s3transfer-0.3.3 six-1.15.0 urllib3-1.25.10
WARNING: You are using pip version 20.1.1; however, version 20.2.3 is available.
You should consider upgrading via the 'c:\program files (x86)\microsoft visual studio\shared\python37_64\python.exe -m pip install --upgrade pip' command.
WARNINGの一つ目はPathが通っていないため追記が必要
追加するPathはWARNINGに記載あり
WARNINGの二つ目は単純なpipのupgradeで最新版にできるという案内
AWS CLI設定
C:\Users\USER>aws configure --profile IoT
AWS Access Key ID [None]: ###
AWS Secret Access Key [None]: ###
Default region name [None]: ap-northeast-1
Default output format [None]: json
設定後の確認
ec2の確認
aws ec2 describe-instances --instance-ids ${instance-id} --profile IoT
S3の確認
C:\Users\USER>aws s3 ls --profile IoT
2020-10-10 14:46:01 test7712121
AWS SAM CLIインストール
Dockerのインストール ※前段作業
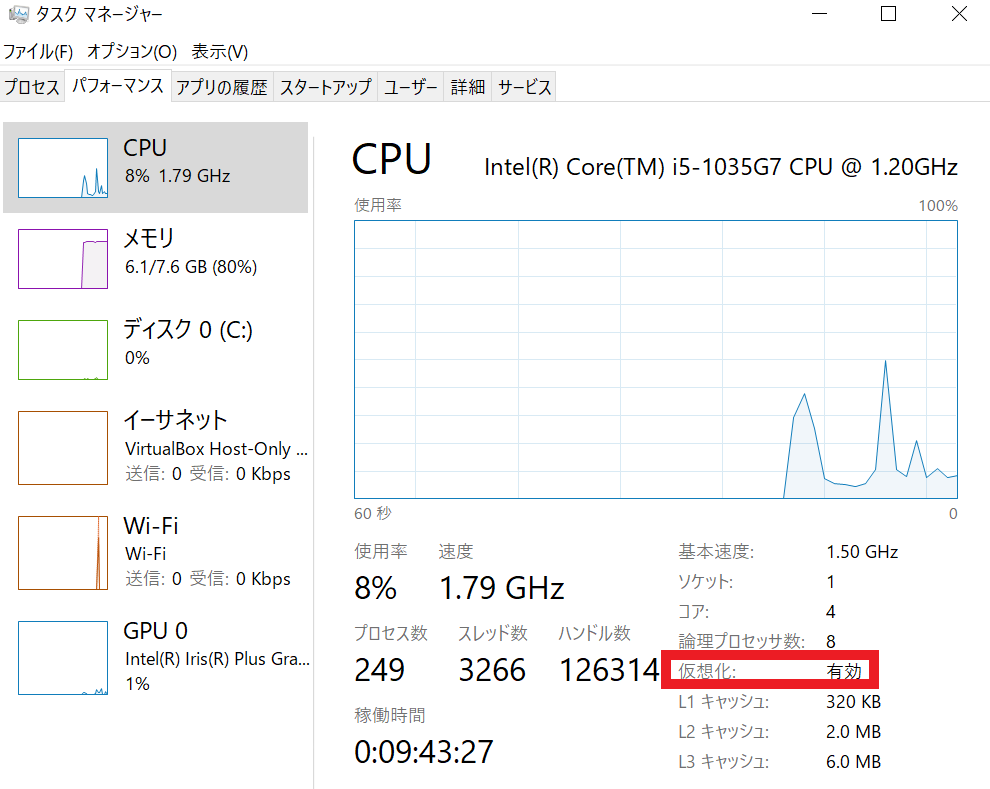
まずはタスクマネージャー→パフォーマンスタブ→CPUの
右下の「仮想」の欄が有効になっていることを確認。
Dockerのを入れるにあたりWindows10HomeではDokcer Desktop for Windows が入らないため
今回は代わりにDocker Toolboxをインストールすることにしました。
下記サイトから「Install Docker Toolbox for Windows」からv19.03.1をインストール
https://docs.docker.com/toolbox/overview/
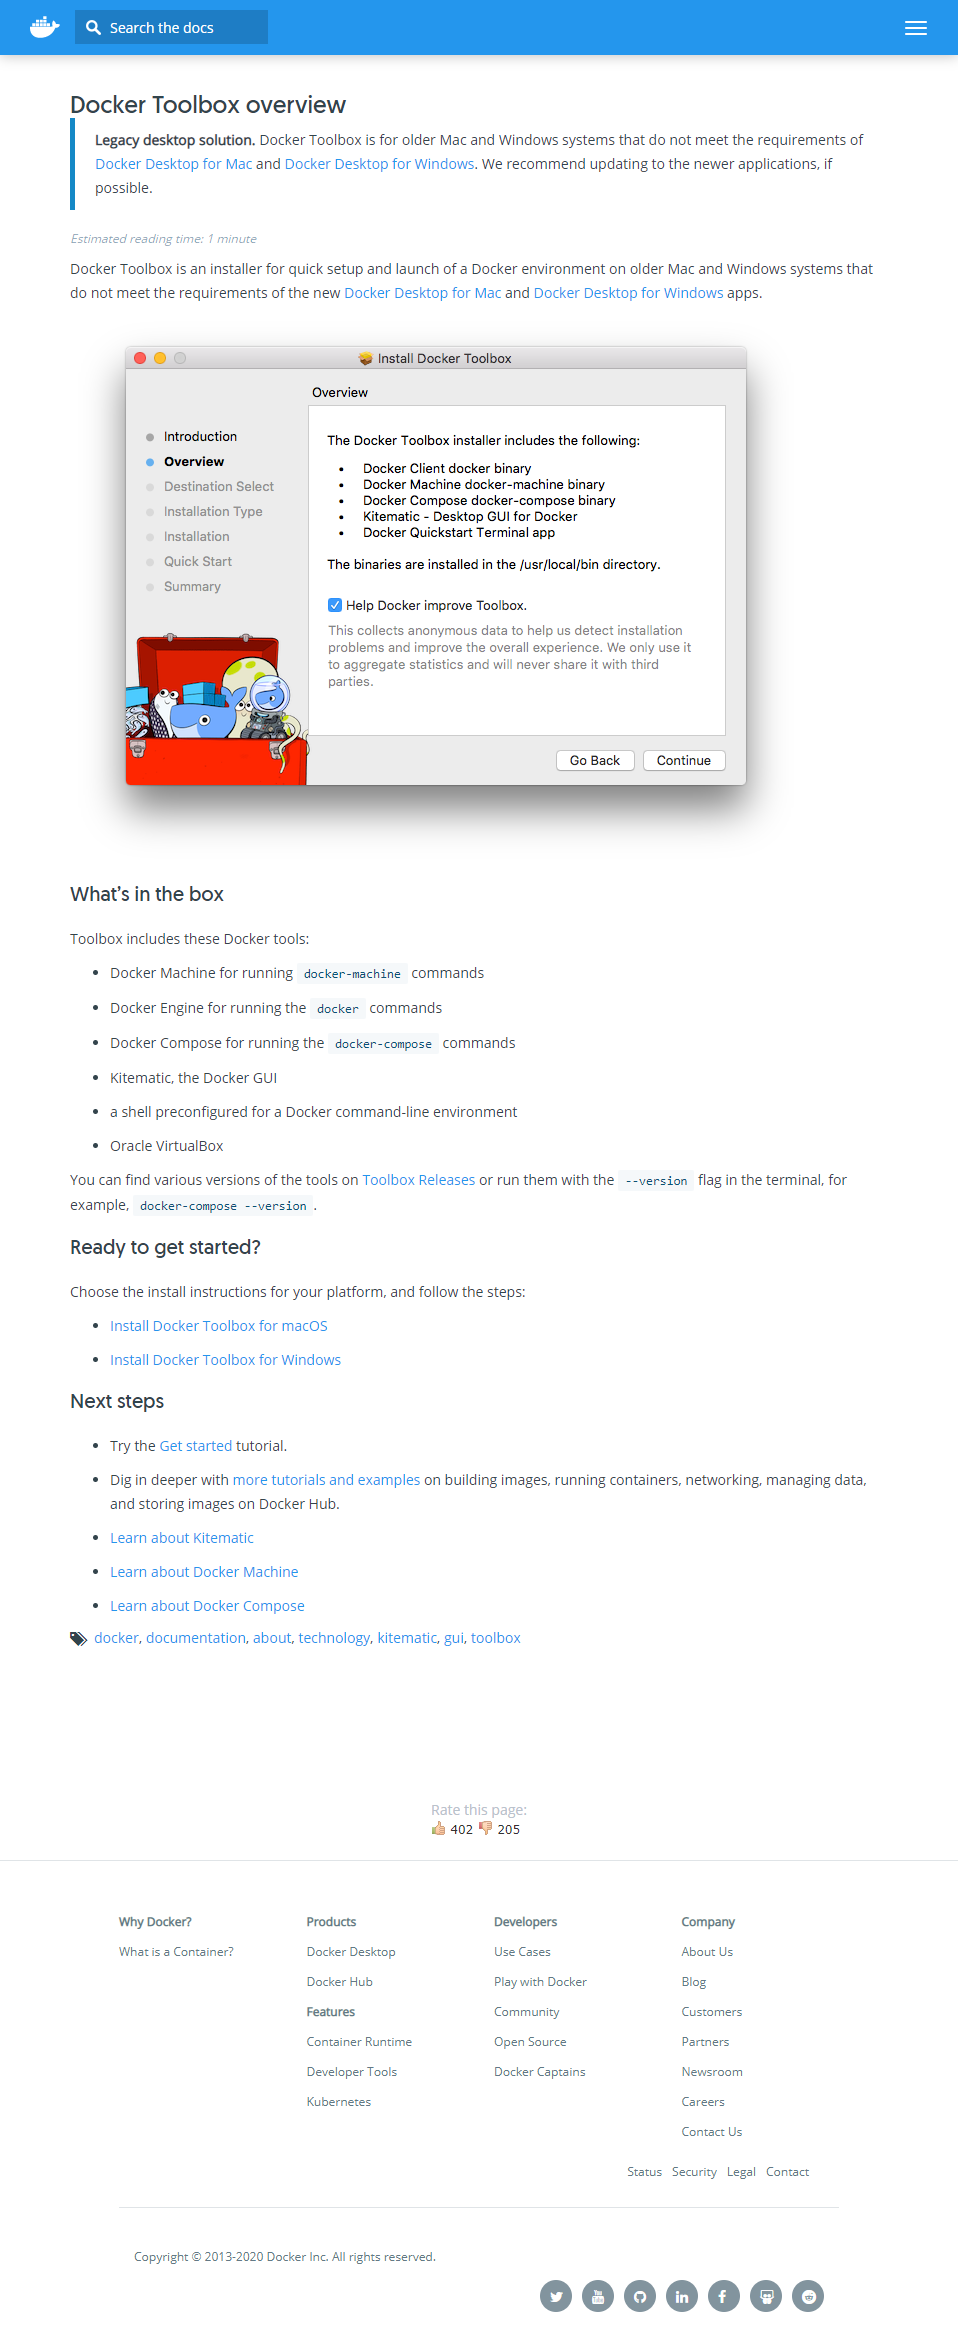
特に内容は変更せずインストールを行いました。
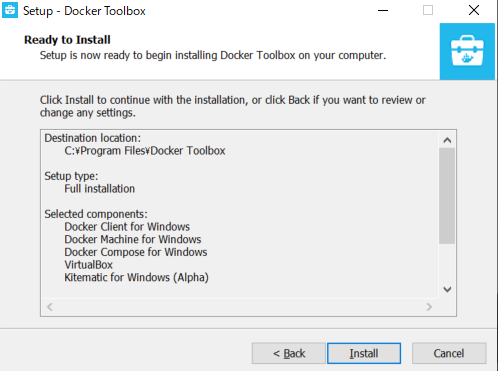
Dockerのインストールの途中で下記がインストールが表示された場合はインストールする。

AWS SAM CLIインストール
以下よりインストーラをダウンロード
https://github.com/awslabs/aws-sam-cli/releases/download/v0.6.2/AWS_SAM_CLI_64_PY3.msi
バージョンの確認コマンド
C:\Users\USER>sam --version
SAM CLI, version 0.6.2
initが考えていた挙動とは違い指定等ができなかったが
buildをしようとするとできない状態が発生!!
実はインストーラのバージョンが古い為だと判明したため、
最新のSAMをインストールすると無事解決!
ビルドとデプロイ
まずはsam initでAWS SAM テンプレートを使用して
サーバーレスアプリケーションを初期化します。
ちなみにプロジェクトを変える時などの初回時だけで大丈夫。
今回の設定は
: 1 - AWS Quick Start Templates
言語 : 8 - python3.7
Project name : test2
templates : 1 - Hello World Example
C:\Users\USER\test>sam init
Which template source would you like to use?
        1 - AWS Quick Start Templates
        2 - Custom Template Location
Choice: 1

Which runtime would you like to use?
        1 - nodejs12.x
        2 - python3.8
        3 - ruby2.7
        4 - go1.x
        5 - java11
        6 - dotnetcore3.1
        7 - nodejs10.x
        8 - python3.7
        9 - python3.6
        10 - python2.7
        11 - ruby2.5
        12 - java8.al2
        13 - java8
        14 - dotnetcore2.1
Runtime: 8

Project name [sam-app]: test2

Cloning app templates from https://github.com/awslabs/aws-sam-cli-app-templates.git

AWS quick start application templates:
        1 - Hello World Example
        2 - EventBridge Hello World
        3 - EventBridge App from scratch (100+ Event Schemas)
        4 - Step Functions Sample App (Stock Trader)
Template selection:
Template selection: 1

-----------------------
Generating application:
-----------------------
Name: test2
Runtime: python3.7
Dependency Manager: pip
Application Template: hello-world
Output Directory: .

Next steps can be found in the README file at ./test2/README.md
今回は思っていた通り指定等ができたので
初回に必要な--guided オプションをつけて実行し、
biludしdeploy開始した結果がこちらなんですが、またもエラーが・・・
C:\Users\USER\sam_test>sam build
Building codeuri: hello_world/ runtime: python3.7 metadata: {} functions: ['HelloWorldFunction']
Running PythonPipBuilder:ResolveDependencies
Running PythonPipBuilder:CopySource

Build Succeeded

Built Artifacts  : .aws-sam\build
Built Template   : .aws-sam\build\template.yaml

Commands you can use next
=========================
[*] Invoke Function: sam local invoke
[*] Deploy: sam deploy --guided
sam deploy --guided --profile IoT

Configuring SAM deploy
======================

        Looking for config file [samconfig.toml] :  Not found

        Setting default arguments for 'sam deploy'
        =========================================
        Stack Name [sam-app]: sam_test
        AWS Region [us-east-1]: ap-northeast-1
        #Shows you resources changes to be deployed and require a 'Y' to initiate deploy
        Confirm changes before deploy [y/N]: N
        #SAM needs permission to be able to create roles to connect to the resources in your template
        Allow SAM CLI IAM role creation [Y/n]: Y
        HelloWorldFunction may not have authorization defined, Is this okay? [y/N]: y
        Save arguments to configuration file [Y/n]: Y
        SAM configuration file [samconfig.toml]:
        SAM configuration environment [default]:

        Looking for resources needed for deployment: Not found.
        Creating the required resources...
        Successfully created!


Initiating deployment
=====================
HelloWorldFunction may not have authorization defined.
Uploading to sam_test/25efe53b4bac655770621572b615acba.template  1132 / 1132.0  (100.00%)
Error: Failed to create changeset for the stack: sam_test, An error occurred (ValidationError) when calling the CreateChangeSet operation: 1 validation error detected: Value 'sam_test' at 'stackName' failed to satisfy constraint: Member must satisfy regular expression pattern: [a-zA-Z][-a-zA-Z0-9]*|arn:[-a-zA-Z0-9:/._+]*
実際には簡単なミスでstackName に 「_」を使用できないためのエラーだったので
samconfig.tomlのファイルの中身を編集して解決した。
修正後、buildしdeployしてみると成功。