はじめに
初投稿です!何かあればコメントいただけますと嬉しいです!
これを書いた目的としてはrailsチュートリアルを実務寄りに環境構築していこうと思ったからです。
Railsチュートリアルからの変更点としては以下の2点です。
【変更点】
・ 開発環境をAWScloud9からDockerに変更
・ データベースをMySQLに変更

【変更理由】
・ ローカルで環境構築する力が必要
・ Dockerならばコピペで環境構築できてしまう & 他のプロジェクトに転用できる
・ MySQLを使っている企業が多い
今回は環境構築を目的としておりますのでDockerに関しての説明は省略します。
バージョン、内容に関してはRailsチュートリアル(第6版)を参考にしております。
Railsチュートリアル(第6版)
では始めていきましょう〜〜!!
バージョン
- macOS Catalina 10.15.3
- Ruby 2.6
- Rails 6.0.0
- Docker 19.03.1
- docker-compose 1.24.1
- MySQL 8.0
手順
- 各種ファイルの準備
- アプリ作成
- Gemfileの編集
- イメージのビルド
- DB接続
- コンテナ起動 & アクセス
- 開発開始!
1. 各種ファイルの準備
まずは作成するアプリのディレクトリを作成します。
今回はTutorialAppという名前で作成します。
$ mkdir TutorialApp
$ cd TutorialApp
次にイメージを作成する為のファイルを準備します。
準備するファイルは以下です。
- Dockerfile
- docker-compose.yml
- Gemfile
- Gemfile.lock
- entrypoint.sh
それぞれのファイルはdocker公式ドキュメントを参考にしています。
Dockerfile
FROM ruby:2.6
RUN curl -sS https://dl.yarnpkg.com/debian/pubkey.gpg | apt-key add - \
    && echo "deb https://dl.yarnpkg.com/debian/ stable main" | tee /etc/apt/sources.list.d/yarn.list \
    && apt-get update -qq \
    && apt-get install -y nodejs yarn \
    && mkdir /TutorialApp
WORKDIR /TutorialApp
COPY Gemfile /TutorialApp/Gemfile
COPY Gemfile.lock /TutorialApp/Gemfile.lock
RUN bundle install
COPY . /TutorialApp

COPY entrypoint.sh /usr/bin/
RUN chmod +x /usr/bin/entrypoint.sh
ENTRYPOINT ["entrypoint.sh"]
EXPOSE 3000

CMD ["rails", "server", "-b", "0.0.0.0"]
docker-compose.yml
version: '3'
services:
  db:
    image: mysql:8.0
    environment:
      MYSQL_ROOT_PASSWORD: password
    ports:
      - '3306:3306'
    command: --default-authentication-plugin=mysql_native_password
    volumes:
      - mysql-data:/var/lib/mysql
  app:
    build: .
    command: bash -c "rm -f tmp/pids/server.pid && bundle exec rails s -p 3000 -b '0.0.0.0'"
    volumes:
      - .:/myapp
    ports:
      - "3000:3000"
    depends_on:
      - db
    stdin_open: true
    tty: true
    command: bundle exec rails server -b 0.0.0.0
volumes:
  mysql-data:
    driver: local
Gemfile
source 'https://rubygems.org'

gem 'rails', '6.0.0'
Gemfile.lock
# 何も書かなくてOK
entrypoint.sh
# !/bin/bash
set -e

# Remove a potentially pre-existing server.pid for Rails.
rm -f /TutorialApp/tmp/pids/server.pid

# Then exec the container's main process (what's set as CMD in the Dockerfile).
exec "$@"
2. アプリ作成
ファイルが準備できたらターミナル上でアプリ作成のコマンドを実行します。
$ docker-compose run app rails new . --force --no-deps --database=mysql --webpacker
しっかりとディレクトリ構成が作られているか確認しましょう。
$ ls
3. Gemfileの編集
アプリが作成されたのでGemfileを編集していきます。
source 'https://rubygems.org'
git_source(:github) { |repo| "https://github.com/#{repo}.git" }

ruby '2.6.5'
gem 'rails', '6.0.0'
gem 'mysql2', '~> 0.4.4'
gem 'puma', '3.12.1'
gem 'sass-rails', '5.1.0'
gem 'webpacker', '4.0.7'
gem 'turbolinks', '5.2.0'
gem 'jbuilder', '2.9.1'
gem 'bootsnap', '1.4.4', require: false

group :development, :test do
  gem 'byebug', platforms: [:mri, :mingw, :x64_mingw]
  gem 'pry-rails', '0.3.9'
  gem 'pry-byebug', '3.9.0'
end

group :development do
  gem 'web-console', '4.0.1'
  gem 'listen', '3.1.5'
  gem 'spring', '2.1.0'
  gem 'spring-watcher-listen', '2.0.1'
end

group :test do
  gem 'capybara',                 '3.28.0'
  gem 'selenium-webdriver',       '3.142.4'
  gem 'webdrivers',               '4.1.2'
  gem 'rails-controller-testing', '1.0.4'
  gem 'minitest',                 '5.11.3'
  gem 'minitest-reporters',       '1.3.8'
  gem 'guard',                    '2.16.2'
  gem 'guard-minitest',           '2.4.6'
end

# Windows ではタイムゾーン情報用の tzinfo-data gem を含める必要があります
gem 'tzinfo-data', platforms: [:mingw, :mswin, :x64_mingw, :jruby]
Gemfileを更新したのでbundle updateをしましょう
$ docker-compose run app bundle update
4. イメージのビルド
Gemfileを更新したのでイメージをビルドします。
$ docker-compose build
5. DB接続
database.ymlを編集していきます。
default: &default
  adapter: mysql2
  encoding: utf8mb4
  pool: <%= ENV.fetch("RAILS_MAX_THREADS") { 5 } %>
  username: <%= ENV.fetch("MYSQL_USERNAME", "root") %>
  password: <%= ENV.fetch("MYSQL_PASSWORD", "password") %>
  host: <%= ENV.fetch("MYSQL_HOST", "db") %>

development:
  <<: *default
  database: TutorialApp_development

test:
  <<: *default
  database: TutorialApp_test

production:
  <<: *default
  database: TutorialApp_production
  username: TutorialApp
  password: <%= ENV['TUTORIALAPP_DATABASE_PASSWORD'] %>
変更を加えたのでビルドしなおしてからDBを作成します。
$ docker-compose build --no-cache
$ docker-compose run app rake db:create
6. コンテナ起動 & アクセス
やっとここまで来ました。ついにサーバー起動です。
$ docker-compose up
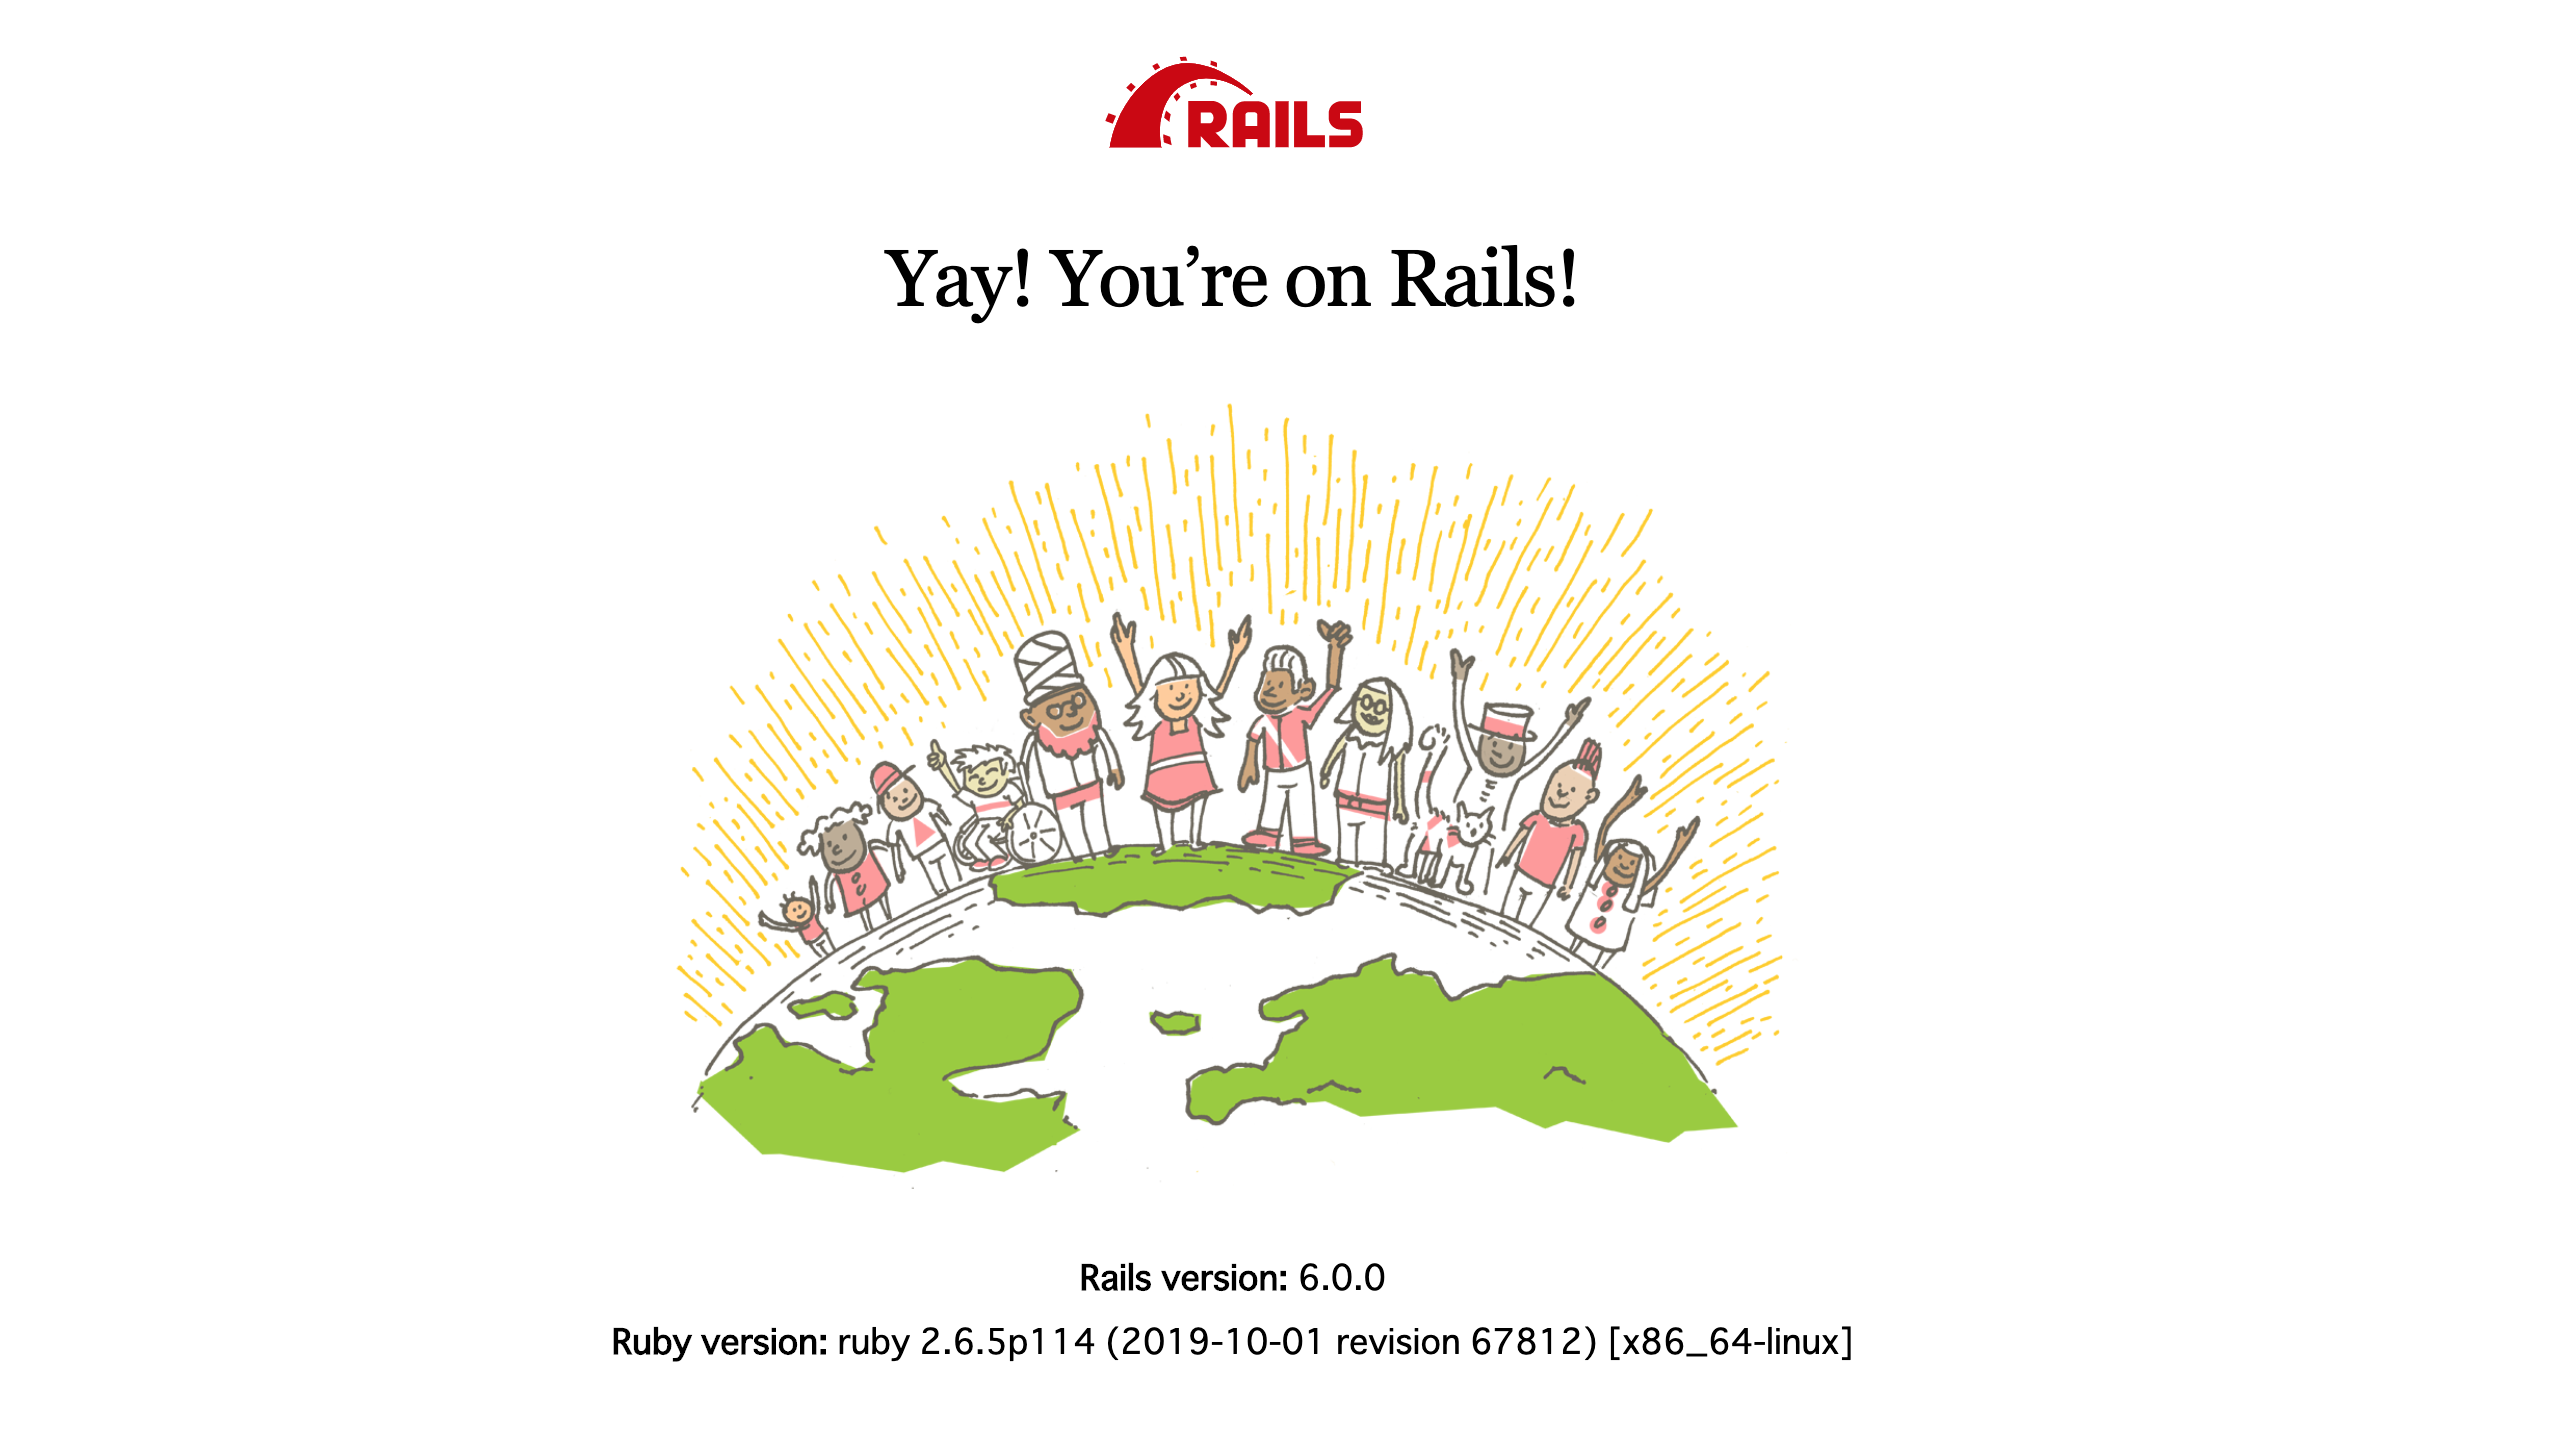
[localhost:3000](http://localhost:3000/)にアクセスしてみましょう!!

7. 開発開始!
環境ができたのでここから始めていきましょう!!!