はじめに
筆者は、Polkadotの技術調査を行っている。
Polkadotのブロックチェーンはどのような情報を保持しているか確認したい背景がある。
手始めにPolkadotのRelay-chainのClient NodeとしてMainnetに繋いでみた。
接続する過程をまとめ、筆者が忘れてしまった時に確認するためのドキュメント(備忘録)を残すこととした。
本記事は以下の流れでPolkadotのMainnetに接続する。
1.Rustをインストールを行いPolkadotのソースコードが実行可能な環境整備をする。
2.Polkadotのオープンソースコードを取得する。
3.PolkadotのMainnetの接続を行う。
4.その後PolkadotのMainnetに接続できたか確認。
Rustのインストール(環境構築)
- 実行環境
- OS : Ubuntu20.04.4 LTS
以下の公式のインストール方法を参考にインストールを行う。
@username:~$ curl --proto '=https' --tlsv1.2 -sSf https://sh.rustup.rs | sh
Welcome to Rust!

This will download and install the official compiler for the Rust
programming language, and its package manager, Cargo.

Rustup metadata and toolchains will be installed into the Rustup
home directory, located at:

  /home/username/.rustup

This can be modified with the RUSTUP_HOME environment variable.

The Cargo home directory located at:

  /home/username/.cargo

This can be modified with the CARGO_HOME environment variable.

The cargo, rustc, rustup and other commands will be added to
Cargo's bin directory, located at:

  /home/username/.cargo/bin

This path will then be added to your PATH environment variable by
modifying the profile files located at:

  /home/username/.profile
  /home/username/.bashrc

You can uninstall at any time with rustup self uninstall and
these changes will be reverted.

Current installation options:


   default host triple: x86_64-unknown-linux-gnu
     default toolchain: stable (default)
               profile: default
  modify PATH variable: yes

1) Proceed with installation (default)
2) Customize installation
3) Cancel installation
>
> 1を入力
info: profile set to 'default'
info: default host triple is x86_64-unknown-linux-gnu
info: syncing channel updates for 'stable-x86_64-unknown-linux-gnu'
info: latest update on YYYY-MM-DD, rust version 1.61.0 (fe5b13d68 YYYY-MM-DD)
info: downloading component 'cargo'
info: downloading component 'clippy'
info: downloading component 'rust-docs'
 19.7 MiB /  19.7 MiB (100 %)  11.2 MiB/s in  2s ETA:  0s
info: downloading component 'rust-std'
 26.9 MiB /  26.9 MiB (100 %)  11.2 MiB/s in  2s ETA:  0s
info: downloading component 'rustc'
 55.4 MiB /  55.4 MiB (100 %)  10.8 MiB/s in  5s ETA:  0s
info: downloading component 'rustfmt'
info: installing component 'cargo'
info: installing component 'clippy'
info: installing component 'rust-docs'
 19.7 MiB /  19.7 MiB (100 %)   8.7 MiB/s in  2s ETA:  0s
info: installing component 'rust-std'
 26.9 MiB /  26.9 MiB (100 %)  11.4 MiB/s in  3s ETA:  0s
info: installing component 'rustc'
 55.4 MiB /  55.4 MiB (100 %)  13.6 MiB/s in  4s ETA:  0s
info: installing component 'rustfmt'
info: default toolchain set to 'stable-x86_64-unknown-linux-gnu'

  stable-x86_64-unknown-linux-gnu installed - rustc 1.61.0 (fe5b13d68 YYYY-MM-DD)


Rust is installed now. Great!

To get started you may need to restart your current shell.
This would reload your PATH environment variable to include
Cargo's bin directory ($HOME/.cargo/bin).

To configure your current shell, run:
source $HOME/.cargo/env
@username:~$ rustc --version
rustc 1.61.0 (fe5b13d68 YYYY-MM-DD)
Versionの確認がうまくできない場合はPATH設定を行う。
@username:~$ cat $HOME/.cargo/env
#!/bin/sh
# rustup shell setup
# affix colons on either side of $PATH to simplify matching
case ":${PATH}:" in
    *:"$HOME/.cargo/bin":*)
        ;;
    *)
        # Prepending path in case a system-installed rustc needs to be overridden
        export PATH="$HOME/.cargo/bin:$PATH"
        ;;
esac
@username:~$ source $HOME/.cargo/env
@username:~$ rustc --version
rustc 1.61.0 (fe5b13d68 YYYY-MM-DD)
Polkadotのソースコードを取得してくる
実際にPolkadotをソースコードから実行する場合は、ソースコードを入手してビルドします。
またRustとサポートソフトウェアがインストールされていることを確認してください。
Polkadotのソースコードはオープンソースで公開されている。
GitHubからソースコードを取得し確認する。
確認段階では次のような手順になる。
@username:$ curl https://getsubstrate.io -sSf | bash -s -- --fast
次に、Polkadotのソースコードを入手します。
今回はgit cloneしてソースコードを入手する。
(GitHubのwebページからzipファイルをダウンロードをしてくることも可)
@username:$ git clone https://github.com/paritytech/polkadot.git
ch/polkadot.git
Cloning into 'polkadot'...
remote: Enumerating objects: 1431987, done.
remote: Counting objects: 100% (1720/1720), done.
remote: Compressing objects: 100% (609/609), done.
remote: Total 1431987 (delta 1165), reused 1617 (delta 1103), pack-reused 1430267
Receiving objects: 100% (1431987/1431987), 1.70 GiB | 10.95 MiB/s, done.
Resolving deltas: 100% (1298717/1298717), done.
取得したソースコードの/polkadot/ディレクトリに移動する。
シェルスクリプトは、Rustをインストールまたは更新し、必要な依存関係をインストールします。
@username:$ cd polkadot
@username:$./scripts/init.sh
次に、コードをビルドします。
警告
Mainnetに接続する場合は、リリースモード(--release)でビルドする必要があります。
(PCの性能にもよるが、数十分はかかる)
@username:$ cargo build --release
@username:~/polkadot$ cargo build --release
   Compiling log v0.4.17
   Compiling proc-macro2 v1.0.39
   (中略)
   Compiling polkadot v0.9.23 (/home/noname/ドキュメント/polkadot)
    Finished release [optimized] target(s) in 20m 29s
info
必要に応じてテストモードを実行してみましょう。
(PCの性能にもよるが、数十分はかかる)
@username:$ cargo test --all --release
Polakadot-mainnetに接続
カスタムネームを設定する場合は--name "カスタムネーム"が必要(今回はNo_nameと設定した)
@username:~/polkadot$ ./target/release/polkadot --chain=polkadot --name "No_name"
@username:~/polkadot$ ./target/release/polkadot --chain=polkadot --name "No_name"
YYYY-MM-DD 13:00:38 Parity Polkadot
YYYY-MM-DD 13:00:38 ✌️  version 0.9.23-016dc729710
YYYY-MM-DD 13:00:38 ❤️  by Parity Technologies <admin@parity.io>, 2017-2022
YYYY-MM-DD 13:00:38 📋 Chain specification: Polkadot
YYYY-MM-DD 13:00:38 🏷  Node name: No_name    # 起動時に設定したノード名前が表示される.
YYYY-MM-DD 13:00:38 👤 Role: FULL
YYYY-MM-DD 13:00:38 💾 Database: RocksDb at /home/noname/.local/share/polkadot/chains/polkadot/db/full
YYYY-MM-DD 13:00:38 ⛓  Native runtime: polkadot-9230 (parity-polkadot-0.tx12.au0)
YYYY-MM-DD 13:00:49 🏷  Local node identity is: XXXXXXXXXXXXXXXXXXXXXXxxxxxxxxxxxxXXXXXXXXXXXX
YYYY-MM-DD 13:00:50 💻 Operating system: linux
2022-06-10 13:00:50 💻 CPU architecture: x86_64
2022-06-10 13:00:50 💻 Target environment: gnu
2022-06-10 13:00:50 💻 CPU: Intel(R) Core(TM) i7-8700 CPU @ 3.20GHz
2022-06-10 13:00:50 💻 CPU cores: 6
2022-06-10 13:00:50 💻 Memory: 15881MB
2022-06-10 13:00:50 💻 Kernel: 5.13.0-48-generic
2022-06-10 13:00:50 💻 Linux distribution: Ubuntu 20.04.4 LTS
2022-06-10 13:00:50 💻 Virtual machine: no
2022-06-10 13:00:50 📦 Highest known block at #28217
2022-06-10 13:00:50 〽️ Prometheus exporter started at 127.0.0.1:9615
2022-06-10 13:00:50 Running JSON-RPC HTTP server: addr=127.0.0.1:9933, allowed origins=Some(["http://localhost:*", "http://127.0.0.1:*", "https://localhost:*", "https://127.0.0.1:*", "https://polkadot.js.org"])
2022-06-10 13:00:50 Running JSON-RPC WS server: addr=127.0.0.1:9944, allowed origins=Some(["http://localhost:*", "http://127.0.0.1:*", "https://localhost:*", "https://127.0.0.1:*", "https://polkadot.js.org"])
2022-06-10 13:00:50 🏁 CPU score: 578MB/s
2022-06-10 13:00:50 🏁 Memory score: 8230MB/s
2022-06-10 13:00:50 🏁 Disk score (seq. writes): 114MB/s
2022-06-10 13:00:50 🏁 Disk score (rand. writes): 51MB/s
このあとPolkadotブロックチェーンの同期が始まる。
Mainnetに接続したノードの確認(カスタムネームで検索)
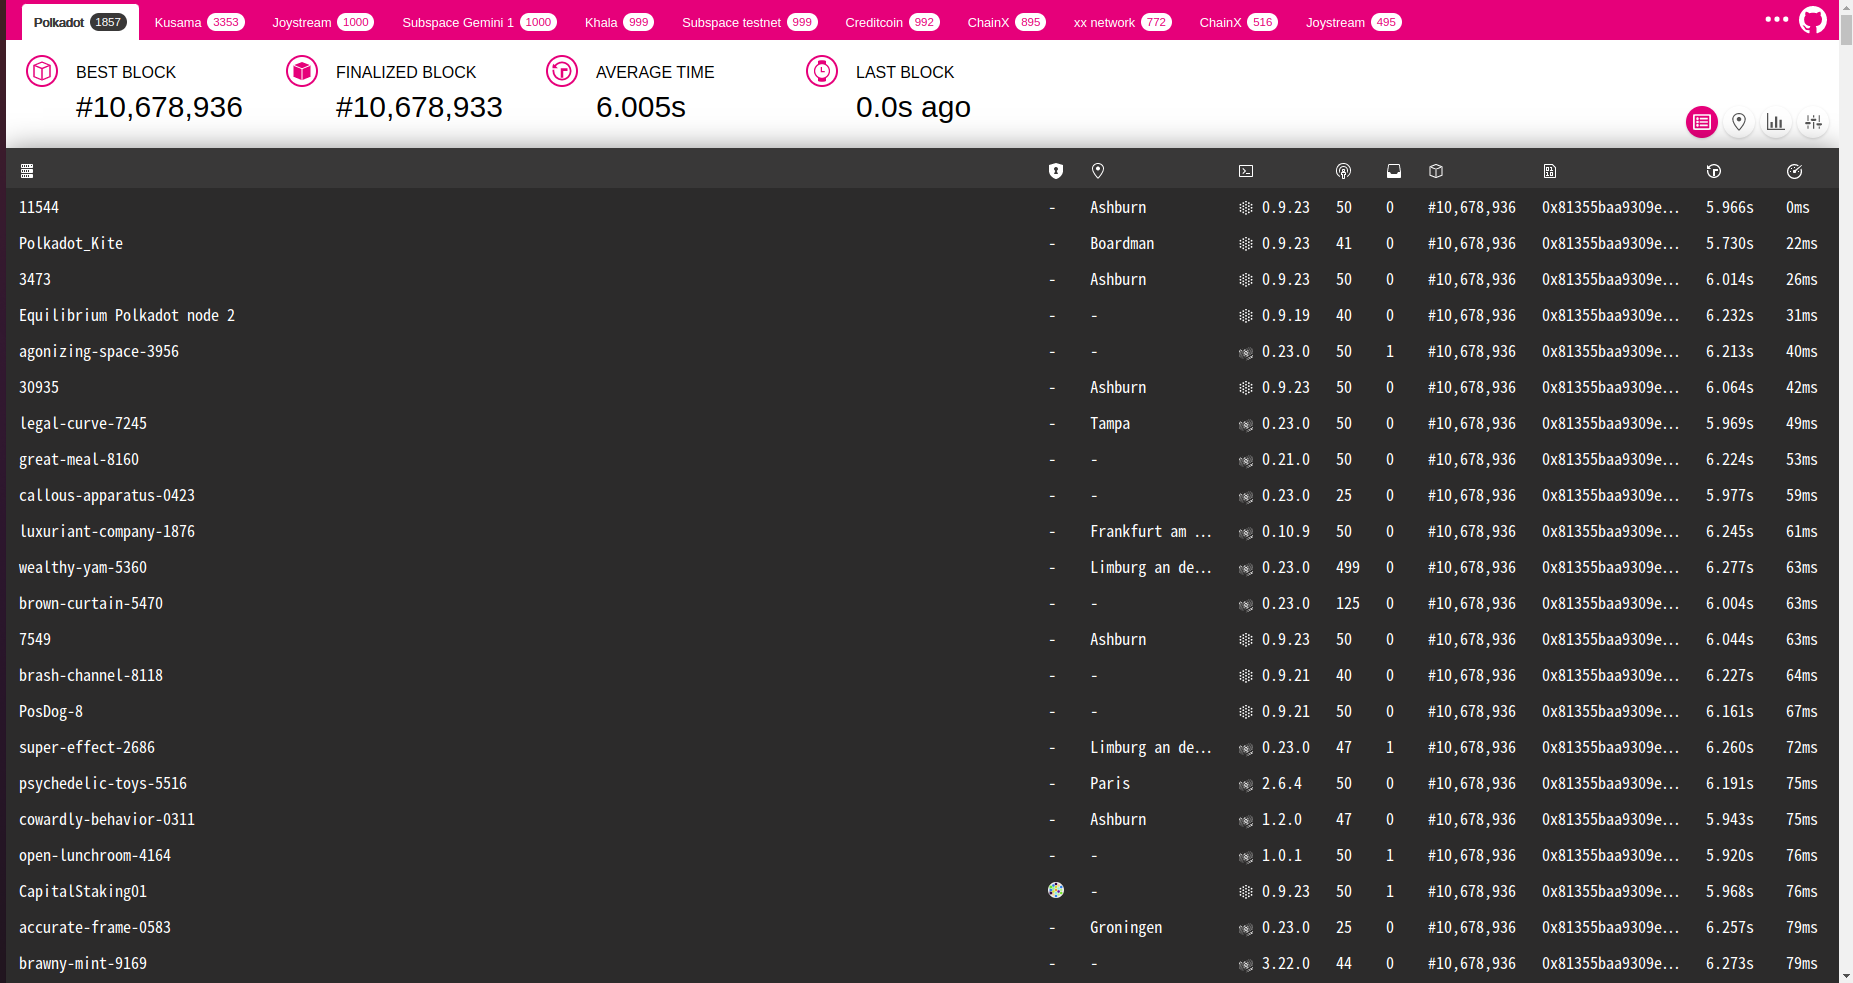
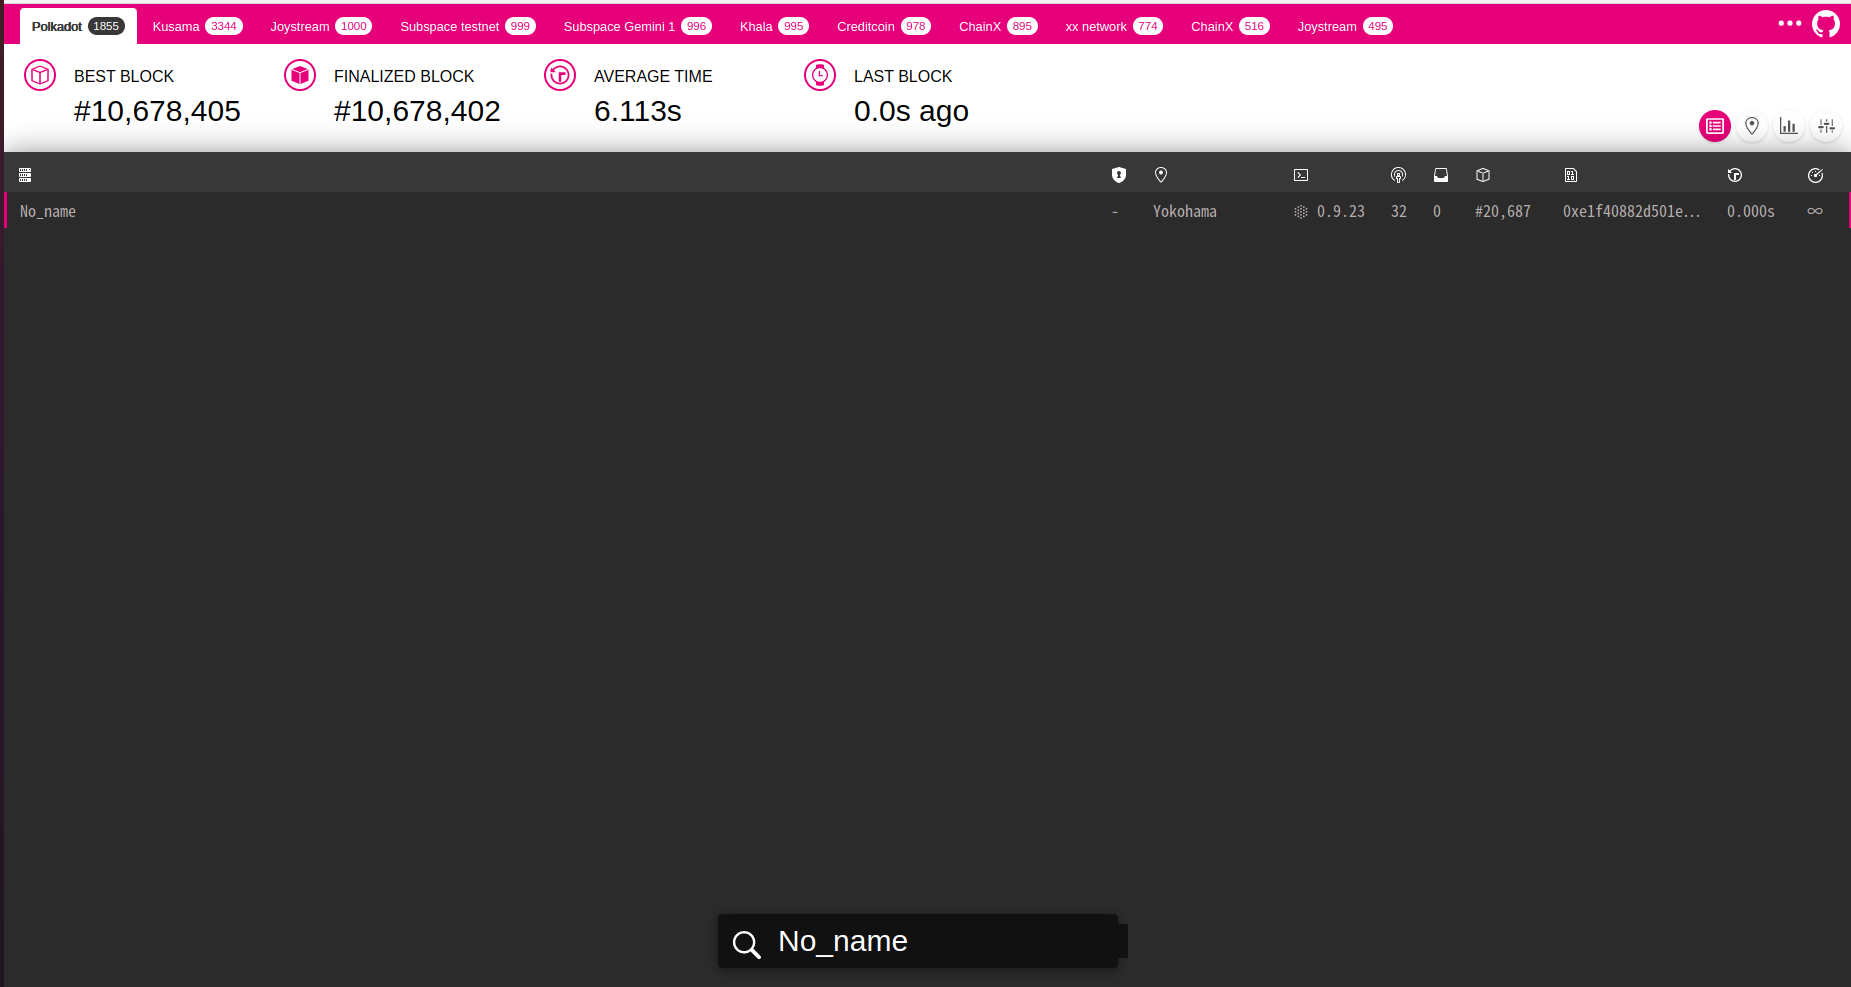
webブラウザでPolkadot Teremetryにアクセスすると以下の画像の通りになる。
Polkadot Teremetryには、リアルタイムでpolkadot Mainnetに接続されているすべてのノードを観測することができる。

この画面の状態からキーボード入力を行うと自ノードの名前(カスタムネーム)を検索することができる。
おわりに
PolkadotにMainnetに接続を行ってみました。
また筆者は今後Rustを勉強中であり、Polkadotのソースコードを読んでいく予定である。
ソースコードを読んでいく上で気付いた点や発見をしたらまた新たな記事を書いていきたいと思う。
参考サイト
Polkadot公式
Polkadotのオープンソースコード
Rust公式
