はじめに
こんなアプリをリリースしました。

内容はいたってシンプルで、マイクに向かって「えへ」って言うと原神のキャラクターであるパイモンが反応して「えへってなんだよ!」とツッコミを入れてくれるアプリです。
ソースはGitHubにあります。
経緯
普段はVueやGolangを用いたWEBシステムを開発している大阪のエンジニアです。
最近、機械学習の勉強と原神というゲームにハマっていて、機械学習の勉強の合間に原神を進めていたらなんとTwitterで原神の公式アカウントがこんな事を呟いているではありませんか。
【コンテンツクリエーター募集開始】
— 原神(Genshin)公式 (@Genshin_7) October 31, 2020
旅人さん、「原神」を一緒に盛り上げていただけるコンテンツクリエイターを募集いたします!
募集期間
2020年10月31日(土)〜11月30日(月)23:59
▼詳細はこちらhttps://t.co/LSssNbM4sO#原神 #Genshin pic.twitter.com/friBOUKLQ9
乗るしかない、このビックウェーブに。って事で絶賛勉強中の機械学習でインディーズゲームを作る事にしました。
元ネタ
題材にした「えへってなんだよ!」とは原神の序章第2幕にてパイモンがウェンティに言い放つ言葉で、その可愛いさからTwitterで少し話題になっていました。
Paimon.EXE - [Hehe te nanda yo] - 1 MILLION Times Edition https://t.co/3vRptAQsKB @YouTubeより
— ゆっきー (@WinterYukke) November 7, 2020
パイモンちゃんで「てってってー」#原神 #Genshin #音MAD pic.twitter.com/6aFKDx7qru
— ゼ民です (@HATENAYOSE_mani) October 18, 2020
パイモンの可愛さと、「えへ」に反応するだけというシンプルな要点から題材にする事にしました。
制作
使用したもの
- 言語・フレームワーク
- Nuxt.js v2.14.6
- TypeScript
- TensorFlow.js
- ツール・インフラ
- Teachable Machine
- Figma
- GitHub
- Vercel
1日目
音声認識モデル
まず、メインコンテンツであるパイモンの音声認識の仕組みを作ります。
機械学習は絶賛勉強中ですがまだまだ実運用レベルではないためTeachable Machineの手順に沿って簡単に音声認識のモデルを作成します。
次にモデルをエクスポート及びアップロードしてサンプルコードを取得します。
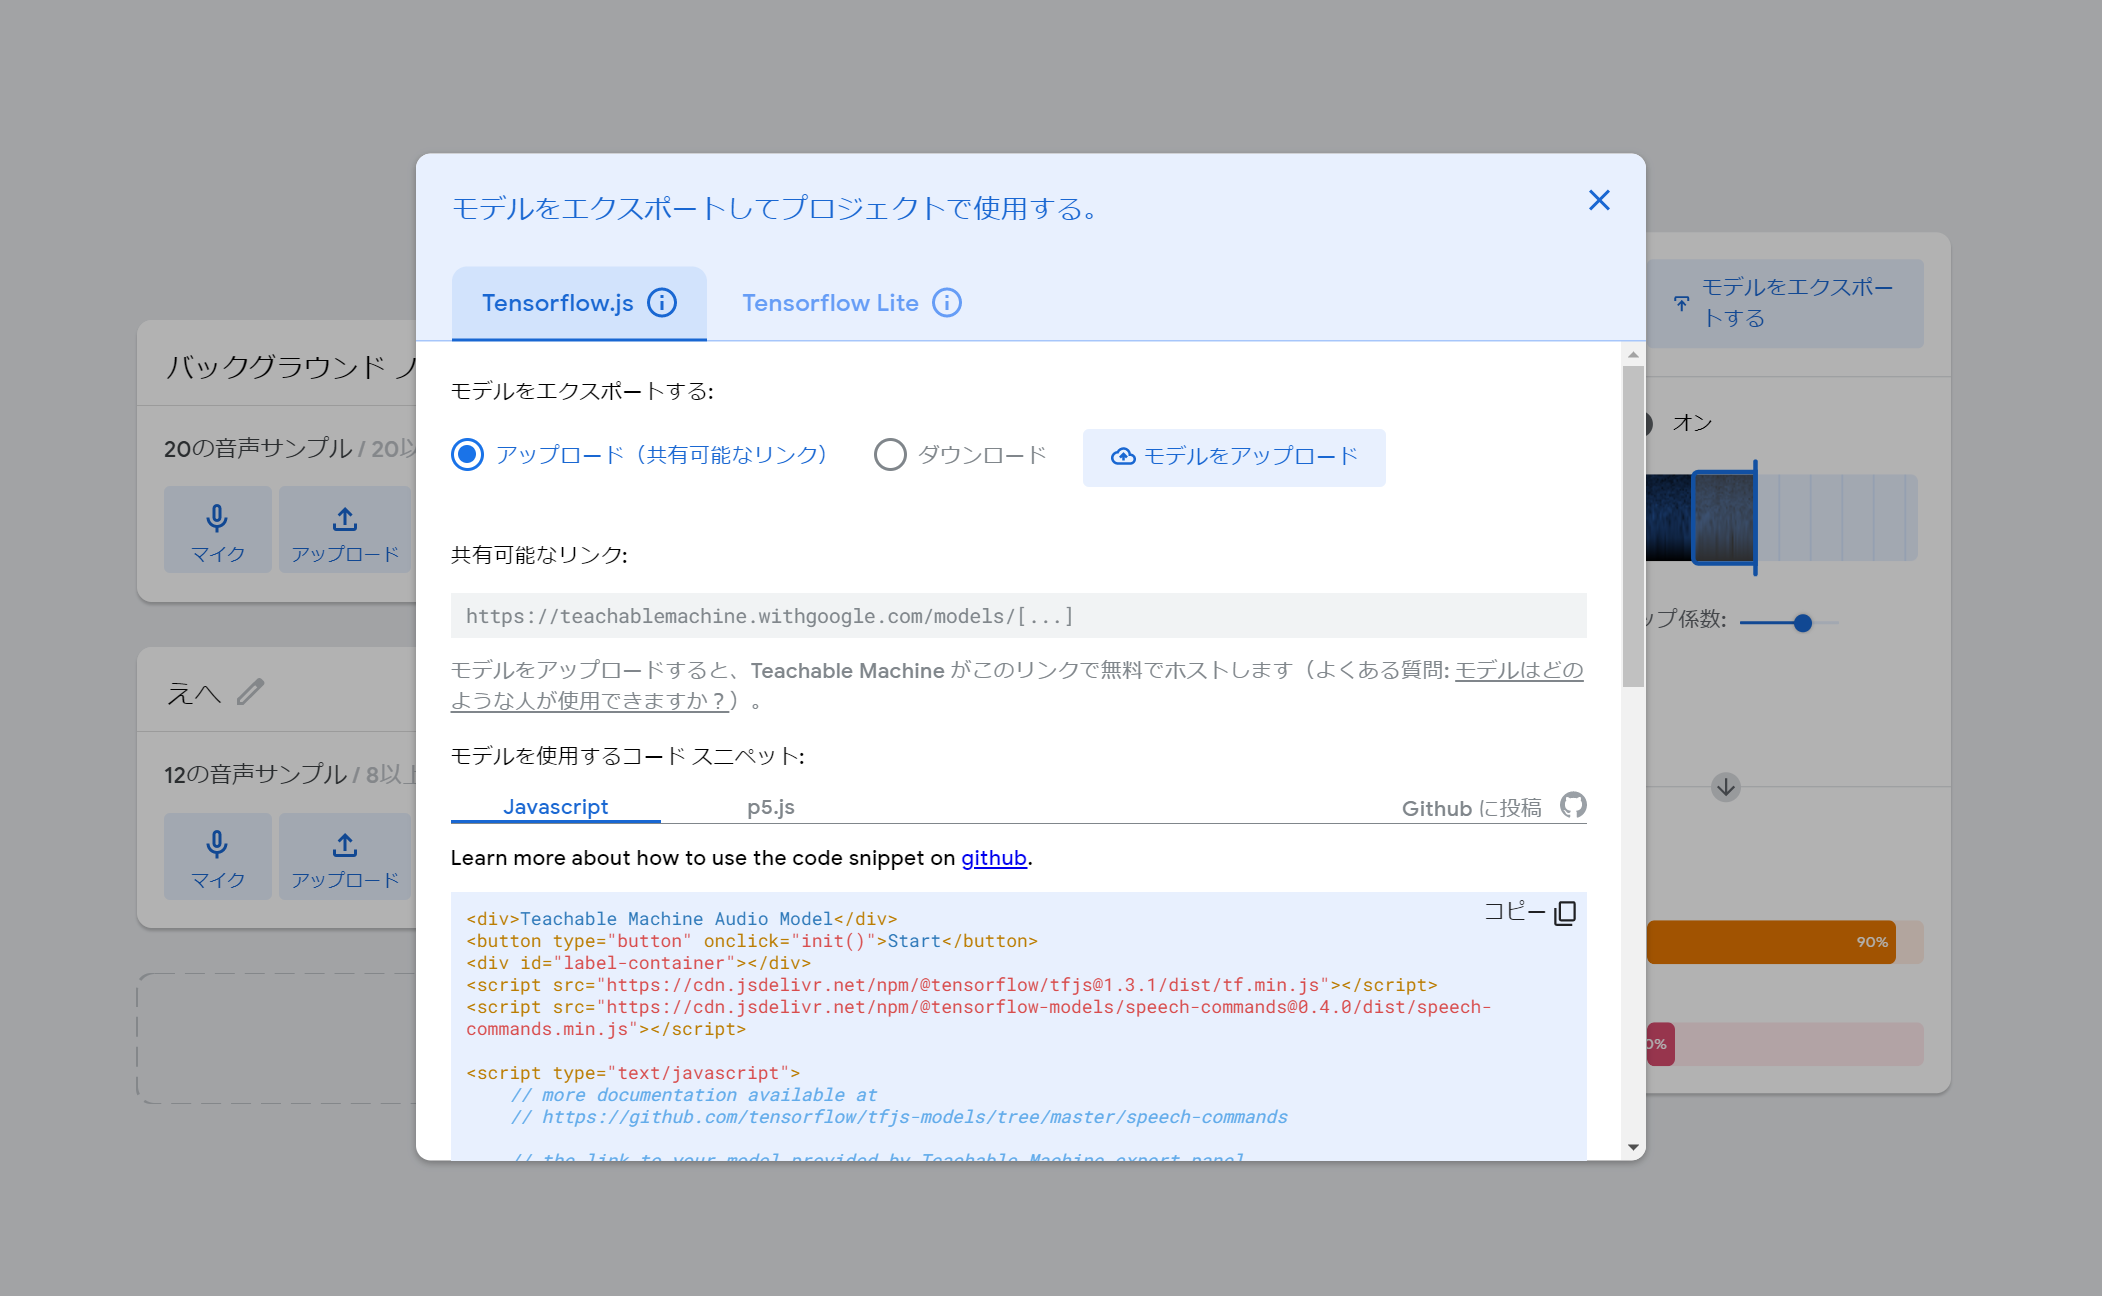
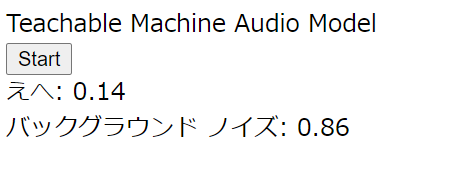
取得したサンプルコードをhtmlファイルとして保存します。そのままブラウザで開いても動作を確認出来ます。
Nuxtプロジェクト作成
次のコマンドでNuxtプロジェクトを立ち上げます。今回はTypeScript、PWA、SSG、Eslint、PritterとUI FrameworkにVuetify.jsを選択しました。
yarn create nuxt-app
サンプルで使用していたパッケージと、Vue3に向けてNuxt用のcomposition-apiを追加します。
yarn add @tensorflow/tfjs @tensorflow-models/speech-commands @nuxtjs/composition-api
次にnuxt.config.jsファイルの名前をnuxt.config.tsに書き換えます。
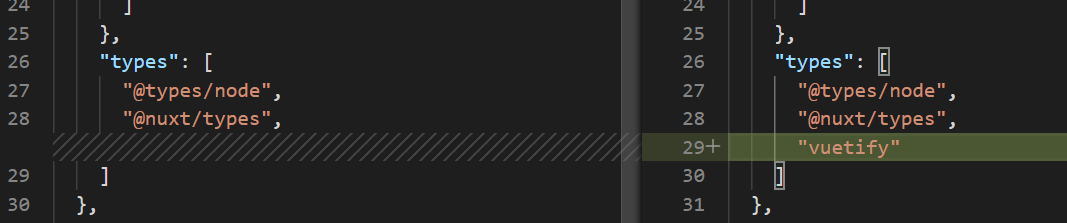
そのままだとvuetifyの型で怒られるのでtsconfig.jsonのtypesにvuetifyを追加します。
nuxt.config.tsを修正します。
修正後の`nuxt.config.ts`
import colors from 'vuetify/es5/util/colors'

export default {
  // Target (https://go.nuxtjs.dev/config-target)
  target: 'static',

  // Global page headers (https://go.nuxtjs.dev/config-head)
  head: {
    titleTemplate: '%s - a',
    title: 'a',
    meta: [
      { charset: 'utf-8' },
      { name: 'viewport', content: 'width=device-width, initial-scale=1' },
      { hid: 'description', name: 'description', content: '' },
    ],
    link: [{ rel: 'icon', type: 'image/x-icon', href: '/favicon.ico' }],
  },

  // Global CSS (https://go.nuxtjs.dev/config-css)
  css: [],

  // Plugins to run before rendering page (https://go.nuxtjs.dev/config-plugins)
  plugins: [],

  // Auto import components (https://go.nuxtjs.dev/config-components)
  components: true,

  // Modules for dev and build (recommended) (https://go.nuxtjs.dev/config-modules)
  buildModules: [
    // https://go.nuxtjs.dev/typescript
    '@nuxt/typescript-build',
    // https://go.nuxtjs.dev/vuetify
    '@nuxtjs/vuetify',
    '@nuxtjs/composition-api',
  ],

  // Modules (https://go.nuxtjs.dev/config-modules)
  modules: [
    // https://go.nuxtjs.dev/pwa
    '@nuxtjs/pwa',
  ],

  // Vuetify module configuration (https://go.nuxtjs.dev/config-vuetify)
  vuetify: {
    customVariables: ['~/assets/variables.scss'],
    theme: {
      dark: true,
      themes: {
        dark: {
          primary: colors.blue.darken2,
          accent: colors.grey.darken3,
          secondary: colors.amber.darken3,
          info: colors.teal.lighten1,
          warning: colors.amber.base,
          error: colors.deepOrange.accent4,
          success: colors.green.accent3,
        },
      },
    },
  },

  // Build Configuration (https://go.nuxtjs.dev/config-build)
  build: {
    extend(config: any, _: any) {
      config.node = {
        fs: 'empty',
      }
    },
  },
}
サンプルをnuxtで動かす
pages/index.vueを修正してサンプルのソースをvue用に書き換えてみます。
修正後の`index.vue`
<template>
  <div>
    <div>Teachable Machine Audio Model</div>
    <v-btn @click="init()">Start</v-btn>
    <div v-for="prediction in predictions" :key="prediction.label">
      {{ prediction.label }}: {{ prediction.score.toFixed(2) }}
    </div>
  </div>
</template>

<script lang="ts">
import { defineComponent, ref } from '@nuxtjs/composition-api'
import * as speechCommands from '@tensorflow-models/speech-commands'

interface Prediction {
  score: number
  label: string
}
export default defineComponent({
  setup() {
    const URL = 'https://teachablemachine.withgoogle.com/models/{modelのID}/'
    async function createModel() {
      const recognizer = speechCommands.create(
        'BROWSER_FFT',
        undefined,
        `${URL}model.json`,
        `${URL}metadata.json`
      )
      await recognizer.ensureModelLoaded()
      return recognizer
    }
    const predictions = ref<Prediction[]>([])
    async function init() {
      if (process.server) return
      const recognizer = await createModel()
      const labels = recognizer.wordLabels()
      recognizer.listen(
        (result) => {
          predictions.value = labels.map((label, index) => {
            return { score: result.scores[index] as number, label }
          })
          return new Promise(() => {})
        },
        {
          includeSpectrogram: true,
          probabilityThreshold: 0.75,
          invokeCallbackOnNoiseAndUnknown: true,
          overlapFactor: 0.5,
        }
      )
    }
    return {
      init,
      predictions,
    }
  },
})
</script>
パイモン素材作成
仕組みは出来上がっても素材がなければインディーゲームとは言い難いです。素材を作りましょう。
素材作りにはいつも画面デザインで利用しているFigmaを使いました。Figmaは画面デザイン用のアプリケーションですが、成果物をパーツ毎にSVG形式で吐き出せるため素材作成に便利です。SVGで吐き出せばサイズもほとんど気にしなくていいですし、アニメーション追加も簡単です。
こんなけありゃおkやろ pic.twitter.com/hF3r1suJF4
— ゆっきー (@WinterYukke) November 4, 2020
前にあげたパイモンのロード画面怖いって言われたからこれにした#原神 pic.twitter.com/NHyJCjFFBo
— ゆっきー (@WinterYukke) November 5, 2020
ひたすら実装
素材も揃ったので後はサンプルを修正して「えへ」のスコアが高かった時にだけ怒り顔パイモンの素材を描画するように書きなおし、ほとんど仕組みが出来上がって1日目を終えました。
2日目
1日目の時点でほとんど出来上がっていてデプロイとIOS端末でのバグ修正がメインでした。
デプロイ
デプロイ先をどこにするか考えました。簡単かつ無料でデプロイ出来る所と言えばこの3つが思い浮かび、単純に今まで使用した事がないVercelでやってみることにしました。
- GitHub Pages
- GitLab Pages
- Vercel
普段はGitLab Pagesを利用しているのでCIを書いていたのですが、Vercelはとても簡単でImport Git Repositoryを選んで自分のGitHubアカウント及びプロジェクトと紐づけるだけでスイスイ進んでいきました。
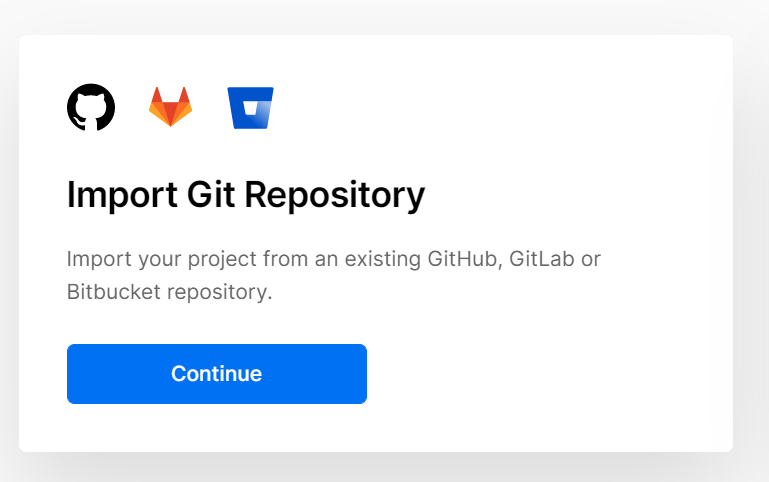
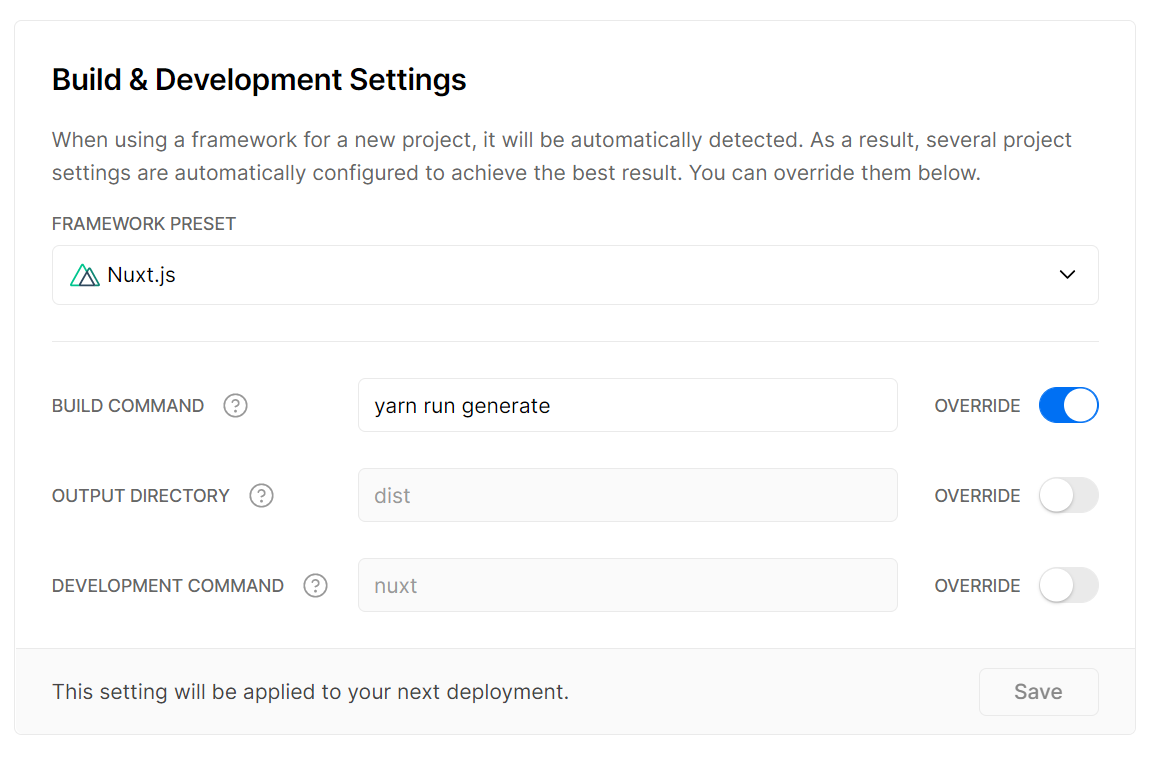
こんな感じに自動でNuxt.jsプロジェクトだと認識してくれていたのでNuxt.jsの仕組みにのっていれば勝手にやってくれる素晴らしいサービスです。
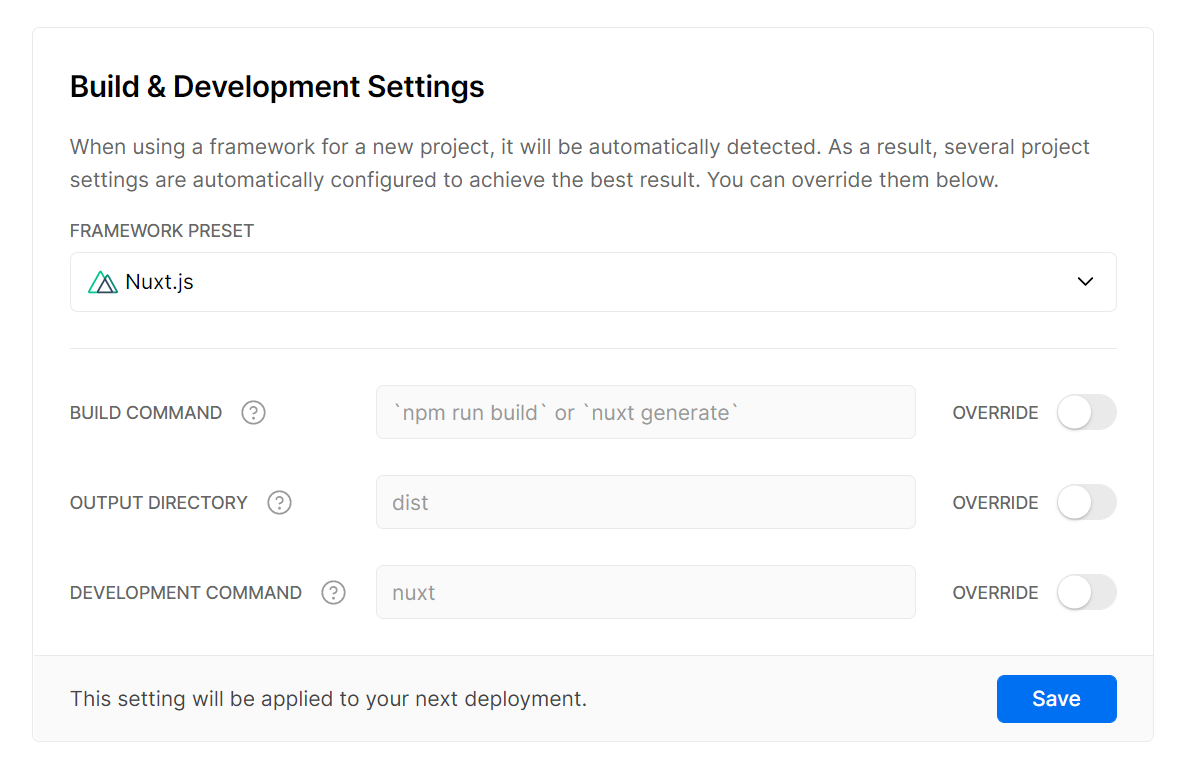
・・・が、少しだけ詰まりました。
nuxt generateとプレースホルダーに書いてあったので安心していましたが、yarn buildが実行されてしまい「distパッケージがねぇ!!!」と怒られてしまいました。そのため、VercelのBUILD COMMAND設定をyarn run generateに変更しました。
無事デプロイ成功!
Oh yes!!!! pic.twitter.com/rdbywr2n5M
— ゆっきー (@WinterYukke) November 5, 2020
IOSでの不具合
デプロイ後、自前IPhoneのsafariからアクセスするとエラーページしか表示されない。。。
何が問題なのか調べるためにIPhoneに入っているChromeからchrome://inspectにアクセスしてログを見ると
ReferenceError: Can't find variable: Notification
![]()
実はこの時のバージョンではパイモンが「えへってなんだよ!」って言う際にWEBの通知機能を利用して通知させるようにしていました。そのためNotificationが存在しなければ通知機能を使わないように修正したりと試行錯誤したのですが、どうやっても表示されなかったため完全に通知系は諦める事にしました。![]()
残りは細々とした修正で2日目も終了です。
3日目
嫁からandroid端末を借りて動きを確認したりエラー画面を修正して、本格的にリリースの準備です。
告知用にツイートを用意して完了です。
【パイモンに「えへってなんだよ!」って言わせるだけのアプリ】をリリースしました🚀
— ゆっきー (@WinterYukke) November 7, 2020
【遊び方】
1. https://t.co/c9ehIREAOk にアクセス
2. マイクを許可して「えへ」って言うだけ😶#原神 #えへってなんだよ pic.twitter.com/HzZLzc7S0t
最後に
3日で作ったとは書きましたがPC限定にするなど色々諦めれば1日で出来たと思います。もっと踏み入ったコンテンツを作るためにも機械学習の勉強は欠かせませんね。原神のコンテンツクリエイタープログラムにも選ばれれば完璧です!
それとお願いです。RTして下さい。。。![]()
【パイモンに「えへってなんだよ!」って言わせるだけのアプリ】をリリースしました🚀
— ゆっきー (@WinterYukke) November 7, 2020
【遊び方】
1. https://t.co/c9ehIREAOk にアクセス
2. マイクを許可して「えへ」って言うだけ😶#原神 #えへってなんだよ pic.twitter.com/HzZLzc7S0t