この記事はSC(非公式) Advent Calendar 2017の3日目です。
はじめに
Firebase Hostingを利用して自作のサイトをクラウド上にデプロイします。
Firebaseの利用に必要なのは、GoogleアカウントとNode.jsがインストールされている端末だけなので、とってもお手軽です。
ゴール
そもそもFirebaseって?
Googleが運営しているmBaaS(mobile backend as a Service)クラウドサービス。
mBaaSの名の通りモバイルアプリケーションを作るうえで便利なサービスを多く兼ね備えています。
(が、この記事ではモバイルにかかわるところには触れません)
詳しい機能については こちら
準備
以下の二つさえ用意すれば直ぐにFirebaseを利用できます!
・Googleアカウント (Gmailは最早1人1アカウントは利用しているのでは)
・Node.jsがインストールされている端末(※インストールについては割愛します)
実践
では早速、以下のコマンドをコマンドプロンプトに入力し、
Firebaseを操作するためにFirebase-CLIをインストールします。
npm install -g firebase-tools
続いてログインコマンドを実行し、Googleアカウントを紐づけます。
firebase login
上記コマンドを実行することでGoogleアカウントへのログインが要求されます。
ログインすると以下のように成功の旨が表示されます。
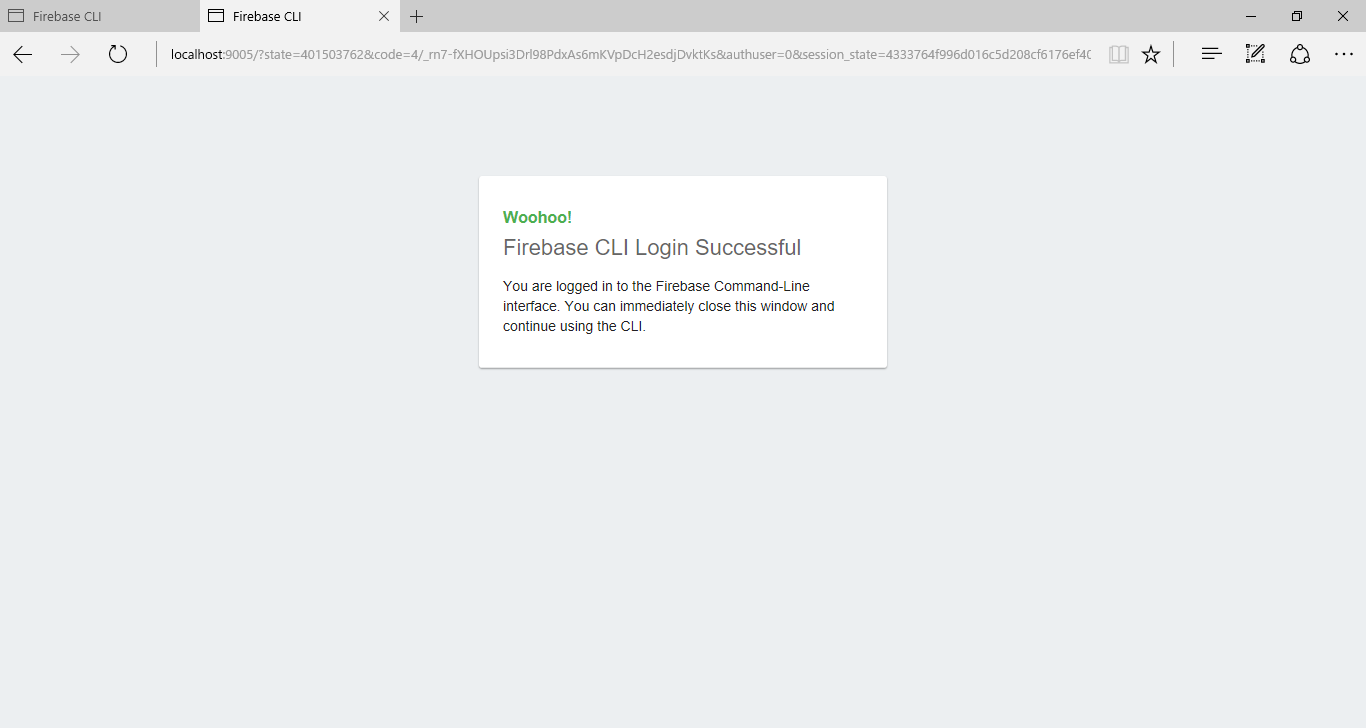
また、コマンドプロンプト上には任意のユーザでログイン成功と表示されます。
+ Success! Logged in as XXX@gmail.com
続いて任意のフォルダ(今回はmyAppという名前にします)に移動して初期化コマンドを実行します。
mkdir myApp
cd myApp
firebase init
すると以下のようにいくつか選択肢が登場します。
1  ? Are you ready to proceed?
2  ? What Firebase project do you want to associate as default? (Use arrow keys)
3  ? Select a default Firebase project for this directory: [create a new project]
1 現在のフォルダをFirebaseのプロジェクトにする ⇒ Yesを選択
2 どのサービスと関連付けるか? ⇒ 今回はHostingサービスを利用するのでHostingを選択
3 どのプロジェクトを利用するか ⇒ 初回の場合は create a new projectを選択
選択を終えると下記のように表示され
+  Firebase initialization complete!
Project creation is only available from the Firebase Console
Please visit https://console.firebase.google.com to create a new project, then run firebase use --add
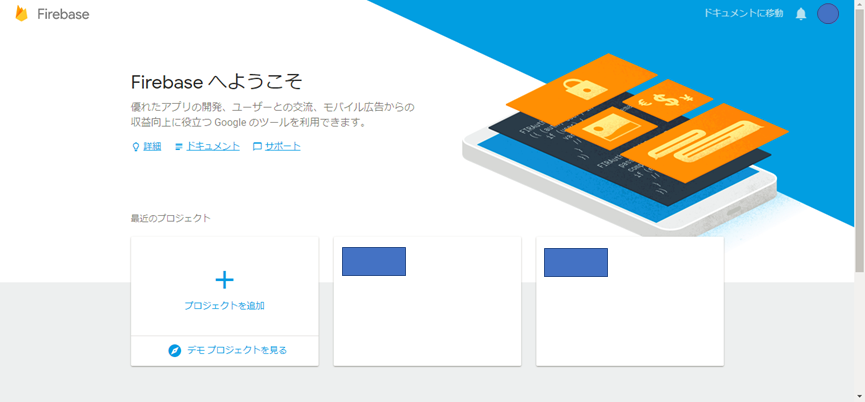
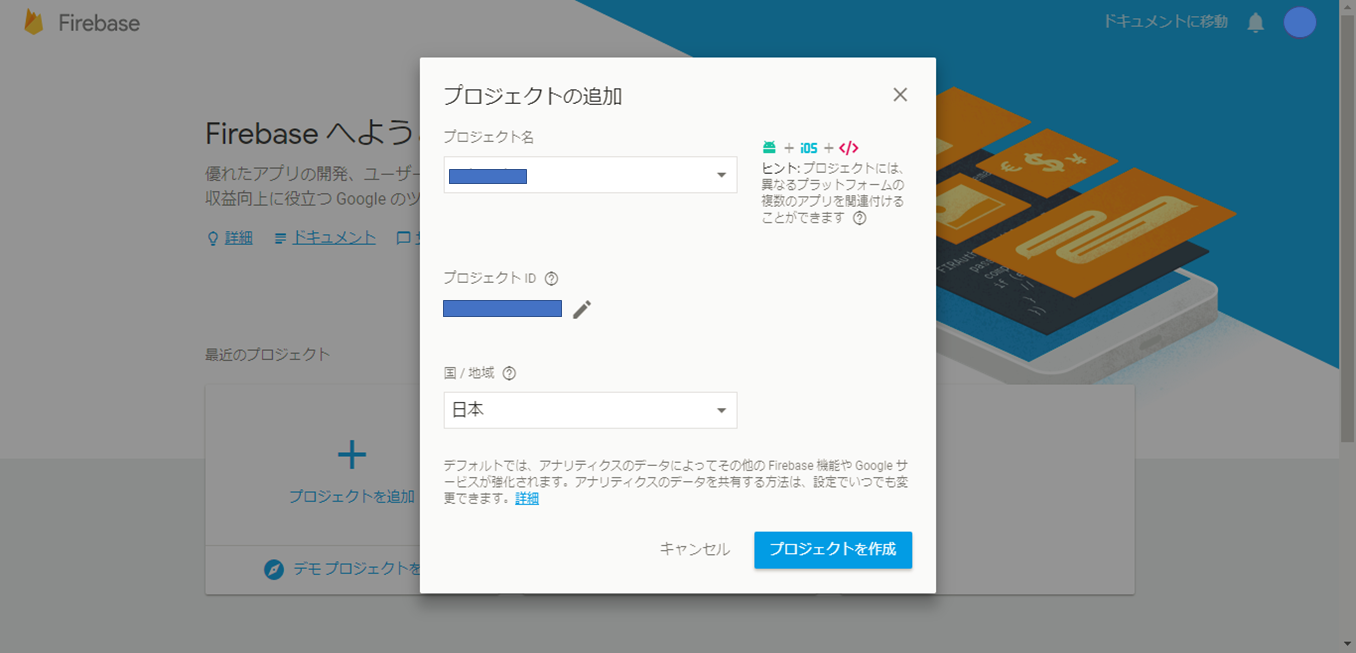
公式のコンソールへ誘導されます。
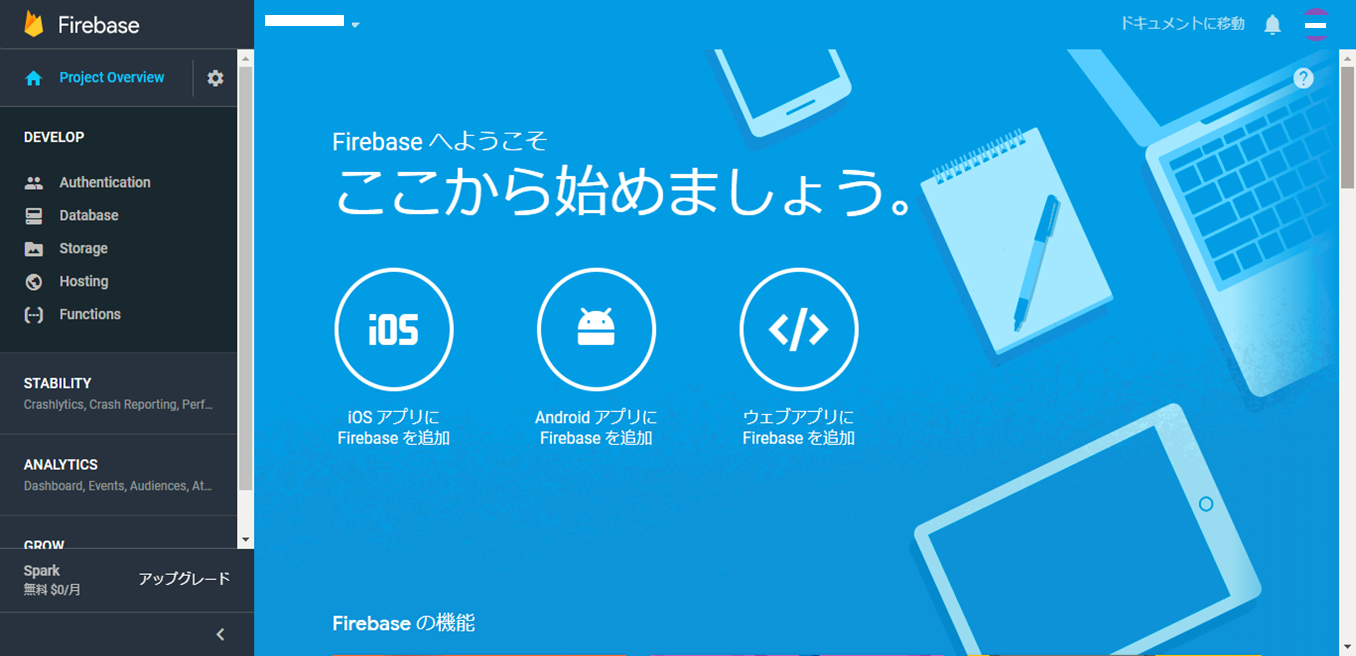
プロジェクトの作成が完了するとコンソール画面へ遷移します。
ここまで出来たら再びコマンドプロンプトから下記コマンドを叩き、
コンソールで先ほど作成したプロジェクトとローカルのフォルダ(今回の場合myApp)を紐づけます。
firebase use --add
それでは本題になるFirebaseのHositingサービスへWebページをデプロイします。
まずはmyAppフォルダの中にデプロイ対象となる適当なフォルダとHtmlファイルを配置します。
今回はPublicという名前のフォルダと、その中にIndex.htmlを作成します。
フォルダ構成
myApp/
├ .firebaserc ← initコマンド時に自動生成
├ firebase.json ← initコマンド時に自動生成
└ public/
└ index.html
index.htmlの中身は以下のように書き換えておきます。
<html>
    <head>
        <title>はじめての</title>
    </head>
    <body>
        <p>こんにちは</p>
    </body>
</html>
最後にmyAppディレクトリ下のどのフォルダをデプロイの対象とするのかをfirebase.jsonに記述します。
{
    "hosting": {
    "public": "public"
  }
}
これで準備が整ったのであとはデプロイコマンドを叩くだけ
firebase deploy
デプロイに成功していれば以下のようにコマンドプロンプトに表示されます。
i  deploying hosting
i  hosting: preparing public directory for upload...
+  hosting: 1 files uploaded successfully

+  Deploy complete!
デプロイ完了が表示されたら同じくコマンドプロンプト上に表示されているHostingURLからサイトへアクセスしてみます。
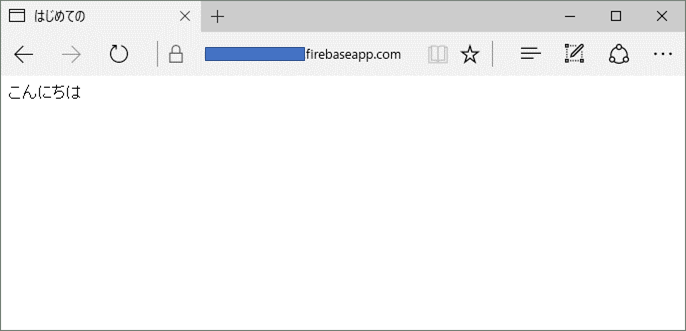
無事に作成したHtmlファイルがデプロイされていることが確認できました!
おわりに
リアルタイムデータベースの変更をフックしてCloud Functionsでサイトを更新するというようなことも試してみれたらと思います。
