Qiitaでは元々デプロイスクリプトをQuay.io上にあるイメージを使ってCircle CIで動かしていました。
それをGitHub Container Registry上にあるイメージをGitHub Actionsで動かすように変更しました。
おおまかな流れとしては、下記になります。
- master(main)ブランチにマージされたタイミングでイメージ作成
- 作成されたイメージを元にproductionやstagingブランチでデプロイスクリプトを流す
この記事では前者のイメージを作るところまでのサンプルを実装してみます。
なお実装したコードは下記になります。
https://github.com/Umekawa/github-actions-sample
イメージを作る前準備
まずは今回イメージを作成する環境を作成しましょう。
今回は簡単に下記のRubyの環境を作ってみます。
- ruby 3.1.2
- bundler 2.3.9
- nokogiri 1.13.8
まずは.ruby-versionでrubyのバージョンを固定します。
3.1.2
Gemfileもササっと下記の形で作成します。
source 'https://rubygems.org'

ruby '3.1.2'

gem 'nokogiri' , '1.13.8'
Dockerfileを作成する
次にDokcerfileを作成します。
今回はDocker Hub公式のrubyのイメージを利用します。
rubyはインストールされているので、Dockerfileではbundlerのインストールとbundle installのみでOK。
FROM ruby:3.1.2-buster
WORKDIR /app
RUN gem install bundler -v 2.3.9 --no-document
COPY \
  Gemfile \
  /app/
RUN bundle install

CMD ["tail", "-f", "/dev/null"]
GitHub Actionsでイメージを作成する
それでは実際にイメージを作成していきましょう。
mainブランチにプッシュされた時に、GitHub Container registryにmasterタグがプッシュされる形です。
実装したyml(長いので閉じています)
name: Build image

on:
  push:
    branches:
      - main
  workflow_dispatch:

permissions:
  contents: read
  packages: write

env:
  DOCKER_TAG: master
  REGISTRY: ghcr.io
  DOCKER_BUILDKIT: 1
  COMPOSE_DOCKER_CLI_BUILD: 1
  DOCKER_REPOSITORY: umekawa/github-actions-sample

jobs:
  build_image:
    runs-on: ubuntu-latest
    timeout-minutes: 30
    steps:
      - uses: actions/checkout@v3
      - name: Log in to the Container registry (GitHub Container registry)
        uses: docker/login-action@v2
        with:
          registry: ${{ env.REGISTRY }}
          username: ${{ github.actor }}
          password: ${{ secrets.GITHUB_TOKEN }}
      - uses: docker/setup-qemu-action@v2
      - uses: docker/setup-buildx-action@v2
      - uses: docker/build-push-action@v3
        id: docker_build
        with:
          context: .
          file: Dockerfile
          push: ${{ github.event_name == 'push' }}
          tags: ${{ env.REGISTRY }}/${{ env.DOCKER_REPOSITORY }}:${{ env.DOCKER_TAG }}
          labels: ${{ steps.meta.outputs.labels }}
          cache-from: type=gha
          cache-to: type=gha,mode=max
細部を見ていきます。
まずmainブランチにpushされたら、という条件を最初につけます。
素直に公式ドキュメントから下記でOK。
on:
  push:
    branches:
      - main
  workflow_dispatch:
次に権限の設定をします。イメージをプッシュする権限と、ソースコードをチェックアウトする権限が必要なので下記。
packagesもreadだと後述のイメージをアップする時にエラーになるので注意しましょう。
permissions:
  contents: read
  packages: write
また、今回は下記のようにenvを設定しておきます。
env:
  DOCKER_TAG: master
  REGISTRY: ghcr.io
  DOCKER_BUILDKIT: 1
  COMPOSE_DOCKER_CLI_BUILD: 1
  DOCKER_REPOSITORY: umekawa/github-actions-sample
それでは本格的にイメージを作成していきます。まずはcheckoutでソースコードをとってきましょう。先述のpermissionsでcontents: readの権限がない場合、ここでエラーになります。
jobs:
  build_image:
    runs-on: ubuntu-latest
    timeout-minutes: 30
    steps:
      - uses: actions/checkout@v3
次に、ghrc.ioにログインします。
        uses: docker/login-action@v2
        with:
          registry: ${{ env.REGISTRY }}
          username: ${{ github.actor }}
          password: ${{ secrets.GITHUB_TOKEN }}
actorはmainブランチにpushしたユーザーアカウントが入り、GITHUB_TOKENはGitHub Actionsの実行ごとに発行されるGitHubのTokenが入ります。
GITHUB_TOKENは権限が限定的ですが、ソースコードをチェックアウトして作成したイメージをGitHub Container registryに上げるという今回の役目は十分果たせます。
それではbuildしていきましょう。
      - uses: docker/setup-qemu-action@v2
      - uses: docker/setup-buildx-action@v2
      - uses: docker/build-push-action@v3
        id: docker_build
        with:
          context: .
          file: Dockerfile
          push: ${{ github.event_name == 'push' }}
          tags: ${{ env.REGISTRY }}/${{ env.DOCKER_REPOSITORY }}:${{ env.DOCKER_TAG }}
          labels: ${{ steps.meta.outputs.labels }}
          cache-from: type=gha
          cache-to: type=gha,mode=max
まずsetup-qemu-actionでqemuのセットアップを行なった後、setup-buildx-actionでbuildxを使えるようにします。
最後にbuild-push-actionで実際にイメージをビルドを行います。
オプションに関してみていくと、まずpushはtrueでも今回は問題ないです(むしろわかりやすいかも)。デフォルトはtrueなので、記述を消すこともできます。
また、tagsに関しては大文字を入れるとエラーになるので注意してください。(自分のGitHubのアカウントがUmekawaなのでそのまま入れたらエラーに・・・)
今回tagsはghrc.io/umekawa/github-actions-sample:master固定ですが、もしv1.2.3のようなバージョンをつける場合、build-push-actionの前にmetadata-actionを加えることで管理しやすくなります。
ビルドが走っているか、イメージの存在しているか確認する
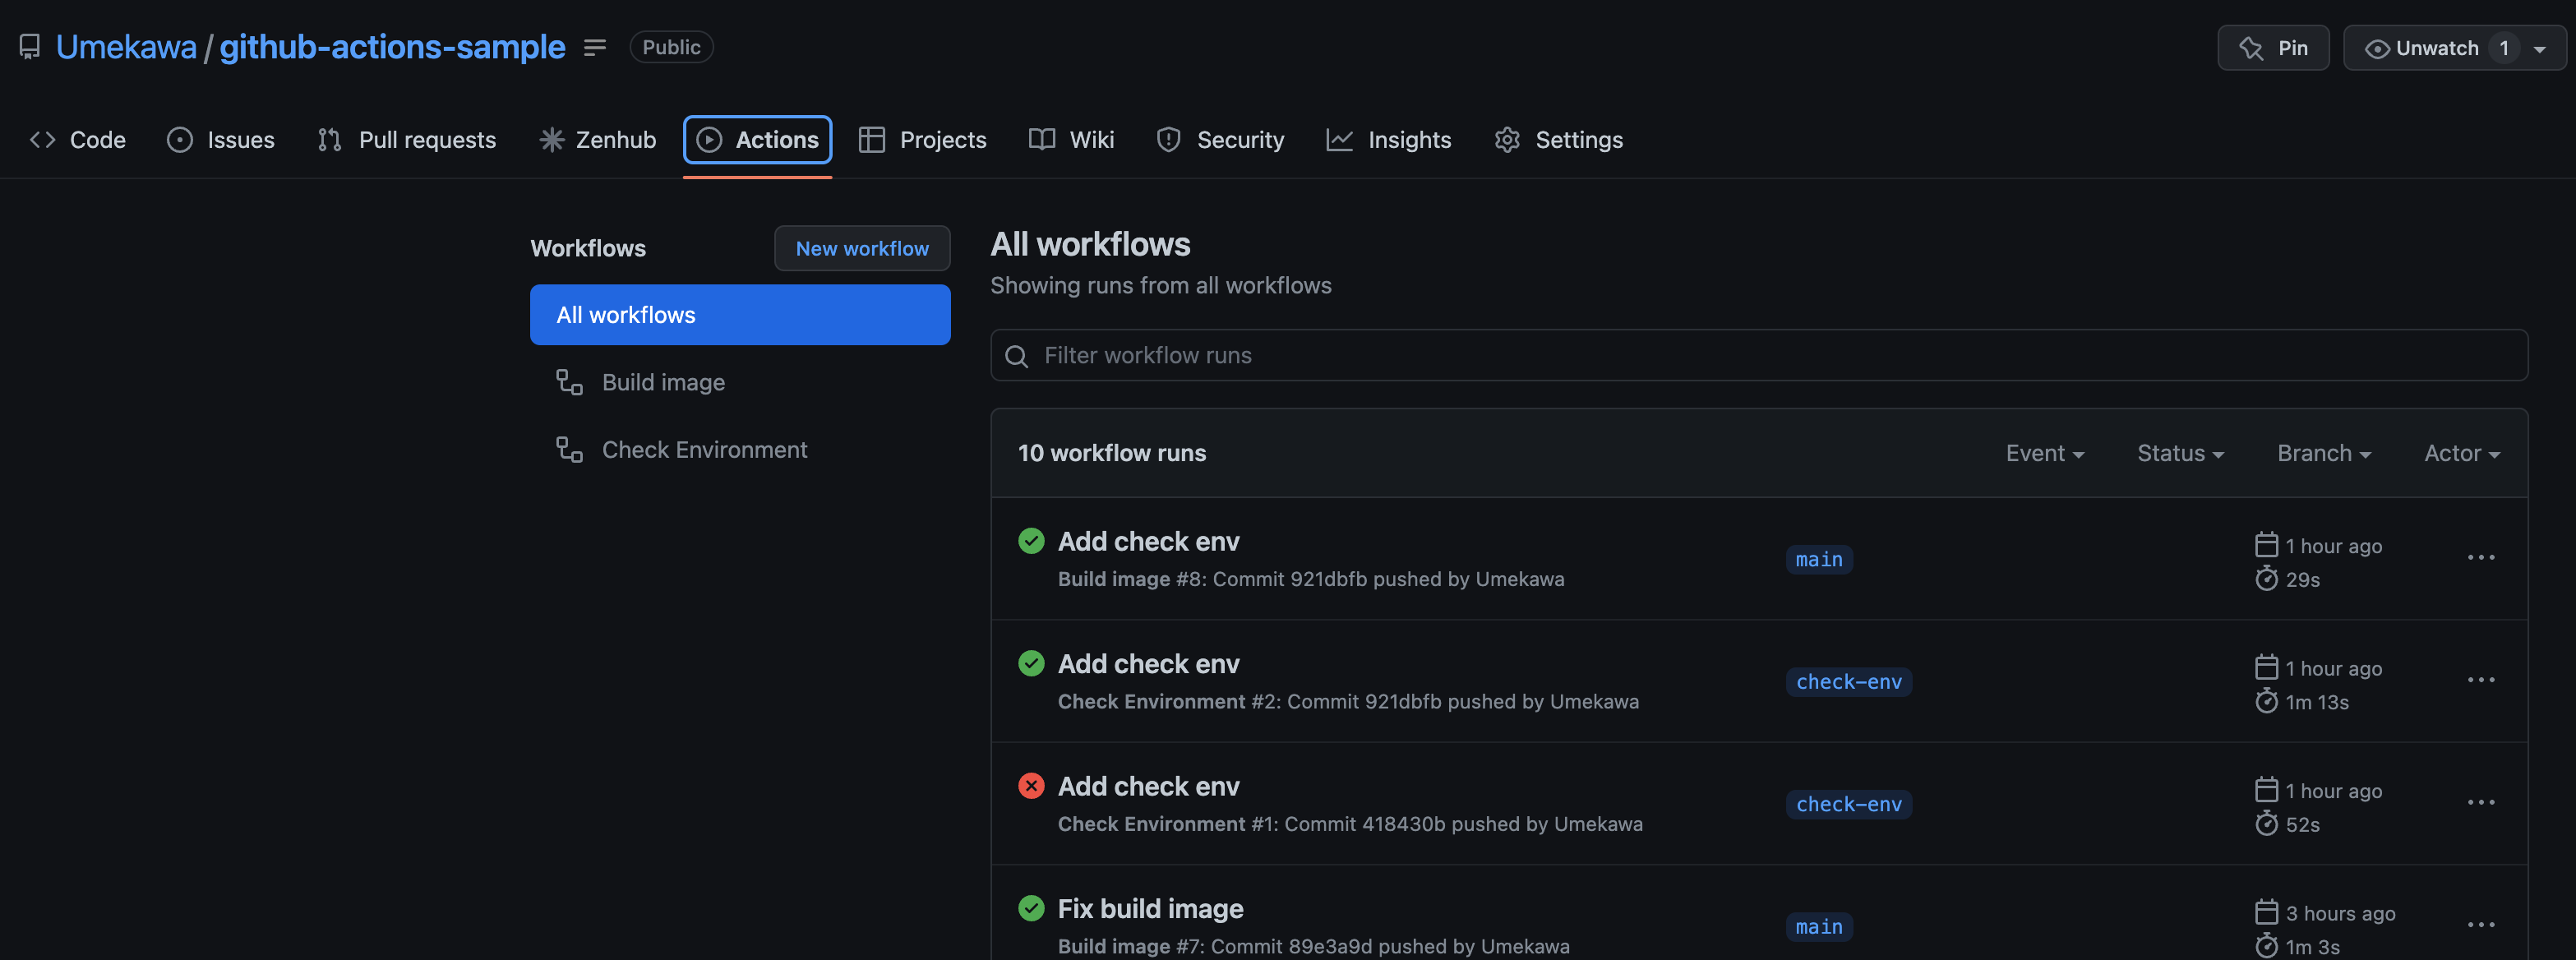
書いたアクションが走っているか確認しましょう。リポジトリのURL/actionsから確認できます。
正しく動いていれば図のようにアクションが走っているのが確認できます。
また、イメージに関しては作成したtag名(今回ならhttps://ghcr.io/umekawa/github-actions-sample:master)にアクセスすると確認することができます。
まとめ
今回はGitHub Actionsを使って、GitHub Container registryにイメージをプッシュする例を作成してみました。
これまで各サービスに分散していたイメージ管理やCI/CDが、GitHubで全て完結するようになったのは本当にすごい時代だなと思います。
次は今回作ったイメージを逆に使う記事を作る予定です。そちらも読んでいただけたら幸いです。
