環境
| OS,ツール | バージョン |
|---|---|
| Mac OS Catalina | 10.15.4 |
| MySQL. | 8.0.18 |
| Apache. | 2.4.41 |
| phpMyAdmin. | 5.0.2 |
brewを使ってmysqlをインストール
brewが入ってない方はこちらから。
mysqlインストール
$ brew install mysql
mysqlバージョン確認
$ mysql --version
mysql起動・停止コマンド
$ mysql.server start

$ mysql.server stop
上記のコマンドを一通り叩いて無事mysqlのインストール及び実行等が完了しましたら、mysqlを初期設定していきます。
mysqlを起動させた状態で、
$ mysql_secure_installation
を実行。すると下記の様な出力があると思います。
以降画面に従って設定していってください。
Securing the MySQL server deployment.

Connecting to MySQL using a blank password.

VALIDATE PASSWORD COMPONENT can be used to test passwords
and improve security. It checks the strength of password
and allows the users to set only those passwords which are
secure enough. Would you like to setup VALIDATE PASSWORD component?
----------------------------------------------------------------------
// VALIDATE PASSWORD プラグインというプラグインを導入しますか?という質問です。Yで答えておきましょう。
// (設定するパスワード強度のルールを設定できるプラグイン)
----------------------------------------------------------------------
Press y|Y for Yes, any other key for No: Y

There are three levels of password validation policy:

LOW    Length >= 8
MEDIUM Length >= 8, numeric, mixed case, and special characters
STRONG Length >= 8, numeric, mixed case, special characters and dictionary

----------------------------------------------------------------------
// パスワード強度ルールを設定します。一番強度の高い2を選択します。
// 「8文字以上、数字、大文字と小文字の混在、特殊文字の使用(記号)」というルールです
----------------------------------------------------------------------
Please enter 0 = LOW, 1 = MEDIUM and 2 = STRONG:2

The 'validate_password' component is installed on the server.
The subsequent steps will run with the existing configuration
of the component.
Please set the password for root here.

New password:設定したいパスワードを入力

Re-enter new password:設定したいパスワードを再入力

Estimated strength of the password: 100

----------------------------------------------------------------------
// ここから先の質問は全てY(Yes)で答えればOKです
// 初期設定のテストテーブルの削除等をしています
----------------------------------------------------------------------
Do you wish to continue with the password provided?(Press y|Y for Yes, any other key for No) : Y
By default, a MySQL installation has an anonymous user,
allowing anyone to log into MySQL without having to have
a user account created for them. This is intended only for
testing, and to make the installation go a bit smoother.
You should remove them before moving into a production
environment.

Remove anonymous users? (Press y|Y for Yes, any other key for No) : y
Success.


Normally, root should only be allowed to connect from
'localhost'. This ensures that someone cannot guess at
the root password from the network.

Disallow root login remotely? (Press y|Y for Yes, any other key for No) : y
Success.

By default, MySQL comes with a database named 'test' that
anyone can access. This is also intended only for testing,
and should be removed before moving into a production
environment.


Remove test database and access to it? (Press y|Y for Yes, any other key for No) : y
 - Dropping test database...
Success.

 - Removing privileges on test database...
Success.

Reloading the privilege tables will ensure that all changes
made so far will take effect immediately.

Reload privilege tables now? (Press y|Y for Yes, any other key for No) : y
Success.

All done!
ここまででmysqlの初期設定は終了です。試しにmysqlにログインしてみてください。
$ mysql -u root -p
下記の様な状態になればログイン成功です。
mysql >

//mysqlから抜ける
mysql > exit;
phpMyAdminをインストール
そしてphpMyAdminをインストールしていきます。
$ brew install phpmyadmin
これだけでOKです。ここからapache2を使ってサーバーを立ち上げていきます。
この時にphpMyAdminが以下の様な出力をしてくれると思います。(最後の方に書いてあります。)
Alias /phpmyadmin /usr/local/share/phpmyadmin
<directory /usr/local/share/phpmyadmin/>
    Options Indexes FollowSymLinks MultiViews
    AllowOverride All
    <ifmodule mod_authz_core.c>
        Require all granted
    </ifmodule>
    <ifmodule !mod_authz_core.c>
        Order allow,deny
        Allow from all
    </ifmodule>
</directory>
こちら後ほど使うので、どこかにコピペしておいてください。
Apacheを使ってサーバー構築
Mac OSに標準装備されているApacheを使ってサーバー構築していきます。
まず、以下のコマンドでApacheの設定ファイルを開きます。
$ sudo vi /etc/apache2/httpd.conf
こちらのファイルかなり長いですし、viで開くと特に色の変化もないと思うのでとにかく分かりにくいです。
viを開いたら、まずは
:set number
コマンドで行数を表示させましょう。(必ず必要なコマンドではないです。気になる方だけ実行してください。)
まず、
186 # LoadModule php7_module libexec/apache2/libphp7.so
ここのコメントアウトを外して、以下の様にします。
186 LoadModule php7_module libexec/apache2/libphp7.so
これでPHP7を読み込むためのモジュールが有効化されます。
次に、このApacheの設定ファイルの末尾あたりに(わりとどこでも良さそうですが)先ほどphpMyAdminをインストールした際のログに書いてあったものをコピペしてきます。
# phpmyadmin
557 Alias /phpmyadmin /usr/local/share/phpmyadmin
558 <directory /usr/local/share/phpmyadmin/>
559     Options Indexes FollowSymLinks MultiViews
560     AllowOverride All
561     <ifmodule mod_authz_core.c>
562         Require all granted
563     </ifmodule>
564     <ifmodule !mod_authz_core.c>
565         Order allow,deny
566         Allow from all
567     </ifmodule>
568 </directory>
最後にphpMyAdminを開いた時にindex.phpも一緒に開く様に明示していきます。
288 <IfModule dir_module>
289     DirectoryIndex index.html
290 </IfModule>
288 <IfModule dir_module>
289     DirectoryIndex index.html index.php
290 </IfModule>
この様に変更して、index.phpを追加してあげます。
以上でApache2の設定は以上です。
phpMyAdminの設定
こちらの設定もさくっとやっちゃいましょう。
設定ファイルを開きます。
$ sudo vi /usr/local/etc/phpmyadmin.config.inc.php
ファイルが開けたら、18行目の暗号化のためのキーを入力していきます。
こちらは必ず必要な設定なのかは不明ですが、phpMyAdminにログインした後、ここの18行目が設定されてないために、エラーが吐かれることがあるみたいなので、最初のうちに設定しておきます。
18 $cfg['blowfish_secret'] = 'ランダムな文字列を32文字以上で入力';
ここの値はシステムが勝手に使うものなので、覚えなくても大丈夫です。
次に、32行目のlocalhostから127.0.0.1に変更します。
32 $cfg['Servers'][$i]['host'] = 'localhost';
32 $cfg['Servers'][$i]['host'] = '127.0.0.1';
以上の様に変更ができましたら、次に
/* Storage database and tables */
// $cfg['Servers'][$i]['pmadb'] = 'phpmyadmin';
// $cfg['Servers'][$i]['bookmarktable'] = 'pma__bookmark';
// $cfg['Servers'][$i]['relation'] = 'pma__relation';
// $cfg['Servers'][$i]['table_info'] = 'pma__table_info';
// $cfg['Servers'][$i]['table_coords'] = 'pma__table_coords';
// $cfg['Servers'][$i]['pdf_pages'] = 'pma__pdf_pages';
// $cfg['Servers'][$i]['column_info'] = 'pma__column_info';
// $cfg['Servers'][$i]['history'] = 'pma__history';
// $cfg['Servers'][$i]['table_uiprefs'] = 'pma__table_uiprefs';
// $cfg['Servers'][$i]['tracking'] = 'pma__tracking';
// $cfg['Servers'][$i]['userconfig'] = 'pma__userconfig';
// $cfg['Servers'][$i]['recent'] = 'pma__recent';
// $cfg['Servers'][$i]['favorite'] = 'pma__favorite';
// $cfg['Servers'][$i]['users'] = 'pma__users';
// $cfg['Servers'][$i]['usergroups'] = 'pma__usergroups';
// $cfg['Servers'][$i]['navigationhiding'] = 'pma__navigationhiding';
// $cfg['Servers'][$i]['savedsearches'] = 'pma__savedsearches';
// $cfg['Servers'][$i]['central_columns'] = 'pma__central_columns';
// $cfg['Servers'][$i]['designer_settings'] = 'pma__designer_settings';
// $cfg['Servers'][$i]['export_templates'] = 'pma__export_templates';
コメントアウトになっているもの全てコメント外します。(有効なテーブル情報を取得するためです。)
これでphpMyAdminの方の設定も完了です。
起動
いよいよ起動していきます。
まずはApacheからです。
$ sudo apachectl start
次にmysqlです。
$ mysql.server start
以上のコマンドが叩けたら、http://localhost/phpmyadminにアクセスしてみましょう。
下記の様なログインページが表示され、無事にログインできると成功です。

予想されるエラー等
index.phpがうまく反映されない
テーブルの情報のみが反映されてしまう。

phpのコードが表示されてしまう。

上の様な状態は、index.phpがうまく読み込めてない場合に起きるものです。
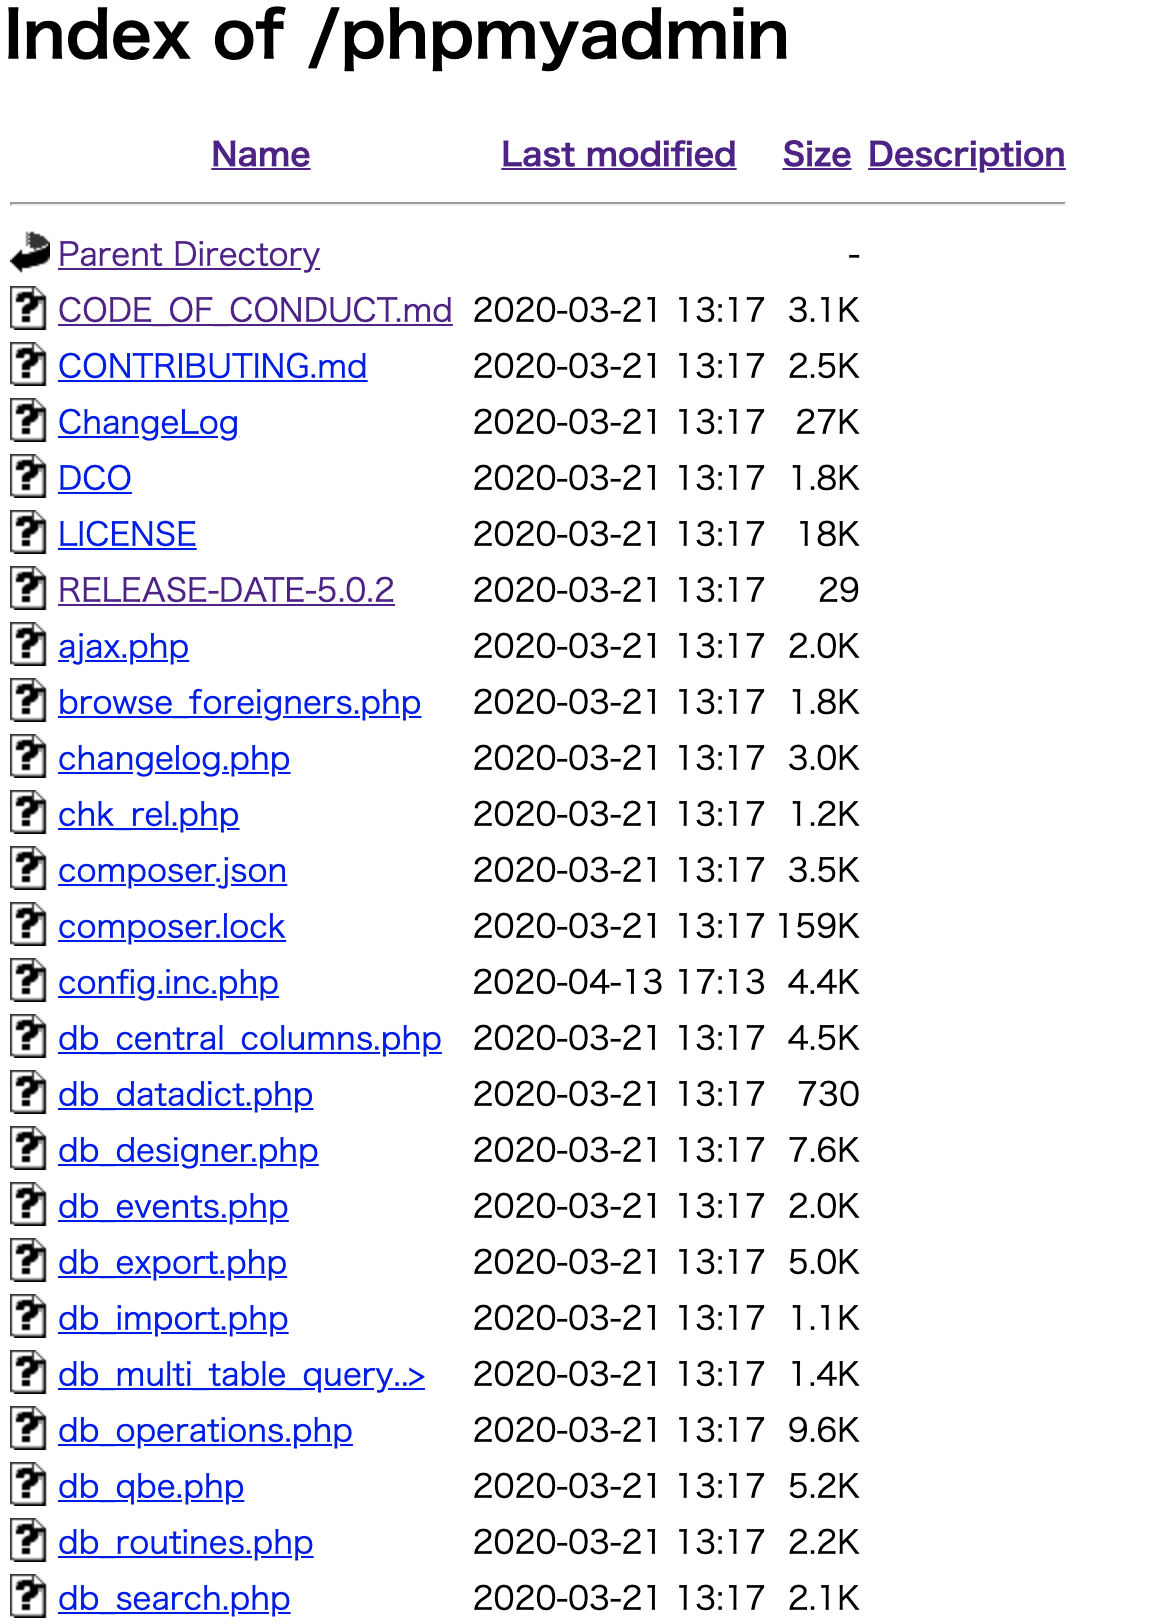
apacheの設定にindex.phpがうまく通っているか確認してください。
正しいユーザー名とパスワードを入力しているのにログインできない。

上記の様なエラーメッセージが出力されるのにも一つ罠があります。
mysql8.0 ~ 認証方法が変わっているため初期設定で作成したユーザーではほぼほぼの確率でこのエラーで弾かれてしまいます。
この場合mysqlにログインして、ユーザーの設定を変えてあげる必要があります。
$ mysql -u root -p
mysql > use mysql;

mysql > ALTER USER 'root'@'localhost' identified WITH mysql_native_password BY 'pwd';
上記の設定を有効にして、再度ログインしてみてください。
各種便利コマンド
// userの情報をhostだけひっつけて出力します

mysql > SELECT Host, User FROM mysql.user;
// バージョン確認
// Apache
$ httpd -v

// MySQL
$ mysql --version

// *php
$ php -v
*phpのみ例外があり、ローカルサーバー内とデバイスの中に入っているPHPはバージョンが違う可能性があります。
その場合ローカルサーバーの中にphpinfoを記述してページを開いてみてください。
// Apache起動、停止、再起動
$ sudo apachectl start
$ sudo apachectl stop
$ sudo apachectl restart

// mysql起動、停止
$ mysql.server start
$ mysql.server stop
最後に
ザッと書いてみましたが、分かりにくいところや全てやってみたがエラーでログインできない等ありましたらお気軽にコメントお願い致します。
また、記事の内容で間違っている情報なども目につきましたらお教えいただけると助かります。