導入
今回は、以下の表題の操作に関するのsystem_specを書いたので、その記録を残しておきます。まだまだ、チェックできていない項目もあるので、完全なテストではありません、ご了承くださいm(_ _)m
結論
spec/system/works/create_work_spec.rb
require "rails_helper"
RSpec.describe "Create or delete work", type: :system, js: true do
let(:user) { create(:user) }
context "create work" do
let!(:parent_category) { create(:category, name: "child_category", ancestry: nil) }
let!(:child_category) { create(:category, name: "parent_category", ancestry: parent_category.id) }
let(:title) { "This is title" }
let(:concept) { "This is concept" }
let(:description) { "This is description" }
let(:image_path) { File.join(Rails.root, "spec/fixture/files/test.jpeg") }
it "created successfully" do
sign_in user
visit root_path
within("li.dropdown") do
expect(page).to have_link class: "dropdown-toggle"
click_on "#{user.username}"
end
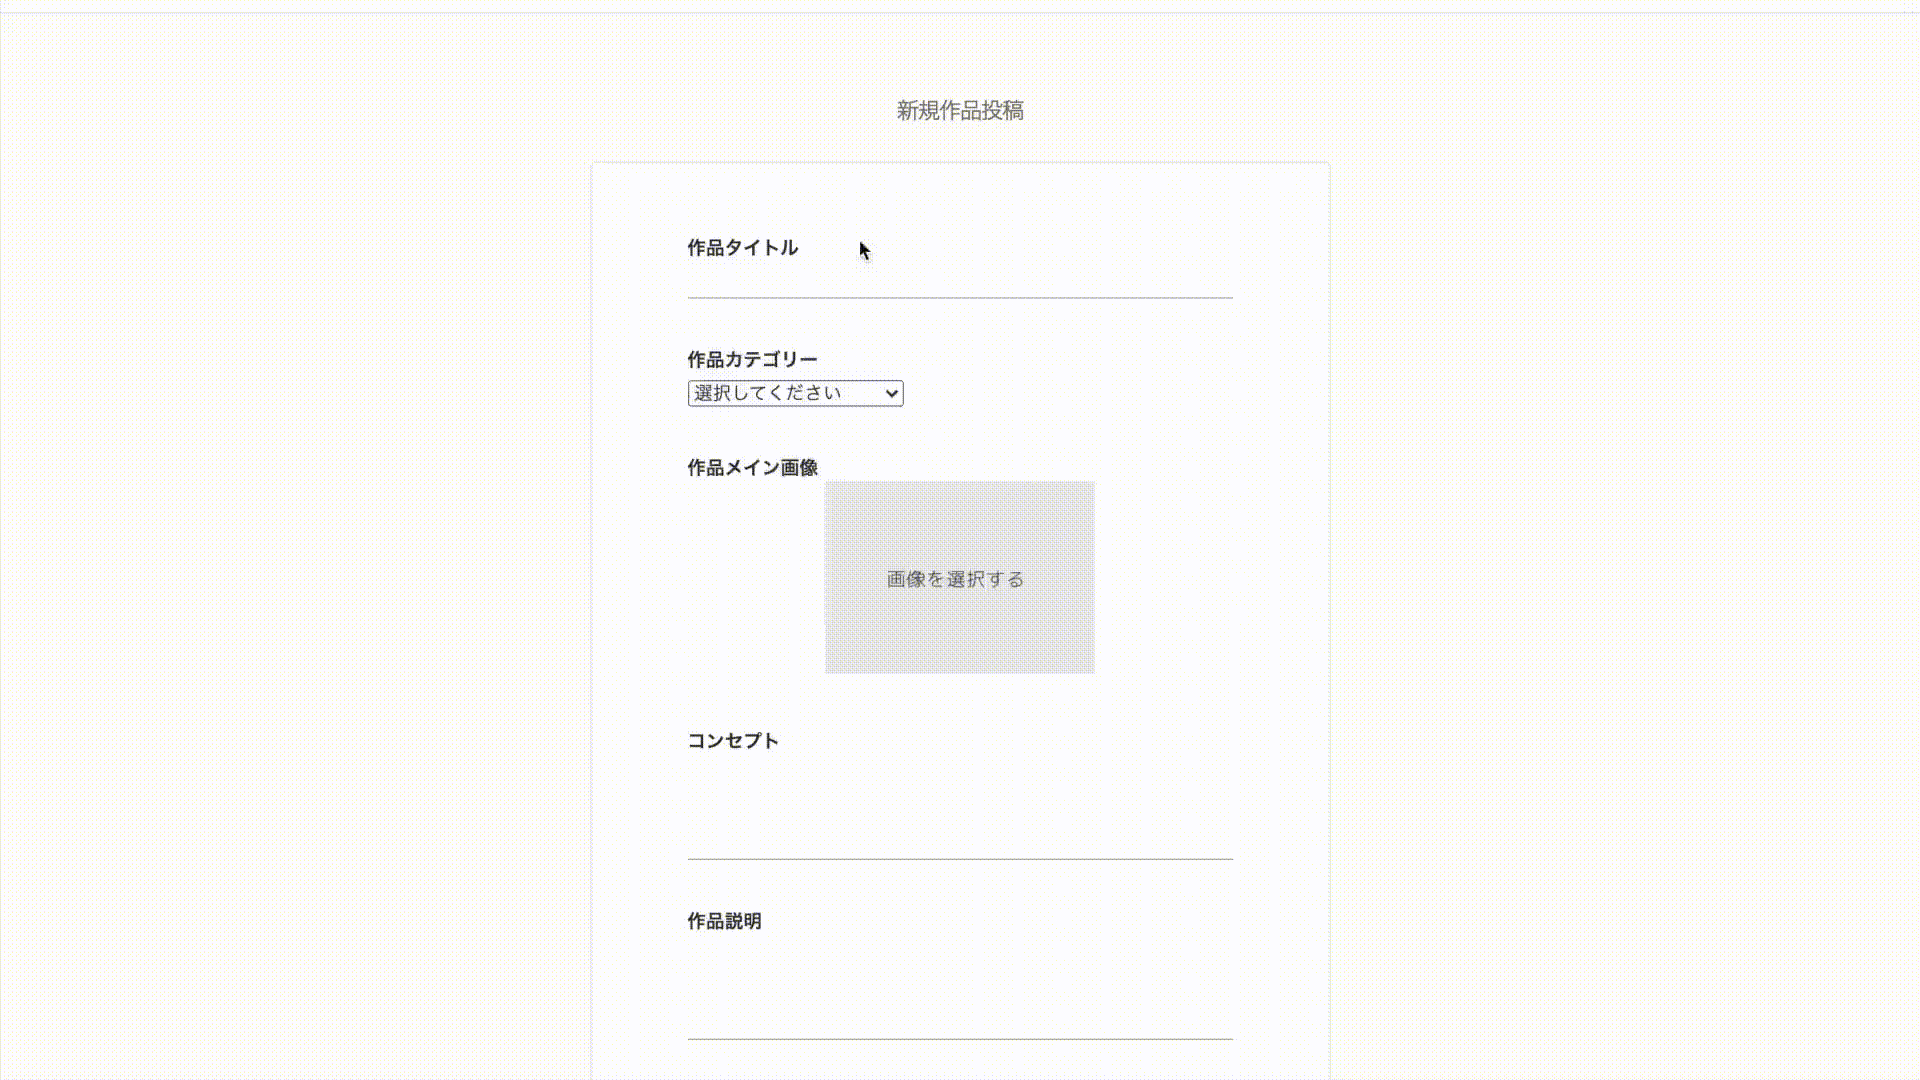
click_link "新規作品"
expect(current_path).to eq new_work_path
within(".form--create_work") do
fill_in "作品タイトル", with: title
find("option[value='#{parent_category.id}']").select_option # カテゴリーを選択する
within(".category__child") do
find("option[value='#{child_category.id}']").select_option
end
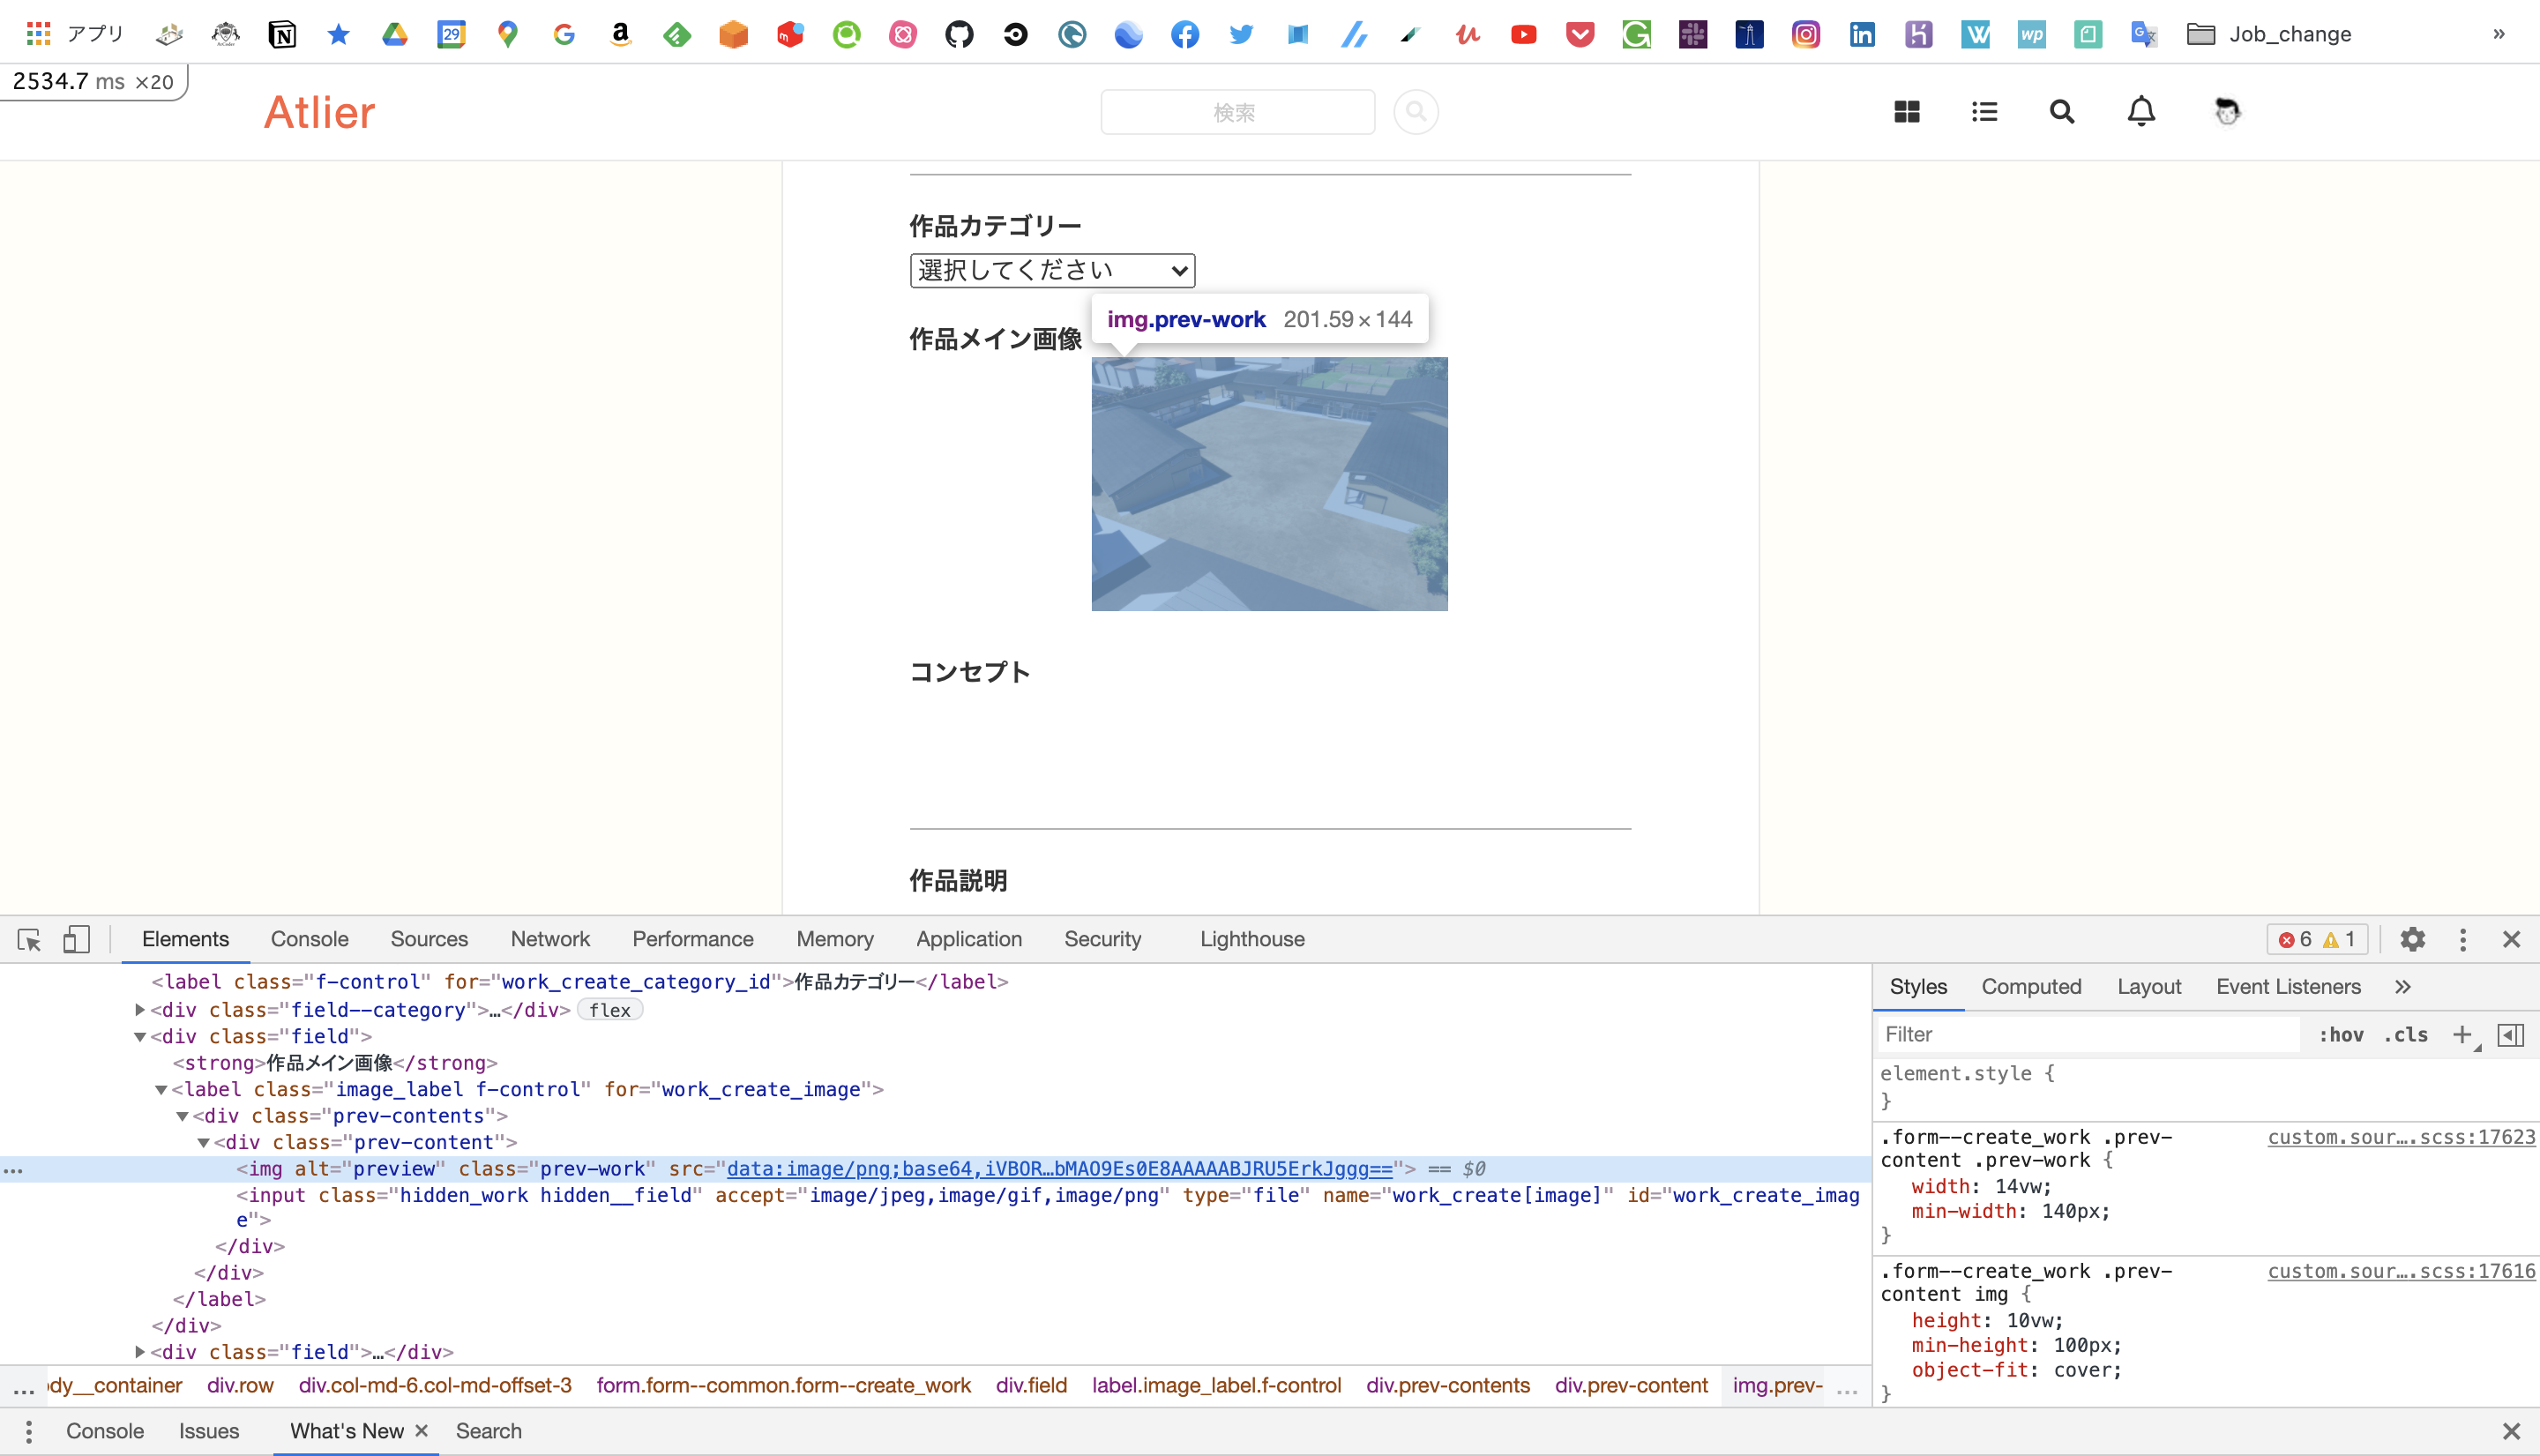
attach_file('work_create[image]', image_path, make_visible: true) # 画像を添付する
expect(page).to have_selector "img[alt='preview']"
fill_in "コンセプト", with: concept
fill_in "作品説明", with: description
click_button "登録する"
end
expect(page).to have_selector "p.success"
expect(page).to have_title "#{title} - Atlier" # 遷移後のページのタイトルタグの内容をチェックする
within(".work--main_info") do
expect(page).to have_selector "h3", text: "#{title}"
expect(page).to have_selector "img[src$='test.jpeg']" # 遷移後に画像が表示されていることを確認する
expect(page).to have_selector "p", text: "#{concept}"
expect(page).to have_selector "p", text: "#{description}"
end
visit current_path
expect(page).not_to have_selector "p.success"
end
end
end
できなかったこと。
画像の添付後、プレビュー表示させるようにしているのですが、その時に画像名を取得する事ができませんでした。解決策がわからず、生成される画像のalt属性をチェックするようにしました。
attach_file('work_create[image]', image_path, make_visible: true)
expect(page).to have_selector "img[alt='preview']"
# expect(page).to have_selector "img[src$='test.jpeg']" # 本来こうしたかった。
実際の操作画面でも確かに画像名は表示されていませんでした。これはjsの影響なのでしょうか...
実際のコード
app/views/works/new.html.erb
<div class="field">
  <strong>作品メイン画像</strong>
  <%= form.label :image, class: 'image_label f-control' do %>
    <div class="prev-contents">
      <div class="prev-content">
        <%= image_tag(Settings.default_image[:work], alt: "preview", class: "prev-work") %>
        <%= form.file_field :image, class: 'hidden_work hidden__field', accept: "image/jpeg,image/gif,image/png" %>
      </div>
    </div>
  <% end %>
</div>
app/javascript/packs/image_preview.js
$(document).on('turbolinks:load', function () {
	$(function () {
    function buildHTML(image) {
      var html =
        `
        <div class="prev-content">
          <img src="${image}", alt="preview" class="prev-image">
        </div>
        `
      return html;
    }
    $(document).on('change', '.hidden_file', function () {
      var file = this.files[0];
      var reader = new FileReader();
      reader.readAsDataURL(file);
      reader.onload = function () {
        var image = this.result;
        if ($('.prev-content').length == 0) {
          var html = buildHTML(image)
          $('.prev-contents').prepend(html);
        } else {
          $('.prev-content .prev-image').attr({ src: image });
        }
      }
    });
  });

  $(function () {
    function buildHTML(image) {
      var html =
        `
        <div class="prev-content">
          <img src="${image}", alt="preview" class="prev-work">
        </div>
        `
      return html;
    }
    $(document).on('change', '#work_create_image', function () {
      var file = this.files[0];
      var reader = new FileReader();
      reader.readAsDataURL(file);
      reader.onload = function () {
        var image = this.result;
        if ($('.prev-content').length == 0) {
          var html = buildHTML(image)
          $('.prev-contents').prepend(html);
        } else {
          $('.prev-content .prev-work').attr({ src: image });
        }
      }
    });
  });
});
無念。
今回の記事はここまでです。ご覧いただきありがとうございました!!!
参考
今回は以下の記事を参考にさせて頂きました。ありがとうございました!!