前回 IoT Edge の Azure Functions を試して見た (1) でモジュールのインストールまでを実施しました。次はエッジの上で動作する Azure Functions を開発して、その上で、アラートを Azure Functions と、Service Bus を使って検出するというところまでやって見ました。
Edge で動作する Azure Functions を作成する
-
Deploy Azure Function as an IoT Edge module - preview を参考に、Edge で動作する Azure Functions を作ります。前提条件として下記のことが揃っていること。
-
Visual Studio Code
-
C# for Visual Studio Code extension
-
Azure IoT Edge extension for Visual Studio Code
-
Docker
-
.NET Core 2.0 SDK
ちなみに、Azure IoT Edge extension for Visual Studio Code はいい感じでログをみれたり、 Docker をデプロイできたりします。
さて始めましょう。
Azure Container Registry のセットアップ
DokcerHub でもいいのですが、折角なのでプライベートリポジトリを試して見ます。Azure Container Registry のセットアップ自体はどこにでもあるので書きませんが、作成して、ホスト名、ユーザ名、パスワードを取得します。Edge の方で、プライベートリポジトリにあるバイナリを使いたい時は必要になります。
Azure Function 作成
テンプレートを作成する。
次のコマンドで、IoTEdge 用の Function をインストールします。
$ dotnet new -i Microsoft.Azure.IoT.Edge.Function
名前はなんでもいいのですが、FilterFunction という名前で作って見ましょう。
$ dotnet new aziotedgefunction -n FilterFunction
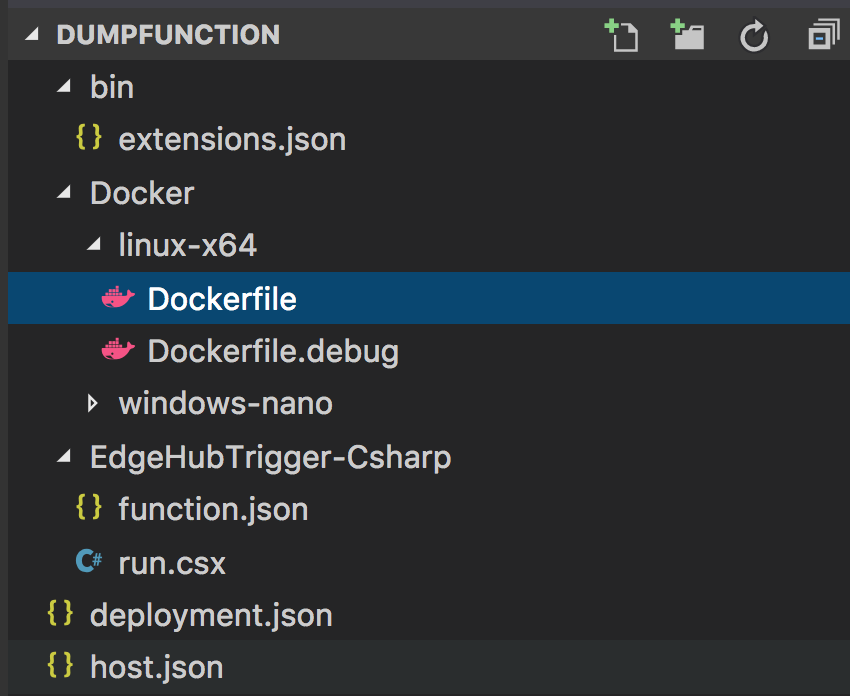
FilterFunction のディレクトリができて、その中に Edge 用の Azure Functions のフルセットが出来上がります。
Azure Function のコードを書く
残念ながらインテリセンスはありませんが、コードを書いて見ましょう。
run.csx
# r "Microsoft.Azure.Devices.Client"
# r "Newtonsoft.Json"

using System.IO;
using Microsoft.Azure.Devices.Client;
using Newtonsoft.Json;

class MessageBody
{
    public Machine machine {get;set;}
    public Ambient ambient {get; set;}
    public string timeCreated {get; set;}
}
class Machine
{
   public double temperature {get; set;}
   public double pressure {get; set;}
}
class Ambient
{
   public double temperature {get; set;}
   public int humidity {get; set;}
}

public static async Task Run(Message messageReceived, IAsyncCollector<Message> output, TraceWriter log)
{
const int temperatureThreshold = 25;

byte[] messageBytes = messageReceived.GetBytes();
var messageString = System.Text.Encoding.UTF8.GetString(messageBytes);

if (!string.IsNullOrEmpty(messageString))
{
    // Get the body of the message and deserialize it
    var messageBody = JsonConvert.DeserializeObject<MessageBody>(messageString);

    if (messageBody != null && messageBody.machine.temperature > temperatureThreshold)
    {
        // We will send the message to the output as the temperature value is greater than the threashold
        var filteredMessage = new Message(messageBytes);
        // We need to copy the properties of the original message into the new Message object
        foreach (KeyValuePair<string, string> prop in messageReceived.Properties)
        {
            filteredMessage.Properties.Add(prop.Key, prop.Value);
        }
        // We are adding a new property to the message to indicate it is an alert
        filteredMessage.Properties.Add("MessageType", "Alert");
        // Send the message
        await output.AddAsync(filteredMessage);
        log.Info("Received and transferred a message with temperature above the threshold");
    }
}

}
function.json
{
    "bindings": [
        {
            "type": "edgeHubTrigger",
            "name": "messageReceived",
            "InputName": "input1",
            "direction": "in"
        },
        {
            "type": "edgeHub",
            "name": "output",
            "outputName": "alertOutput",
            "batchSize": 10,
            "direction": "inout"
        }
    ]
}
ポイントは多くありませんがここです。Edge の Function は、Edgeからメッセージを受け取りって、最終的に、エッッジに吐きます。下記のロジックで、Properties に対して MessageType を足していますが、これは、メッセージのボディではなく、ヘッダとかメタ情報に近いものです。残りのファンクションの設定は、IoT Hub 側で行います。ここでは、閾値以上の気温の場合、アラートを出しています。この情報は、IoTHub に送信されるメッセージボディには現れません。このアラートは、IoTEdgeが管理します。
        filteredMessage.Properties.Add("MessageType", "Alert");
        // Send the message
        await output.AddAsync(filteredMessage);
IoT Edge のビルドとプッシュ
IoT Edge Azure Functions は、Docker にパックして配布されますが、このビルドと、プッシュが Visual Stdio Code のエクステンションでサポートされいますので、注意点含めて流して見ます。
docker image の作成
Dockerfile が複数ありますが自分のEdge端末の種類に合わせてDockerfileを選択して右クリックします。そして、Build IoT Edge module Docker image を選びます。

次がポイントですが、次の画面で、Select folder as EXE_DIR ボタンを押します。ポイントはこの指定しているディレクトリが、host.json のあるディレクトリになっていることです。このディレクトリにあるファイルの内容が、docker image に取り込まれます。

次に、この画面になりますので、ここに、Azure Container Registry に格納するイメージ名を書きます。基本的に、{Azure Container Registry host name}/{function name}:{version} になっています。サンプルだと、latest を指定するように書いていますが、バージョン番号にすることをお勧めします。(あとでアップデートやロールバックが楽なので)

エンターを押すと、あとは、下記のコマンドが、VSCode の 内臓ターミナルで実行されます。ディレクトリが同じであれば、このコマンドを直接叩いても構いません。
$ docker build -f "/Users/ushio/Codes/IoTEdge/functions/FilterFunction/Docker/linux-x64/Dockerfile" --build-arg EXE_DIR="." -t "iotregistry.azurecr.io/filterfunction:1.0.6" "/Users/ushio/Codes/IoTEdge/functions/FilterFunction"
Sending build context to Docker daemon  17.41kB
Step 1/4 : FROM microsoft/azureiotedge-functions-binding:1.0-preview
 ---> d75b891c5691
Step 2/4 : ENV AzureWebJobsScriptRoot /home/site/wwwroot
 ---> Using cache
 ---> 04456026fc09
Step 3/4 : ARG EXE_DIR=.
 ---> Using cache
 ---> 3492a0c63b1f
Step 4/4 : COPY $EXE_DIR/ /home/site/wwwroot
 ---> aad55f1f1e93
Removing intermediate container c6f361bad218
Docker images のプッシュ
Command + Shift + P を選択して次の画面にします。Edge: Push IoT Edge module Docker image を選びます。

イメージの作成と同じイメージ名を設定してエンターすると、リポジトリにイメージがプッシュされます。

Azure Functions を実行したらエラーになる場合は?
下記のエラーが出たら、先ほどの、EXE_DIR が間違っている、つまりhost.json のあるディレクトリじゃないところでDocker のビルドをしているため、Azure Functions のファイルが十分コンテナの中に格納されていない感じですので、そこを疑ってください。
No job functions found. Try making your job classes and methods public. If you're using binding extensions (e.g. ServiceBus, Timers, etc.) make sure you've called the registration method for the extension(s) in your startup code (e.g. config.UseServiceBus(), config.UseTimers(), etc.).
IoT Hub から Functions をデプロイする
さて、作成したFunctions は IoT Hub からデプロイします。
デバイスを選択します。

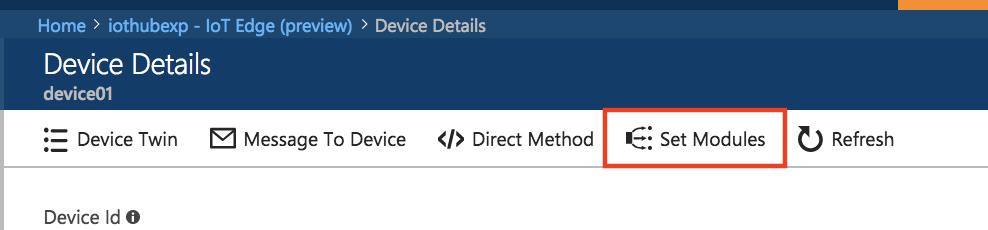
Set Modules でモジュールをデプロイしたり、変更したりします。
私の環境では、すでに、filterfunction をデプロイしていますが、皆様の場合ないはず。Add IoT Edge Module を選択します。

名前をつけます。fileterfunction のような感じでつけます。それと先ほど作成した docker image を指定してセーブ

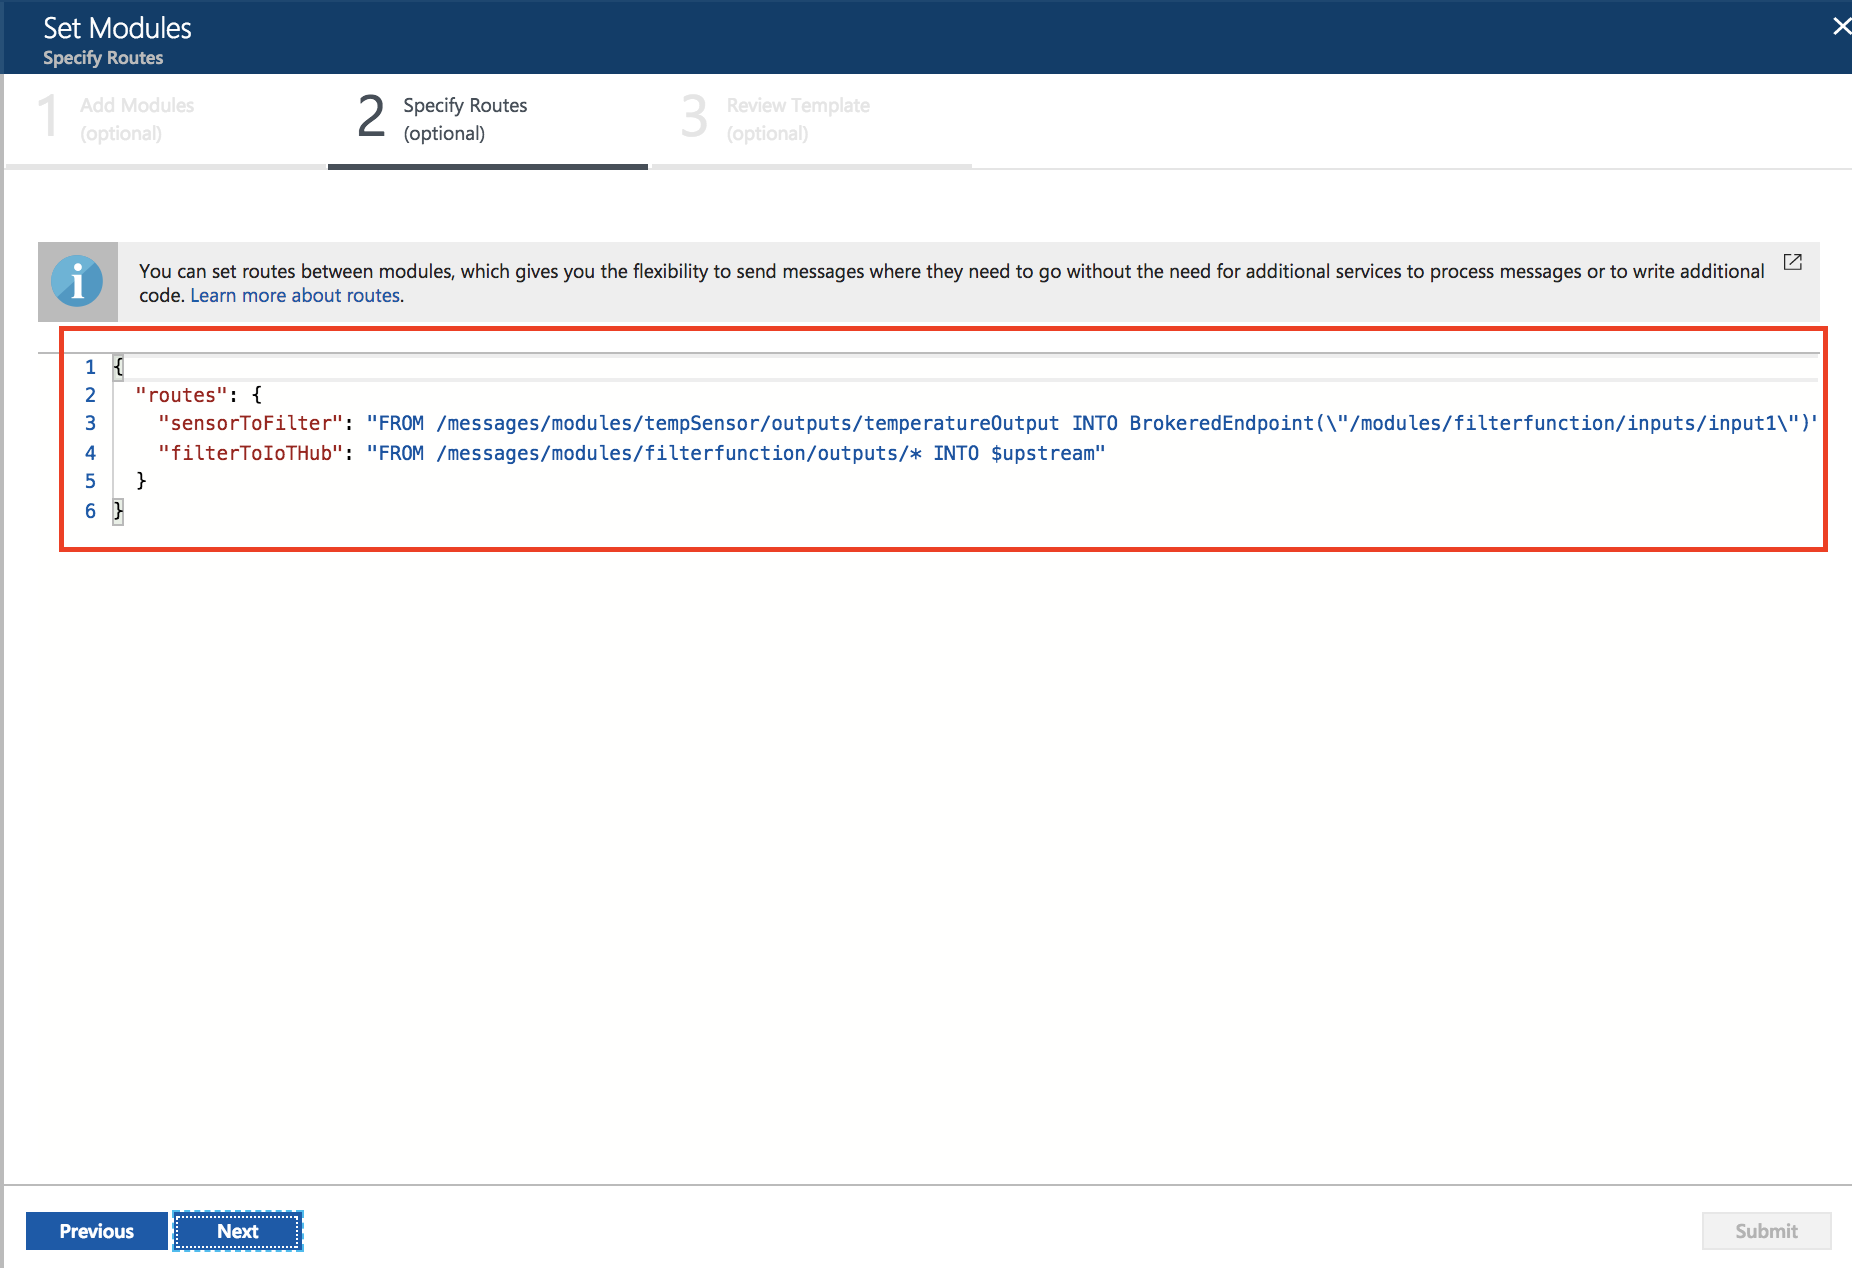
次の画面で、モジュールのルーティングを設定します。tempSensor という前回デプロイしたダミーデータを生成するモジュールのアウトプットを、filterfunction に入れて、filterfunctionのアウトプットを、Upstream つまり、IoTHub に送るという意味合いになっています。
これでデプロイしてデバイスの画面に、戻ってインストールが完了してたらOKです。

これで、データがやってきているはずですがdocker logs で直接コンテナのログを見たり、Azure IoT Hub 側に来たデータを見て見てもどこにも、MessageType: Alert を指定したものが見当たりません。なぜかというと、それは、メッセージの Body に含まれる情報ではなく、IoTEdge に送られたメタ情報だからです。じゃあ、それをどうやって見ましょうか? CSharp の DLL のモジュールを作ったり、VSCode のIoTEdge extensionで見ることはできますが、どうしたらいいでしょうか?
Alert を取得するために、IoT Edge のルートと Service Bus + Functions を設定する。
最初に単独で、Service Bus を作っておきましょう。Queue も作っておきます。Storage Queue との違いは、持てるデータが256K に対して、512k まで持てるとかの違い(だったと思います。)

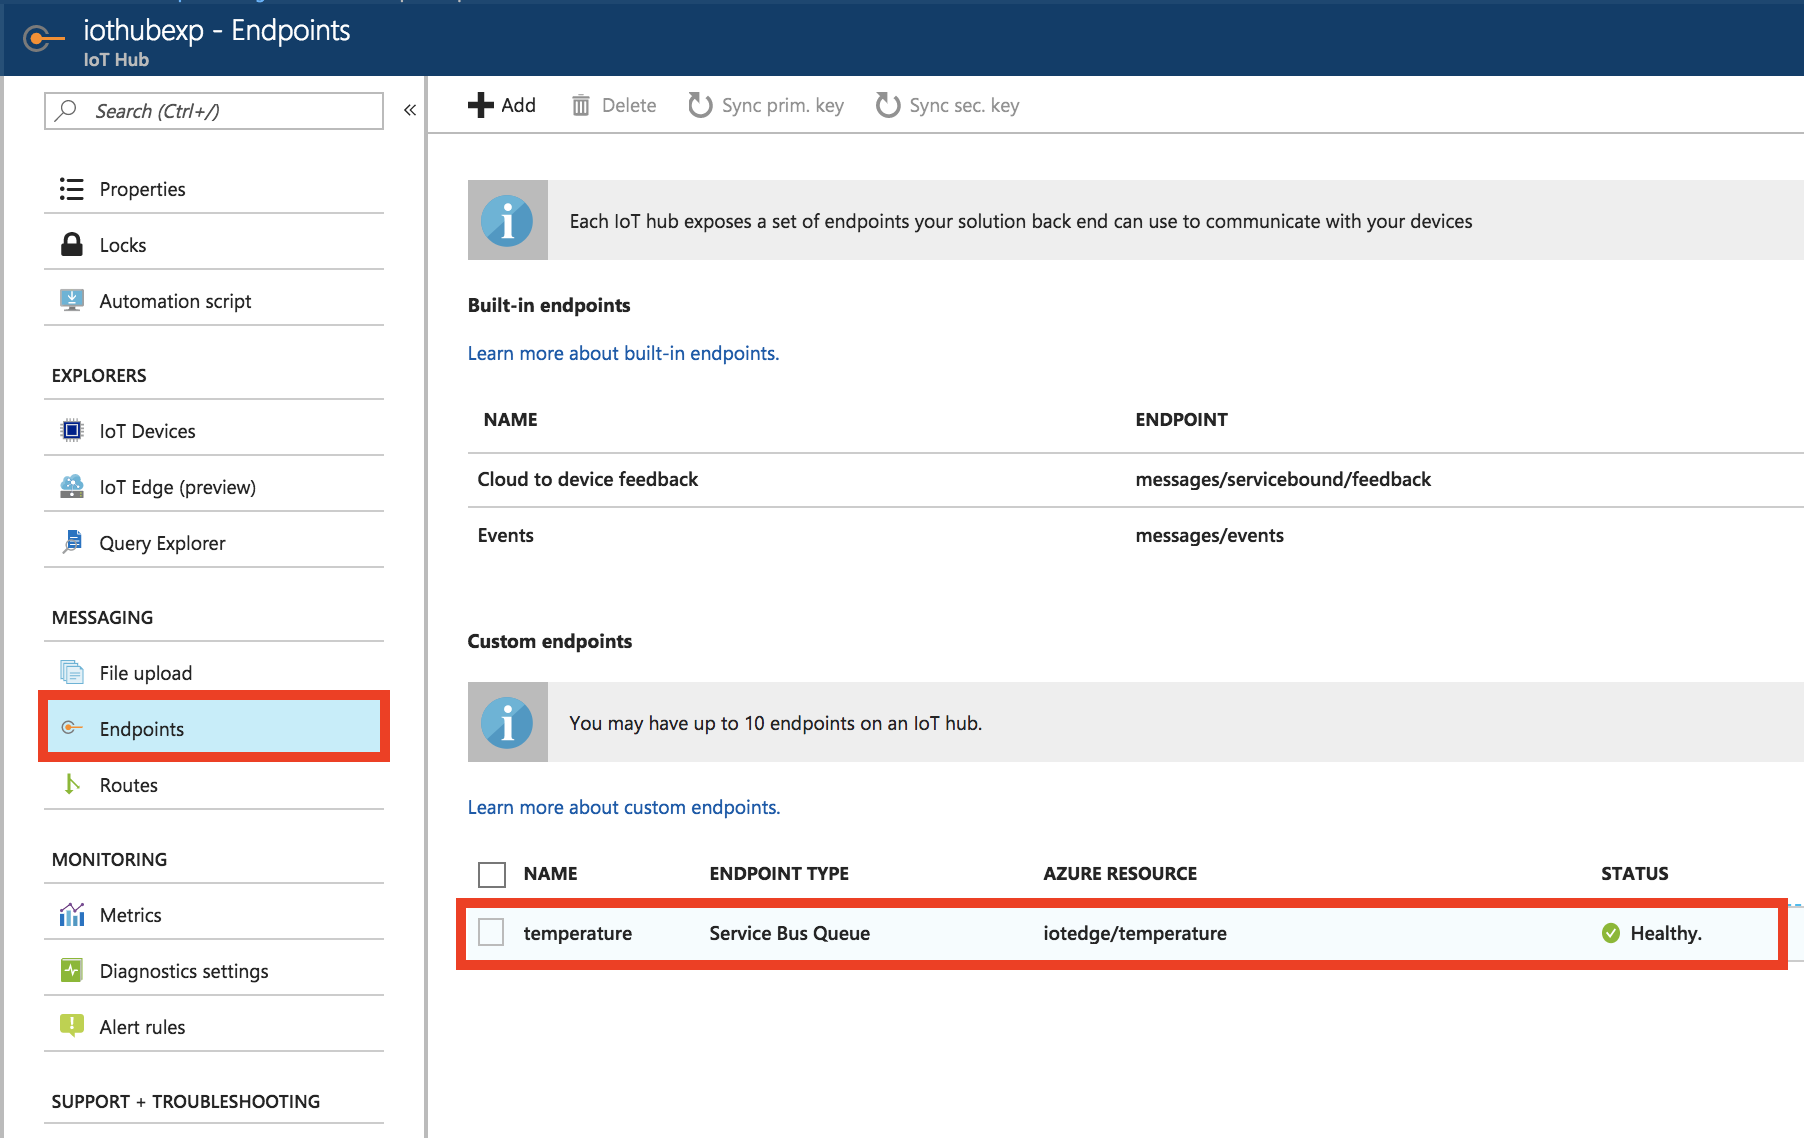
次に、IoT Hub に戻って、Endpoint を指定します。
Route を指定します。

こうなるためには、 Add で次の項目を入力します。
ポイントは、Query string のところで、Azure Functions ないで指定した MessageTypeを指定してフィルタをかけます。こうすると、メッセージの中で、MessageTypeがAlert のもののみ指定したEndpoint(つまり先ほどの Service Bus)にメッセージが Queue に格納されて投げられます。

Azure Functions で アラートの上がったメッセージを取得する
最終確認で、先ほどの、Service Bus に投げられたQueue を Service Bus Queue トリガーの Azure Functions を作成して、検出します。
run.csx
using System;
using System.Threading.Tasks;

public static void Run(string myQueueItem, TraceWriter log)
{
    log.Info($"C# ServiceBus queue trigger function processed message: {myQueueItem}");
}
function.json
{
  "bindings": [
    {
      "name": "myQueueItem",
      "type": "serviceBusTrigger",
      "direction": "in",
      "queueName": "temperature",
      "connection": "iotedge_RootManageSharedAccessKey_SERVICEBUS",
      "accessRights": "Manage"
    }
  ],
  "disabled": false
}
バッチリアラートが上がった情報のみをゲットできました。

次回
本当はこの後、トリガーのデータが多すぎるので、Stream Analytics でメッセージの数を減らしたのちに、メール通知することにしました。Stream Analytics -> Azure Functions -> SendGrid という構成ですが、今日はもう力尽きたのでこの辺で。