Node.js の Durable Functions は、現在プレビューですので、C# のものと比べると、プレビューですので機能制限があることをご了承ください。
前提条件
本チュートリアルでは、下記のツールがインストールされていることを前提としています。
- .Net Core SDK download から最新をダウンロードし、インストールしてください。
- Node.js の 8.x+のインストール
また、Azure Functions 拡張機能をインストールする
のページを参考にして
をインストールしておきましょう。
Azure Functions プロジェクトを作成する
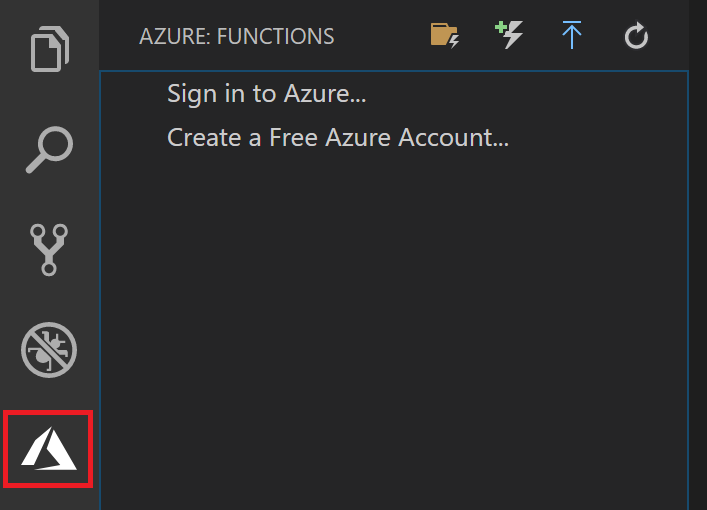
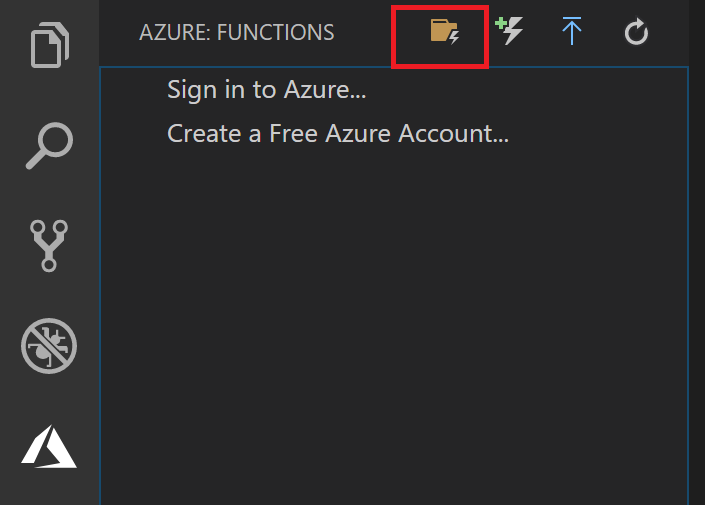
Visual Studio Code で、Azure ロゴを選択して [Azure: Functions] 領域を表示し、[新しいプロジェクトの作成] アイコンを選択します。
プロジェクト ワークスペースの場所を選択し、[選択] をクリックします。
本チュートリアルでは、JavaScript を選択します。
メッセージが表示されたら、Add to workspace を選択します。
Visual Studio Code によって、新しいワークスペースに関数アプリ プロジェクトが作成されます。 このプロジェクトには、host.json および local.settings.json 構成ファイルと、言語固有のプロジェクト ファイルが含まれています。 プロジェクト フォルダーに新しい Git リポジトリも取得します。
Durable Functions 拡張のインストール
選択したプロジェクト ワークスペースのディレクトリで次のコマンドを実行して、Durable Functions 拡張をインストールします。func コマンドは自動的にダウンロードされますが、もし、なければ、Azure Functions Core Tools(v2)をインストールしてから実行してください。
func extensions install -p Microsoft.Azure.WebJobs.Extensions.DurableTask -v 1.6.2
次に NPMパッケージをインストールします。これで準備が環境しました。
npm install durable-functions
local.settings.json
生成されている local.settings.json を変更します。プロジェクトのストレージとして、ストレージエミュレータを使っています。
{
  "IsEncrypted": false,
  "Values": {
    "AzureWebJobsStorage": "UseDevelopmentStorage=true",
    "FUNCTIONS_WORKER_RUNTIME": "node"
  }
}
Mac の場合は、ストレージエミュレータがありませんので、次のブログを参照ください。
関数の作成
Durable Functions の各種の関数を作成していきます。関数は、ワークスペースに、関数名のディレクトリと、index.js 及び function.json を作成することで、関数を書くことができます。基本的なワークスペースの構成は次のようになります。
.
│   .gitignore
│   host.json
│   local.settings.json
│   proxies.json
│
├───.vscode
│       extensions.json
│       launch.json
│       settings.json
│       tasks.json
│
├───E1_HelloSequence
│       function.json
│       index.js
│
├───E1_SayHello
│   │   function.json
│   │   index.js
│   │
│   └───.vscode
│           launch.json
│
└───HttpStart
        function.json
        index.js
HelloStart 関数
オーケストレーションを始める窓口として、Http を受け付ける関数を作ります。
mkdir HelloStart
cd HelloStart
このHelloStart ディレクトリの中に index.js と functions.js を作成します。
index.js
関数の本体です。context.bindings.startArgs に、FunctionName, Input, InstanceId を引き渡すことで、オーケストレーションを開始します。FunctionName は、オーケストレーション関数の名前です。
const uuidv1 = require("uuid/v1");

module.exports = function (context, req) {
    const id = uuidv1();

    let startArgs = [{
        FunctionName: req.params.functionName,
        Input: req.body,
        InstanceId: id
    }];

    context.bindings.starter = startArgs;

    context.done(null, {status: 202, body: id});
};
function.json
関数の設定ファイルです。HttpTrigger の設定に加えて、orchestrationClient タイプのバインディングスを定義します。この設定により、この関数がオーケストレーション関数を実行可能なクライアントになります。
{
    "bindings": [
      {
        "authLevel": "anonymous",
        "name": "req",
        "type": "httpTrigger",
        "direction": "in",
        "route": "orchestrators/js/{functionName}",
        "methods": ["post"]
      },
      {
        "name": "$return",
        "type": "http",
        "direction": "out"
      },
      {
        "name": "starter",
        "type": "orchestrationClient",
        "direction": "out"
      }
    ],
    "disabled": false
  }
E1_HelloSequence
同様に、E1_HelloSequence 関数を作成します。
cd ..
mkdir E1_HelloSequence
cd E1_HelloSequence
index.js
オーケストレータ関数です。yield context.df.callActivity("関数名", "引数") を実行することで、アクティビティ関数を呼び出します。メソッドの呼び出しに見えますが、背後ではQueue によりメッセージが送信されており、アクティビティ関数が起動します。
const df = require("durable-functions");

module.exports = df.orchestrator(function*(context){
    context.log("Starting chain sample");
    const output = [];
    output.push(yield context.df.callActivity("E1_SayHello", "Tokyo"));
    output.push(yield context.df.callActivity("E1_SayHello", "Seattle"));
    output.push(yield context.df.callActivity("E1_SayHello", "London"));

    return output;
});
function.json
orchestrationTrigger をタイプに設定することで、オーケストレーション関数になります。
{
    "bindings": [
      {
        "name": "context",
        "type": "orchestrationTrigger",
        "direction": "in"
      }
    ],
    "disabled": false
  }
E1_SayHello 関数
アクティビティ関数と呼ばれる関数で通常の Azure Functions と同じです。オケストレーション関数からメッセージを受けて起動します。
cd ..
mkdir E1_SayHello
cd E1_SayHello
index.js
通常の関数とかわりません。引数の context に オーケストレータからもらった引数が格納されます。この関数の戻り値が、オーケストレータ関数に戻されます。これも Queue 経由でメッセージが送信されます。
module.exports = function(context) {
    context.done(null, `Hello ${context.bindings.name}!`);
};
function.json
アクティビティ関数は、activityTrigger をタイプとして設定します。
{
    "bindings": [
      {
        "name": "name",
        "type": "activityTrigger",
        "direction": "in"
      }
    ],
    "disabled": false
  }
これでコーディングは完了です。VSCode から実行してみましょう。
関数実行のデバッグ実行
左側の虫のアイコンのデバッグアイコンをクリックし、Attach to JavaScript をクリックします。Azure Functions が起動し、最後にアクセス先のURLが出てきます。ブレークポイントを設置すればデバッグ実行も可能になります。
Postmanなどから、http://localhost:7071/api/orchestrators/js/E1_HelloSequence をPOST リクエストで送信します。
VSCode をみると実行されている結果が確認できます。
実行結果の確認
残念ながら現在のプレビューでは、実施のステータスを見る良い方法はありませんが、Storage Explorerをインストールすると実行結果を見ることができます。プロダクトチームによると近日中に、新しいクライアントがリリースされるので、それを楽しみにまっておきましょう。この手順は 2018/11/7時点での方法です。
実行が想定と違ったら、ストレージエミュレータのデータを削除してみましょう。Storage Emulator を起動して次のコマンドを実行します。
AzureStorageEmulator.exe clear all


