本来は、Azure Functions で作る予定だったサービスがあったのだが、質問があってサーバーサイドを作るのは回答待ちだった。その間も作業を進めたかったので、ふと思いついて代わりに、Logic Apps でサクッと作ってみたので、いつも通り自分用にブログしておく。
1. Cosmos DB を作成する。
Azure Portal から普通に作れば良い。 CosmosDB -> Collection を作って行く。一つのポイントは、Collectionを作る際の Partition Key が聞かれるようになったこと。これは、どのキーを元にして、分散させるか?という設定になる。(CosmosDB は、プラネットスケールで分散するので)今回は、とりあえず name にしてみた。

2. Client を作成する。
これも、普通にポータルからできて、特に難しいことはないので割愛。今回のアプリは
Angular 4 -> Logic Apps -> CosmosDB
Angular のコードはとても単純なもので例えばこんなの。
export class Car {
    name: string;
    company: string;
    description: string;
    image_url: string;
    state: string;
}
単にこれをアップロードしたい。画面も割愛で、ロジック部分のみ書くと下記の感じ。submit() イベントが発生したら、単にアップロードする。URL先は、単純にLog Apps であとで登場する。
import { Component } from '@angular/core';
import { Car } from './car';
import { Http, Headers, RequestOptions } from '@angular/http';
declare const Buffer;
import * as fs from 'fs';

@Component({
  selector: 'app-root',
  templateUrl: './car-detail.component.html'
})
export class CarDetailComponent {
  title = 'Car Reviews';
  image = 'assets/noimage.jpg';
  car: Car;


  constructor(private http:Http) {
      this.car = new Car();
      this.car.name = "";
      this.car.company = "";
      this.car.description = "";
      this.car.image_url = "assets/noimage.jpg";
      this.car.state = "pending";
  }

  submit() {

    let headers = new Headers();
    headers.append("Content-Type", "application/json");
    let options = new RequestOptions({
      headers: headers
    });
    let data = this.car;
    this.http.post("https://prod-07.japaneast.logic.azure.com:443/workflows/69c3cbe052374fa3bc54a51c6ed00935/triggers/manual/paths/invoke?api-version=2016-10-01&sp=%2Ftriggers%2Fmanual%2Frun&sv=1.0&sig=tkPN9Gciye_QJHfwreCsJmWqGUuEIGHijsWUXDY9Ltk", data, options)
    .subscribe(
      data => console.log(data),
      error => console.log(error)
    );
  }

}
3. Logic Apps を設定する
3.1`Request を選択
まずは、リクエストきっかけで起動させる

次にこれ。選択。

3.2. Request の設定
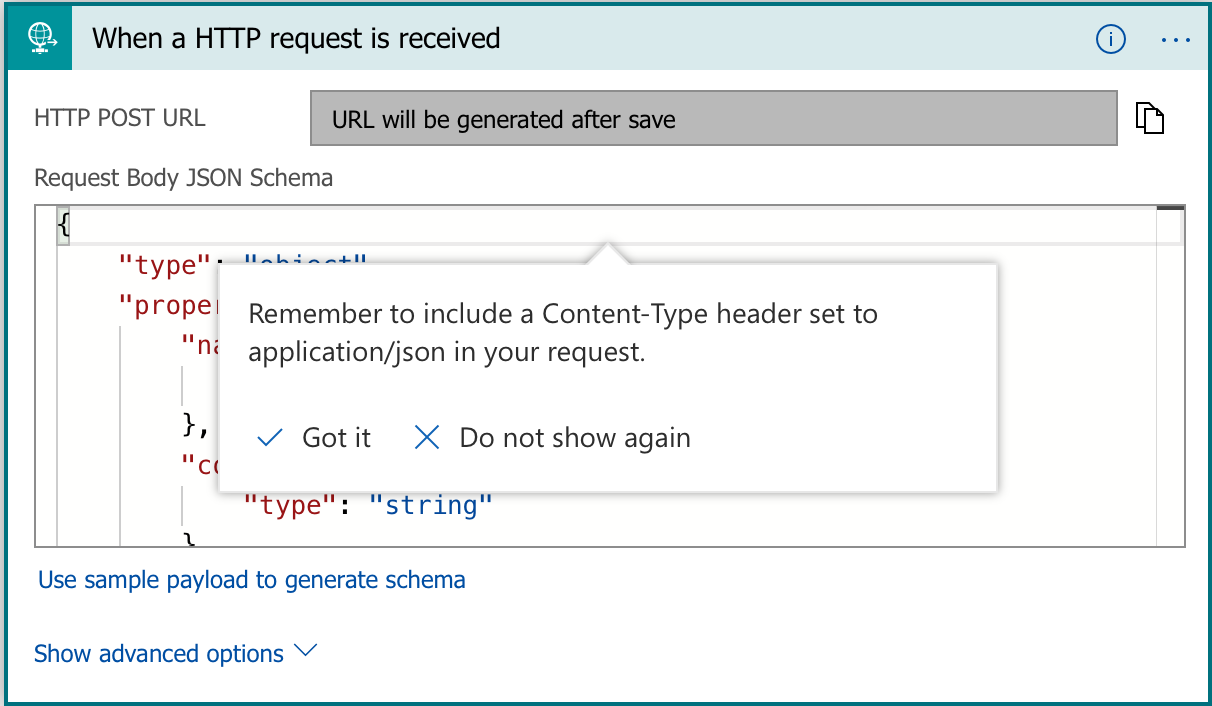
なんかこんな画面になるので下のリンクをクリック。

こいつに、引き渡したいサンプルの JSONの例 を書いて見る。

おー勝手に定義ができた。クライアントから送るときに、Content-Type: application/json の設定を忘れないでね!と言われるが、勝手にスキーマ定義ができている。

3.3. Cosmos DB の設定
続けてコスモス。登録もしくは、更新の奴を選ぶ。

で、こんな感じに設定して見る。先に作ったRequest のデータをみてくれるので、項目をダブルクリックしたら定義ができる。ちなみに、CosmosDB の Partition Key を指定したので、それも足しておく。

クライアントからの送信、そしてエラー、、、
一応クライアントから、メッセージを投げてみたが、うまくいかない様子。エラーは、トップ画面からみれるので、クリック。

エラーみて見ると、ID がないらしい。

guid()
ID なんて自分で振ってよー!と思って Kanio にちょっと聞いて見ると、関数が使えるらしい。今回は、guid() をセレクト。
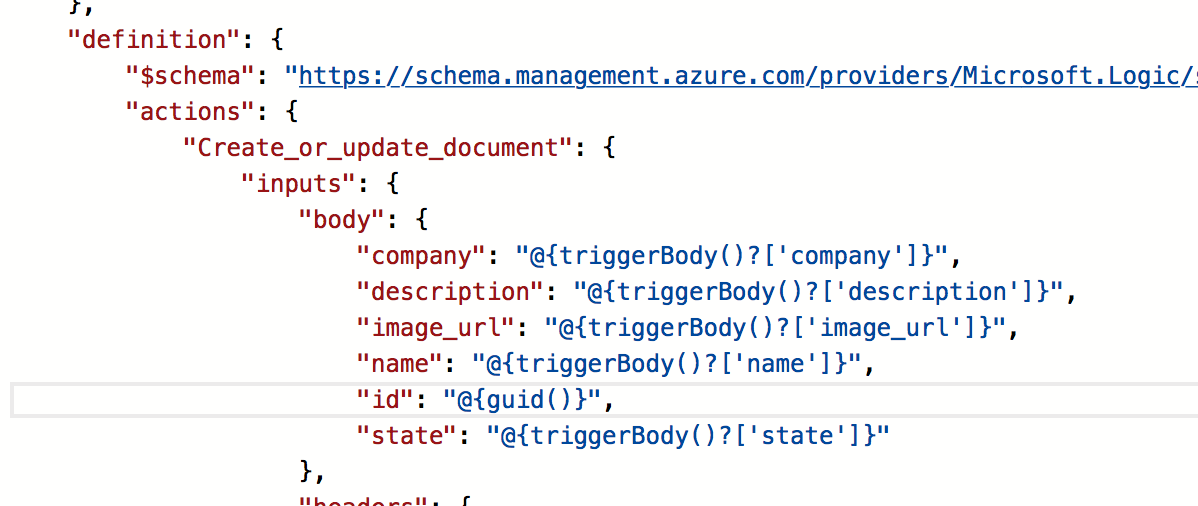
ちなみに、GUI の画面だけど裏は、Json になっているので、コードも編集できる。@{guid()} みたいな感じで足して見る。

成功!
おー、動いた。

Cosmos DB 見てみよう。

しっかり入ってる。ちなみに、先ほどの Logic Apps の編集画面に戻るとかっちょよくなっていた。

まとめ
思い立ってから、試して見て1時間ぐらいでできた。こら簡単だわ。慣れたらきっともっと早いだろうなぁ。一般的なシナリオはもうこれでいいんじゃないだろうか?w コネクターとか、トリガーも見て見ると、Microsoft にかかわらずがっつりある。これは楽だわ。ちなみに、プログラマとしては、設定だけやとおもろないので、こういうコネクターやトリガーを書いてみたいですね。


ざっとみたけど、結構簡単にできそう。意外と、Logic Apps おもろいかもw