この記事はDMM.com Advent Calendar 201822日目の記事です。
DMM.com 動画配信事業部所属の@Tsakiです。
1年と数ヶ月WEBエンジニアとしてAPIを書いたり業務の自動化をしたりしていましたが、2ヶ月ほど前にアプリチームに異動し今はiOS動画アプリの開発を行っています。
はじめに
本記事ではAWS Amplifyを使ってiOSアプリの分析データを取得します。
基本的に公式Docに従って進めていきます。
AWS amplifyとは
2017年11月に公開されたAWSを利用するWebアプリケーション・モバイルアプリケーション向けのJavaScriptライブラリのことです。
Android,iOS,Web,React Nativeに対応しており、以下の機能の実装が容易にできるように実装されています。
- ユーザー認証
- アナリティクス
- API
- ストレージ
- キャッシング
詳しくはAWS Amplifyを読むといいです。
今回はこの中でもアナリティクスをプロジェクトに設定するまでをやっていきたいと思います。
1.amplify CLIのインストール
以下のコマンドをうつとAWSコンソールへログインを求められ、Regionやユーザー名、アクセスキー等を聞かれるのでよしなに答えていきます。
$ npm install -g @aws-amplify/cli
$ amplify configure
Follow these steps to set up access to your AWS account:

Sign in to your AWS administrator account:
https://console.aws.amazon.com/
Press Enter to continue

Specify the AWS Region
? region:  hoge
Specify the username of the new IAM user:
? user name:  hogehoge
Complete the user creation using the AWS console
https://console.aws.amazon.com/iam/home?region=ap-northeast-1#/users$new?step=final&accessKey&userNames=hoge
Press Enter to continue

Enter the access key of the newly created user:
? accessKeyId:  **********
? secretAccessKey:  ********************
This would update/create the AWS Profile in your local machine
? Profile Name:  default

Successfully set up the new user.
3.バックエンドのセットアップ
今回はアプリのログを取得し分析を行いたいのでamplifyのanalyticsという機能を使えるようにします。
今回も以下のコマンドを打つと使用するエディタやアプリの種類などを聞かれますがよしなに答えます。
公式Docによるとすべてエンターを押してデフォルト状態になっても許容されるようです。
$ cd ./YOUR_PROJECT_FOLDER
$ amplify init
Note: It is recommended to run this command from the root of your app directory
? Enter a name for the project predictionGasoline
? Choose your default editor: Visual Studio Code
? Choose the type of app that you're building ios
Using default provider awscloudformation

For more information on AWS Profiles, see:
https://docs.aws.amazon.com/cli/latest/userguide/cli-multiple-profiles.html

? Do you want to use an AWS profile? Yes
? Please choose the profile you want to use default
⠋ Initializing project in the cloud...
# 以下省略

$ amplify add analytics
 $ amplify status #確認してAnalyticsが存在していればOK
 | Category  | Resource name   | Operation | Provider plugin   |
 | --------- | --------------- | --------- | ----------------- |
 | Auth      | cognito0b40f41c | Create    | awscloudformation |
 | Analytics | yourprojectname | Create    | awscloudformation |
$ amplify push
3.アプリのセットアップ
AWS amplifyを使用したいプロジェクトのPodfileを編集します。
$ cd ./YOUR_PROJECT_FOLDER
$ vim Podfile
platform :ios, '9.0'
target :'アプリ名' do
    use_frameworks!

    pod 'AWSCore', '~> 2.8.0'
        pod 'AWSPinpoint', '~> 2.8.0'
        pod 'AWSMobileClient', '~> 2.8.0'

    # other pods
end

$ pod install --repo-update
次にAWSPinpointを使用してイベントを送信するために下記メソッドを追加します。
import UIKit
import AWSCore
import AWSPinpoint
import AWSMobileClient

@UIApplicationMain
class AppDelegate: UIResponder, UIApplicationDelegate {

    /** start code copy **/
    var pinpoint: AWSPinpoint?
    /** end code copy **/

    func application(_ application: UIApplication, didFinishLaunchingWithOptions launchOptions:
        [UIApplicationLaunchOptionsKey: Any]?) -> Bool {

        //. . .

        // Initialize Pinpoint
        /** start code copy **/
        let pinpointConfiguration = AWSPinpointConfiguration.defaultPinpointConfiguration(launchOptions: launchOptions)
        pinpoint = AWSPinpoint(configuration: pinpointConfiguration)

        // Create AWSMobileClient to connect with AWS
        return AWSMobileClient.sharedInstance().interceptApplication(application, didFinishLaunchingWithOptions: launchOptions)
        /** end code copy **/
    }
}
データを確認する方法
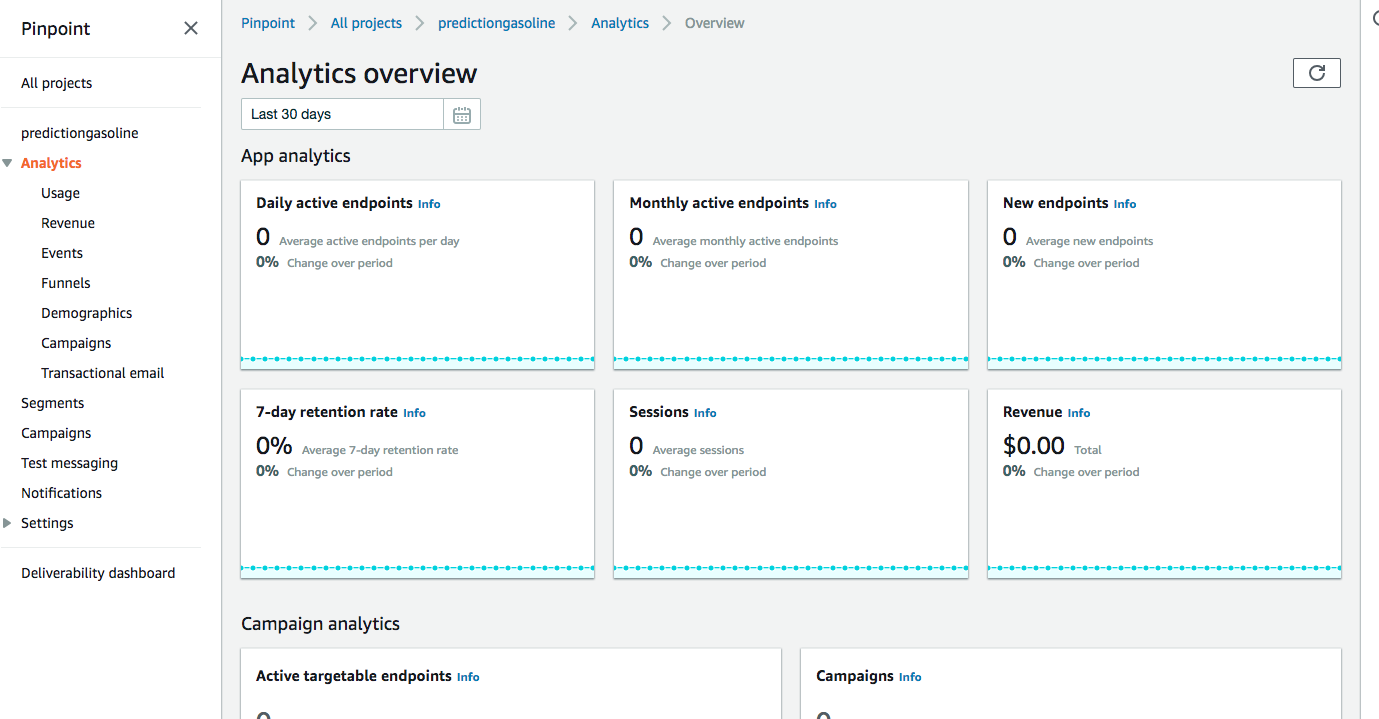
以下のコマンドでAWS Pinpoint Consoleが開きます。
amplify console analytics
これで一通りの準備は完了しました。
ユーザーが使用しているデバイス情報や行動ログなどがこれで取得できるようになります。
アプリケーションでエンドポイントを登録するのようにPinpoint にエンドポイントを登録し、ログを溜めることができるようになりました。
おわりに
導入部分だけの紹介になりましたが、この機能を使いこなすことで特定のユーザーだけにPush通知を送信できたりSMSメッセージを送信することが可能になります。
次はもうすこし実践的な実装の仕方などを投稿できたらと思います。
