Androidアプリ作成時、毎回、アイコン関連で苦悩しています。フリーのアイコン探しやライセンス確認、多機種に合わせたリサイズ作業に疲れ果てています。
もう悩みたくない。
アイコン探ししたくない。
PhotoShop使いたくない。
そんな自分が、Androidで __Font Awesomeの約369個のアイコン__を簡単に利用する事ができる Android-Bootstrap を導入した時のtipsです。
したいこと
- Androidアプリで毎回使える汎用的なアイコンが欲しい(ランチャーアイコン以外で)
- 全機種・解像度共通でアイコンを利用したい(画像リサイズ作業を極力避けたい)
最終的な目標
- Android-Bootstrapを利用してアプリをリリースする(した)
- EveryEver(エブリー・エバー) 圏外でも快適なEvernoteライフを。
利用するライブラリ
Android-Bootstrap
Android-Bootstrapって?
- TwitterBootstrapライクなボタン、アイコンが利用できるAndroidライブラリ。
- AndroidでFontAwesomeの約369個のアイコンが利用できる(Bootstrap Button、Font Awesome Text)。
- (AwesomeTextViewの場合)実態がTextViewなので、アイコンサイズ、アイコンの色が自由に変更できる(機種別に画像を用意しなくても良い)。
- アイコンの他に角丸ボタン、角丸サムネイル画像、ドロップダウンなどのビューがサポートされている。
Font Awesomeって?
- 約369個のアイコンを表示する事ができるWEBフォント。
http://fortawesome.github.io/Font-Awesome/ - 非デザイナーの自分がWEB開発でお世話になっているTwitterBootstrapでも利用されています。
- Android-Bootstrapでは、このWEBフォントがandroidで簡単に利用出来る。
Android-Bootstrapのダウンロード先
利用できるビュー
- AwesomeTextView (FontAwesomeアイコン、アニメーション。旧FontAwesomeText)
- BootstrapButton (アイコン付きのボタン、角丸ボタン。アイコン色の変更は出来ない模様)
- BootstrapButtonGroup (BootstrapButtonをグループ化したもの)
- BootstrapProgressBar (進捗ゲージ)
- BootstrapProgressBarGroup (BootstrapProgressBarをグループ化したもの)
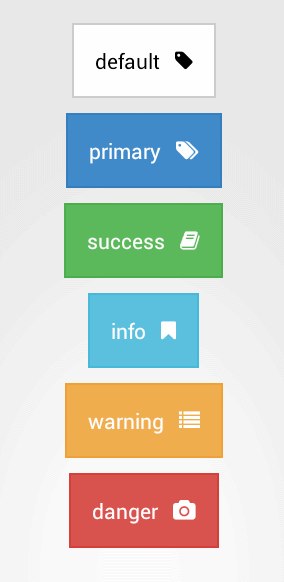
- BootstrapLabel (FontAwesomeアイコン付きのラベル)
- BootstrapEditText (入力テキスト、角丸、枠色の変更)
- Bootstrap Thumbnail (サムネイル画像、Drawableリソースのみ指定可能。Bitmap、Uri等の指定はできない模様)
- BootstrapCircleThumbnail (円形サムネイル画像、Drawableリソースのみ指定可能。Bitmap、Uri等の指定はできない模様)
- BootstrapWell (BootstrapのWellのようなグレー枠)
- BootstrapDropDown (ドロップダウンリストメニュー)
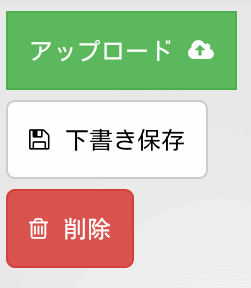
ビューの表示例
-
##AwesomeTextView

-
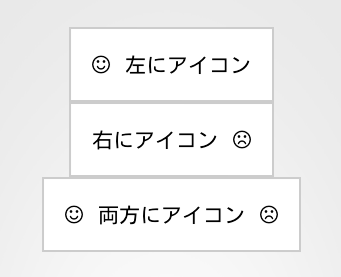
##Bootstrap Button
-
##Bootstrap Edit Text
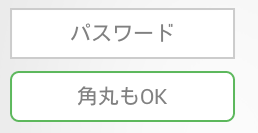
-
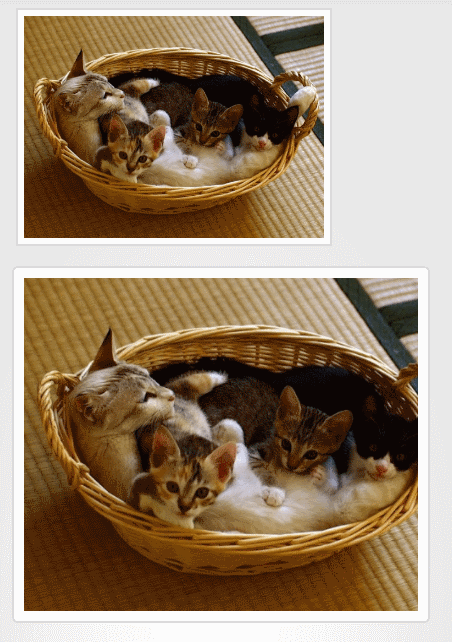
##Bootstrap Thumbnail
-
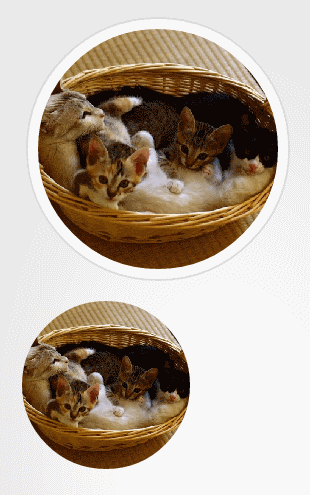
##Bootstrap CircleThumbnail
利用方法
Android-Bootstrapのインストール
- ライブラリをダウンロード https://github.com/Bearded-Hen/Android-Bootstrap
- メインのAndroidアプリから、ライブラリプロジェクトとして、ダウンロードしたAndroid-Bootstrapプロジェクトを参照。
- ダウンロードしたライブラリのルートに「fontawesome-webfont.ttf」があるので、これをメインプロジェクトのassetsフォルダにコピー。
レイアウトファイルでの宣言
- ルート要素にAndroid-bootstrapのView宣言する
-
xmlns:android-bootstrap="http://schemas.android.com/apk/res-auto"を記述する。 -
android-bootstrapの箇所は自由。
例) レイアウトファイルでの宣言
<LinearLayout xmlns:android="http://schemas.android.com/apk/res/android"
    xmlns:tools="http://schemas.android.com/tools"
    xmlns:android-bootstrap="http://schemas.android.com/apk/res-auto"
    android:layout_width="match_parent"
    android:layout_height="fill_parent"
    android:orientation="vertical"
 >
Viewの設定
- Viewの定義には以下の名前空間を使用する
| ビュー | パッケージ名 |
|---|---|
| AwesomeTextView | com.beardedhen.androidbootstrap. AwesomeTextView |
| BootstrapButton | com.beardedhen.androidbootstrap.BootstrapButton |
| BootstrapButtonGroup | com.beardedhen.androidbootstrap.BootstrapButtonGroup |
| BootstrapProgressBar | com.beardedhen.androidbootstrap.BootstrapProgressBar |
| BootstrapProgressBarGroup | com.beardedhen.androidbootstrap.BootstrapProgressBarGroup |
| BootstrapEditText | com.beardedhen.androidbootstrap.BootstrapEditText |
| BootstrapLabel | com.beardedhen.androidbootstrap.BootstrapLabel |
| BootstrapThumbnail | com.beardedhen.androidbootstrap.BootstrapThumbnail |
| Bootstrap CircleThumbnail | com.beardedhen.androidbootstrap.BootstrapCircleThumbnail |
| BootstrapWell | com.beardedhen.androidbootstrap.BootstrapWell |
| BootstrapDropDown | com.beardedhen.androidbootstrap.BootstrapDropDown |
例) Bootstrap Buttonの場合
<com.beardedhen.androidbootstrap.BootstrapButton
    android:layout_width="wrap_content"
    android:layout_height="wrap_content"
    android:text="アイコンボタン。角丸にも出来ます。"
    app:bb_icon_left="fa-smile-o"
    app:bb_type="default"
/>
よく使った属性
Font Awesome Text
| 属性名 | 説明 | 例 |
|---|---|---|
| android:textColor | アイコン色の変更。Textviewと同様の属性。 | android:textColor="#0094FF" |
| android:textSize | アイコンサイズの変更。フォントなので大きくしても汚くならない。Textviewと同様の属性。 | android:textSize="20sp" |
| app:fa_icon | アイコンの指定。FontAwesomeのクラス名 | app:fa_icon="fa-tags" |
Bootstrap Button
| 属性名 | 説明 | 例 |
|---|---|---|
| android:textSize | アイコンサイズの変更。フォントなので大きくしても汚くならない。Textviewと同様の属性。 | android:textSize="20sp" |
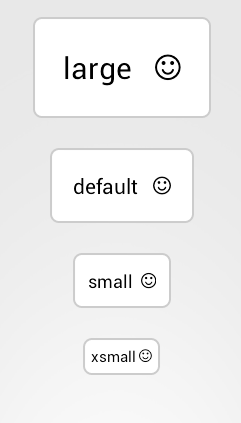
| app:bb_roundedCorners | 角丸にする場合はTrue。 | app:bb_roundedCorners="true" |
| app:bb_icon_left | 左にアイコンを表示する。FontAwesomeのクラス名を指定する。 | app:bb_icon_left="fa-trash-o" |
| app:bb_icon_right | 右にアイコンを表示する。FontAwesomeのクラス名を指定する | app:bb_icon_right="fa-trash-o" |
| app:bb_type | ボタンの外観。TwitterBootstrapのButtonのOptionsクラス名を指定する | app:bb_type="danger" |
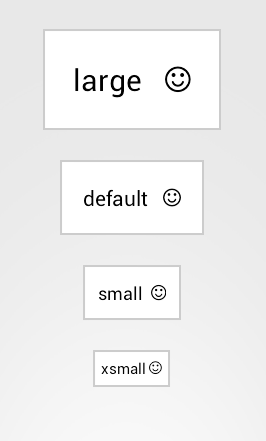
| app:bb_size | ボタンの大きさ。TwitterBootstrapのButtonのSizesクラス名を指定する | app:bb_size="large" |
Bootstrap Edit Text
| 属性名 | 説明 | 例 |
|---|---|---|
| app:be_roundedCorners | 角丸にする場合はTrue。 | app:be_roundedCorners="true" |
| app:be_state | 入力エリアの外観。TwitterBootstrapのクラス名を指定する | app:be_state="success" |
BootstrapThumbnail
| 属性名 | 説明 | 例 |
|---|---|---|
| app:bt_image | DrawableリソースID | app:bt_image="@drawable/cat" |
| app:bt_roundedCorners | 角丸にする場合はTrue。 | app:bt_roundedCorners="true" |
| app:bt_height | 画像の高さ。 | app:bt_height="148sp" |
| app:bt_width | 画像の幅。 | app:bt_width="148sp" |
| app:bt_inside_padding | ボーダーの幅 | app:bt_inside_padding="8sp" |
BootstrapCircleThumbnail
| 属性名 | 説明 | 例 |
|---|---|---|
| app:bct_image | DrawableリソースID | app:bt_image="@drawable/cat" |
| app:bct_size | サムネイルの大きさ。small medium large xlargeから指定する | app:bct_size="xlarge" |
| app:bct_minimal | ボーダーを表示しない場合はtrue |
Bootstrap Buttonの使用例
- Bootstrap Buttonを代表としてひと通り設定してみる
<com.beardedhen.androidbootstrap.BootstrapButton
    android:layout_width="wrap_content"
    android:layout_height="wrap_content"
    android:text="アイコンとボタン"
    bootstrapbutton:bb_icon_left="fa-smile-o"
    bootstrapbutton:bb_type="default"
/>
アイコンの位置
-
bootstrapbutton:bb_icon_leftにFontAwesomeのクラス名http://fortawesome.github.io/Font-Awesome/cheatsheet/を指定する。 - アイコンを左に表示するには
bootstrapbutton:bb_icon_left、右に表示するにはbootstrapbutton:bb_icon_rightにアイコンを指定。左右両方に指定する事もできる。
ボタンの外観
-
bootstrapbutton:bb_typeに、TwitterBootstrapのButtonと同じクラス名を指定する。
- ボタンの文字色を変更する事は出来ない。実態はtextviewなのでライブラリ側のプロジェクトを自分で修正して外部に公開するなどごちょごちょする事が必要。
ボタンのサイズ
-
ボタンのサイズもTwitterBootstrap同様で
bootstrapbutton:bb_sizeに、large, default, small, xsmall等を指定する。
-
文字色と同じく文字サイズの設定は出来ない。
角丸ボタン
-
bb_roundedCornersにtrueを指定する事で角丸ボタンとなる。
雑感
Font Awesome Text(アイコン)は自由にアイコンサイズが変更できて便利
-Font Awesomeのアイコンを表示できる「Font Awesome Text」は実態がTextViewの為、android:textSize="32sp" 等と設定するだけで大きさを変更できます。しかも大きくしてもギザギザしてません。また、アイコンの色を変更するのも android:textColor=#ddd" といった感じです。
# 一方、Bootstrap Button(ボタン)はアイコン色の変更ができないのが少し残念。
多機種のリソースを用意する必要がない。
Font Awesome Text(アイコン)やBootstrap Button(ボタン)に表示されるアイコンは只のフォントなので、多機種のリソースを用意する必要がありません。多機種の解像度に合わせたアイコン画像などを用意する手間がなく非常に簡単です。
スタイルが利用できない
- 例えばBootstrap Buttonの共通プロパティとして
bb_roundedCornersをスタイルで設定したい場合、以下のような<item name="bootstrapbutton:bb_roundedCorners">true</item>という名前空間 bootstrapbutton: を含めた記述ではなく・・・、
<resources xmlns:android="http://schemas.android.com/apk/res/android"
xmlns:bootstrapbutton="http://schemas.android.com/apk/res-auto">
 <style name="BootstrapButton">
    <item name="bootstrapbutton:bb_roundedCorners">true</item>
 </style>
</resources>
- 以下のように
<item name="bb_roundedCorners">true</item>name属性を指定します。
<resources xmlns:android="http://schemas.android.com/apk/res/android">
 <style name="BootstrapButton">
    <item name="bb_roundedCorners">true</item>
 </style>
</resources>
Bootstrap Button(ボタン)でアイコン色が指定できない
- 「Font Awesome Text(アイコンビュー)」は自由にアイコン色・アイコンサイズの変更はできるが、「Bootstrap Button(ボタンビュー)」は変更できません。
bb_typeで外観は変更できてもアイコン色は自動で設定されるようです。アイコン色色を変更する属性は公開されていません。ライブラリ側のソースをなんだかんだする必要があります。
Bootstrap Thumbnail(サムネイル画像)でBitmapが指定できない
- 「Bootstrap Thumbnail(サムネイル画像)」にはDrawableのリソースIDしか指定できません。ネット上の画像やユーザーのギャラリー画像などを表示する為には、Bootstrap Button同様にハックする必要がありそうです。
(Eclipse)Graphic Layout で見た目が分からない
- 当然、通常のボタンのようにグラフィカルレイアウトでは表示できません。エラーログはisInEditModeで対応したとしても、ボタンの見た目は実機等で確認する必要があります。
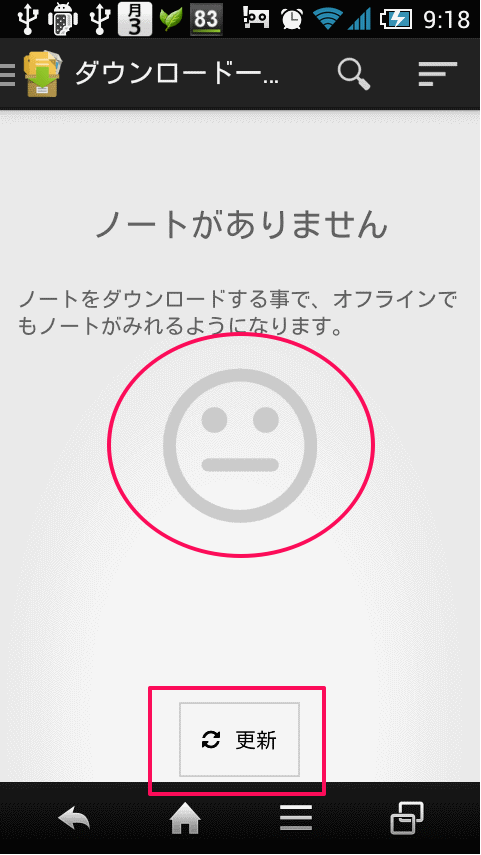
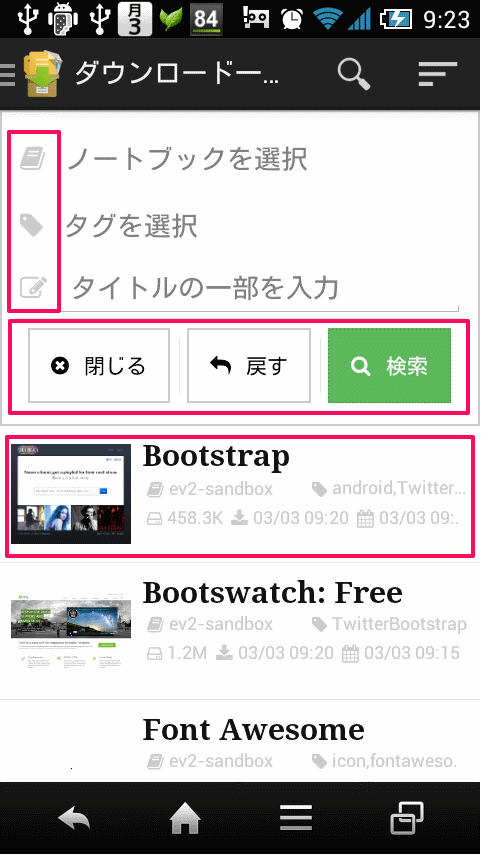
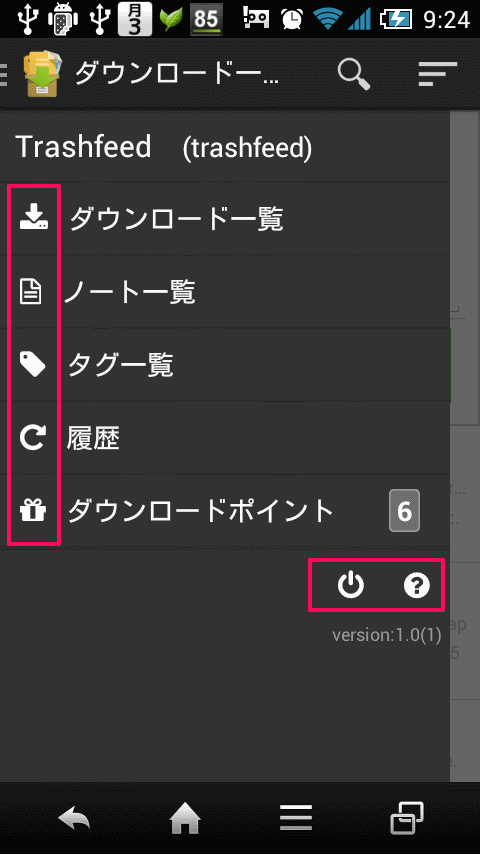
実装イメージとリリースアプリ
上記を踏まえ、Android-Bootstrapを利用したアプリ「EveryEver(エブリー・エバー) 圏外でも快適なEvernoteライフを。」をリリースしました。
実装イメージ