音声ストリーミング文字起こしアプリのサンプルを動かす中で
躓いたところがあったので共有の意味も込めて投稿します。
-
【環境】
- mac big sur 11.2.3
- venv python3
【参考資料】
youtube: https://www.youtube.com/watch?v=YCyuZM454_I
Github(IBM) : https://github.com/IBM/watson-streaming-stt
【躓いたこと】
実行時、Handshake status 403 Forbidden
というエラーが発生し、動作しない。
【原因】
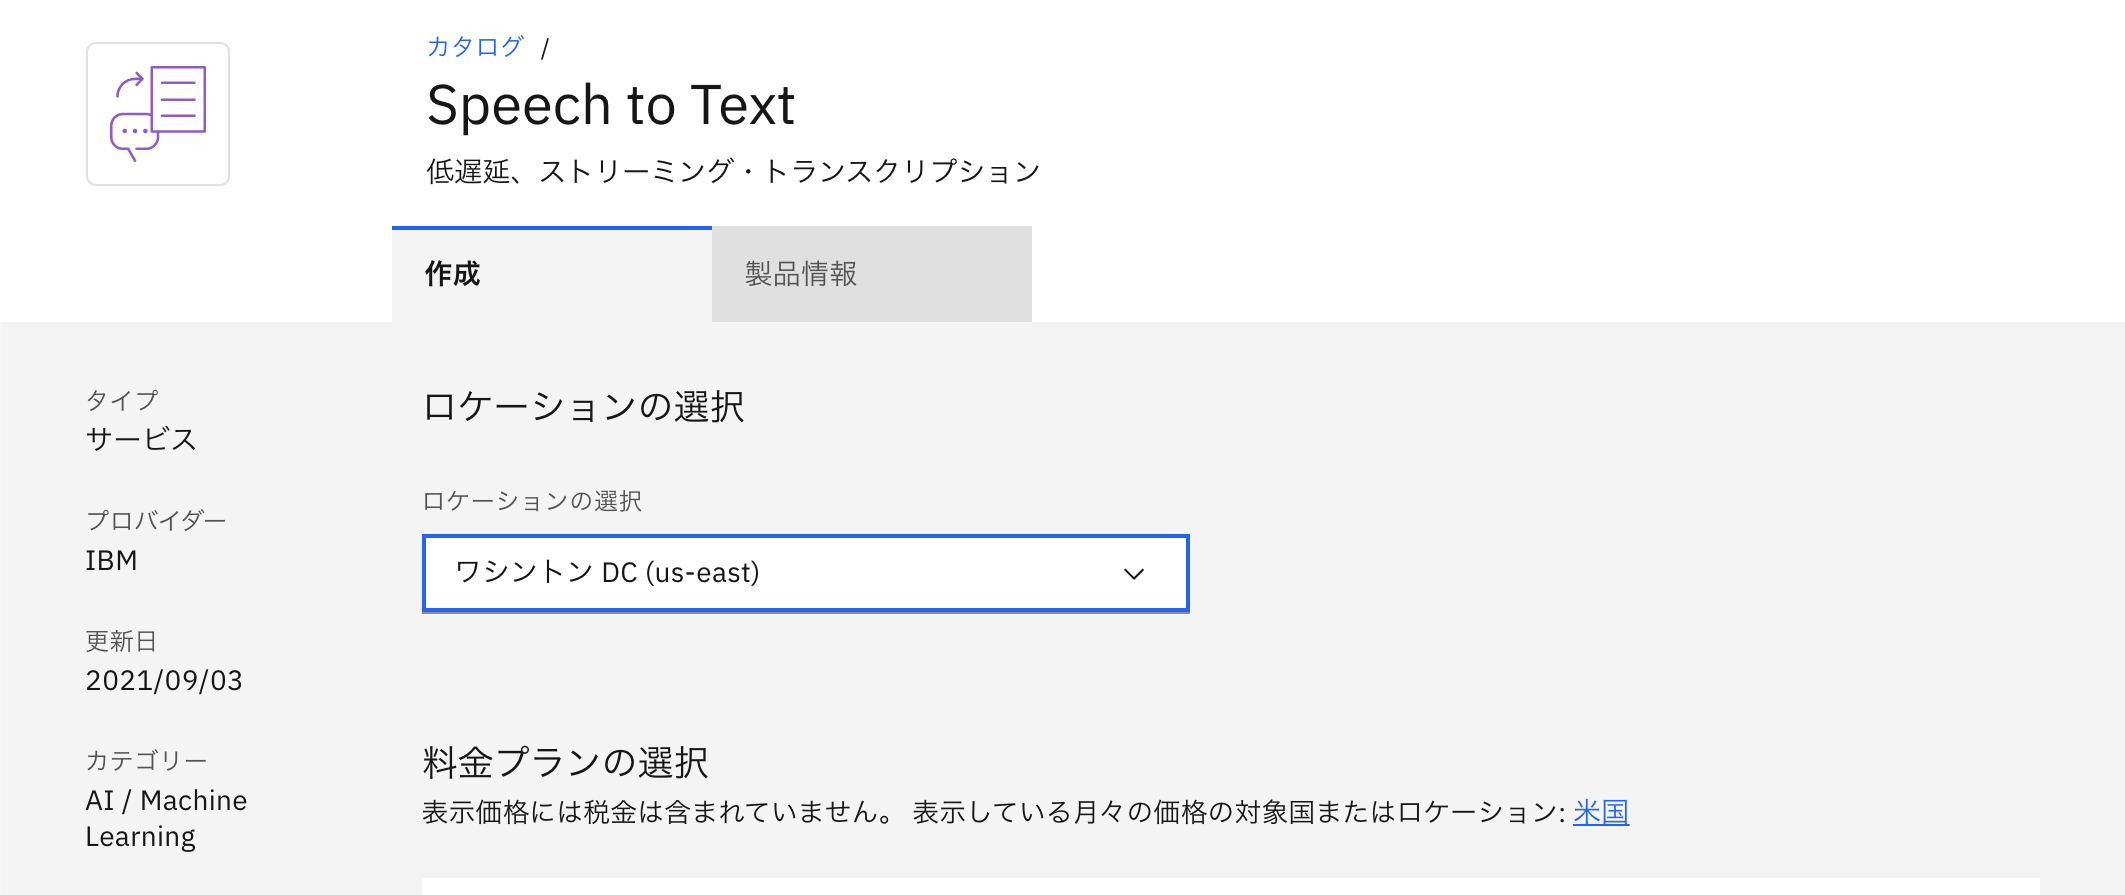
speech to textセービス作成時のロケーション設定の問題。【解決方法】
サービス作成時に ロケーションを「東京(ja-tok)」にせず「ワシントンDC(us-east)」にする。それに伴い、
speech.cfg では「region」を
apikey = <your API key>
# Modify region based on where you provisioned your stt instance
region = us-east
とする。
日本語を認識させるには、 transcribe.py 175行目 のモデルを変更すればOK
def get_url():
    config = configparser.RawConfigParser()
    config.read('speech.cfg')
    # See
    # https://console.bluemix.net/docs/services/speech-to-text/websockets.html#websockets
    # for details on which endpoints are for each region.
    region = config.get('auth', 'region')
    host = REGION_MAP[region]
    return ("wss://{}/speech-to-text/api/v1/recognize"
           "?model=ja-JP_BroadbandModel").format(host)
"?model=ja-JP_BroadbandModel").format(host)
↑ここ
他言語のモデルは、
https://cloud.ibm.com/docs/speech-to-text?topic=speech-to-text-models
ここで確認できる。
【サンプルアプリの動かし方(簡易説明)】
上記参考資料記載のyoutubeまたは、IBMのGithubの通りに進めていけば簡単に動かすことができますが、流れを簡単に記載します。●IBMアカウントを作成し、
上記記載のロケーションに注意してサービスを作成する
(https://www.ibm.com/jp-ja/cloud/watson-speech-to-text )
●git cloneする
(https://github.com/IBM/watson-streaming-stt )
git clone https://github.com/IBM/watson-streaming-stt.git
●必要なものをインストールする(pyaudioも必要)
pip install -r requirements.txt
●プロジェクトをお好きなエディターで開き、
「speech.cfg.example」 ファイルを編集する
①API key/ region を入力する
*上記参照
②ファイル名を変更
「speech.cfg.example」→「speech.cfg」
●音声モデルを変更する
*上記参照
●ターミナルからコマンドを実行
python transcribe.py -t 20
- 最後の「20」は、プログラムを実行する秒数
マイクに話しかけてみて、ターミナルに話した文字が現れたらOK!!
単純な内容なのに、かなりの時間を使ってしまいました…
自分もこれから、リファレンス読んで色々試していこうと思います。
駆け出しの投稿ですので、お気づきの点ありましたらコメントのほどよろしくお願い致します!
