はじめに
この記事は Vision API を Vision クライアントライブラリ を使わずに Python で JavaScript の Fetch API のように使用するための内容を記載します。
結論
- 使用する画像は
base64モジュールでエンコード - JSON リクエストを作成し、
jsonモジュールからjson.dumps()を用いて JSON 文字列に変換する - 最後に
requestsモジュールからrequests.post()を使用して Vision API リクエスト(POST)を作成すれば OK
下にサンプルコードを置いておきます。
コード
import requests
import base64
import json
import pprint

GOOGLE_API_KEY = "YOUR API KEY"
GOOGLE_CLOUD_VISION_API_URL = f"https://vision.googleapis.com/v1/images:annotate?key={GOOGLE_API_KEY}"
IMG_PATH = "YOUR PHOTO PATH"
base64Image = base64.b64encode(open(IMG_PATH, "rb").read()).decode('utf-8')

headers = { "Content-Type" : "application/json" }
request_data = json.dumps({
    "requests": [
        {
            "image": {
                "content": base64Image
            },
            "features": [
                {
                    "type": "OBJECT_LOCALIZATION"
                }
            ]
        }
    ]
})

# Vision API にリクエストを行う
response = requests.post(GOOGLE_CLOUD_VISION_API_URL, headers=headers, data=request_data)

# データを表示
pprint.pprint(response.json())
例
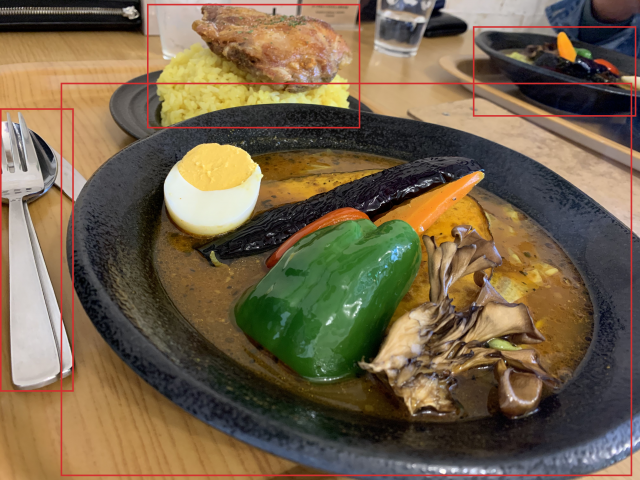
以前行ったスープカレー屋さんの画像を POST した結果を貼っておきます。
カレー屋さんのホームページ - 矢巾店 - スープカレーハウスしっぽ

おわりに
手っ取り早く API を使用したい人はこちらの方法のほうが楽なのではないでしょうか。
参考になれば幸いです。