前提
環境
- Xcode 7.2.1 (7C1002)
言語 - Swift2.1
Table Viewのセルにアニメーション
まずは映像サンプル
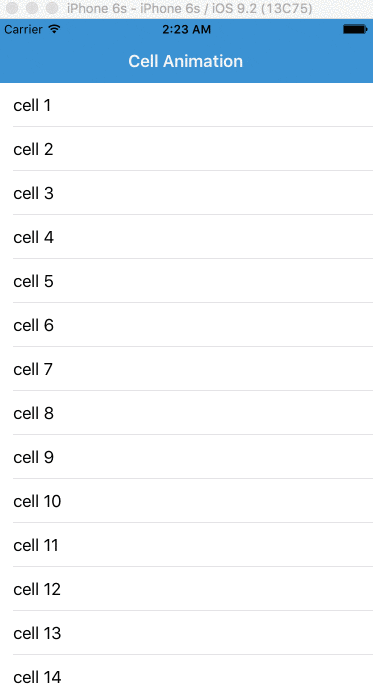
Gifだとちょっと見にくいかもしれないが、映像の左下に注目してください(左からスライドイン)
メソッドの呼び出し
セルにアニメーションをつけるにはtableViewメソッドのwillDisplayCellを呼び出す。
swift
func tableView(tableView: UITableView, willDisplayCell cell: UITableViewCell, forRowAtIndexPath indexPath: NSIndexPath) {
        //ここにアニメーションを実装
    }
サンプルコード
今後はサンプルを増やす方針
フェードイン
swift
func tableView(tableView: UITableView, willDisplayCell cell: UITableViewCell, forRowAtIndexPath indexPath: NSIndexPath) {

        cell.alpha = 0.2

        UIView.animateWithDuration(1.0) { () -> Void in

            cell.alpha = 1.0

        }

    }
横からスライドイン
swift
func tableView(tableView: UITableView, willDisplayCell cell: UITableViewCell, forRowAtIndexPath indexPath: NSIndexPath) {

        let slideInTransform = CATransform3DTranslate(CATransform3DIdentity, -510, 15, 0)

        cell.layer.transform = slideInTransform

        UIView.animateWithDuration(0.7) { () -> Void in

            cell.layer.transform = CATransform3DIdentity

        }

    }
コードを全体的に見る
まずは以下の手順でXcode Projectを作成
- 「cmd + shift + 1」(Welcome to Xcode)からSingle View Applicationのプロジェクトを作成
- Main.storyboardでTable Viewオブジェクトを置く
-
@IBOutlet weak var animationTableView: UITableView!でtableviewとリンクさせる -
viewDidLoad()内でTable ViewのDelegateとdataSourceをselfにする - 以下のコードの必須メッソドを参照
viewController.Swift
import UIKit

class ViewController: UIViewController, UITableViewDataSource,  UITableViewDelegate {

    @IBOutlet weak var animationTableView: UITableView!

    var dataArray = [String]()

    override func viewWillAppear(animated: Bool) {
        for i in 1...100 {
            dataArray.append("cell \(i)")
        }

        print(dataArray)
    }

    override func viewDidLoad() {
        super.viewDidLoad()

        animationTableView.delegate = self
        animationTableView.dataSource = self

    }


    // 必須
    func numberOfSectionsInTableView(tableView: UITableView) -> Int {
        return 1
    }
    // 必須
    func tableView(tableView: UITableView, numberOfRowsInSection section: Int) -> Int {
        return dataArray.count
    }
    // 必須
    func tableView(tableView: UITableView, cellForRowAtIndexPath indexPath: NSIndexPath) -> UITableViewCell {

        let cell: UITableViewCell = UITableViewCell(style: UITableViewCellStyle.Subtitle, reuseIdentifier: "Cell")

        cell.textLabel?.text = dataArray[indexPath.row]

        return cell
    }

    // セルのアニメーション
    func tableView(tableView: UITableView, willDisplayCell cell: UITableViewCell, forRowAtIndexPath indexPath: NSIndexPath) {

        let slideInTransform = CATransform3DTranslate(CATransform3DIdentity, -500, 15, 0)

        cell.layer.transform = slideInTransform

        UIView.animateWithDuration(0.3) { () -> Void in

            cell.layer.transform = CATransform3DIdentity

        }

    }

    override func didReceiveMemoryWarning() {
        super.didReceiveMemoryWarning()
    }

}
追記
アニメーション中でユーザーの入力イベントなどを行う場合は、animateWithDurationでオプションをAllowUserInteractionに指定する。
swift
UIView.animateWithDuration(0.7, delay: 0, options: UIViewAnimationOptions.AllowUserInteraction, animations: { () -> Void in

   // アニメーションを実装
   // cell.layer.transform = CATransform3DIdentity

   }, completion: nil)
noppefoxwolfさんご指摘ありがとうございました。