『アプリ道場 Advent Calendar 2015』23日目担当の@ToraDadyです。
先日、wantedlyの速習会に参加してきたんですが、そこで知った便利なツールchiselをご紹介します。
何が便利か
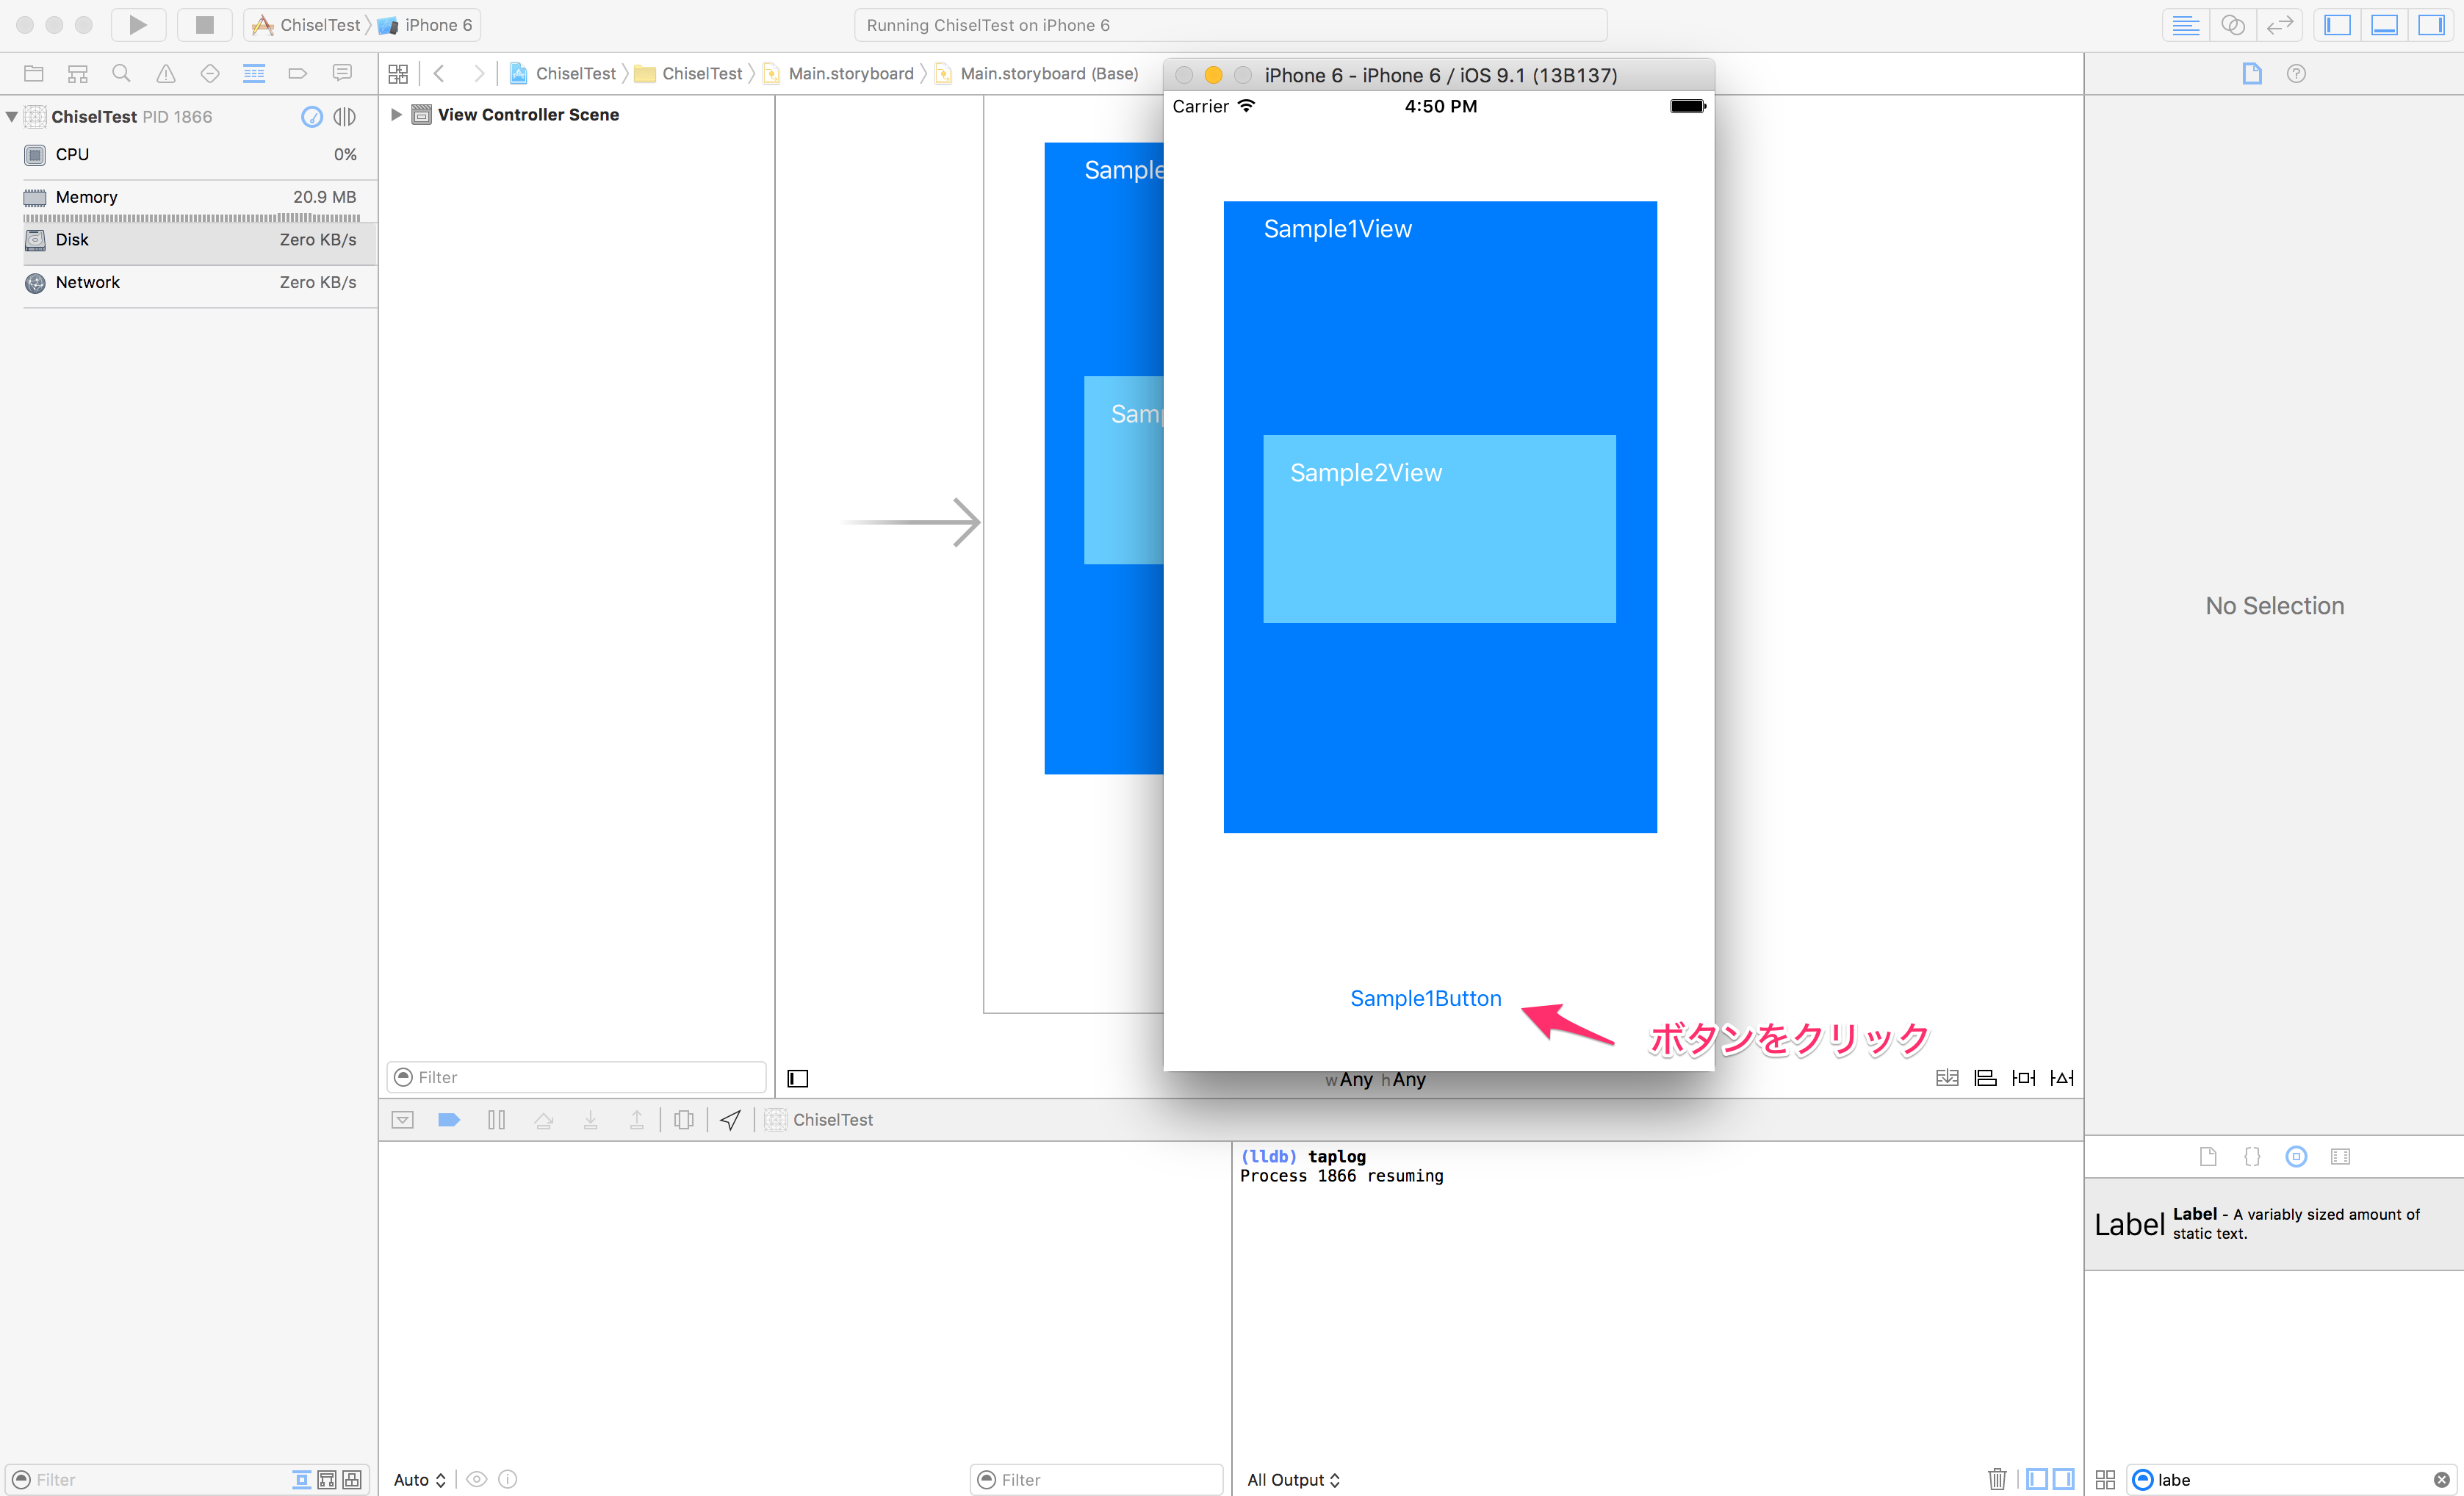
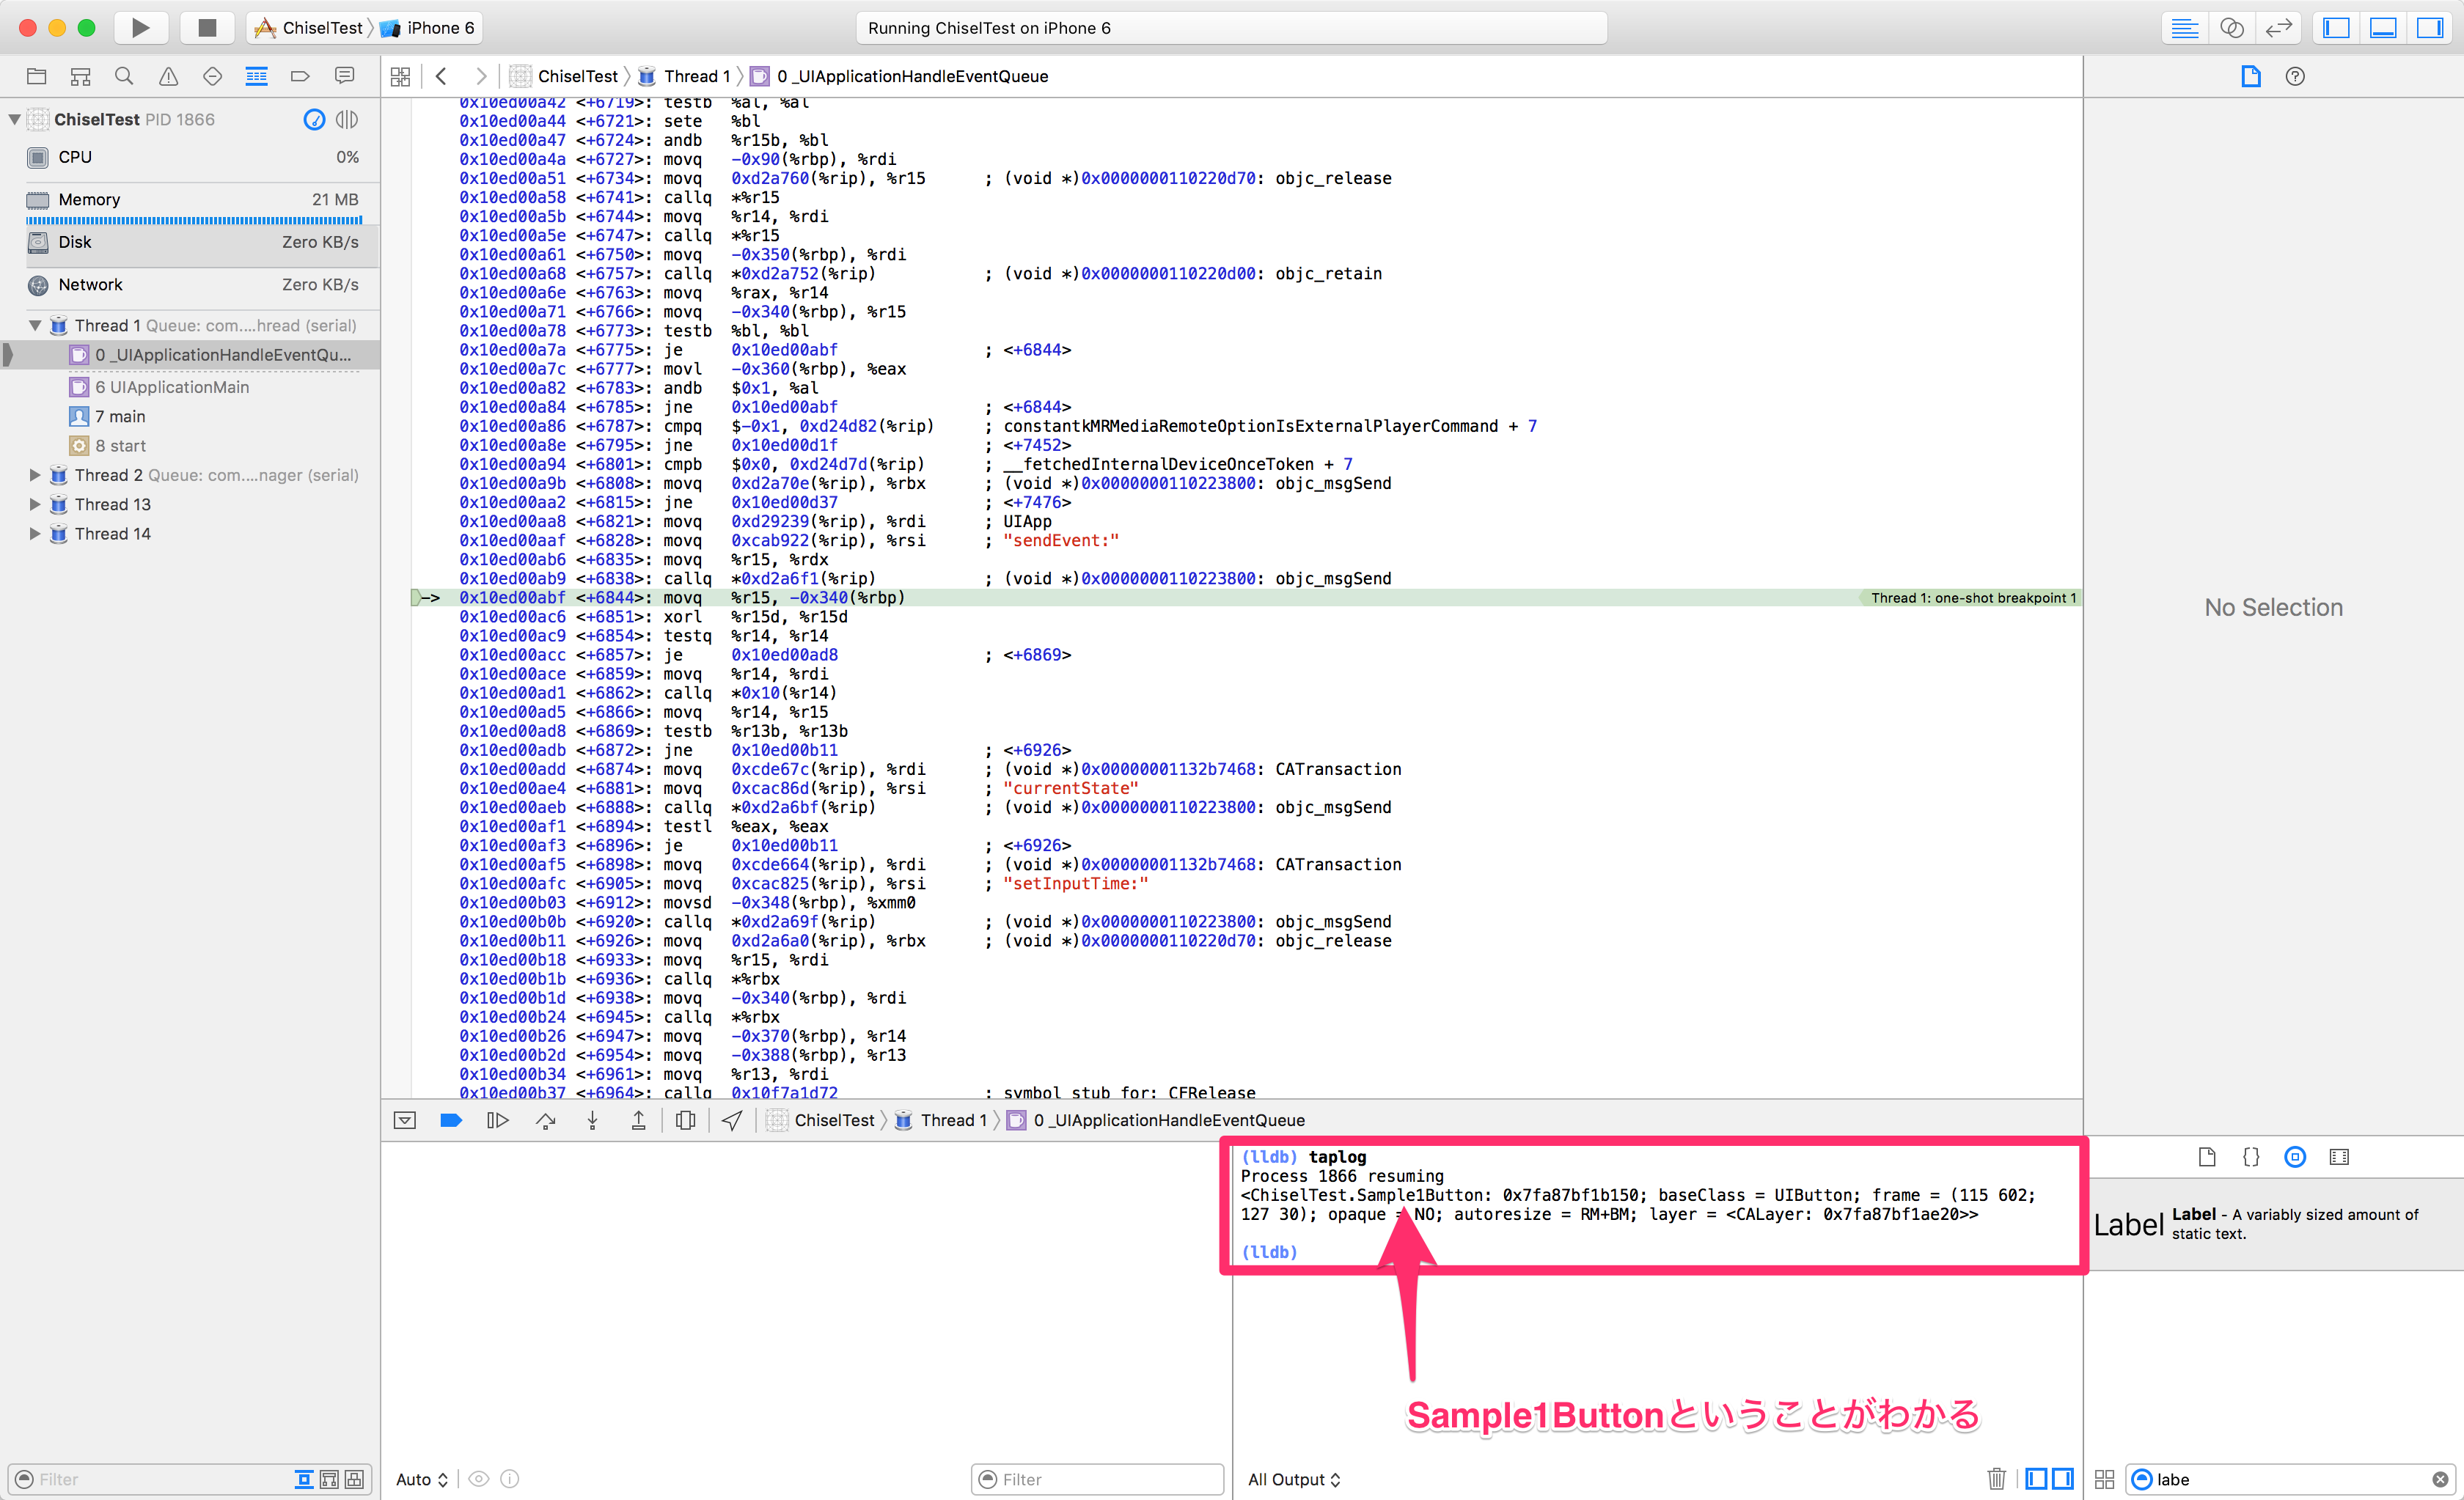
chiselは、facebookがOSSとして公開しているLLDBコマンドの拡張なんですが、例えば、taplogコマンドを使えば、シュミレータでアプリを動かしている時、タップしたUIButtonのサブクラス名を取得することができます。
これによって、既存実装を初めて見た時に、シュミレータの画面からソースコードを追うことが容易になります。
taplogコマンド
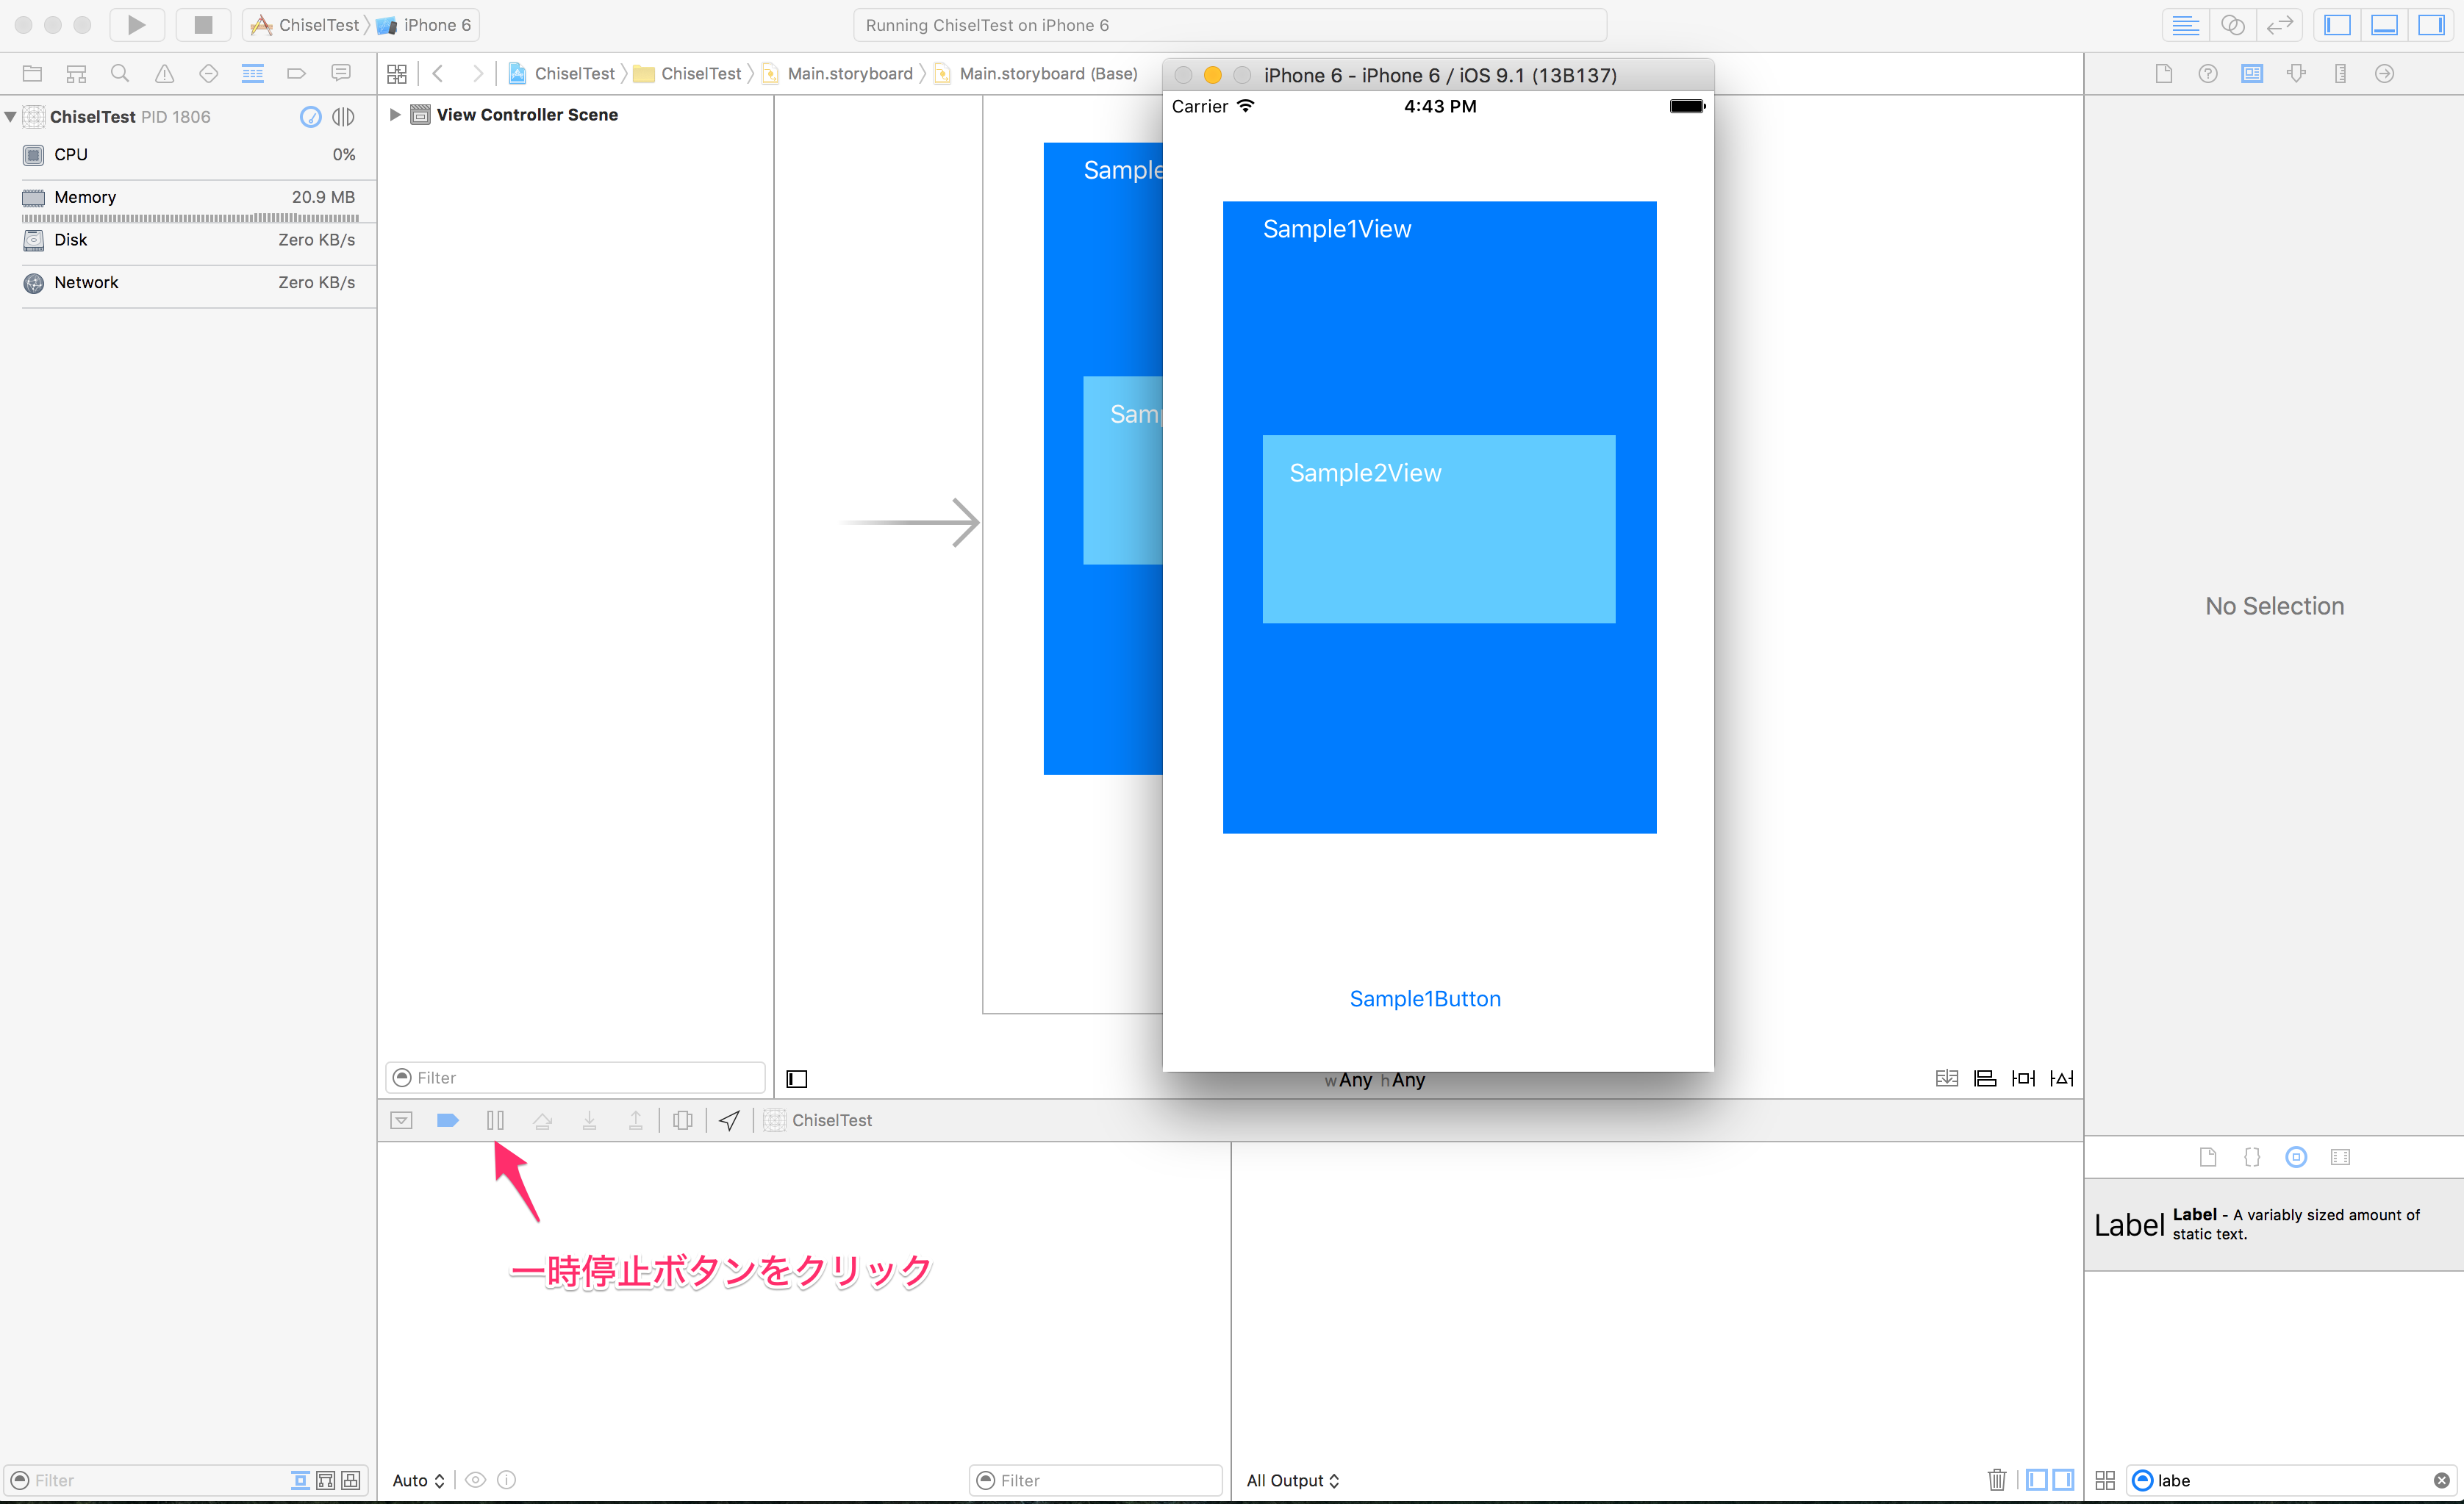
- xcodeのプロジェクトを立ち上げてシュミレータを起動。
- 一時停止ボタンをクリック
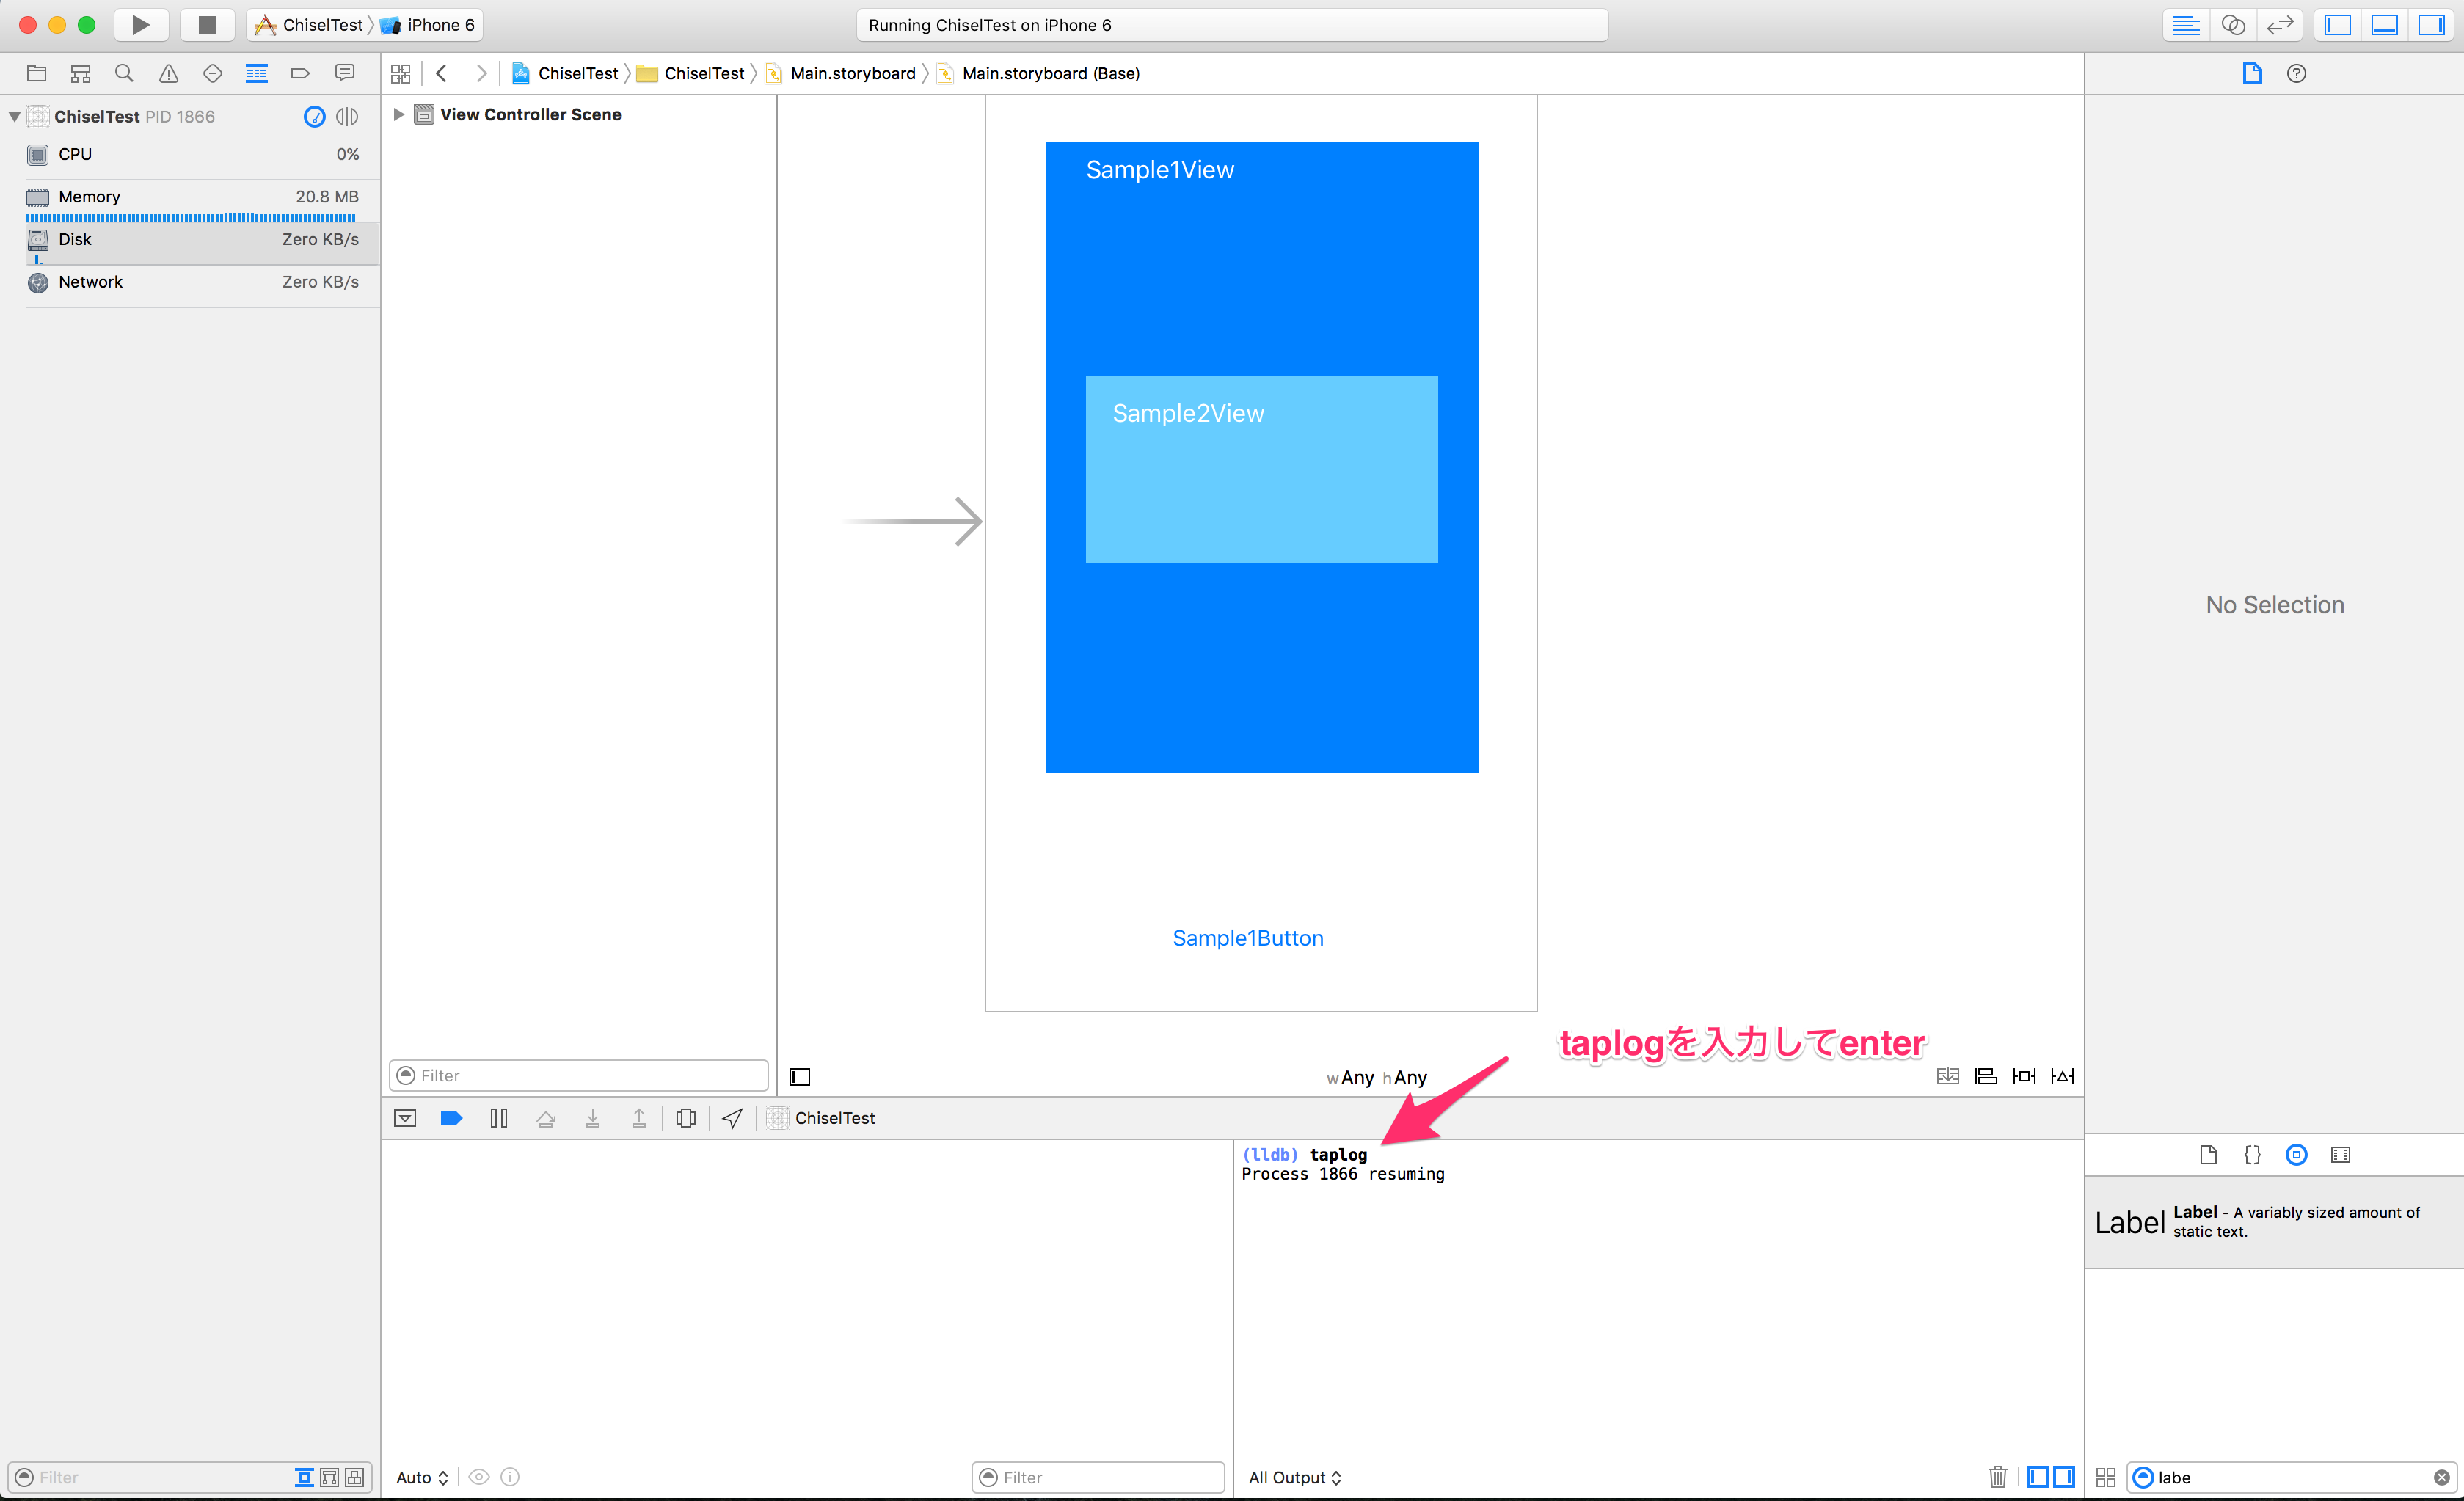
- taplogをデバッグエリアに入力
(lldb) taplog
Process 2126 resuming
<ChiselTest.Sample1Button: 0x7ff400520740; baseClass = UIButton; frame = (115 602; 127 30); opaque = NO; autoresize = RM+BM; layer = <CALayer: 0x7ff40051f0e0>>
pvcコマンド
pvcコマンドを使うと、シュミレータ上表示されている画面のviewcontroller名を取得することができます。
- 名前を知りたいViewControllerがシュミレータ上で画面に表示されているときに一時停止ボタンをクリック。
- pvcをデバッグエリアに入力
(lldb) pvc
<ChiselTest.ViewController 0x7fd68d11feb0>, state: appeared, view: <UIView 0x7fd68bc529c0>
pviewsコマンド
このコマンドは、表示されているViewControllerのviewの階層をツリー形式で表示してくれます。
(lldb) pviews
<UIWindow: 0x7fbf58620320; frame = (0 0; 375 667); autoresize = W+H; gestureRecognizers = <NSArray: 0x7fbf58621370>; layer = <UIWindowLayer: 0x7fbf58611130>>
   | <UIView: 0x7fbf586229f0; frame = (0 0; 375 667); autoresize = W+H; layer = <CALayer: 0x7fbf58618240>>
   |    | <ChiselTest.Sample1View: 0x7fbf58622d70; frame = (41 75; 295 430); autoresize = RM+BM; layer = <CALayer: 0x7fbf5860c100>>
   |    |    | <ChiselTest.Sample2View: 0x7fbf58623510; frame = (27 159; 240 128); autoresize = RM+BM; layer = <CALayer: 0x7fbf58623900>>
   |    |    |    | <UILabel: 0x7fbf58623c90; frame = (18 15; 128 21); text = 'Sample2View'; opaque = NO; autoresize = RM+BM; userInteractionEnabled = NO; layer = <_UILabelLayer: 0x7fbf58624290>>
   |    |    | <UILabel: 0x7fbf58626e40; frame = (27 8; 128 21); text = 'Sample1View'; opaque = NO; autoresize = RM+BM; userInteractionEnabled = NO; layer = <_UILabelLayer: 0x7fbf58627040>>
   |    | <ChiselTest.Sample1Button: 0x7fbf58627e90; baseClass = UIButton; frame = (115 602; 127 30); opaque = NO; autoresize = RM+BM; layer = <CALayer: 0x7fbf58628440>>
   |    |    | <UIButtonLabel: 0x7fbf585985e0; frame = (12 6; 103.5 18); text = 'Sample1Button'; opaque = NO; userInteractionEnabled = NO; layer = <_UILabelLayer: 0x7fbf58598a70>>
   |    | <_UILayoutGuide: 0x7fbf58629230; frame = (0 0; 0 20); hidden = YES; layer = <CALayer: 0x7fbf58618260>>
   |    | <_UILayoutGuide: 0x7fbf58612440; frame = (0 667; 0 0); hidden = YES; layer = <CALayer: 0x7fbf586055e0>>
その他のコマンド
結構たくさんあるようで、ここで色々説明されています。
導入までの流れ
まずは、chiselのインストール
homebrewがインストールされていない場合はインストールから。
ruby -e "$(curl -fsSL https://raw.githubusercontent.com/Homebrew/install/master/install)"
brew update
そして、chiselをbrewコマンドでインストール
brew install chisel
chiselの情報をを確認
brew info chisel
出力結果は以下の通りで、
chisel: stable 1.3.0
Collection of LLDB commands to assist debugging iOS apps
https://github.com/facebook/chisel
/usr/local/Cellar/chisel/1.3.0 (21 files, 136K) *
  Built from source
From: https://github.com/Homebrew/homebrew/blob/master/Library/Formula/chisel.rb
==> Caveats
Add the following line to ~/.lldbinit to load chisel when Xcode launches:
  command script import /usr/local/opt/chisel/libexec/fblldb.py
ホームディレクトリに.lldbinitファイルを作成して、以下のコードを追加すべしと書いてあるのでその通りにする。
command script import /usr/local/opt/chisel/libexec/fblldb.py
これで準備完了。
あとは、xcode上でchiselのコマンドを叩くだけ。


