やりたいこと
Unity2Dで1画面の脱出ゲームを作る際、ドラッグ&ドロップでUIを移動させる方法で少々つまずきました。
超ありきたりなUIなので解説しているサイトは多いですが、それなりに情報を探し回ったので備忘録も兼ねて残しておきます。
参考になるかもしれない読者は、
- Unity2Dでスマートフォン向けの1画面コンテンツを作っている
- ドラッグ&ドロップでUIの位置を変更したい
- けどなぜかドラッグし始めた瞬間にオブジェクトが消えたり瞬間移動したり点滅したりする
人です。
基本的には以下の参考内容そのままです。
参考にさせていただいたwebページ
【Unity】UIをドラッグ&ドロップで動かす
Unity)ドラッグ&タッチ(座標変換編)
プログラム記述
以下のプログラムをC#スクリプト(DragObj.cs)として保存し、移動させたいオブジェクトにアタッチすればokです。
この実装ではドラッグ終了時に初期位置に戻していますが、戻したくなければOnEndDragの記述を消してください。
using System.Collections;
using System.Collections.Generic;
using UnityEngine;
using UnityEngine.EventSystems;

public class DragObj : MonoBehaviour, IDragHandler, IBeginDragHandler, IEndDragHandler
{

    private Vector2 prevPos; //保存しておく初期position
    private RectTransform rectTransform; // 移動したいオブジェクトのRectTransform
    private RectTransform parentRectTransform; // 移動したいオブジェクトの親(Panel)のRectTransform


    private void Awake()
    {
        rectTransform = GetComponent<RectTransform>();
        parentRectTransform = rectTransform.parent as RectTransform;
    }


    // ドラッグ開始時の処理
    public void OnBeginDrag(PointerEventData eventData)
    {
        // ドラッグ前の位置を記憶しておく
        // RectTransformの場合はpositionではなくanchoredPositionを使う
        prevPos = rectTransform.anchoredPosition;

    }

    // ドラッグ中の処理
    public void OnDrag(PointerEventData eventData)
    {
        // eventData.positionから、親に従うlocalPositionへの変換を行う
        // オブジェクトの位置をlocalPositionに変更する

        Vector2 localPosition = GetLocalPosition(eventData.position);
        rectTransform.anchoredPosition = localPosition;
    }

    // ドラッグ終了時の処理
    public void OnEndDrag(PointerEventData eventData)
    {
        // オブジェクトをドラッグ前の位置に戻す
        rectTransform.anchoredPosition = prevPos;
    }

    // ScreenPositionからlocalPositionへの変換関数
    private Vector2 GetLocalPosition(Vector2 screenPosition)
    {
        Vector2 result = Vector2.zero;

        // screenPositionを親の座標系(parentRectTransform)に対応するよう変換する.
        RectTransformUtility.ScreenPointToLocalPointInRectangle(parentRectTransform, screenPosition, Camera.main, out result);

        return result;
    }

}
実装例
-
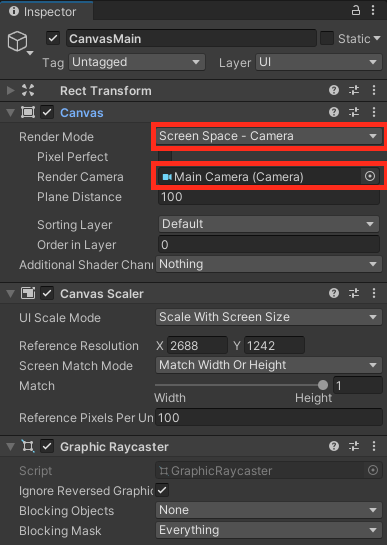
親となるcanvasのRender ModeがScreen Space - Cameraになっていること、Render Cameraにcameraが設定されていることを確認してください。
-
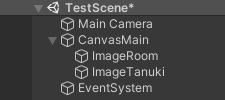
親となるパネルと動かしたいオブジェクトを用意します。
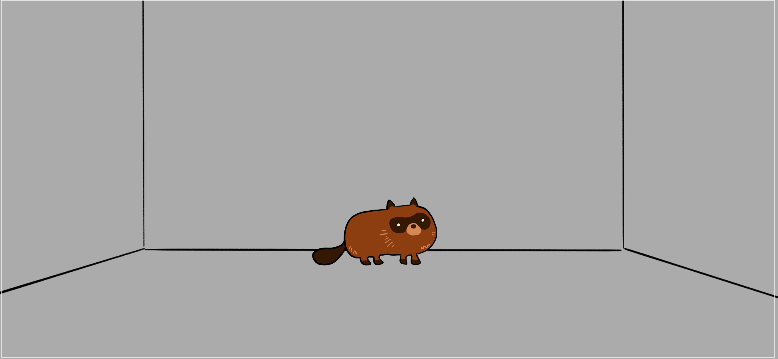
今回はたぬきを動かしてみます。
-
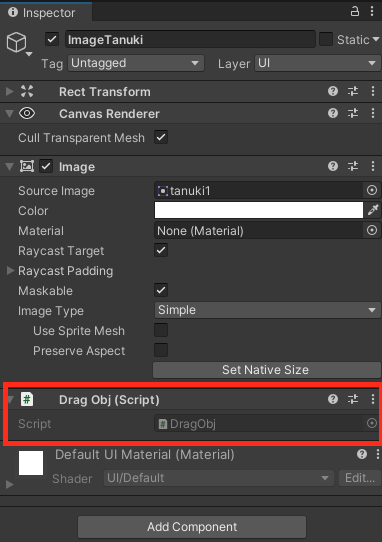
上のプログラムをImageTanukiにアタッチします。
-
終わりです。実行してこんな感じになったら成功です。可愛いね。
ちょっとだけ解説
後日追記予定です。