✅ 1. 各投稿にユーザー情報(アイコン・名前)を含める
App.js
        <h2>投稿一覧</h2>
        {posts.map((post, index) => (
          <div key={index} style={{ padding: '1rem', borderBottom: '1px solid #ccc' }}>

            {/* ユーザー名・アイコン */}
            <div style={{ display: 'flex', alignItems: 'center' }}>
              {post.photoURL && (
                <img src={post.photoURL} alt="アイコン" style={{ width: 32, height: 32, borderRadius: '50%', marginRight: 8 }} />
              )}
              <span
                style={{ cursor: 'pointer', color: 'blue' }}
                // ユーザー名をクリック時にReact Routerのnavigate関数を使って、/profile/ユーザーのメールアドレス に遷移させる。
                onClick={() => navigate(`/profile/${post.user}`)}
              >
                {post.displayName}
              </span>
            </div>

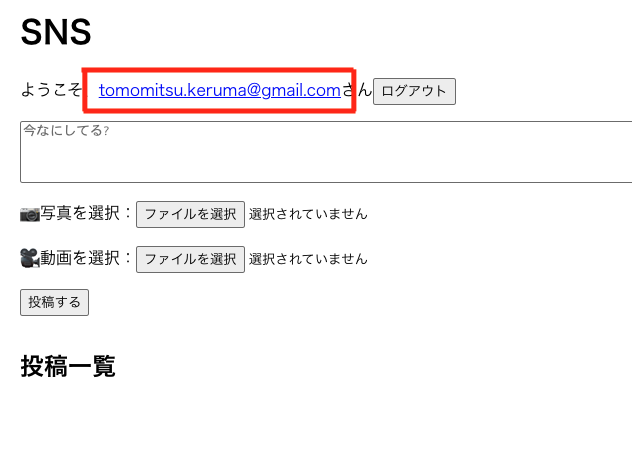
✅ 2. 投稿一覧でユーザー名・アイコンを表示
App.js
<p>ようこそ、
  <span
  // ユーザー名をクリック時にReact Routerのnavigate関数を使って、/profile/ユーザーのメールアドレス に遷移させる。
    onClick={() => navigate(`/profile/${user.email}`)}

    style={{ color: 'blue', cursor: 'pointer', textDecoration: 'underline' }}
  >
    {user.email}
  </span>さん
  <button onClick={() => signOut(auth)}>ログアウト</button>
</p>
};
✅ 3. React Router の導入とプロフィール画面のルート追加
AppRouter.js
// react-router-dom からルーティングに必要な3つのコンポーネントをインポートしています:
// BrowserRouter:URLに応じてReactコンポーネントを表示するための親コンポーネント。Routerという別名で使います。
// Routes:全てのルート(Route)をまとめるコンテナ。
// Route:パス(URL)と表示するコンポーネントを定義。
import {
  BrowserRouter as Router,
  Route,
  Routes
} from 'react-router-dom';
import App from './App';
import Profile from './Profile';

function AppRouter() {
  return (
    <Router>
      <Routes>

     //  "/"(トップページ)にアクセスしたとき、App コンポーネントを表示。
	 // 投稿画面が表示される。
        <Route path="/" element={<App />} />

   // /profile/○○ のようなパスにアクセスしたときに Profile コンポーネントを表示。
	// :userId は動的パラメータ(変数)で、プロフィールの対象となるユーザーID(この場合はメールアドレス)がここに入る。
	// 例:/profile/test@example.com にアクセスすると、そのメールアドレスを使ってプロフィールを表示。
        <Route path="/profile/:userId" element={<Profile />} />

      </Routes>
    </Router>
  )
}
export default AppRouter;
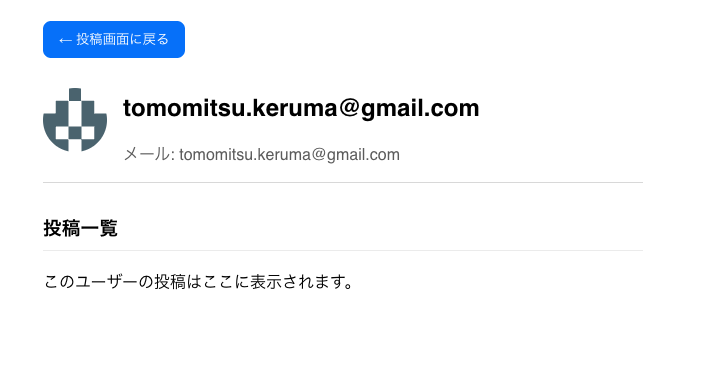
✅ 4. Profile.js の作成(プロフィール表示)
Profile.js
import React from 'react';
import { useParams, useNavigate } from 'react-router-dom';

function Profile() {
  const { userId } = useParams();
  const navigate = useNavigate();

  return (
    <div style={{
      maxWidth: '600px',
      margin: '0 auto',
      padding: '2rem',
      fontFamily: 'Helvetica, Arial, sans-serif',
    }}>
      {/* 戻るボタン */}
      <button

      //ボタンを押すと投稿画面に戻る
        onClick={() => navigate('/')}
        style={{
          marginBottom: '1rem',
          backgroundColor: '#007bff',
          color: 'white',
          border: 'none',
          padding: '0.5rem 1rem',
          borderRadius: '8px',
          cursor: 'pointer'
        }}
      >
        ← 投稿画面に戻る
      </button>

      {/* ヘッダー */}
      <div style={{
        display: 'flex',
        alignItems: 'center',
        gap: '1rem',
        borderBottom: '1px solid #ddd',
        paddingBottom: '1rem',
        marginBottom: '2rem'
      }}>
        <img
         // userIdでメールアドレスの表示
          src={`https://api.dicebear.com/7.x/identicon/svg?seed=${userId}`}
          alt="User Avatar"
          style={{ width: 64, height: 64, borderRadius: '50%' }}
        />
        <div>
          <h2 sytle={{ margin: 0 }}>{userId}</h2>

          // userIdでメールアドレスの表示
          <p style={{ color: '#666', margin: 0 }}>メール: {userId}</p>
        </div>
      </div>

      {/* 投稿一覧 */}
      <div>
        <h3 style={{ borderBottom: '1px solid #eee', paddingBottom: '0.5rem' }} >投稿一覧</h3>
        <p>このユーザーの投稿はここに表示されます。</p>
      </div>
    </div>
  );
}
export default Profile;