本記事は、サムザップ Advent Calendar 2019 #1の12/17の記事です。
今回は、同じ CyberAgentグループ である 株式会社ジークレスト の新作アプリ「星鳴エコーズ」のバトル部分に導入したUnityTimeline×Spineの実装事例を紹介します。
星鳴エコーズについて
メインターゲットは女性向きですが、世界観やストーリーが作り込まれており、男性でも楽しめるRPGです。
ラノベとか好きな方には刺さるかも(?)
公式サイト
ゲーム画面
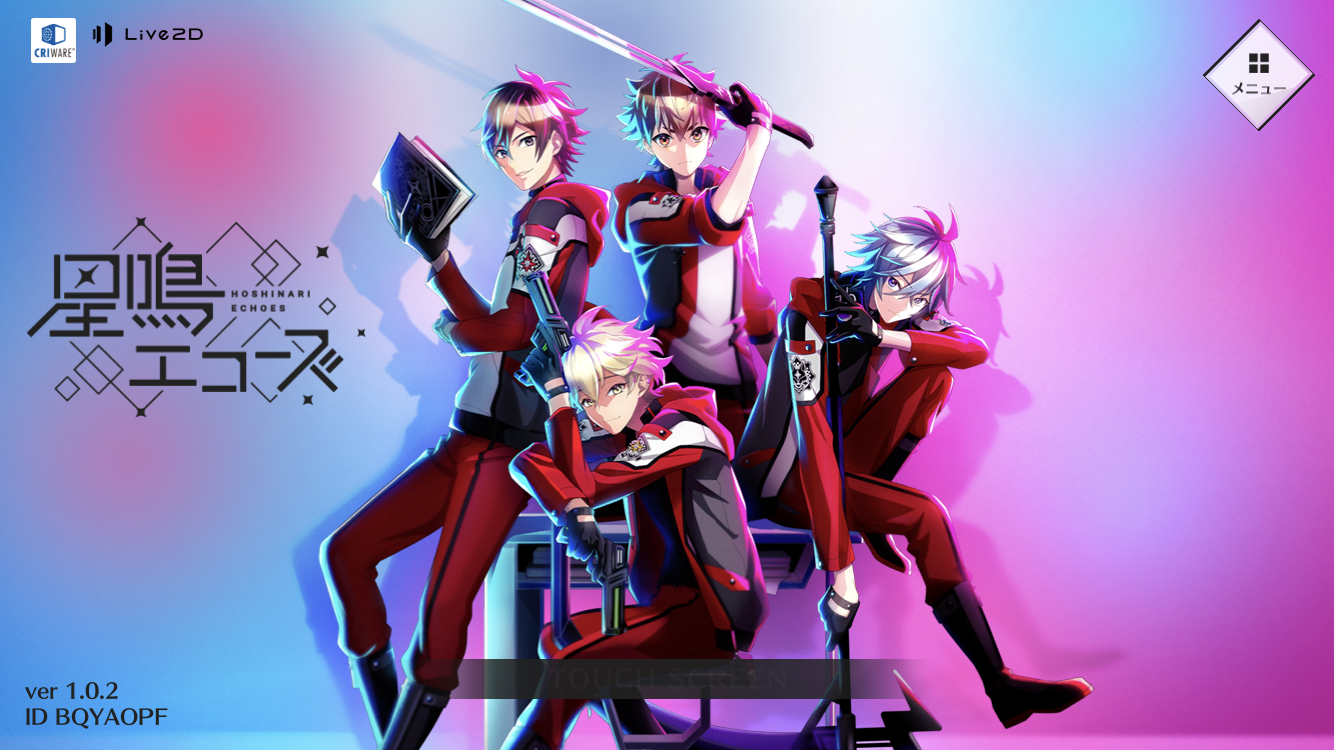 |
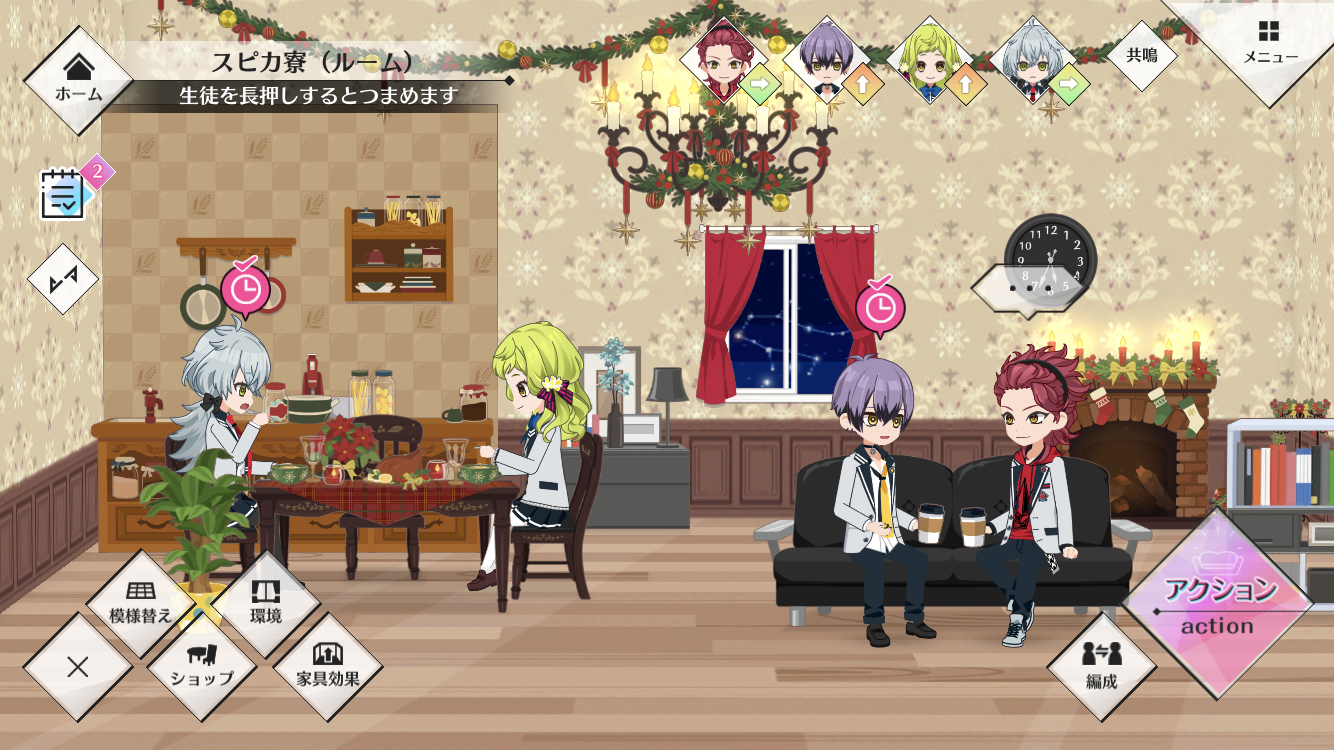 |
|---|---|
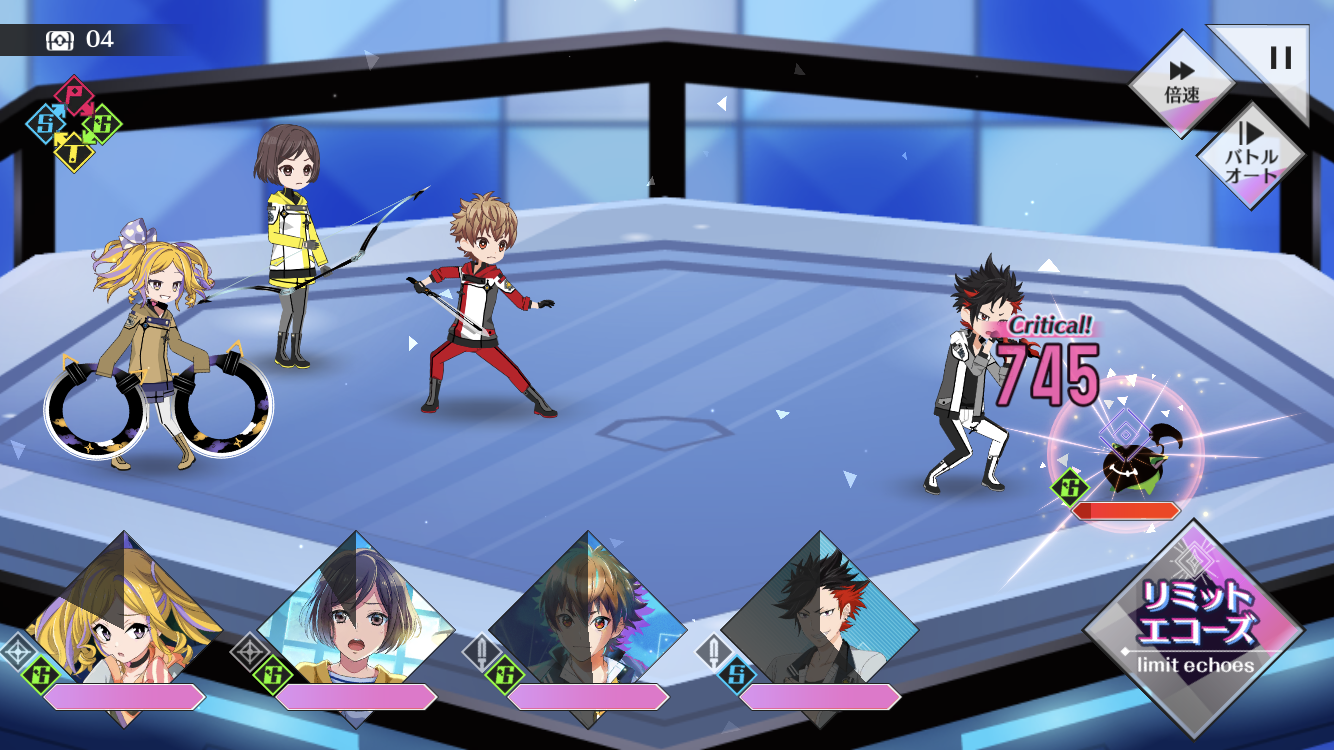 |
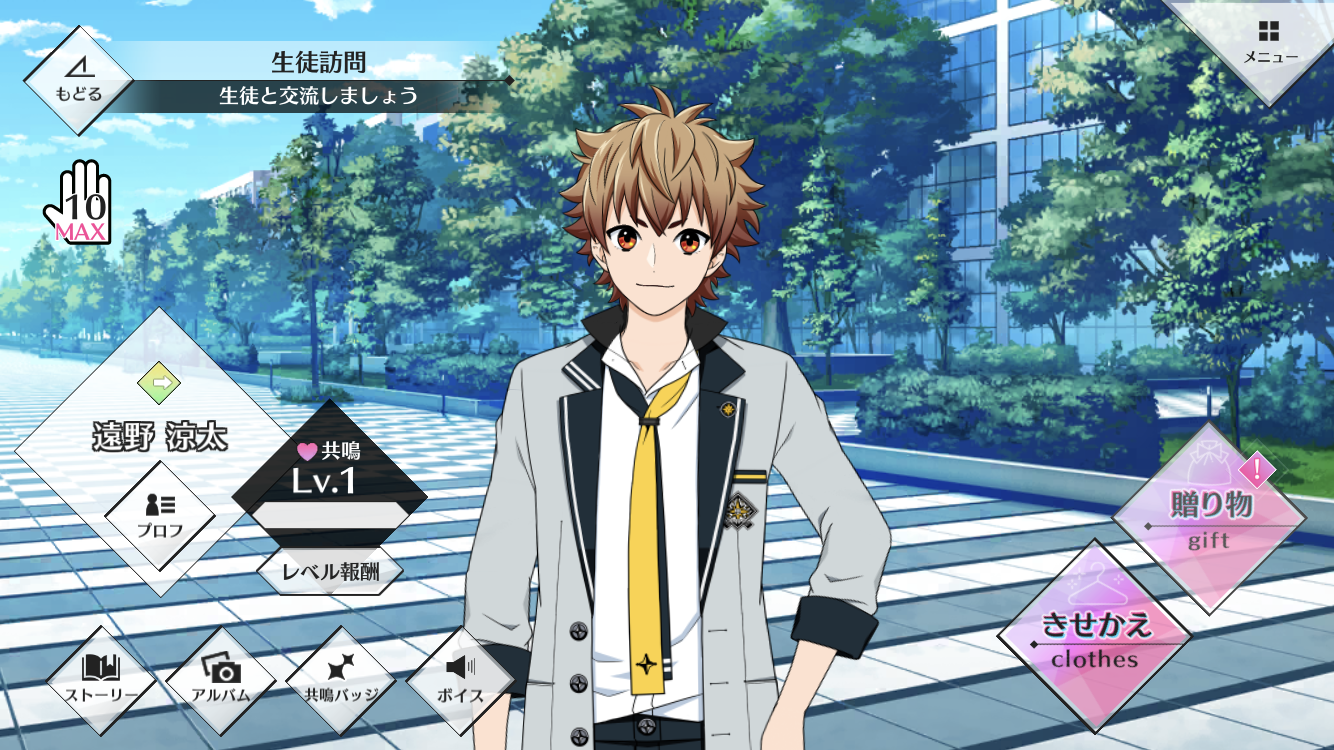 |
実装要件
以下の要件のもと、新しく仕組みやツールを作る工数ももったいないということでUnity標準機能のTimelineを使いました。
- 2Dアニメーション(spine)
- エフェクト・SEを含む一連のアニメーションカットをつくりたい
- クリエーターだけで実装したい
Timelineの詳細な使い方や基本操作は 公式リファレンス や他の方の記事を見てください。
TimelineでSpineを動かしてみる
Spineのバインド
Spineには、Timeline用のトラックとして「Spine Animation State Track」「Spine Skeleton Frip Track」の二つが用意されています。
「Spine Animation State Track」はアニメーション用、「Spine Skeleton Frip Track」はモデルの反転描画用に使用します。

使い方は、簡単です。
- TimelineのエディタGUIメニュー「Spine.Unity.Playables」から「Spine Animation State Track」を選択。
- タイムラインインスタンスにSpineオブジェクト(SkeletonAnimationコンポーネントがアタッチされているもの)を設定。
- トラック上で右クリック。メニューから「Add Spine Animation State Clip」を選択。
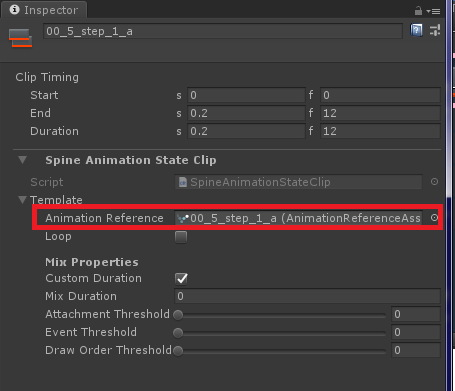
- 追加したクリップのインスペクタから、「Animation Reference」プロパティにアニメーションを指定。
- 同様に3~4を複数設定して、一連のアニメーションを完成させます。
以上です。
(さらに、このあたりの設定を自動生成する自作ツールも作りましたが、長くなるので今回は割愛で。)
躓きポイント
デフォルト設定で動かすと、クリップとクリップのつなぎのタイミングで謎なアニメーションフレームがありました。
これはSpineがアニメーション補完してくれているためで、もしその補完をやりたくない場合は、インスペクタの「Custom Duration」プロパティをチェックオフに、「Mix Duration」をゼロに設定すると良いです。
自作トラックを追加
Timelineの各種設定を自作するには以下4つの継承クラスが必要となります。
これらを使って、タイムラインインスタンス(下記例ではInstanceObjectクラス)に、指定したパラメータを渡しイベント発火を行えます。
複雑な処理やデータキャッシュを考えると、Timeline側では処理ロジックは書かず、発火のみ行った方が良いです。
/// <summary> クリップの振る舞い </summary>
[Serializable]
public class MyPlayableBehaviour : PlayableBehaviour
{
    [Header("再生ID")]
    public int PlayId;

    public override void OnGraphStart(Playable playable)
    {
    }
}
/// <summary> クリップの定義 </summary>
[Serializable]
public class MyClip : PlayableAsset, ITimelineClipAsset
{
    public MyPlayableBehaviour template = new MyPlayableBehaviour(); // パラメータ

    public ClipCaps clipCaps => ClipCaps.None;

    public override Playable CreatePlayable(PlayableGraph graph, GameObject owner)
    {
        return ScriptPlayable<MyPlayableBehaviour>.Create(graph, template);
    }
}
/// <summary> トラックの振る舞い </summary>
public class MyMixerBehaviour : PlayableBehaviour
{
    public List<TimelineClip> Clips;

    public override void ProcessFrame(Playable playable, FrameData info, object playerData)
    {
        var trackBinding = playerData as InstanceObject; // タイムラインインスタンス
        if (trackBinding == null)
            return;

        double time = trackBinding.Director.time;
        for (int i = 0; i < Clips.Count; i++)
        {
            var clip = Clips[i];
            var playableInput = (ScriptPlayable<MyPlayableBehaviour>)playable.GetInput(i);
            var input = playableInput.GetBehaviour();
            if (clip.start <= time && time <= clip.end) // クリップ時間のみ再生
                trackBinding.OnEvent(input.PlayId);
        }
    }
}
/// <summary> トラックの定義 </summary>
[Serializable]
[TrackColor(0.2f, 0.63f, 1.0f)] // このあたりはGUIの見た目や制約条件
[TrackClipType(typeof(MyClip))]
[TrackBindingType(typeof(InstanceObject))]
public class MyTrack : TrackAsset
{
    public override Playable CreateTrackMixer(PlayableGraph graph, GameObject go, int inputCount)
    {
        var mixer = ScriptPlayable<MyMixerBehaviour>.Create(graph, inputCount);
        mixer.GetBehaviour().Clips = new List<TimelineClip>(GetClips());
        return mixer;
    }
}}
タイムラインインスタンスの動的な設定
実際のゲーム開発となると、Spineアバターモデルをコード上から設定することもあると思います。
そのような時は、SetGenericBindingを使ってバインドできます。
void Start()
{
    PlayableDirector timeline = GetComponent<PlayableDirector>();
    SkeletonAnimation spineObject = ResourceLoad(spineName) as SkeletonAnimation;

    // タイムラインインスタンスの設定
    foreach (var playableAssetOutput in timeline.playableAsset.outputs)
    {
        if (playableAssetOutput.streamName == "Spine Animation Track" ||
            playableAssetOutput.streamName == "Spine Animation State Track")
        {
            timeline.SetGenericBinding(playableAssetOutput.sourceObject, spineObject);
        }
    }

    // アニメーションクリップの設定
    TimelineAsset timelineAsset = (TimelineAsset)timeline.playableAsset;
    foreach (var track in timelineAsset.GetOutputTracks())
    {
        if (!(track is SpineAnimationStateTrack))
            continue;
        foreach (var clip in track.GetClips())
        {
            var spineClip = clip.asset as SpineAnimationStateClip;
            var clipName = spineClip.template.animationReference.Animation.Name;
            var animationClip = ResourceLoad(clipName);
            spineClip.template.animationReference = animationClip;
        }
    }
}
まとめ
UnityTimelineの記事はそこそこあるのですが、Spineとの組み合わせ情報が少なく、試行錯誤でした。
どちらも使いやすい機能ですので、今後のゲーム開発にお役に立てたらと思います。
明日は@phasmatodeanです。