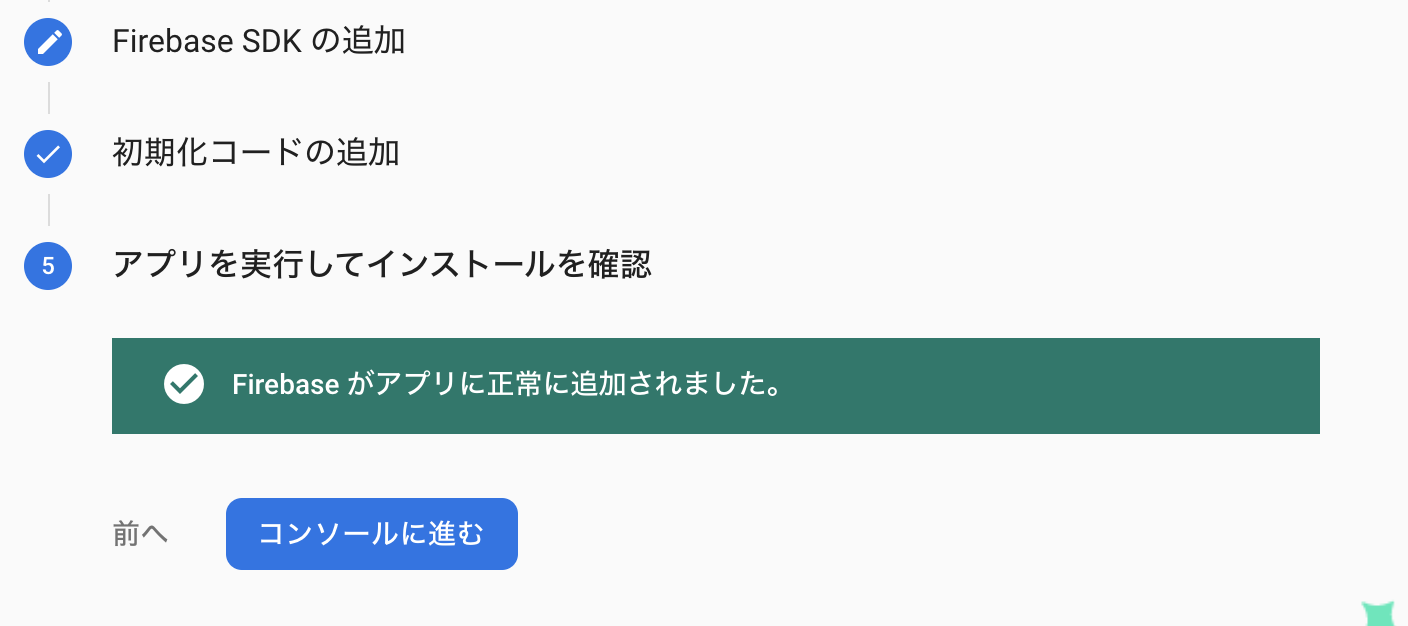
ここで、紹介する方法は2019/11/8の方法なので仕様が変わっている場合があります。
Firebaseの準備をする
まずは、ここからFirebaseにアクセスしてGoogleアカウントでログインする。
ログインが完了すると以下のような画面が出てくるので「プロジェクトの追加」を選択する。
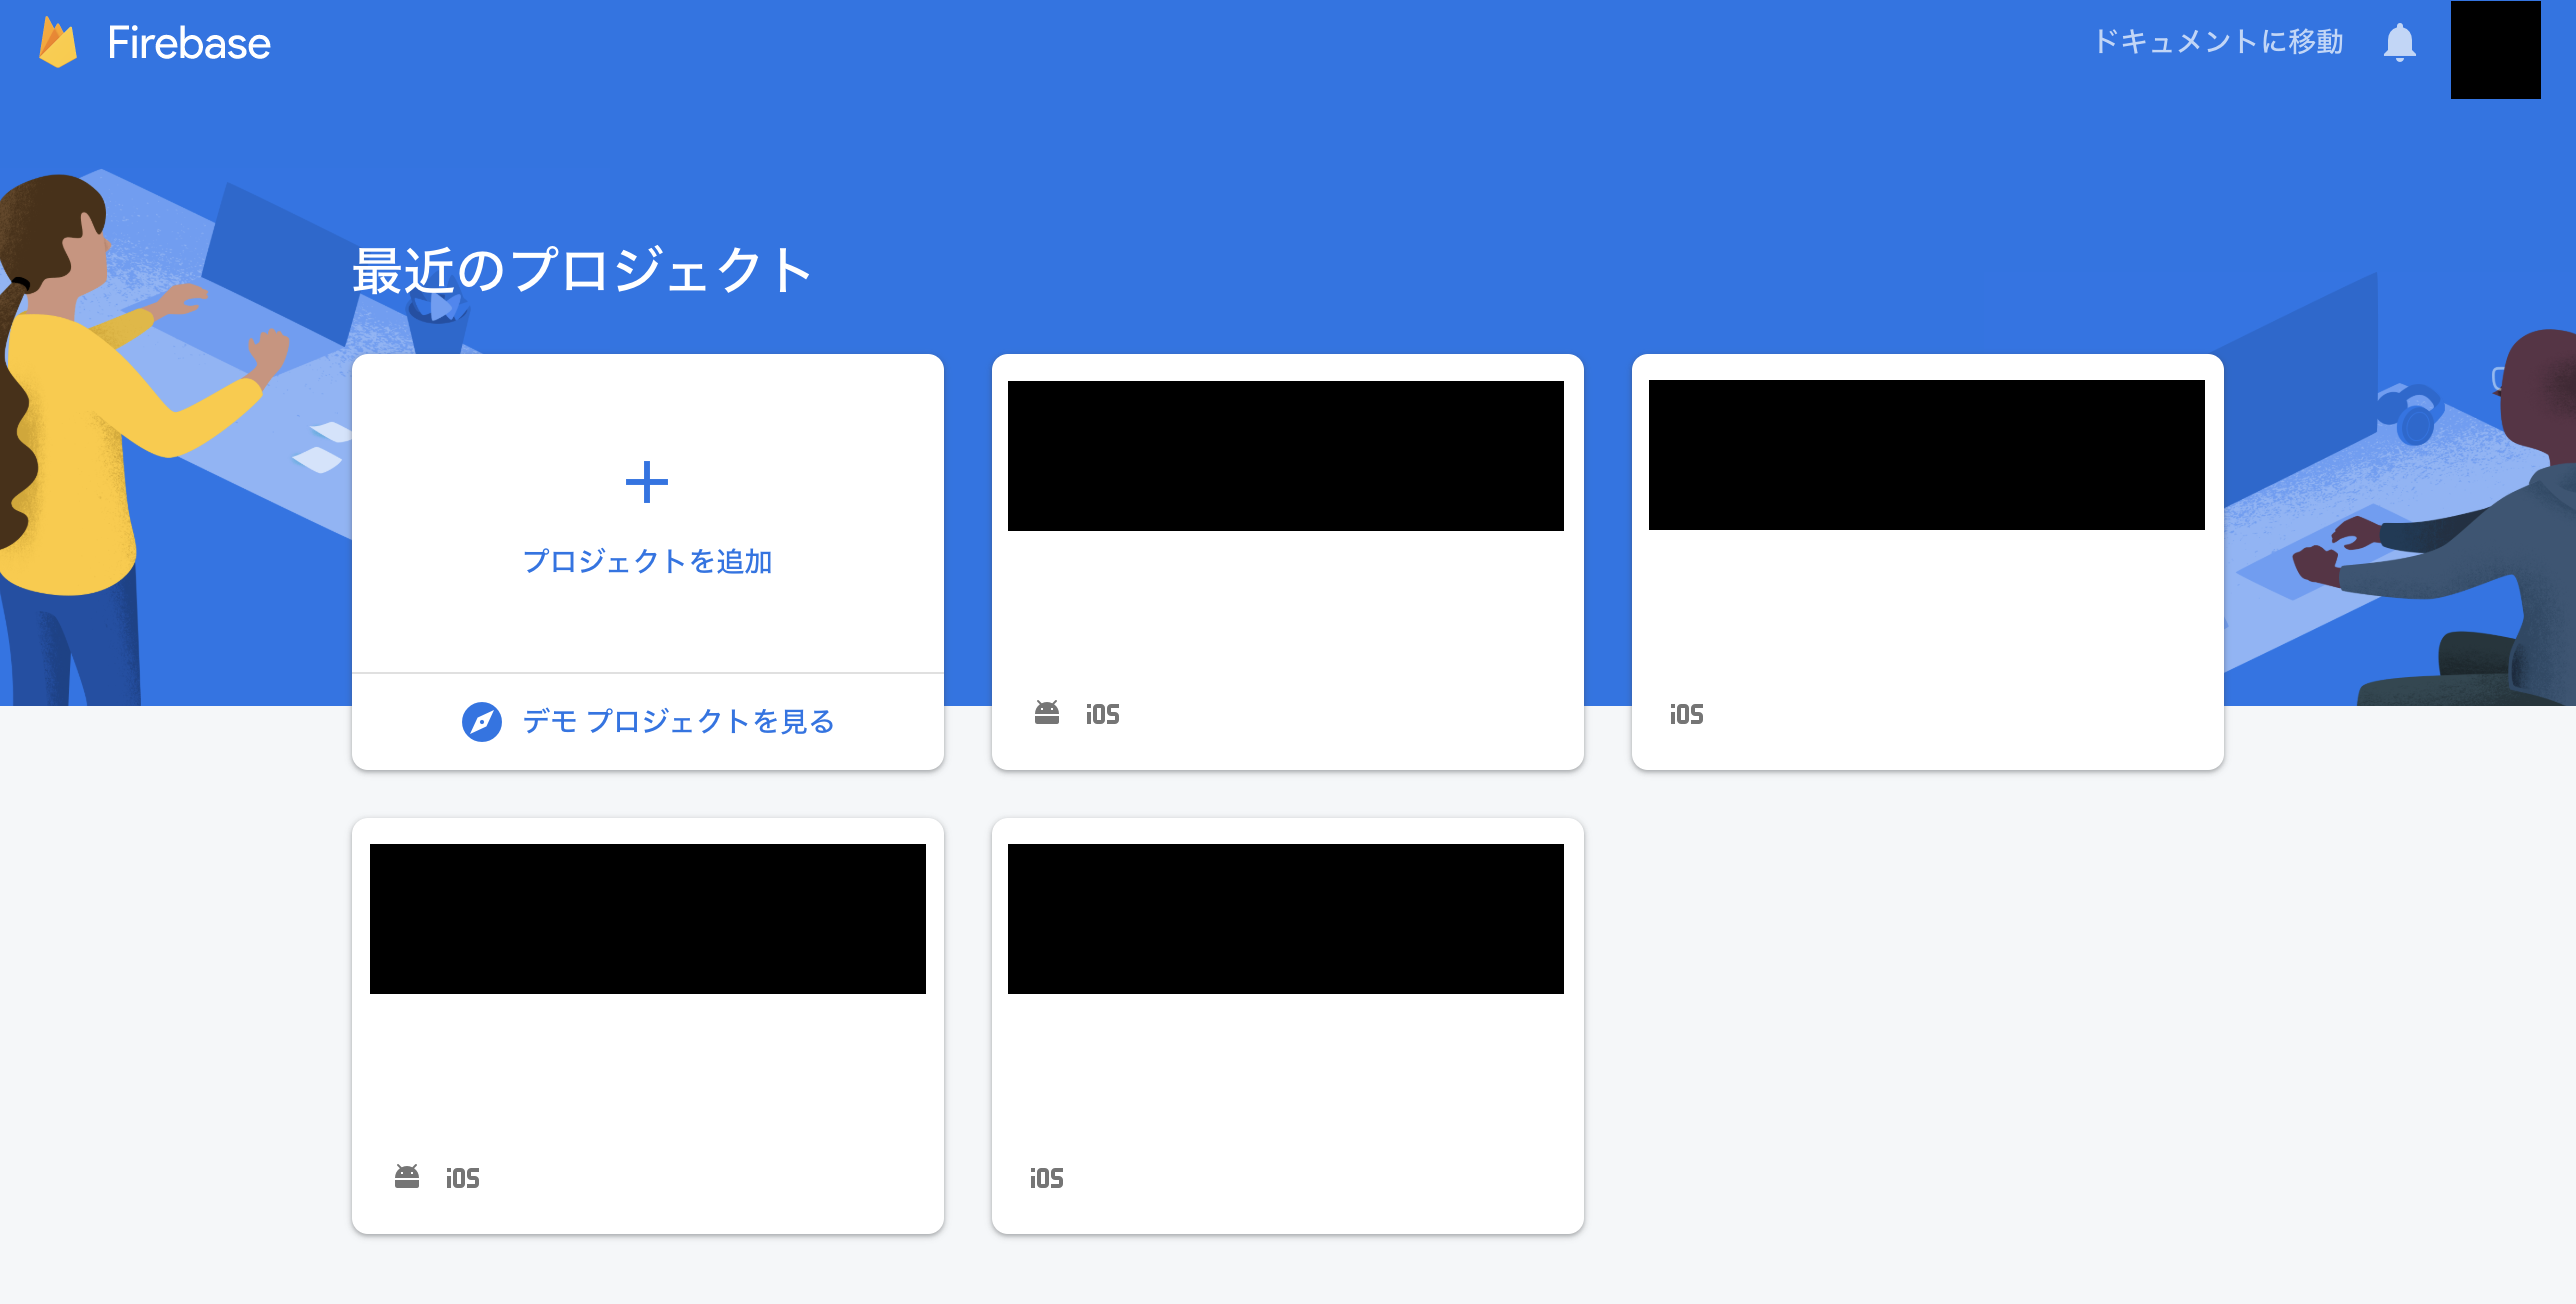
すると、以下のような画面が出てくるのでプロジェクト名を決めて「プロジェクト名を入力します」という部分に入力する。(ここで入力する、プロジェクト名はXcode上と異なっていても良い)

入力し続行を押すと、アプリの解析をするか否かという質問をされる。アクセス数などを解析したい場合はオンにして次に進む。(デフォルトはオン)
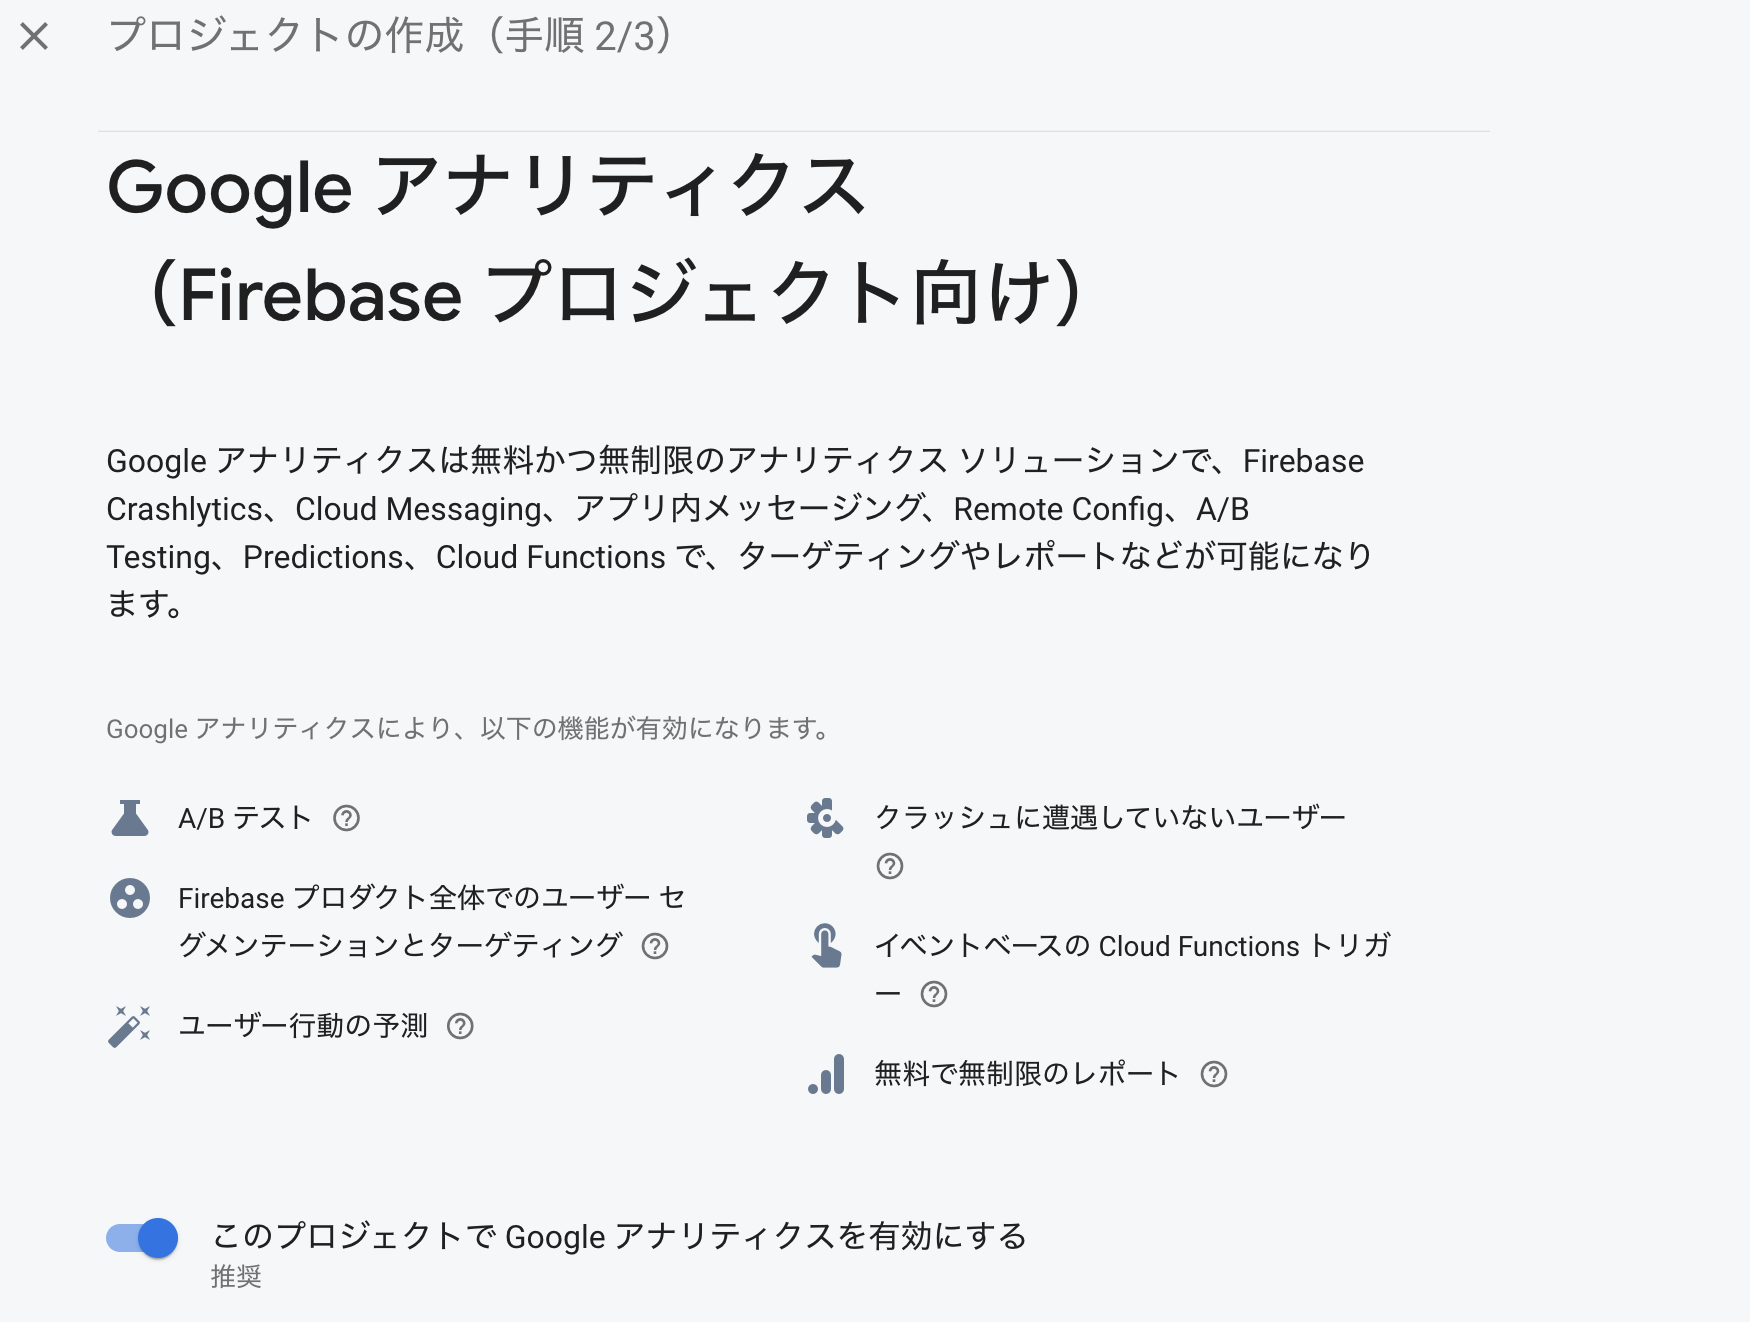
オンにして次に進むと、アナリティクスのアカウントを選択する画面が出るので、自分のGoogle Analyticsのアカウントを選んで次に進む。(持っていない場合は作成する必要がある)
全部完了すると、以下のような画面が出てくる。この画面をコンソールと呼ぶ。

Firebaseにアプリを登録する。
準備
コンソールが表示されたら、iOSと書かれた白丸のボタンをクリック。
このような画面が出てくるので、必要な情報を入力していく。
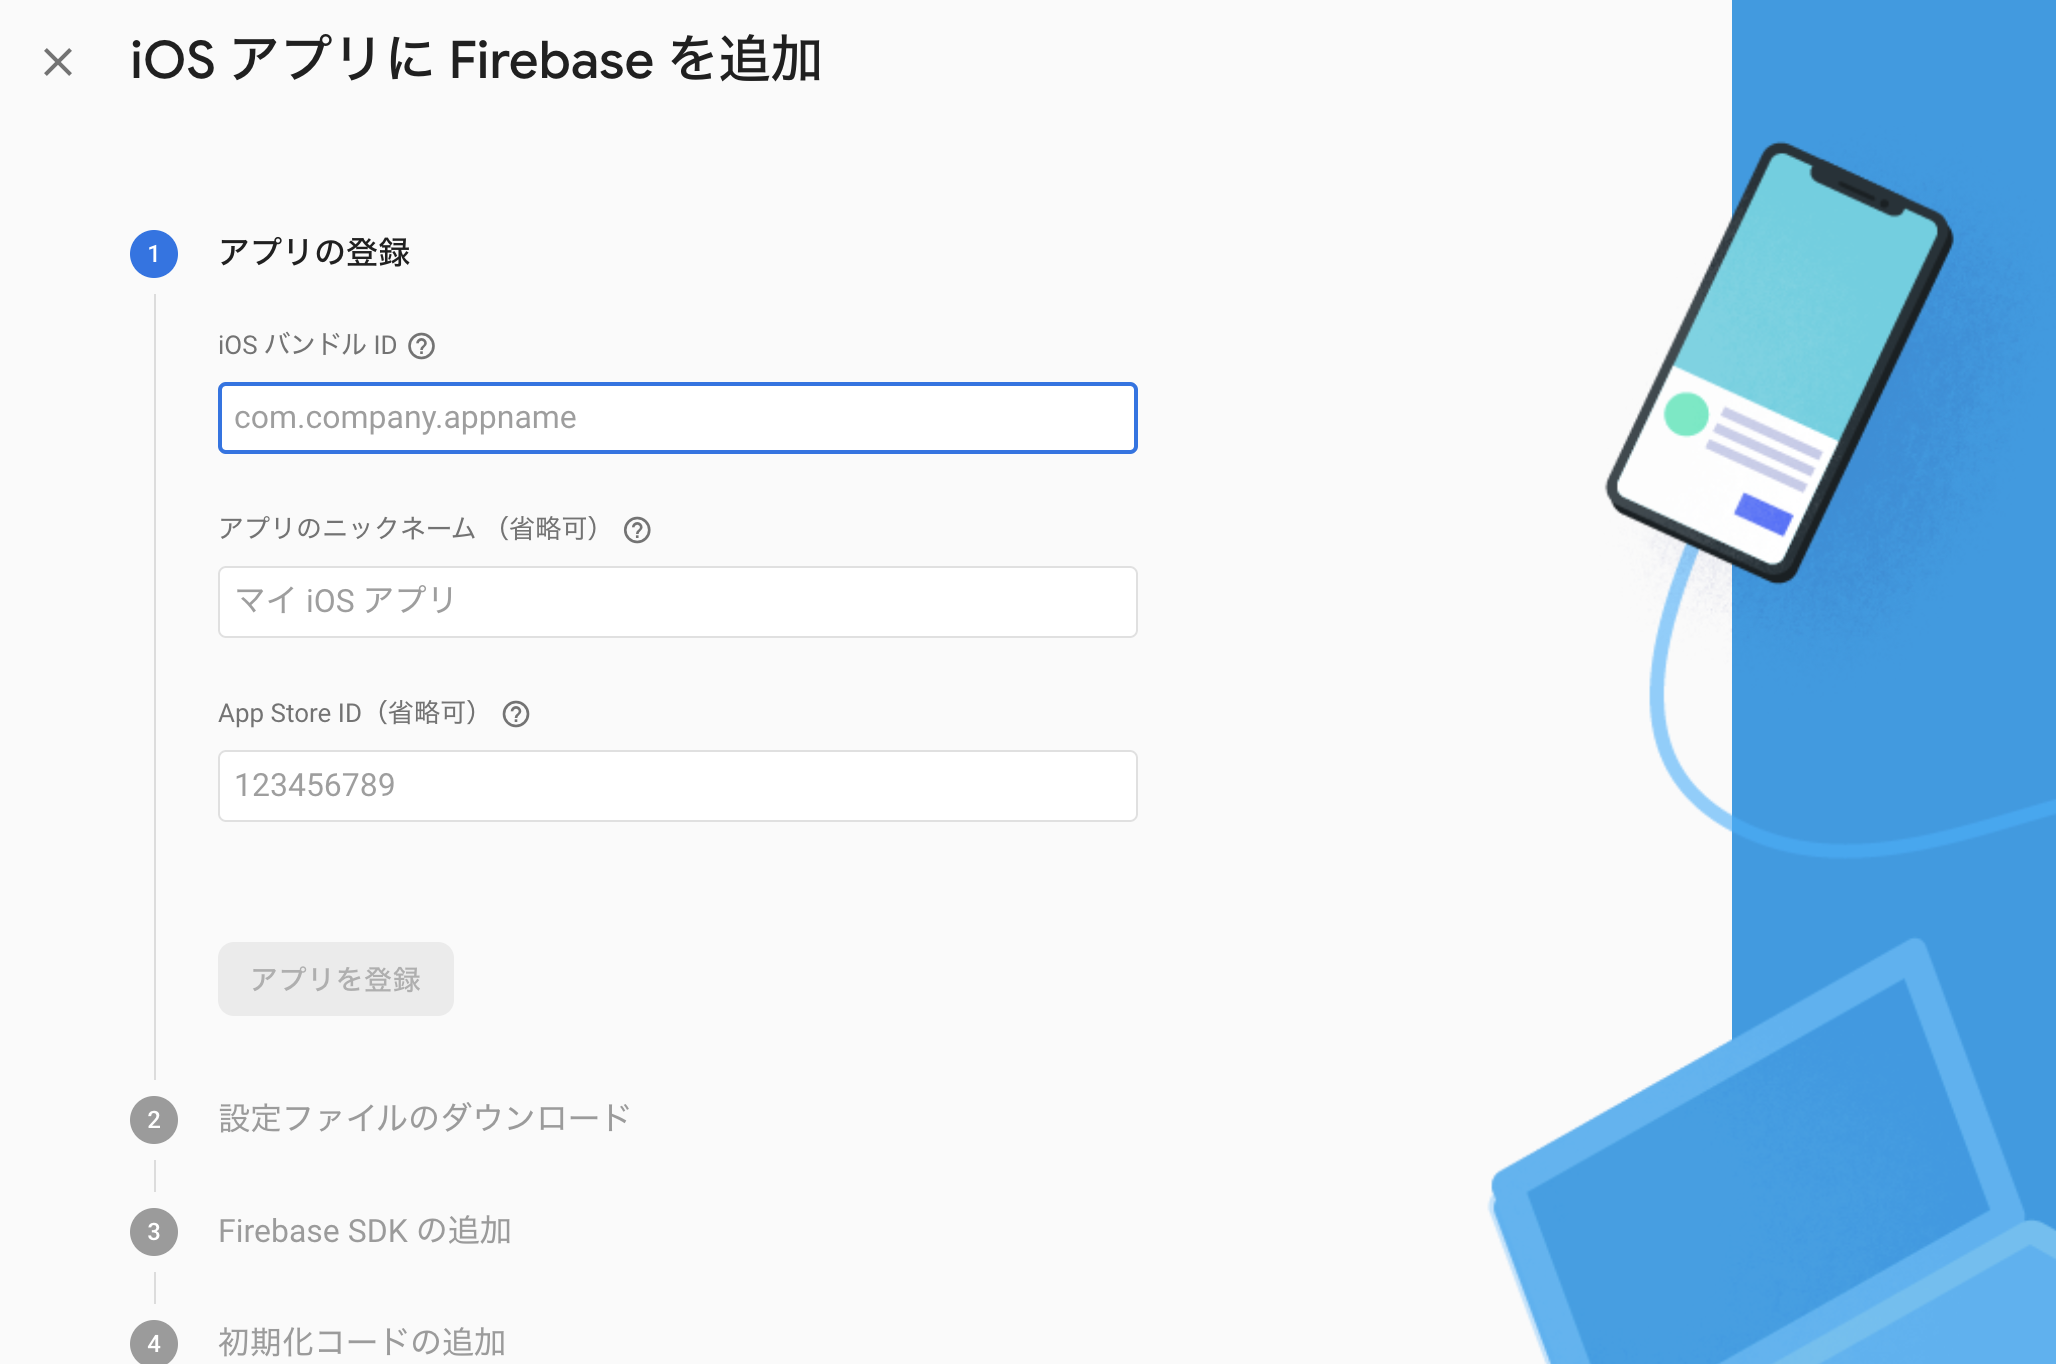
iOSバンドルIDはXcodeを開き以下の赤い部分に書かれている。

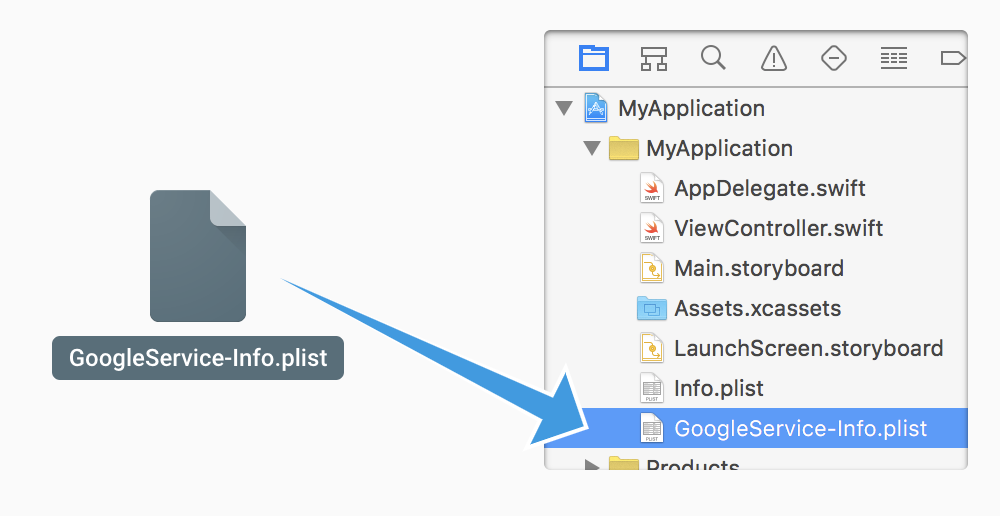
設定ファイルをダウンロードする画面になるので、info.plistなどと同じ階層にドラックアンドドロップする。(ルート階層)
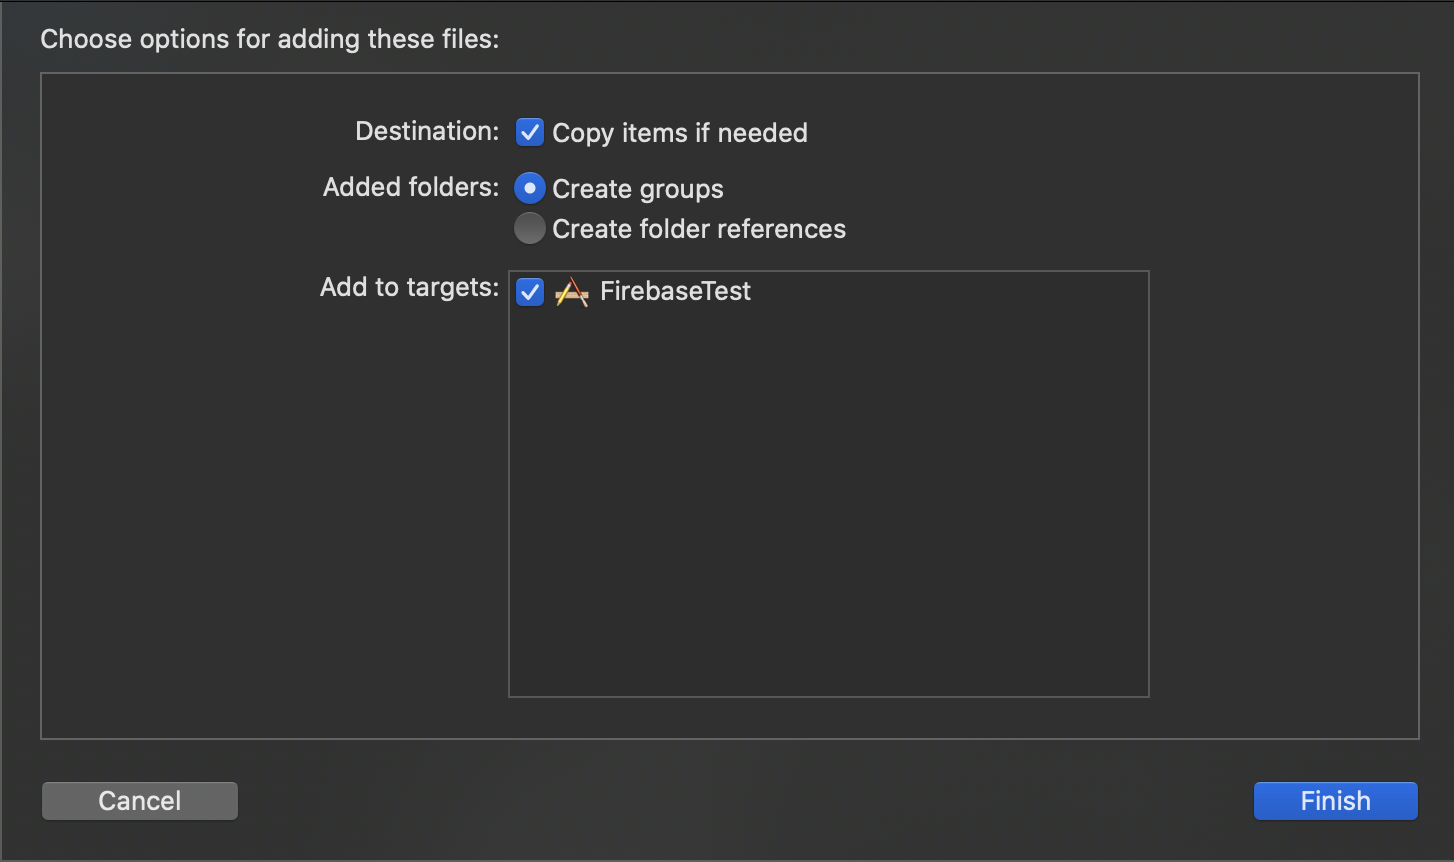
コピーするときに以下のような設定にしておくとエラーが起きにくい。
ライブラリーをインポートする。
ターミナルを開き、Xcodeのプロジェクトがある階層で以下のコードを実行する。
このショートカットを利用すると簡単にできる。
以下の作業をする前に一度Xcodeを終了しておくとエラーが起きにくい。
まずは、pod initと入力し、実行する。
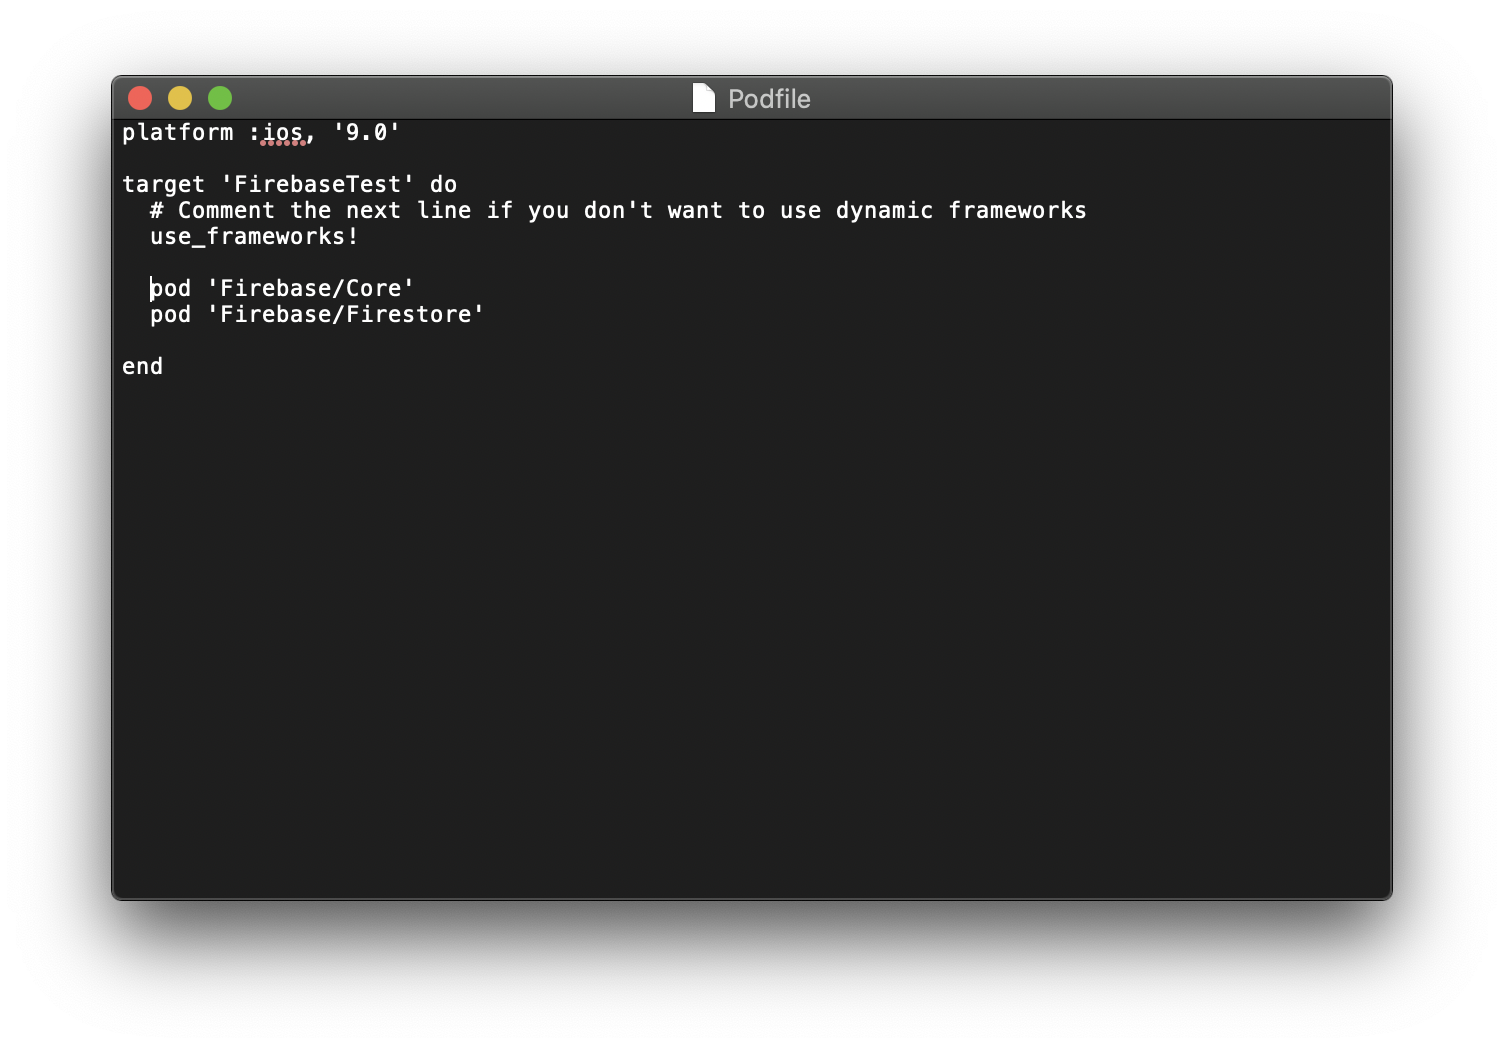
実行するとPodfileというファイルが作成されるのでそれを開く。

- Podfileを開いたら上から二行目のコメントアウトを解除する。
-
pod 'Firebase/Core'を# Comment the next line if you don't want to use dynamic frameworks use_frameworks!の下にコピーアンドペーストする。この時、インデックスが# Comment the next line if you don't want to use dynamic frameworks use_frameworks!と同じになるようにする。 -
ここから使いたい機能のライブラリー名を探して一番右端の列にあるpodから始まる部分をコピーして
pod 'Firebase/Core'の下に入力する。この時もインデックスに気を付ける。
全て完了したら、テキストエディターを閉じてターミナルに戻りpod installと入力し実行する。
ターミナルに赤のエラ〜メッセージがないことを確認して、Finderに戻ると白色のアイコンのxcworkspaceというファイルが作成されているのでそれを開く。

Xcode側の設定
-
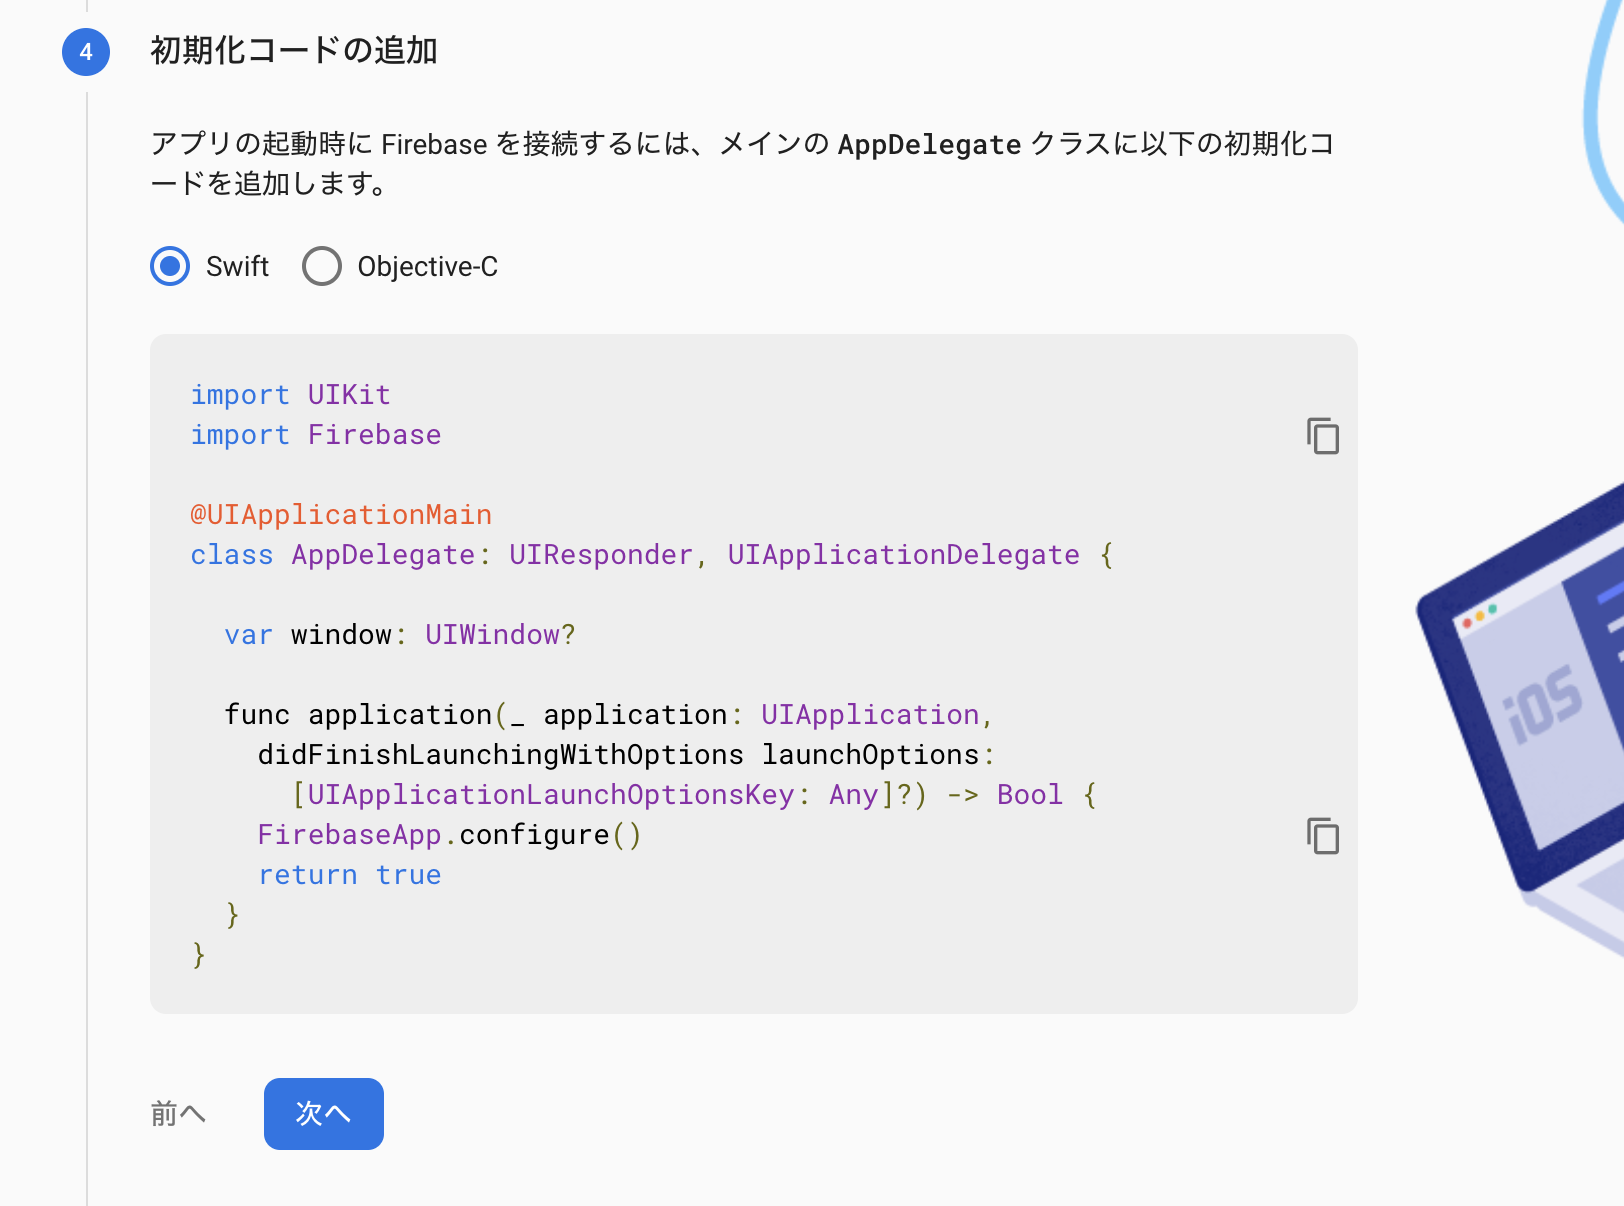
AppDeligate.swiftを開いてimport UIKitの下にimport Firebaseと入力し、Firebaseのライブラリを入力する。 -
func application(_ application: UIApplication, didFinishLaunchingWithOptions launchOptions: [UIApplicationLaunchOptionsKey: Any]?) -> Boolを探し、return trueの上にFirebaseApp.configure()と入力。
import UIKit
import Firebase

@UIApplicationMain
class AppDelegate: UIResponder, UIApplicationDelegate {

  var window: UIWindow?

  func application(_ application: UIApplication,
    didFinishLaunchingWithOptions launchOptions:
      [UIApplicationLaunchOptionsKey: Any]?) -> Bool {
    FirebaseApp.configure()
    return true
  }
}
または(Xcode11)
import UIKit
import Firebase

@UIApplicationMain
class AppDelegate: UIResponder, UIApplicationDelegate {

    func application(_ application: UIApplication, didFinishLaunchingWithOptions launchOptions: [UIApplication.LaunchOptionsKey: Any]?) -> Bool {
        FirebaseApp.configure()
        return true
    }

    // MARK: UISceneSession Lifecycle

    func application(_ application: UIApplication, configurationForConnecting connectingSceneSession: UISceneSession, options: UIScene.ConnectionOptions) -> UISceneConfiguration {
        // Called when a new scene session is being created.
        // Use this method to select a configuration to create the new scene with.
        return UISceneConfiguration(name: "Default Configuration", sessionRole: connectingSceneSession.role)
    }
    func application(_ application: UIApplication, didDiscardSceneSessions sceneSessions: Set<UISceneSession>) {
        // Called when the user discards a scene session.
        // If any sessions were discarded while the application was not running, this will be called shortly after application:didFinishLaunchingWithOptions.
        // Use this method to release any resources that were specific to the discarded scenes, as they will not return.
    }
}

