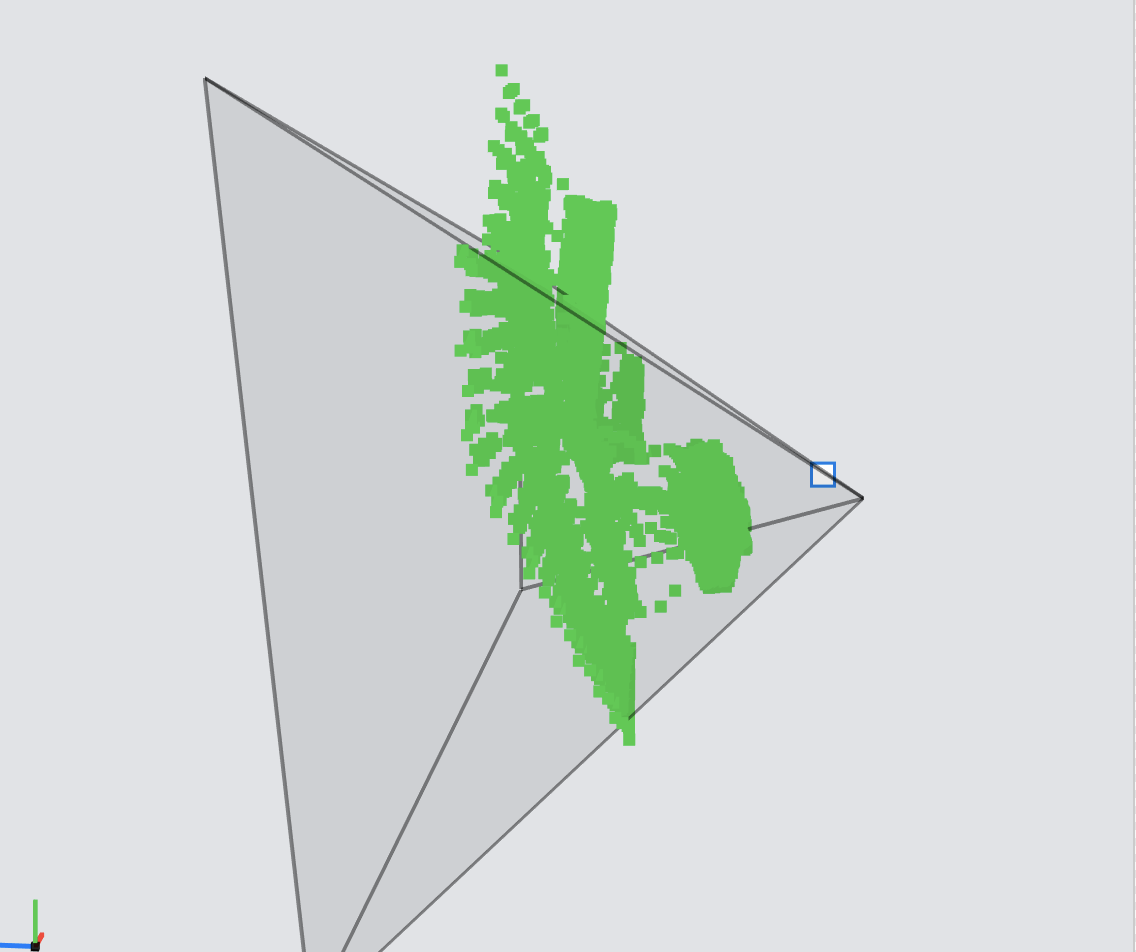
iPhone 12 Pro/Pro MAXや、iPad Proに搭載されているLiDARを使って、現実世界をボクセルにしてみたので、その方法を説明します。
Appleの公式サンプル「Visualizing a Point Cloud Using Scene Depth」を改変して作ります。
仕上がり
仕上がりは印象派の絵のようになりました。
もう少し鮮明な動画はこちら。
https://twitter.com/jugemjugemjugem/status/1353245962127331329?s=20
Appleのサンプルの説明
最初にAppleのサンプルの仕組みについて説明します。
このサンプルは、LiDARのDepth情報をもとに画面にPoint Cloud(点群)を表示する、というものです。
実行イメージは次のとおりです。
では、DepthデータをPoint Cloudに変換する仕組みをステップごとに説明します。
1. スクリーン上に敷き詰めた点を作る
最初にスクリーンに敷き詰めた点を作っています。
コード上では、Renderer.swiftのmakeGridPointsメソッドがこれをしています。
この時点の処理結果を画面に表示すると、こんな感じに見えます。
【スクリーンに敷き詰めた点】

(見やすいように赤色をつけています)
2. 敷き詰めた点の位置から色を得る
敷き詰めた点の位置にある色をカメラの画像から取得します。
この処理は、シェーダーのunprojectVertex関数がしています。
サンプラーを使って色を取得しますが、ARKitから取得した画像(ARFrameのcapturedImage)はYCbCr形式なので正確な色を取得するためにテクスチャーを2つ使う必要があります。詳しくはApple公式/ARFrame/capturedImageをご覧下さい。
// Sample Y and CbCr textures to get the YCbCr color at the given texture coordinate
const auto ycbcr = float4(capturedImageTextureY.sample(colorSampler, texCoord).r, capturedImageTextureCbCr.sample(colorSampler, texCoord.xy).rg, 1);
const auto sampledColor = (yCbCrToRGB * ycbcr).rgb;
ちょっと分かりづらいですが、私が写した方向に見える色を反映しています。
3. 点の3次元空間上の位置を取得する
点の位置をDepth情報を使って3Dにします。
この処理もunprojectVertex関数がしています。
サンプラーでDepthの情報を取得して、worldPoint関数でワールド座標に変換しています。
// Sample the depth map to get the depth value
const auto depth = depthTexture.sample(colorSampler, texCoord).r;
// With a 2D point plus depth, we can now get its 3D position
const auto position = worldPoint(gridPoint, depth, uniforms.cameraIntrinsicsInversed, uniforms.localToWorld);
worldPoint関数は、2Dの点をローカル座標 > ワールド座標という順で変換する関数です。
カメラ内部パラメータの逆行列を使って、スクリーンの座標系をカメラ座標系のベクトルに変換します。これにdepthをかけることで実際のカメラ座標を得ています。
カメラ座標をワールド座標系への変換はビュー変換の逆行列を使います。通常の3Dレンダリングではビュー変換によってワールド座標からカメラ座標にしますが、今回の処理ではもともとがカメラ座標なので、通常とは逆の手順を踏んでいます。
/// Retrieves the world position of a specified camera point with depth
static simd_float4 worldPoint(simd_float2 cameraPoint, float depth, matrix_float3x3 cameraIntrinsicsInversed, matrix_float4x4 localToWorld) {
    // ローカル座標への変換
    const auto localPoint = cameraIntrinsicsInversed * simd_float3(cameraPoint, 1) * depth;
    // ワールド座標への変換
    const auto worldPoint = localToWorld * simd_float4(localPoint, 1);

    // ?(後述)
    return worldPoint / worldPoint.w;
}
最後に、worldPointを/worldPoint.wで割っていますが、この時点でwの値は1になっており、なぜこの処理をしているのか謎です。
なお、カメラ座標系やスクリーン座標系といった言葉についてはこちらの記事が詳しいです。
画像の座標を空間の座標に変換する
画像座標系からカメラ座標系への変換
この処理の結果を横から見ると、このように点に奥行きの情報が加味されていることがわかります。
4. 画面上にレンダリングする
最後にレンダリング、つまり実際の画面を作ります。
レンダリングは、particleVertex関数(頂点シェーダー)とparticleFragment関数(フラグメントシェーダー)で行います。
particleVertex関数は、ワールド座標系にある点をカメラ座標系に変換し、プロジェクション変換しています。
float4 projectedPosition = uniforms.viewProjectionMatrix * float4(position, 1.0);
この処理はunprojectVertex関数でついでにやれそうですが、particleVertex関数に分けている理由は、それぞれが次のような役割分担で、更新のタイミングが異なるためです。
-
unprojectVertex関数は、カメラに見えている画像を、点群の3Dモデルに変換する
=>カメラが動いた時に、必要な分だけ変換する -
particleVertex関数は、カメラの現在の向きに合わせて、3Dモデルを表示する
=>毎フレームごとにすべての点を表示する
なお、点群の3Dモデルは一定の大きさの配列内に収められており、一度に変換するのではなく、ローテーションしながら少しずつ更新していきます。こうすることで、ユーザーが新しい場所に移動すると古い点群を捨てつつ新しい点群を作成しています。
ここまでがAppleのサンプルの説明です。
これ以外にも、カメラ画像をそのまま表示する処理もありますが、この説明では割愛します。
サンプルを変更して、ボックスを表示するようにする
サンプルを変更してボックスを変更するようにします。
点を描画するところをボックスに変更するだけです。
1. ボックスを作る
ボックスを作るメソッドを用意し、インスタンス変数として保持しておきます。
private lazy var baseMesh = createMesh()

func createMesh() -> MTKMesh {
   let allocator = MTKMeshBufferAllocator(device: device)
   let mdlMesh = MDLMesh.newBox(withDimensions: vector_float3(repeating: 1),
                                segments: vector_uint3(repeating: 2),
                                geometryType: .triangles,
                                inwardNormals: false,
                                allocator: allocator)
   return try! MTKMesh(mesh: mdlMesh, device: device)
}
2. シェーダーにボックス情報を渡してレンダリングさせる
点群をレンダリングさせるシェーダーに、点群の情報に加えてボックスの情報も渡します。
Appleのサンプルでは、点の数(currentPointCount)をシェーダーに頂点数として渡していましたが、今回は点の数=ボックスの数になるのでインスタンス数として点の数を渡します。
renderEncoder.setDepthStencilState(depthStencilState)
renderEncoder.setRenderPipelineState(particlePipelineState)
renderEncoder.setVertexBuffer(pointCloudUniformsBuffers[currentBufferIndex])
renderEncoder.setVertexBuffer(particlesBuffer)
renderEncoder.setVertexBuffer(baseMesh.vertexBuffers[0].buffer, offset: 0, index: Int(kMesh.rawValue))
renderEncoder.drawIndexedPrimitives(type: baseMesh.submeshes[0].primitiveType,
                                    indexCount: baseMesh.submeshes[0].indexCount,
                                    indexType: baseMesh.submeshes[0].indexType,
                                    indexBuffer: baseMesh.submeshes[0].indexBuffer.buffer,
                                    indexBufferOffset: baseMesh.submeshes[0].indexBuffer.offset,
                                    instanceCount: currentPointCount
)
3. シェーダーを変更し、ボックスを描画するようにする
Appleのサンプルではシェーダーは頂点を受け取ってそれをそのままレンダリングしていました。
これを、点とボックスの頂点情報を受け取って、点の位置にボックスを表示するようにします。
といっても簡単で、点の配列にアクセスする方法をそれまでは頂点番号(vertex_id)だったものを、インスタンス番号(instance_id)にするだけです。
また、ボックスの頂点は原点の位置にあるため、ボックスの頂点座標に点の座標を足せば、点の位置にボックスを描画することができます。
vertex MeshVertexOut particleVertex(uint vertexID [[vertex_id]],
                                         uint iid [[ instance_id ]],
                                         constant PointCloudUniforms &uniforms [[buffer(kPointCloudUniforms)]],
                                         constant ParticleUniforms *particleUniforms [[buffer(kParticleUniforms)]],
                                         VertexInput mesh [[ stage_in ]]) {
    const auto particleData = particleUniforms[iid];
    auto position = particleData.position + mesh.position/50;
50で割っているのは大きさの調整です。この数を小さくするとボックスは大きくなります。
最後に
NoteではiOS開発、AR、機械学習などについて定期的に発信しています。
https://note.com/tokyoyoshida
Twitterでも発信しています。
https://twitter.com/jugemjugemjugem


