前提
- デフォルトシェルにzshを使用していた
- ターミナルはiTerm2
作業ログ
fishのインストール→デフォルトシェルの変更
# 実行するとfishがインストールされる
$ brew install fish

# versionを確認
$ fish -v
fish, version 3.0.2

# デフォルトシェルにfishを指定
$ sudo vi /etc/shells
 -> /usr/local/bin/fish を末尾に追加
$ chsh -s /usr/local/bin/fish
このタイミングで再起動すると、fishが読み込まれます。
chsh: /usr/local/bin/fish: non-standard shell 的なエラーが出る方は、 /etc/shells に /usr/local/bin/fish がちゃんと追加されているか(typo等)を確認してください。
プラグイン『fisherman』のインストール
# fishermanをインストール
$ curl -Lo ~/.config/fish/functions/fisher.fish --create-dirs https://git.io/fisher

#こんな感じのやつが出る
  % Total    % Received % Xferd  Average Speed   Time    Time     Time  Current
                                Dload  Upload   Total   Spent    Left  Speed
 0     0    0     0    0     0      0      0 --:--:--  0:00:01 --:--:--     0
 100 15372  100 15372    0     0   9801      0  0:00:01  0:00:01 --:--:--  9801

# fishermanのversionを確認
$ fisher -v
fisher version 3.2.9 ~/.config/fish/functions/fisher.fish
fishermanの各種プラグインをインストール
# fishの設定ファイルを作成
$ touch ~/.config/fish/config.fish

# gitステータスをわかりやすくするtheme-bobthefishを追加
$ fisher add oh-my-fish/theme-bobthefish
fetching https://codeload.github.com/oh-my-fish/theme-bobthefish/tar.gz/master
linking ~/.config/fish/functions/__bobthefish_colors.fish
linking ~/.config/fish/functions/__bobthefish_display_colors.fish
linking ~/.config/fish/functions/__bobthefish_glyphs.fish
linking ~/.config/fish/functions/bobthefish_display_colors.fish
linking ~/.config/fish/functions/fish_greeting.fish
linking ~/.config/fish/functions/fish_mode_prompt.fish
linking ~/.config/fish/functions/fish_prompt.fish
linking ~/.config/fish/functions/fish_right_prompt.fish
linking ~/.config/fish/functions/fish_title.fish
added 1 package in 0.83s

# theme-bobthefishを上手く表示させるためのpowerlineフォントをインストール
$ git clone git@github.com:powerline/fonts.git
$ cd fonts
$  ./install.sh

# fontsインストールツールを削除
$ cd ../
$ rm -rf fonts
iTermのfont設定を変更

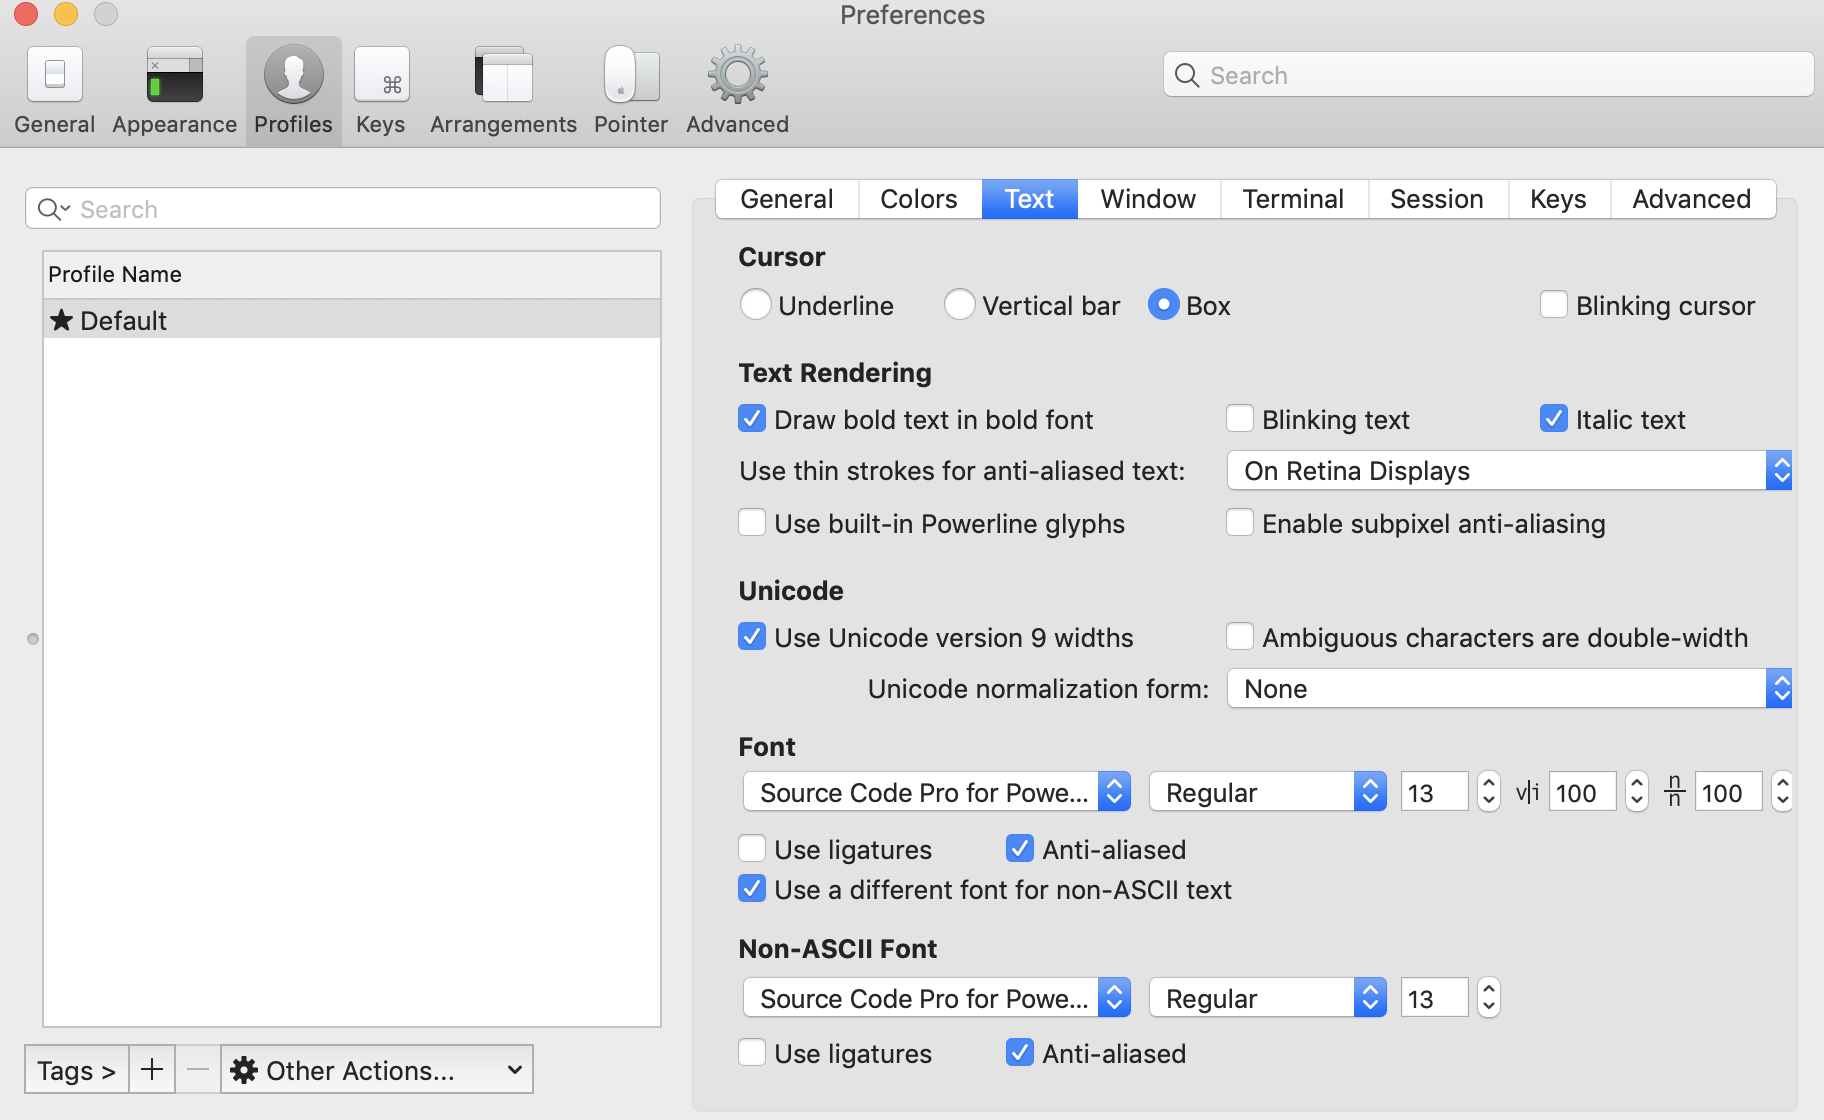
- Preference -> Profiles -> TextのFontから、Powerline系のFontを指定する
- その後、iTermを再起動

