Railsで開発中のアプリに
"管理者だけが投稿できる"機能を実装したいので、
まずはミニアプリで概要を掴むことにしました!
アプリの概要は、
・トップページに管理者が投稿したメッセージが一覧表示される
・投稿ページは管理者だけが遷移できる
・投稿は管理者だけができる
・ユーザーはログインの可否に関係なくメッセージ一覧が表示される
というとてもシンプルな内容です。
※ミニアプリ完成図
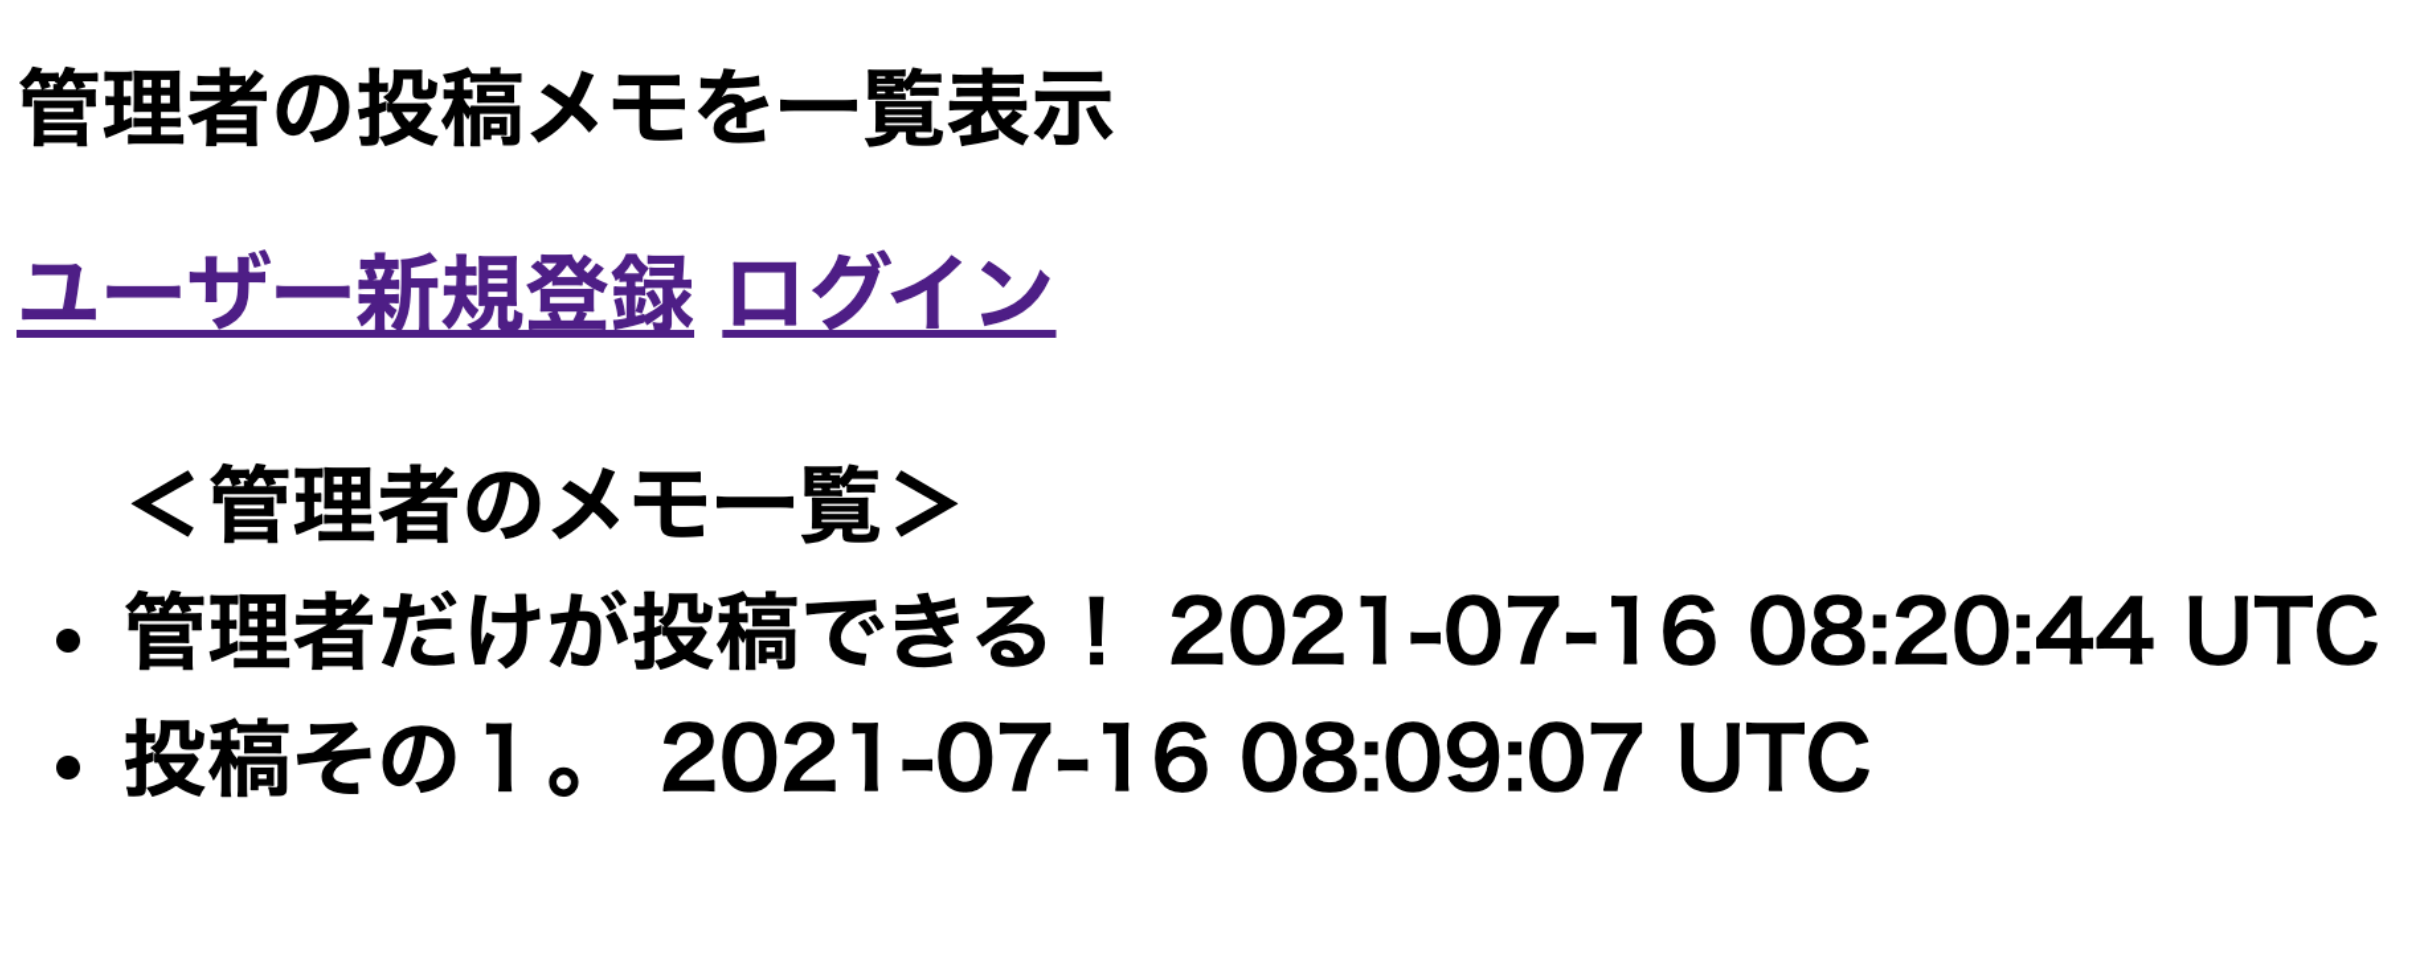
図1.ログアウト状態のトップページ

==================
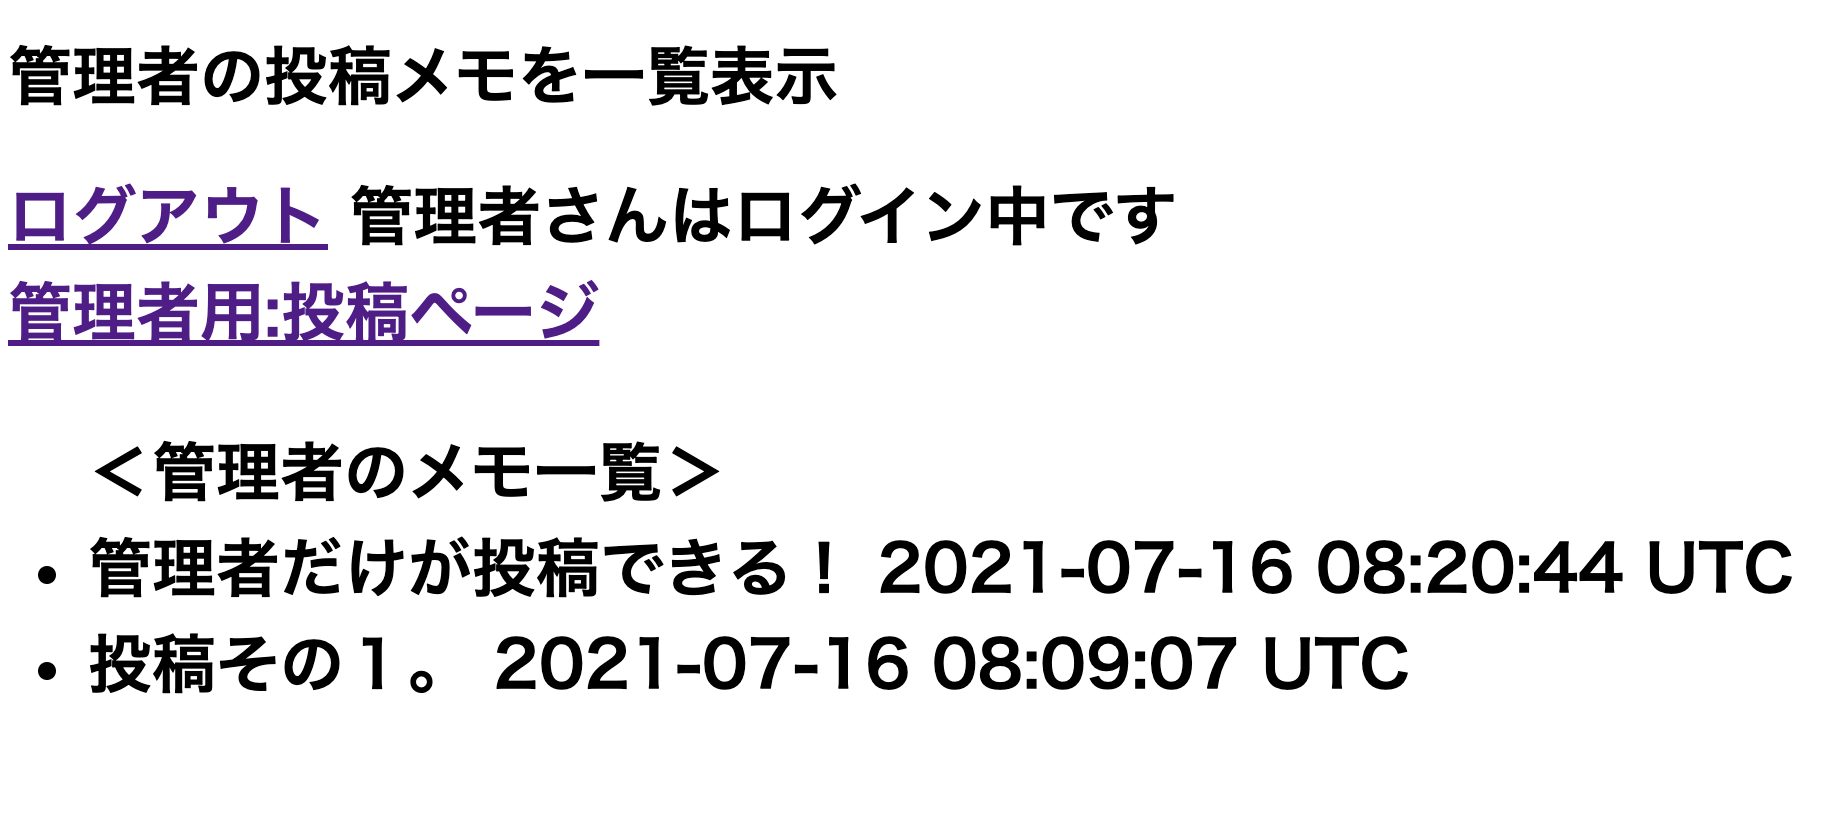
図2.管理者でログインした時:投稿ページへのリンクが表示される

==================
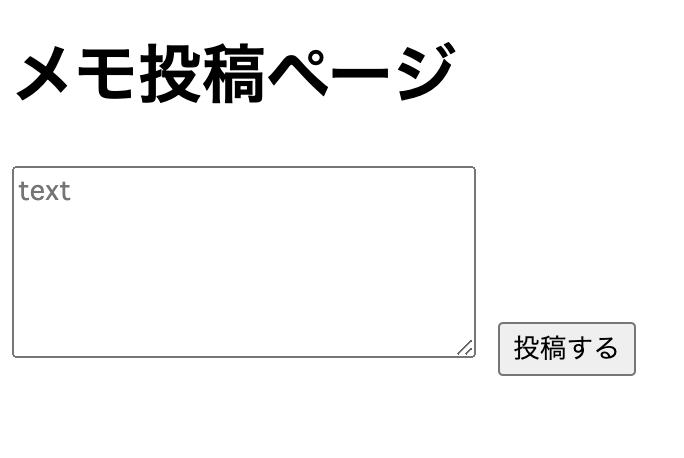
図3.投稿画面

==================
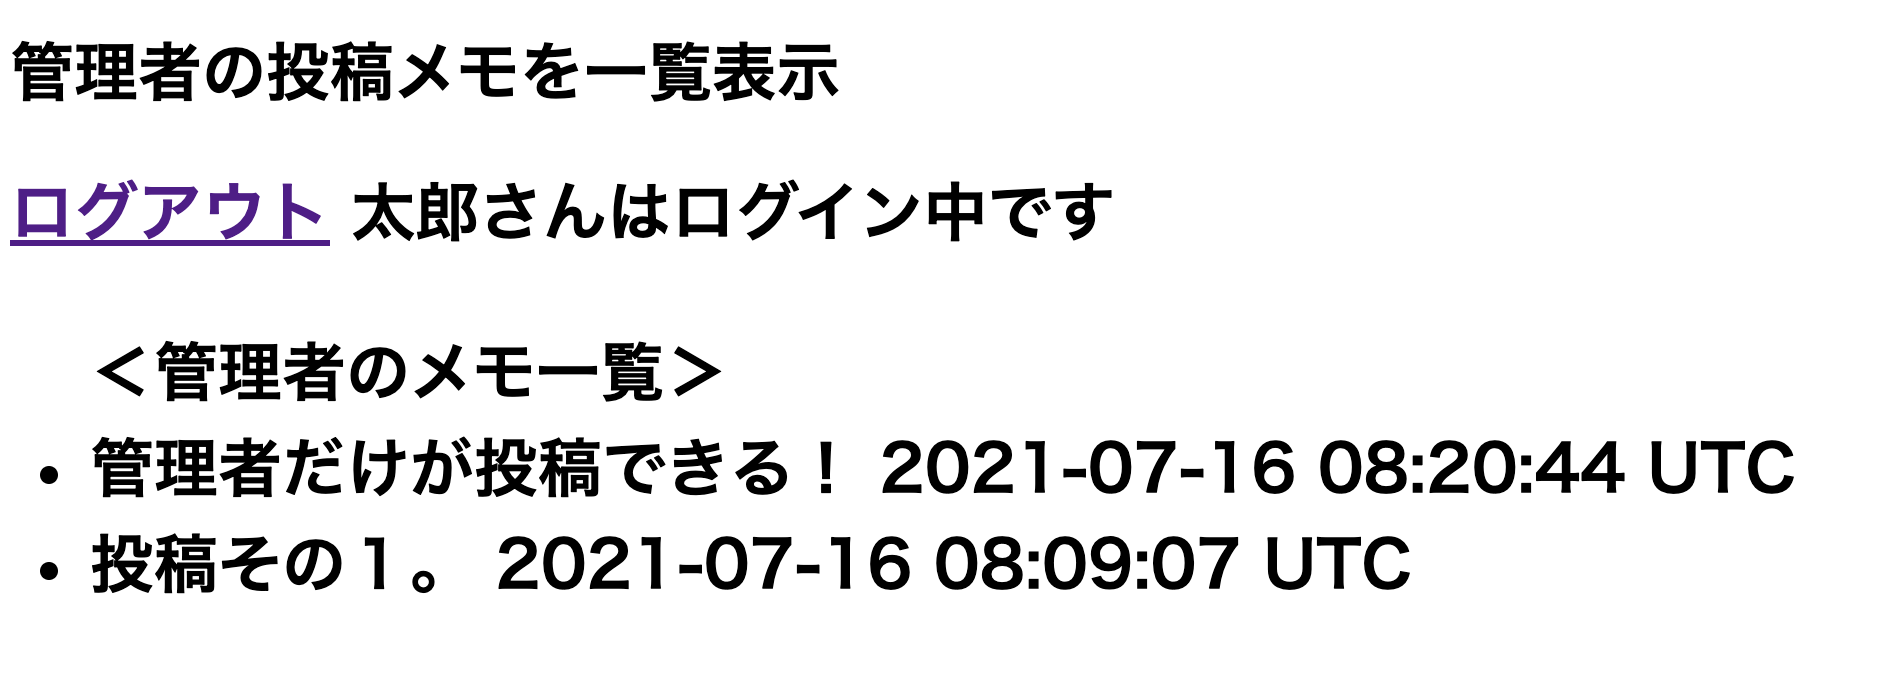
図4.投稿した内容はトップページに表示:仮に管理者以外のユーザーがログインしても新規投稿のページへのリンクは表示されない

==================
0.開発環境
Ruby 2.6.5
Rails 6.0.0
DB mysql
1.全体の流れ
最初に全ての流れを説明します。
忙しい方は、ここだけ見て概要を掴んでいただければ幸いです。
------deviseの導入
・一般ユーザーの管理機能をつけるため gem 'devise'導入
・usersテーブルのカラムにboolean型でadminを追加する。
※adminはdefault: falseとする。
・seeds.rbに管理者用のデータを作成する。
※adminはdefault: trueとする。
・ターミナルでmigrate実行
・ターミナルでrails db:seed実行
(これで管理者のデータがDBに保存される)
・deviseのビューを作成rails g devise:views
------一般ユーザー用のトップページ画面作成
※投稿用のcontrollerをposts controllerという名前にして進めます(ここはご自由に)。
・postsコントローラーの作成 rails g controller posts
・ルーティング設定 indexだけを記述
・posts controllerにもdef index ~ endを記述
・index.html.erbに必要最低限の記述
------管理者用の投稿機能作成
↓ここがポイント!
・管理者用のコントローラーを作成 rails g controller admin::posts
・管理者用のViewも作成 rails g devise:views admins
・ルーティング設定 管理者用のnewアクション,createアクションを記述
※先程の一般ユーザー用のindexアクションとは別に記述するので注意。
・controller/admin/posts_controller に投稿のためのアクションを設定する
※before_actionで管理者か否かの設定をする。
------モデルの作成
・Postモデルを作成する rails g model Post
・UserモデルとPostモデル間のアソシエーションを各モデルに記述
・migrationファイルには、投稿内容を保存するtextと、投稿者を保存するuserカラムを追記する
・rails g db:migrate
------投稿用のViewの作成
・投稿画面に当たるviews/adimin/posts/new.html.erbに、
form_withを使用した投稿フォームを記述。
以上が、全体の流れです。
細かい記述の内容は下記の各項目を参照してください!
2-1.deviseの導入
まずは、一般ユーザーの新規登録・ログイン・ログアウト機能を実装するためにgem 'devise'を使用します。
gem 'devise'
bundle install
2-2.カラムにnicknameとadminを追加
t.string  :email,              null: false, default: ""
t.string  :encrypted_password, null: false, default: ""
t.string  :nickname,           null: false, default: ""
t.boolean :admin,                           default: false
マイグレートを実行する。
rails db:migrate
2-3.管理者用のデータを作成し、DBに保存する
User.create!(nickname:  "管理者",
  email: "admin@example.jp",
  password:  "11111111",
  password_confirmation: "11111111",
  admin: true)
これをDBに保存するには下記のコマンドを実行する。
rails db:seeds
・最後にUserのviewページも作成しておく
rails g devise:views
3.indexビューの作成
・投稿を保存するPosts controllerを作成する
rails g controller posts
・ルーティングとコントローラーにindexアクション
  devise_for :users
  root to: 'posts#index'
  resources :posts, only: [:index]
  def index
    @posts = Post.includes(:user).order("created_at DESC")
  end
# 最新投稿から順に表示する
・viewの作成
(下記は完成後のものなので、すでに管理者か否かの条件分岐も含まれています)
<h1>管理者の投稿メモを一覧表示<h1>
<div>
  <% if user_signed_in? %>
    <%= link_to 'ログアウト', destroy_user_session_path, method: :delete %>
    <%= "#{current_user.nickname}さんはログイン中です"%>
  <% else %>
    <%= link_to 'ユーザー新規登録', new_user_registration_path %>
    <%= link_to 'ログイン', new_user_session_path %>
  <% end %>
</div>

<div>
  <% if user_signed_in? && current_user.admin? %>
    <%= link_to '管理者用:投稿ページ', new_admin_post_path %>
  <% end %>
</div>

<div class="posts">
  <ul><管理者のメモ一覧>
    <% @posts.each do |f| %>
      <li>
        <td><%= f.text %></td>
        <td><%= f.created_at %></td>
      </li>
    <% end %>
  </ul>
<div>
4.管理者用コントローラーとルーティング
・一般ユーザーとは別に管理者用のコントローラーを作成する。
rails g controller admin::posts
・ルーティングを追加記述
  devise_for :users
  root to: 'posts#index'
  resources :posts, only: [:index]

  namespace :admin do
    resources :posts, only: [:new, :create, :edit, :destroy]
  end
namespaceとは、URLとファイル構成を指定のパスにしたい場合に使います。
今回は、admin用のパスを指定したいので、使用しています。
ここでルーティングのパスを確認をすると、adminが追加されています。
% rails routes
   admin_posts POST   /admin/posts(.:format)      admin/posts#create
・作成したコントローラーに管理者に付与したい処理を加えます。
before_actionでは、管理者以外が下記のアクションを実行するとトップページに遷移する設定を加えました。
class Admin::PostsController < ApplicationController
  #管理者ユーザー以外でアクションをしようとするとトップページに遷移する
  before_action :if_not_admin

  #管理者だけにさせたいアクションはここに記述する!
  def new
    @post = Post.new
  end

  def create
    @post = Post.new(post_params)
    if @post.valid?
      @post.save
      redirect_to root_path
    else
      render 'new'
    end
  end

# 実装していないが削除は下記を参照
  def destroy
    post = Post.find(params[:id])
    post.destroy
  end


  private
  def if_not_admin
    redirect_to root_path unless current_user.admin?
  end

  def post_params
    params.require(:post).permit(:text).merge(user_id: current_user.id)
  end
end
・ここで、管理者用のViewも作成しておきます。
rails g devise:views admins
5.モデルの作成
・投稿を保存するPostモデルを作成します.
rails g model post
・モデル間のアソシエーションは下記の通りです。
class Post < ApplicationRecord
  belongs_to :user
end
class User < ApplicationRecord
  devise :database_authenticatable, :registerable,
         :recoverable, :rememberable, :validatable
  has_many :posts
end
・Postsのマイグレーションファイルは下記のようになります。
class CreatePosts < ActiveRecord::Migration[6.0]
  def change
    create_table :posts do |t|
      t.text         :text,  null: false
      t.references   :user, foreign_key: true
      t.timestamps
    end
  end
end
・migrateを実行
rails g db:migrate
6.最後に投稿画面の作成
ここで注意するのは、
new.html.erbのディレクトリです!
index.html.erbのあるapp/views/postsには作成しません。
前に作成した管理者用のviewフォルダに新規投稿のビューを作成します。
<h1>メモ投稿ページ<h1>
<%= form_with url: admin_posts_path, model: @post, local: true do |form| %>
  <%= form.text_area :text, placeholder: "text", rows: "5", cols: "30" %>
  <%= form.submit "投稿する" %>
<% end %>
これで、冒頭に掲載した超簡易的ミニプリの完成です!
面倒でも、ミニアプリを作りながら機能を理解していくのはおすすめです!!
※ご指摘・アドバイスお待ちしております。閲覧ありがとうございました。
00. 参考記事
