本記事について
また、dockerで開発したかったため公式のクイックスタートを参考にRailsの開発環境を作った。
前提
Docker, docker-composeの使い方がわかること
環境
Ruby 3.1.1
Rails 7
MySQL 8.0
VSCode
Mac 10.14.5
Sequel Ace
Rails new するまで
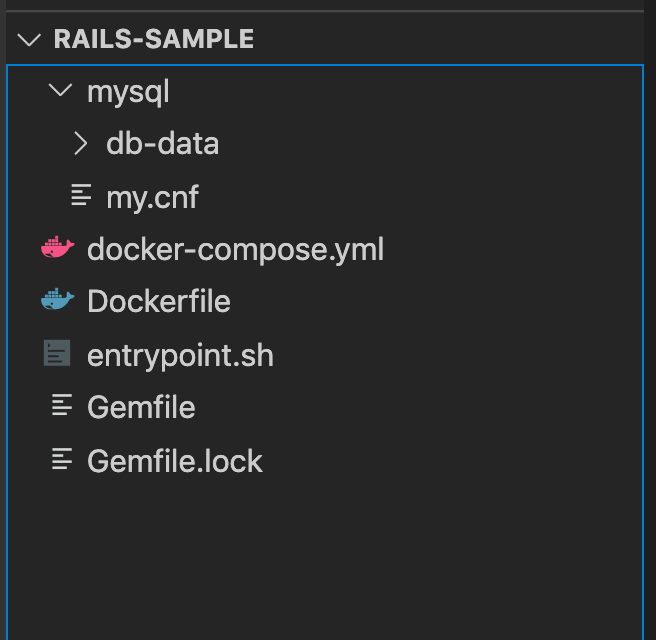
まずはプロジェクトフォルダを作成。ここではrails-sampleとした。
そして、この直下に Dockerfileを作成
FROM ruby:3.1.1

RUN curl -sS https://dl.yarnpkg.com/debian/pubkey.gpg | apt-key add - && \
    echo "deb https://dl.yarnpkg.com/debian/ stable main" | tee /etc/apt/sources.list.d/yarn.list

RUN apt-get update && apt-get install -y nodejs yarn vim

RUN mkdir /myapp
WORKDIR /myapp
COPY Gemfile /myapp/Gemfile
COPY Gemfile.lock /myapp/Gemfile.lock
RUN bundle install

# Add a script to be executed every time the container starts.
COPY entrypoint.sh /usr/bin/
RUN chmod +x /usr/bin/entrypoint.sh
ENTRYPOINT ["entrypoint.sh"]
次にrailsをインストールするためのGemfileを用意
source 'https://rubygems.org'
gem 'rails', '~>7'
空のGemfile.lockを作る
touch Gemfile.lock
Dockerfileに記載されているentrypoint.shを作る
#!/bin/bash
set -e

# Remove a potentially pre-existing server.pid for Rails.
rm -f /myapp/tmp/pids/server.pid

# Then exec the container's main process (what's set as CMD in the Dockerfile).
exec "$@"
なぜこれらのファイルを作るのかはDocker 公式クイックスタートの方を見ていただければ。
docker-compose.ymlを作る
version: '3'
services:
  mysql:
    image: mysql:8.0
    ports:
      - "3306:3306"
    environment:
      MYSQL_ROOT_PASSWORD: mysql
    volumes:
      - "./mysql/db-data/:/var/lib/mysql" # データ永続化
      - "./mysql/my.cnf:/etc/mysql/conf.d/my.cnf" # 日本語をデータとして使うために必要
  server:
    build: .
    tty: true
    volumes:
      - .:/myapp
      - gem_data:/usr/local/bundle
    working_dir: /myapp
    ports:
      - "3000:3000"
    depends_on:
      - mysql
    command: bash
    # command: >
    #   bash -c "rm -f tmp/pids/server.pid &&
    #       bundle exec rails s -p 3000 -b '0.0.0.0'"
volumes:
  gem_data:
MySQLのデータの永続化と日本語対応のために
rails-sample > mysql > db-data フォルダを作成。
mysqlフォルダ以下にmy.cnfを作成
[mysqld]
character-set-server=utf8mb4
それができたらrails newする。
docker-compose run server rails new . --force --database=mysql
railsコマンドやコマンドのヘルプでオプションを調べ、不要そうなものは省く。
重要なオプションは以下
--force // rails new 時にファイルを上書き
--database=myql // デフォルトではsqliteだがmysqlを指定する
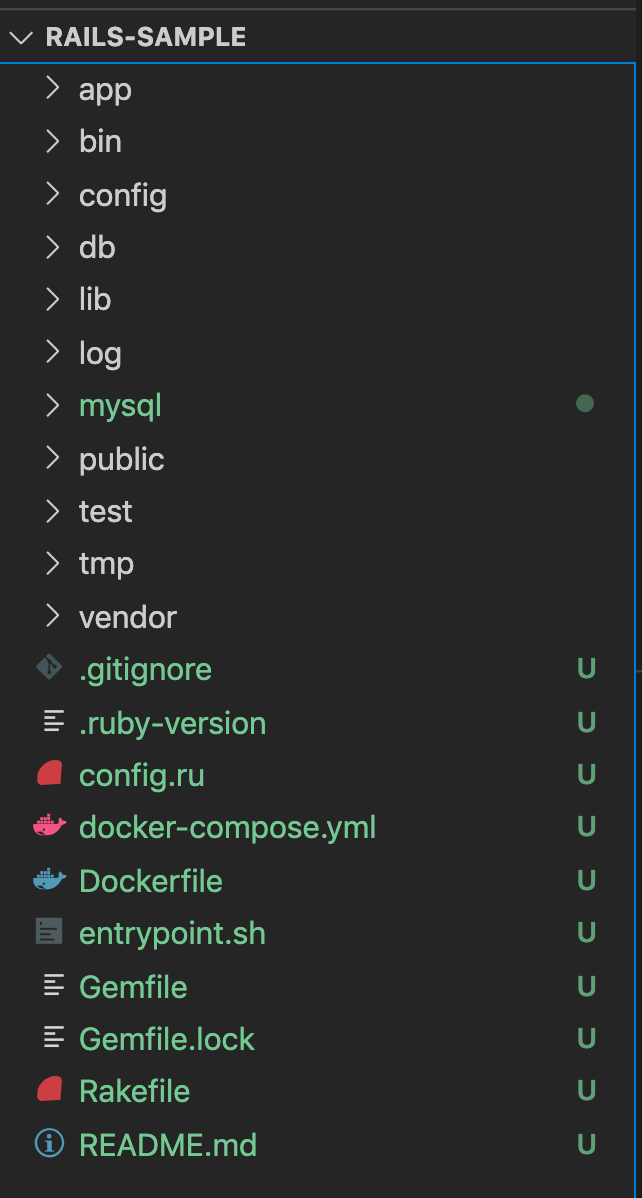
これでいろいろ作られる。
で、ここでGemfileとGemfile.lockが上書きされて新しくなっている。
これをイメージのほうに反映させるために、
docker-compose build
する必要がある。
事前に必要なgemがわかっている場合にはここでGemfileに書いておく。
これでrails new完了
mysqlに繋がるように設定ファイルを書く。
config > database.yml
default: &default
  adapter: mysql2
  encoding: utf8
  pool: <%= ENV.fetch("RAILS_MAX_THREADS") { 5 } %>
  username: root
  password: mysql

development:
  <<: *default
  host: mysql
  database: general

...
test:
  <<: *default
  host: mysql
  database: general_test
productionは不要なのでまるっとコメントアウトした
host名はdocker-compose.ymlのサービス名
passwordもdocker-compose.ymlで指定したもの
できたらdocker-compose up -dでコンテナを起動し、VSCodeのAttach Shellで中に入る
database名は適切に名前つけること
rails db:create
でDBを作る
root@dc075120af8a:/myapp# rails db:create
...
Created database 'general'
Created database 'general_test'
これでデータベースが作れた。
Sequel Proで接続すればデータベースができていることが確認できる
あとはProgateで学んだ通りモデル作ってマイグレーションすればテーブルができる。
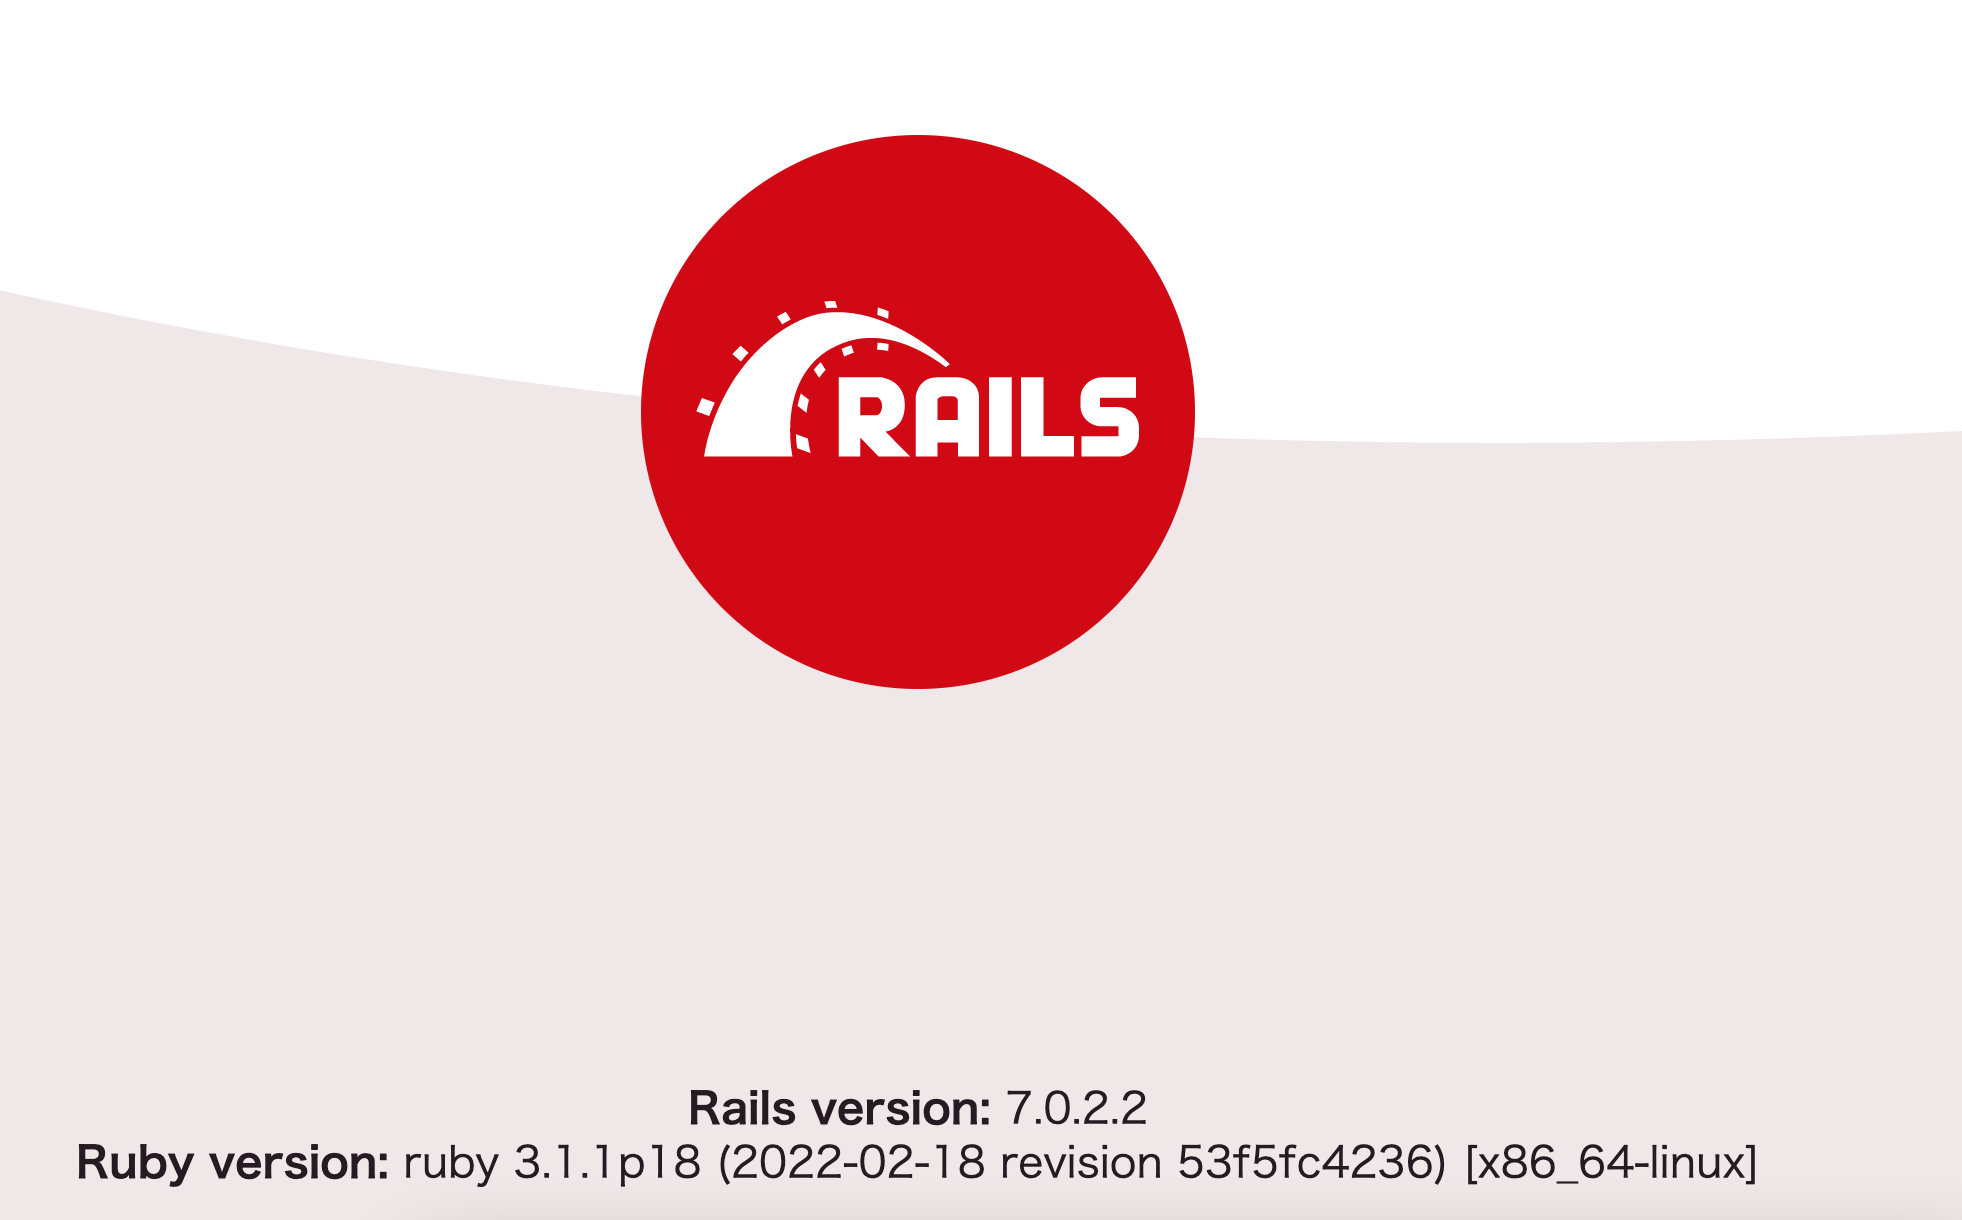
ページを開く
docker-compose.ymlのserverのcommandのコメントアウトを外して切り替えて、再起動
localhost:3000にアクセス
参考
Docker 公式クイックスタート 英語
日本語の方は内容が古いので注意。


