本記事について
ElectronのQuick Start Guideをより初心者目線で書く。
本記事で作るもの
文字を表示するだけのMacのデスクトップアプリ
環境
Mac
electron 11.0.3
$ node -v
v14.15.1
$ npm -v
6.14.8
nodejsをインストールしていない場合には手っ取り早く以下からダウンロードしてインストール。
Node.jsのダウンローダーへのリンク
LTS推奨。
前提
HTML, JavaScriptの基礎
Node.js基礎
Electronとは
HTML, JavaScript等のWebフロントの技術でMacやWindowsのデスクトップアプリが作れるフレームワーク。
npmでインストールして使う。
Electronのinstall
まずは作業用のフォルダを作る
ここではfirst-electronという名前で作った。
そしてまずはプロジェクトを作成し、Electron をインストールする
first-electron$ npm init -y
first-electron$ npm install --save-dev electron
Electronはビルドに含まないのでsave-devをつける。
するとプロジェクトの中身は以下のようになる。
first-electron
├── package-lock.json
└── package.json
アプリを作る
まずは表示する見た目のHTMLを書く
index.html
<!DOCTYPE html>
<html>
<head>
    <meta charset="UTF-8">
    <title>Hello Electron!</title>
    <meta http-equiv="Content-Security-Policy" content="script-src 'self' 'unsafe-inline';" />
</head>
<body style="background: white;">
    <h1>Hello Electron!</h1>
</body>
</html>
次に起点となるJavaScriptを作る
main.js
const { app, BrowserWindow } = require('electron')

const createWindow = () => {
  // windowを作成
  const win = new BrowserWindow({
    width: 800,
    height: 600,
    webPreferences: {
      nodeIntegration: true
    }
  })
  // windowにindex.htmlを描画
  win.loadFile('index.html')
  // DevToolsを開く
  win.webContents.openDevTools()
}

// 初期化時にwindowを作成
app.whenReady().then(createWindow)

app.on('window-all-closed', () => {
  if (process.platform !== 'darwin') {
    app.quit()
  }
})

app.on('activate', () => {
  if (BrowserWindow.getAllWindows().length === 0) {
    createWindow()
  }
})
最後にこの時点でpackage.jsonは以下のようになっていると思われるが
package.json
{
  "name": "first-electron",
  "version": "1.0.0",
  "description": "",
  "main": "index.js",
  "scripts": {
    "test": "echo \"Error: no test specified\" && exit 1"
  },
  "keywords": [],
  "author": "",
  "license": "ISC",
  "devDependencies": {
    "electron": "^11.0.3"
  }
}
version, main, scripts を以下のように修正
package.json
{
  "name": "first-electron",
  "version": "0.1.0",
  "description": "",
  "main": "main.js",
  "scripts": {
    "start": "electron ."
  },
  "keywords": [],
  "author": "",
  "license": "ISC",
  "devDependencies": {
    "electron": "^11.0.3"
  }
}
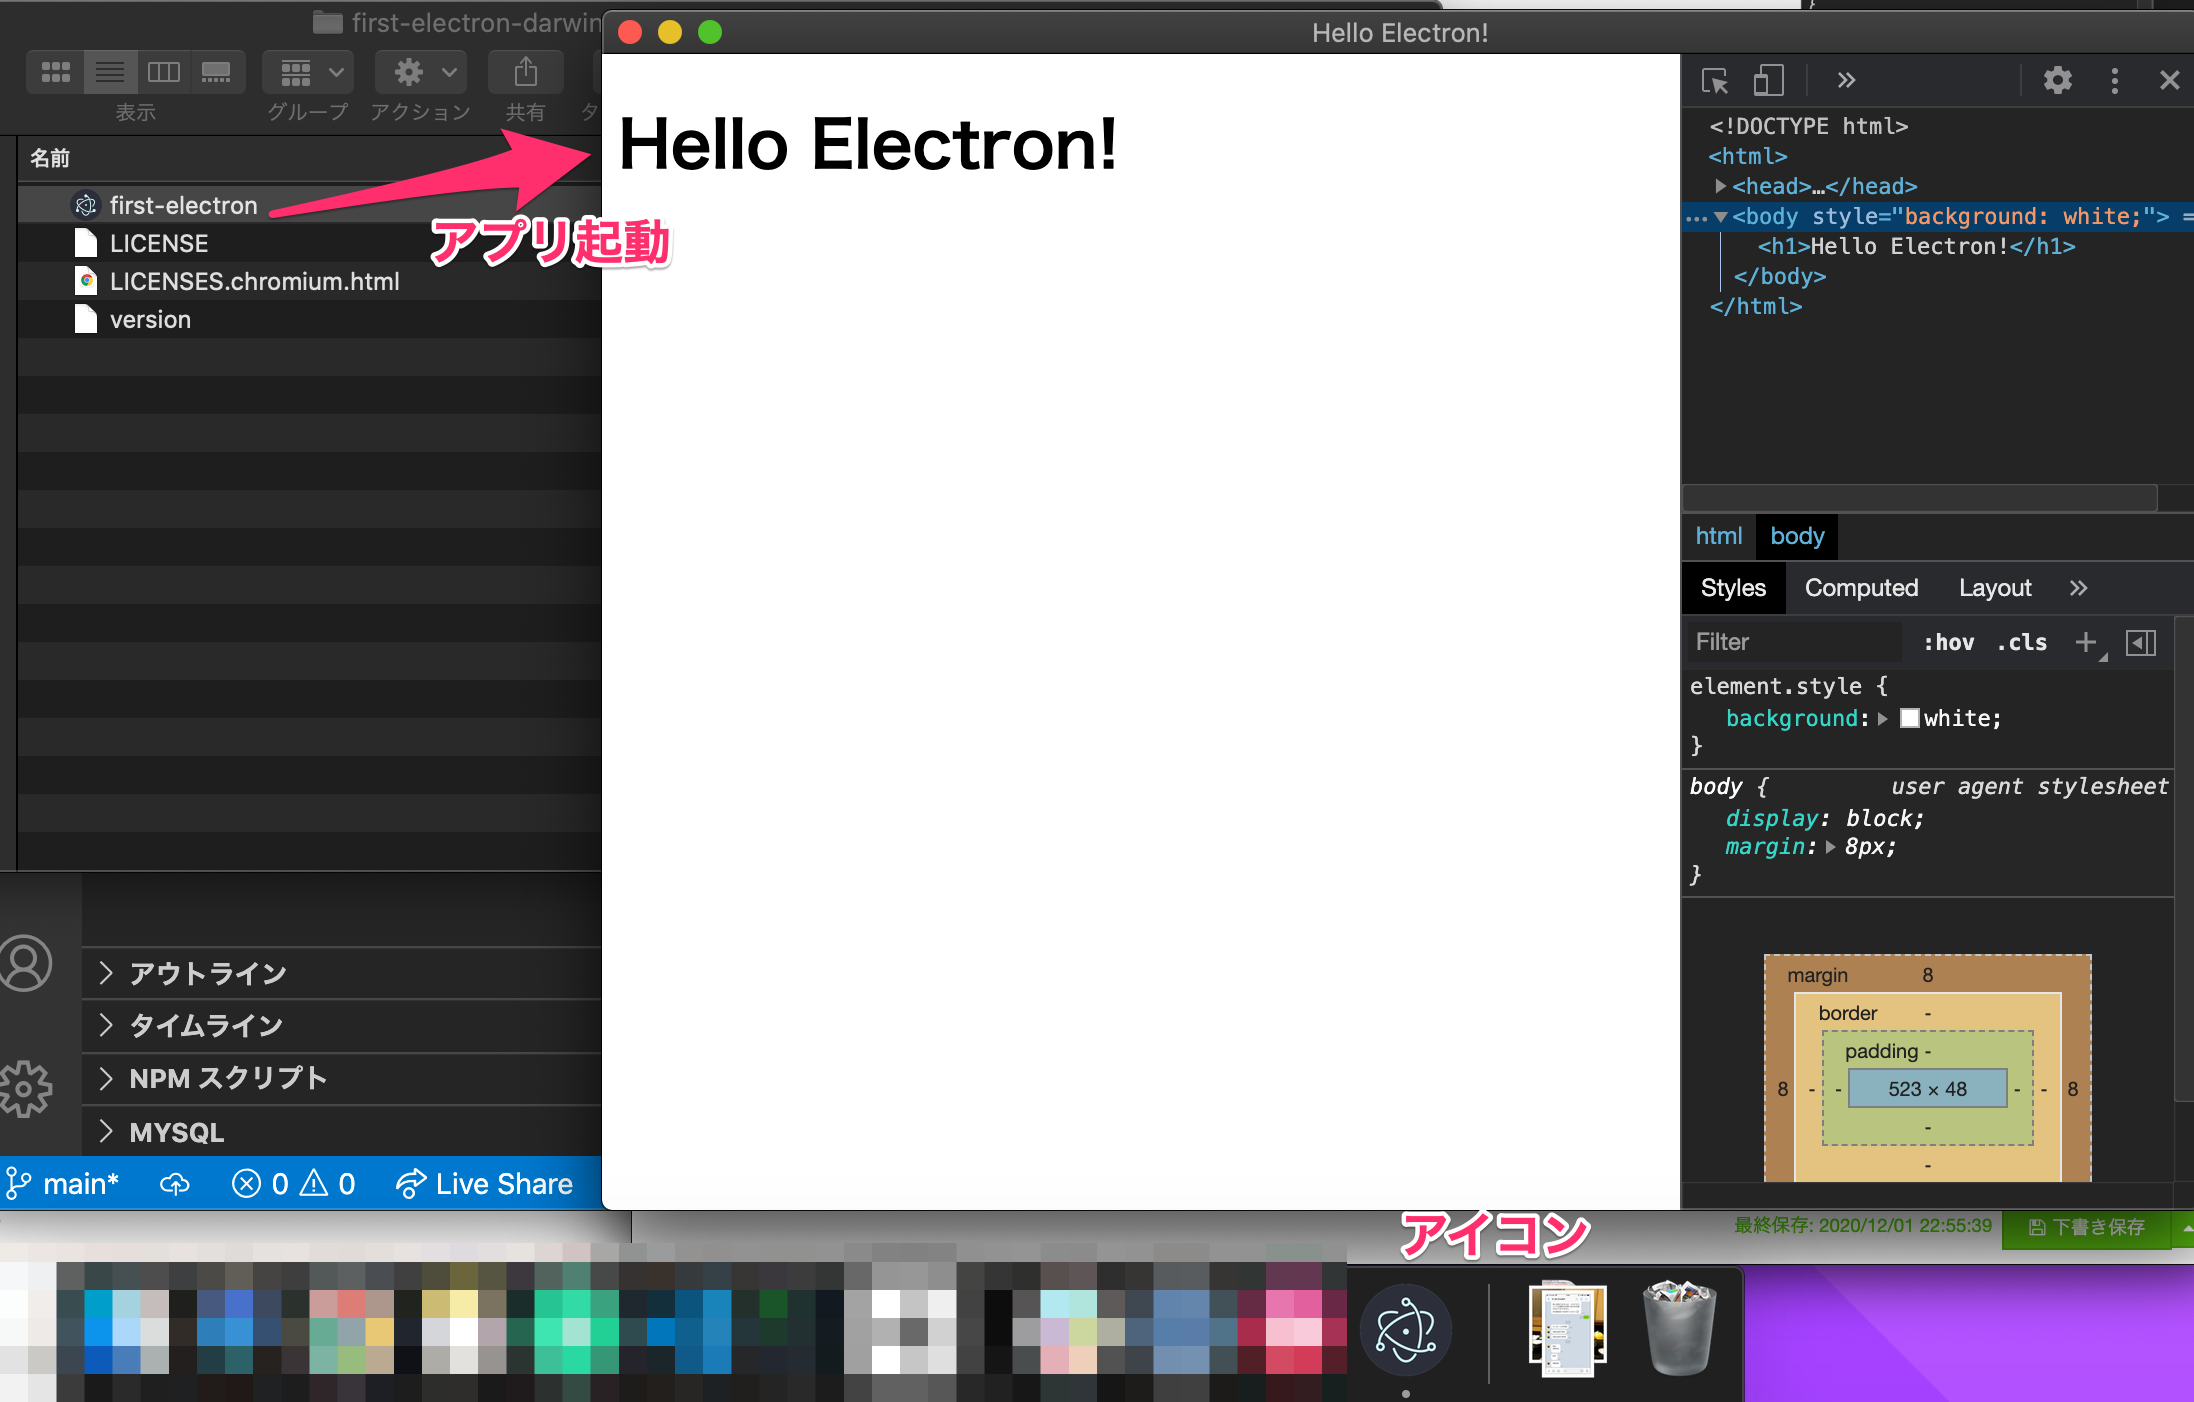
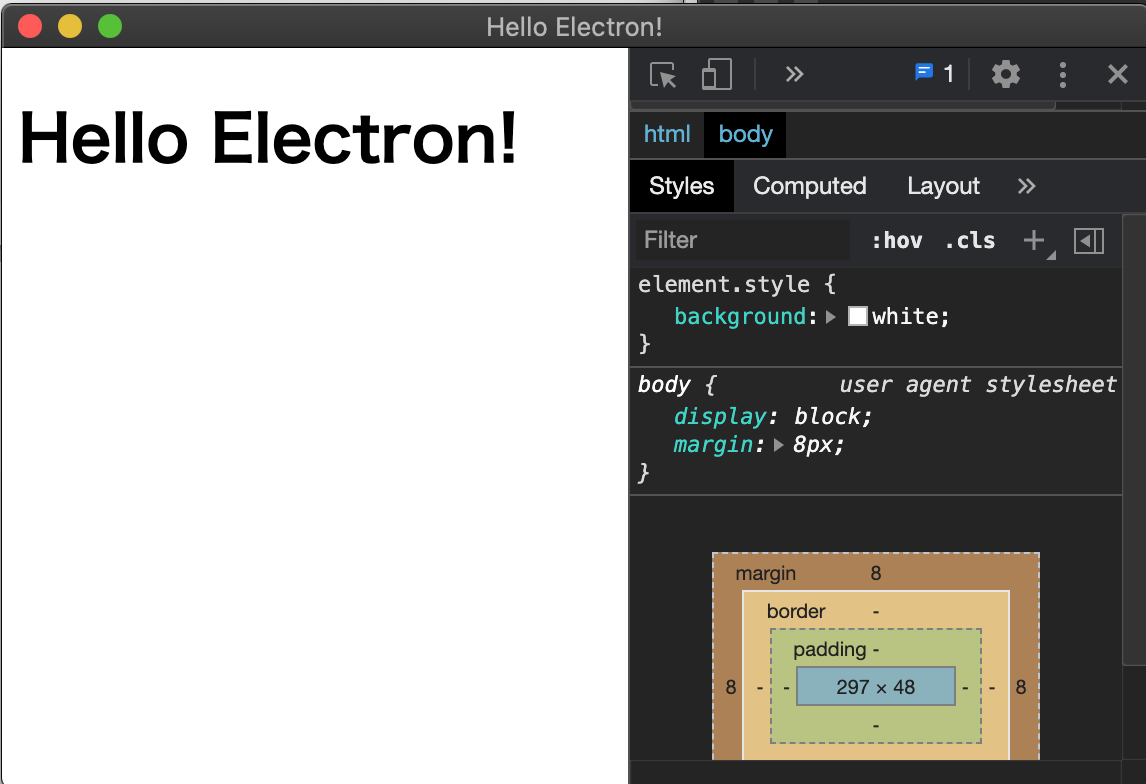
これで完了。アプリが確認できる
$npm start
停止するときはCtrl + C
Macのアプリケーション化
1 Electron Forgeをインポート
first-electron$ npx @electron-forge/cli import
✔ Checking your system
✔ Initializing Git Repository
✔ Writing modified package.json file
✔ Installing dependencies
✔ Writing modified package.json file
✔ Fixing .gitignore


We have ATTEMPTED to convert your app to be in a format that electron-forge understands.

Thanks for using "electron-forge"!!!
これによって package.json が書き換えられる
package.json
{
  "name": "first-electron",
  "version": "0.1.0",
  "description": "",
  "main": "main.js",
  "scripts": {
    "start": "electron-forge start",
    "package": "electron-forge package",
    "make": "electron-forge make"
  },
...
あと.gitも追加される
2 作成
first-electron$ npm run make

> first-electron@0.1.0 make /Users/Teach/workspace/electron/first-electron
> electron-forge make

✔ Checking your system
✔ Resolving Forge Config
We need to package your application before we can make it
✔ Preparing to Package Application for arch: x64
✔ Preparing native dependencies
✔ Packaging Application
Making for the following targets: zip
✔ Making for target: zip - On platform: darwin - For arch: x64
first-electron > out以下にできる。

これをダブルクリックするとアプリが起動できる。