現在、個人アプリを作成しているのですが、その中の機能として「友達機能」を実装することにしました。
スクールではカリキュラムになかった内容であったため、自身で色々と調べて実装したので、備忘録として、
以下のように記事にさせていただきます。
皆様の実装に少しでも役立てていただければ、幸いです。
本記事該当Github: https://github.com/Tatsu88-Tokyo/BulkFriends2
はじめに-機能に対する考え方
今回の「友達機能」実装にあたり、当初、「友達申請=>承認=>友達になる」というよくある流れでの実装を考えてました。
しかしながら、少し堅苦しい感じがしたので、もう少し気軽に友達申請を実現するために、最近流行っているマッチングアプリ的に「いいね」を友達申請の代わりに使用し、お互いに「いいね」されたら「友達」にするというやり方での実装を考えました。
以降、その考えをベースに実装をしております。
実装イメージ
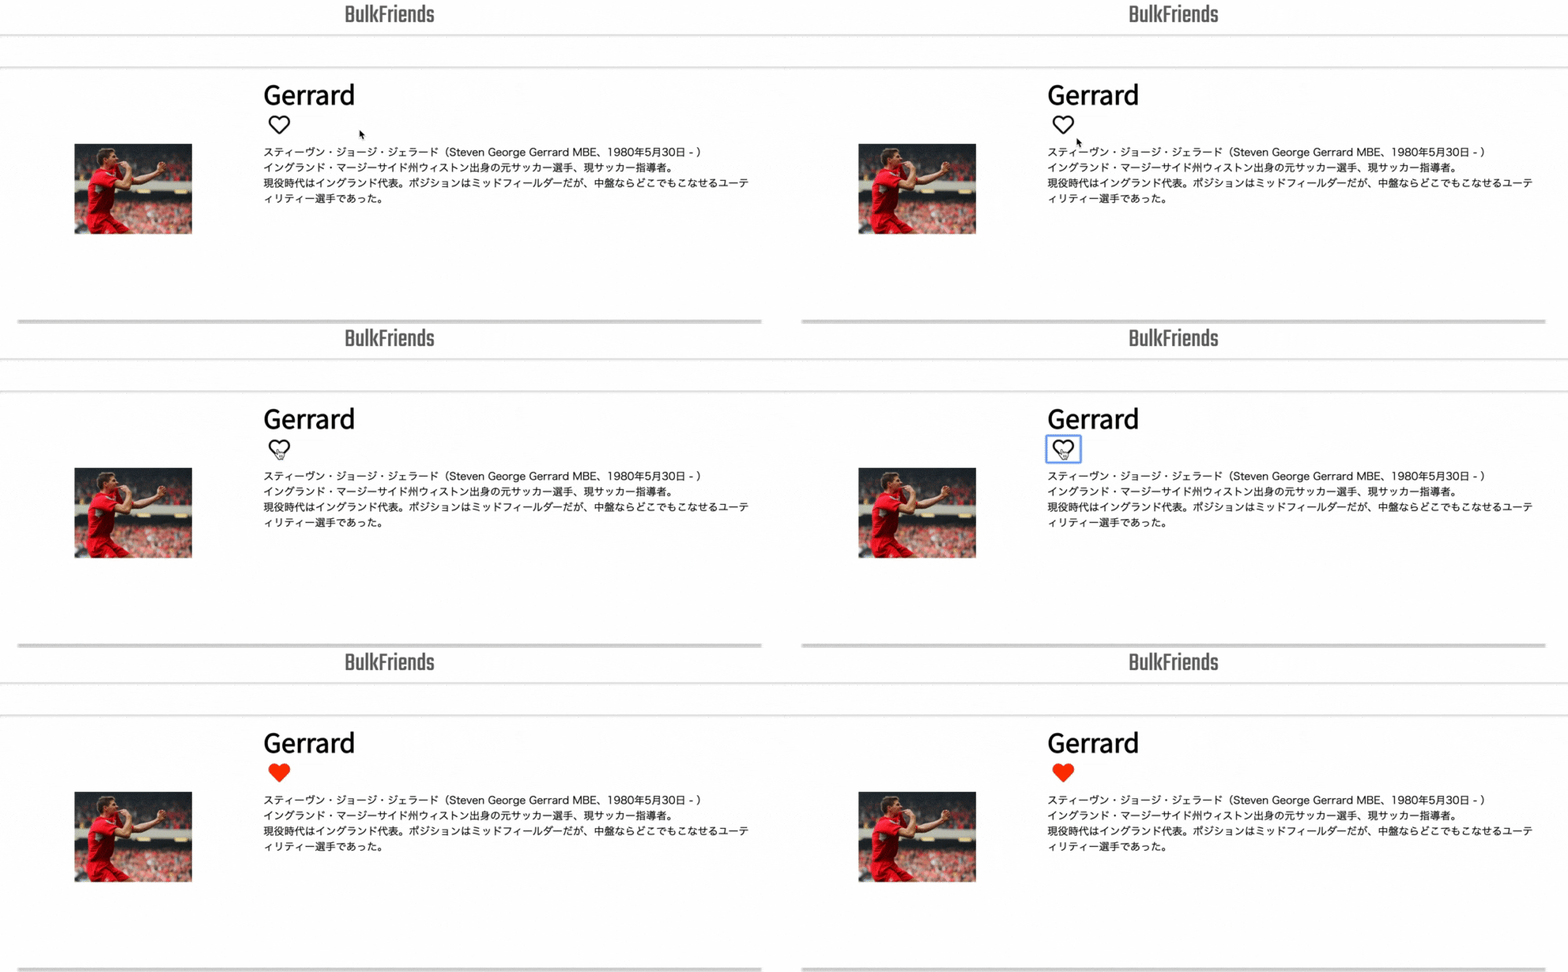
今回の機能の実装イメージは以下となります。
友達申請(いいね)の動作イメージ
友達申請(いいね)以下のようにハートマークをクリックすると完了します。
この動作をお互いに行うことで”友達”として認定します。
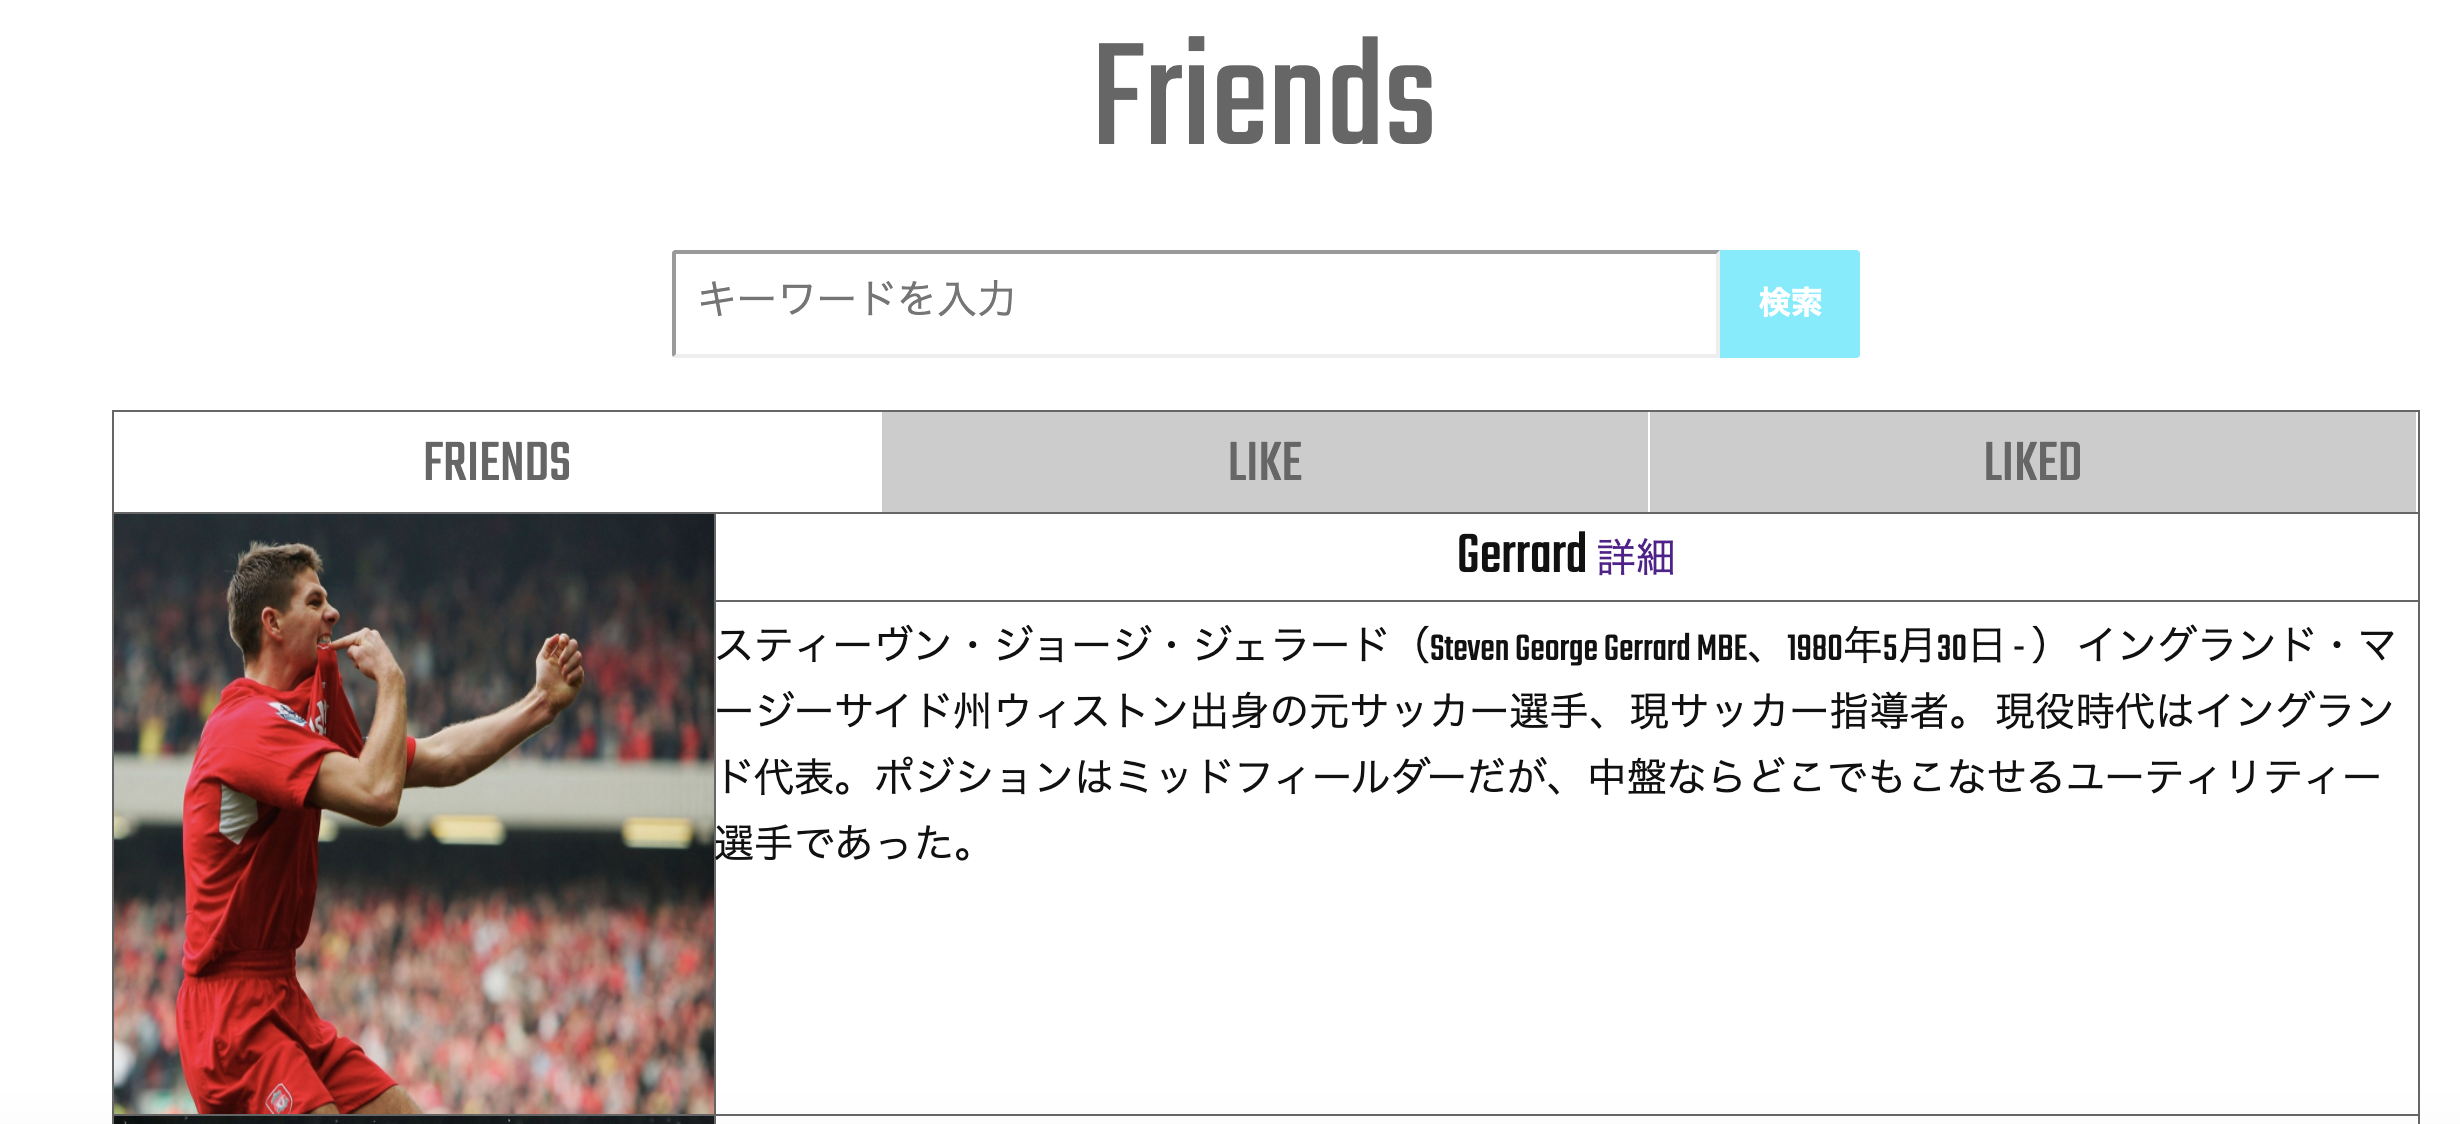
お互いにいいねがされると友達として認識されます。
テーブル準備
まず、今回の友達機能を実装するにあたり"relationship"テーブルを準備いたします。
rails g model relationship
マイグレーションファイルは以下のように作成します。
class CreateRelationships < ActiveRecord::Migration[5.2]
  def change
    create_table :relationships do |t|
      t.integer :follower_id
      t.integer :following_id

      t.timestamps
    end
    add_index :relationships, :follower_id
    add_index :relationships, :following_id
    add_index :relationships, [:follower_id, :following_id], unique: true
  end
end
マイグレーションファイルへの記述完了次第、ターミナルでrails db:migrateをしておきましょう。
$ rails db:migrate
モデル編集
テーブルが作成できましたので、続いてモデルを編集していきます。
今回は、友達申請(いいね)する人を"following”、友達申請(いいね)される人を"follower"とし、
友達となっているかどうかを"matchers"メソッドを作って判別します。
class User < ApplicationRecord
  has_many :following_relationships, foreign_key: "follower_id", class_name: "Relationship", dependent: :destroy
  has_many :followings, through: :following_relationships
  has_many :follower_relationships, foreign_key: "following_id", class_name: "Relationship", dependent: :destroy
  has_many :followers, through: :follower_relationships

  def following?(other_user)
    following_relationships.find_by(following_id: other_user.id)
  end

  def follow!(other_user)
    following_relationships.create!(following_id: other_user.id)
  end

  def unfollow!(other_user)
    following_relationships.find_by(following_id: other_user.id).destroy
  end

# 友達判定
  def matchers
    followings & followers
  end
end
Relationshipモデルについては、follower/followingをUserに帰属させます。
class Relationship < ApplicationRecord
  belongs_to :follower, class_name: "User"
  belongs_to :following, class_name: "User"
  validates :follower_id, presence: true
  validates :following_id, presence: true
end
以上でモデルに関しての編集は完了となります。
ビューの編集
今回の”友達申請(いいね)”に関してのビューを作成します。
(以下は”友達申請(いいね)”に関してのみの記述となりますので、必要に応じて肉付けしてください)
今回のポイントは以下の通りです。
- if文で既に友達申請(いいね)をしているか否かを見極めます。
- 既に友達申請(いいね)をしている場合は、ハートを赤くしておき、ハートを押すと未申請状態(白色)にします。
- 逆に未申請の場合は、ハートを白くしておき、ハートを押すと申請済み状態(赤色)にします。
- これらの処理をform_withで情報を飛ばすことで実装してます。
- if current_user.following?(@user)
 = form_with model: @relationship,url: relationship_path, method: :delete, remote: true  do |f|
  = button_tag type: 'submit', class: 'btn-liked',id: "unfollow_form" do
    %i.fas.fa-heart.fa-3x
- else
 = form_with model: @relationship, remote: true  do |f|
  %div= hidden_field_tag :following_id, @user.id
   = button_tag type: 'submit', class: 'btn-likes',id: "follow_form" do
    %i.far.fa-heart.fa-3x
コントローラ
上記にてビューも完成したので、そちらに合わせてRelationshipコントローラを編集していきます。
友達申請(いいね)をしたときは、”create"メソッドを使用し、
友達申請(いいね)を取り消すときは、"destroy"メソッドを使用してます。
今回、基本的に申請時・申請取り消し時にページ遷移の必要はなかったので、Userページにredirectしてます。
class RelationshipsController < ApplicationController

  def create
    current_user.following_relationships.create(create_params)
    redirect_to user_path(params[:following_id])
  end

  def destroy
    @user=current_user
    @relationship =  Relationship.where(following_id: params[:id],follower_id:@user.id)
    @relationship.destroy_all
    redirect_to user_path(params[:id])
  end

  private

  def create_params
    params.permit(:following_id)
  end
end
以上で、上記イメージの友達機能が実装できます!
今回はいいねボタンを友達申請ボタンの代わりに使用しましたが、viewを変更するだけで実装できます!
色々と試してみていただけますと幸いです。
参照
Railsでマッチング機能を作ってみる
https://qiita.com/Utr/items/da03bf4f23aba03da656
Ruby on Rails ~フォロー(友達申請)機能の実装(コードメモ)
https://qiita.com/wtb114/items/dbba4364871aacf520cd
以上となります。最後までご覧いただき、ありがとうございました!
今後も学習した事項に関してQiitaに投稿していきますので、よろしくお願いします!
記述に何か誤りなどございましたら、お手数ですが、ご連絡いただけますと幸いです。

