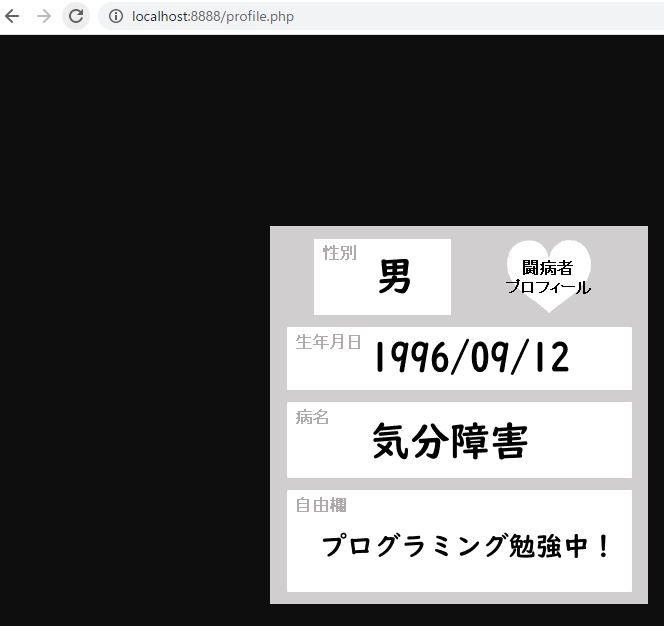
初めまして、TaskAraiです。最近PHPを勉強し始めて一か月、とりあえず画像ジェネレーターを作りたいと思い至りました。
画像ジェネレーターとは、元々用意している画像の上に文字を載せるものです。イメージしているのは、下に引用しているものです。
・参考資料
画像ジェネレーターを作る
さて、画像ジェネレーターを作りたい僕ですが、何も分かりません。とりあえず、「PHP 画像に文字を載せる」とググります。
どうやら「imagettftex()」というものが良さそう。早速、下記の公式マニュアルをコピペして実行してみます。これなら、少し手を加えるだけで簡単に実現できそうですね。
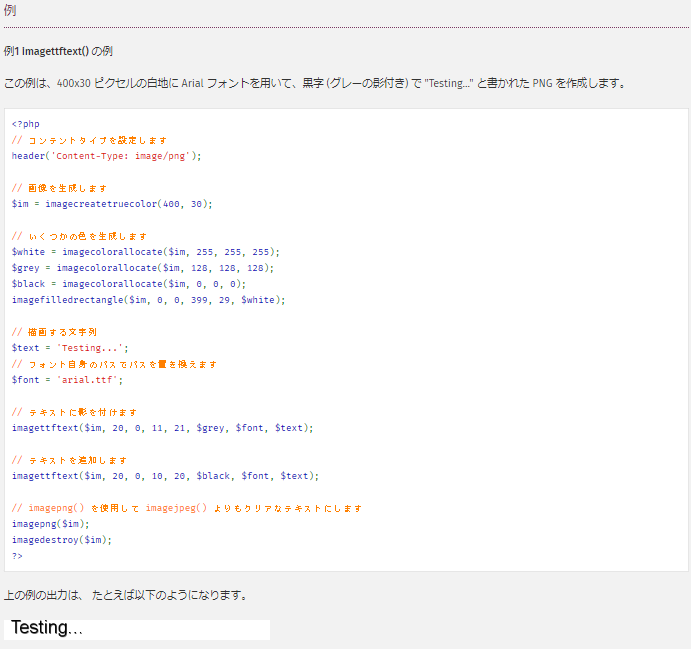
引用元:【公式マニュアル】imagettftext
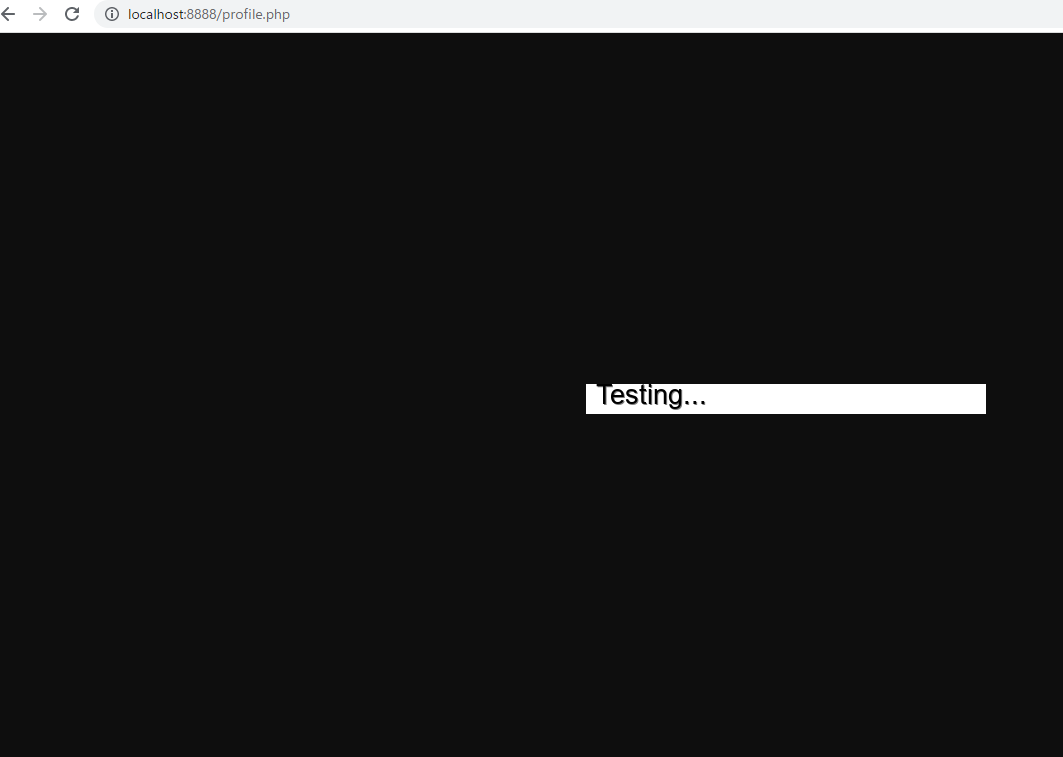
どうやら、画像は生成されていそうですが、文字が生成されていない?あるいは文字が画像の後ろに生成されている?
良くわかりませんが、文字が生成されていないことを考えて、今度はWindows(僕が使っているので)内のフォントを指定して実行してみます。
文字が生成されました。どうやら、公式マニュアルそのままではフォントの読み込みが出来なかった気がします。とりあえず、公式マニュアルのコードが動作しましたが、僕としてはwebにphpファイルを載せてMacからもiPoneからもAndroidからも操作できるようにしたい。
このままでは、windowsからしか利用できないサービスになるので、Google fontsからNoto_Sans_JPのNotoSansJP-Black.otfをDLしてきて、後ほどserverにアップロードして、そちらを呼び出します(自分で書いてますが、今現在どうやるのか分かっていません。後ほど調べて記述します)。
とりあえず、ローカル環境で、画像に文字を貼り付けるコードに書き換えます。
<? php
// コンテントタイプを設定する
header('Content-Type: image/png');

//画像をC直下から呼び出す
$url ='C:\shibasuberi_danbo-ru_boy.png';

// 画像を再生成する
$im = imagecreatefrompng($url);

// 白を生成する
$white = imagecolorallocate($im, 255, 255, 255);

// 文字列を描画する
$text = 'Testing...';
// フォントを設定する
$font = 'C:\Windows\Fonts\arial.ttf';

// テキストを追加する
imagettftext($im, 20, 0, 10, 20, $white, $font, $text);

// png生成して、画像をメモリから排除する
imagepng($im);
imagedestroy($im);
?>
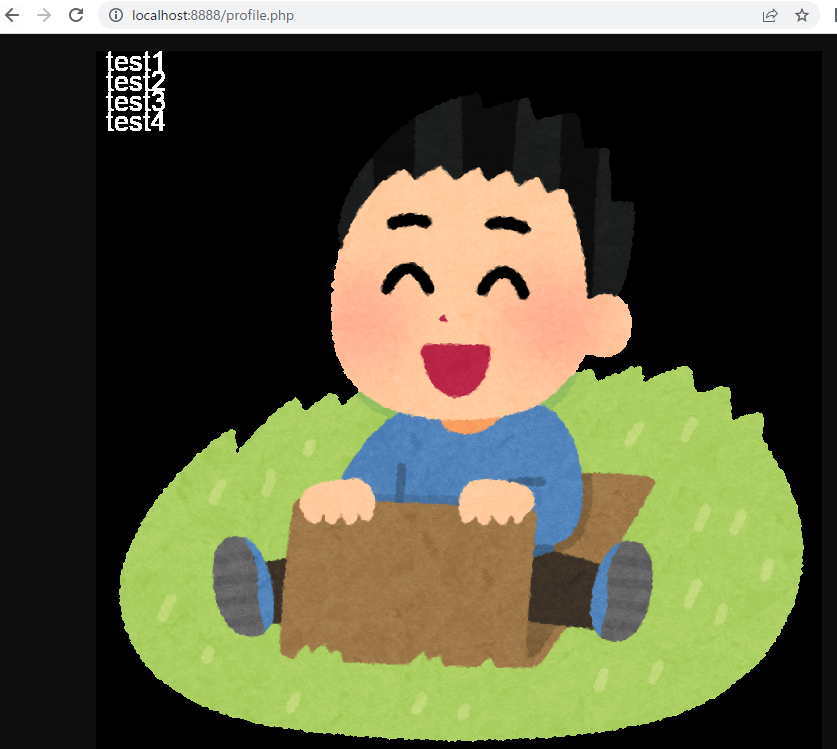
画像はイラスト屋から拝借して、このように設定したら次の画像が生成されました。
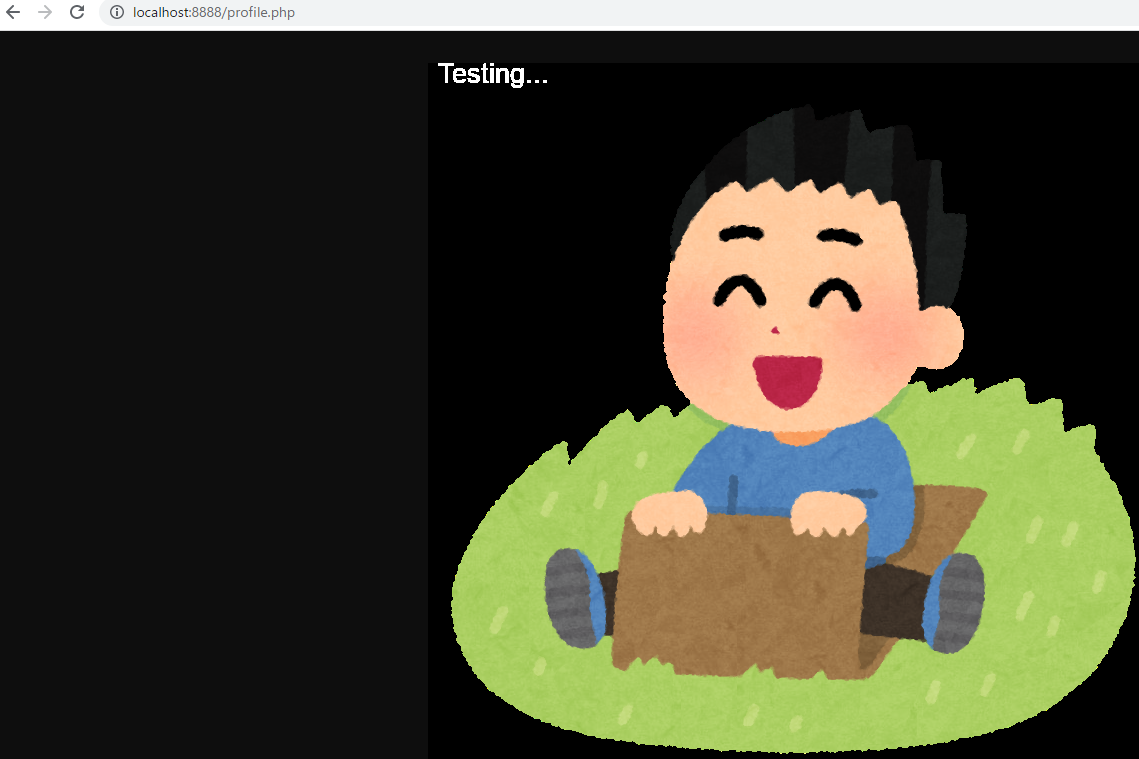
とりあえず、画像に文字を入力することに成功しました。
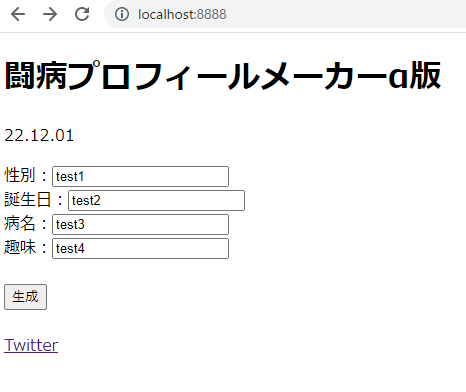
そこで、画像ジェネレーターに重要なユーザーが入力する画面と、それが合成されるかをテストします。
<!DOCTYPE html>
<html lang="ja">
<head>
  <meta charset="UTF-8">
  <meta http-equiv="X-UA-Compatible" content="IE=edge">
  <meta name="viewport" content="width=device-width, initial-scale=1.0">
  <title>闘病プロフィールメーカーα版</title>
</head>
<body>
  <h1>闘病プロフィールメーカーα版</h1>
  <p>22.12.01</p>
  <!--formを用いて、文字と画像を合成するphpファイルにデータを渡す-->
  <form action="profile.php" method="post">
    性別:<input type="text" name="gender"><br>
    誕生日:<input type="text" name="birth_day"><br>
    病名:<input type="text" name="sick"><br>
    趣味:<input type="text" name="hobby"><br>
    <br>
    <input type="submit" value="生成">
    <br>
    <br>
    <a href="https://twitter.com/nemuihito912">Twitter</a>
  </form>
</body>
</html>
<?php
// 入力フォームから無毒化して、文字を受ける
$gender = htmlspecialchars($_POST['gender']);
$birth_day = htmlspecialchars($_POST['birth_day']);
$sick = htmlspecialchars($_POST['sick']);
$hobby = htmlspecialchars($_POST['hobby']);

// コンテントタイプを設定します
header('Content-Type: image/png');

// 画像をC直下から呼び出す
$url ='C:\shibasuberi_danbo-ru_boy.png';

// 画像を再生成する
$im = imagecreatefrompng($url);

// 白を生成する
$white = imagecolorallocate($im, 255, 255, 255);


// フォントを設定する
$font = 'C:\Windows\Fonts\arial.ttf';

// テキストを追加する
imagettftext($im, 20, 0, 10, 20, $white, $font, $gender);
imagettftext($im, 20, 0, 10, 40, $white, $font, $birth_day);
imagettftext($im, 20, 0, 10, 60, $white, $font, $sick);
imagettftext($im, 20, 0, 10, 80, $white, $font, $hobby);

// png生成して、画像をメモリから排除する
imagepng($im);
imagedestroy($im);
?>
画像ジェネレーターで利用する画像をパワーポイントで作成していきます。Simple is the best. とりあえず課題は多いもののテストα版として作成します。
